
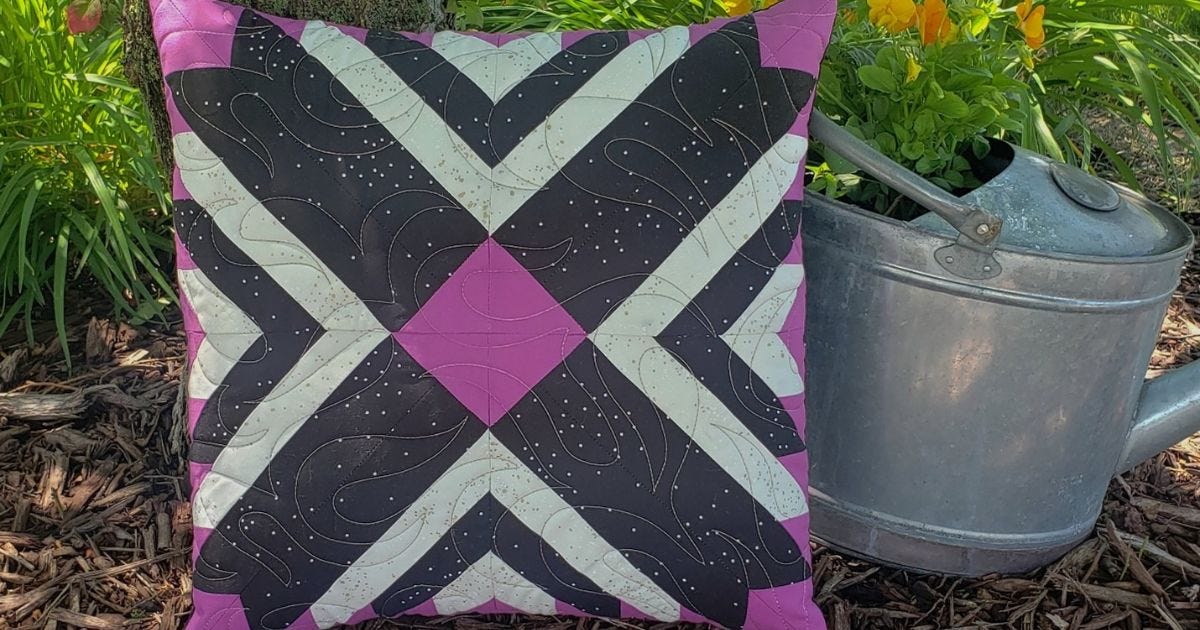
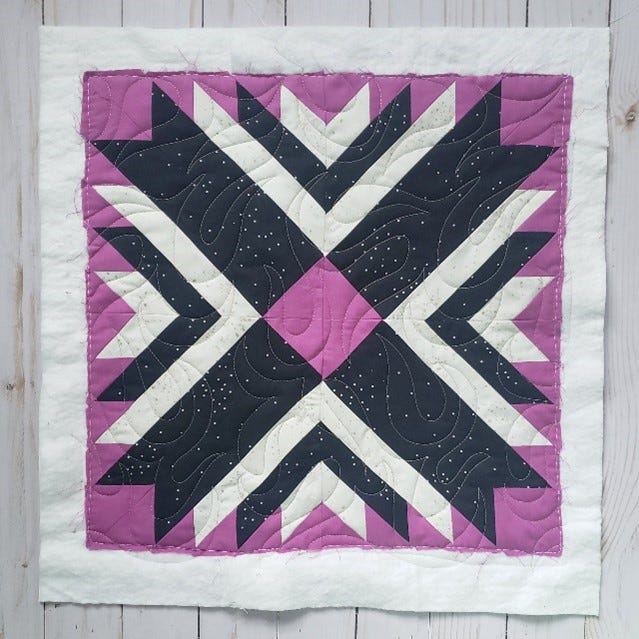
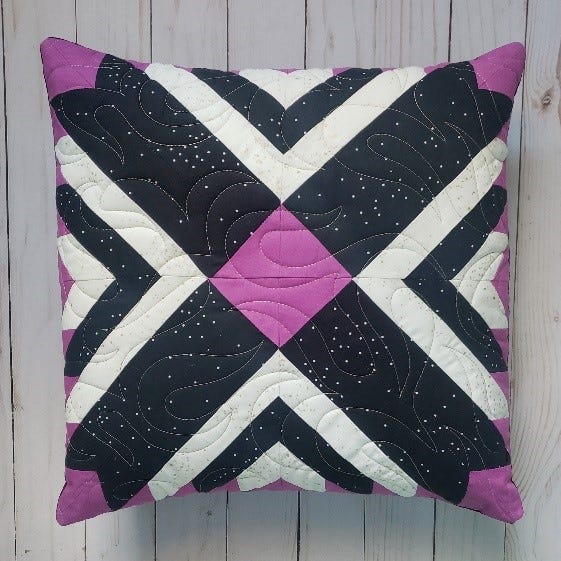
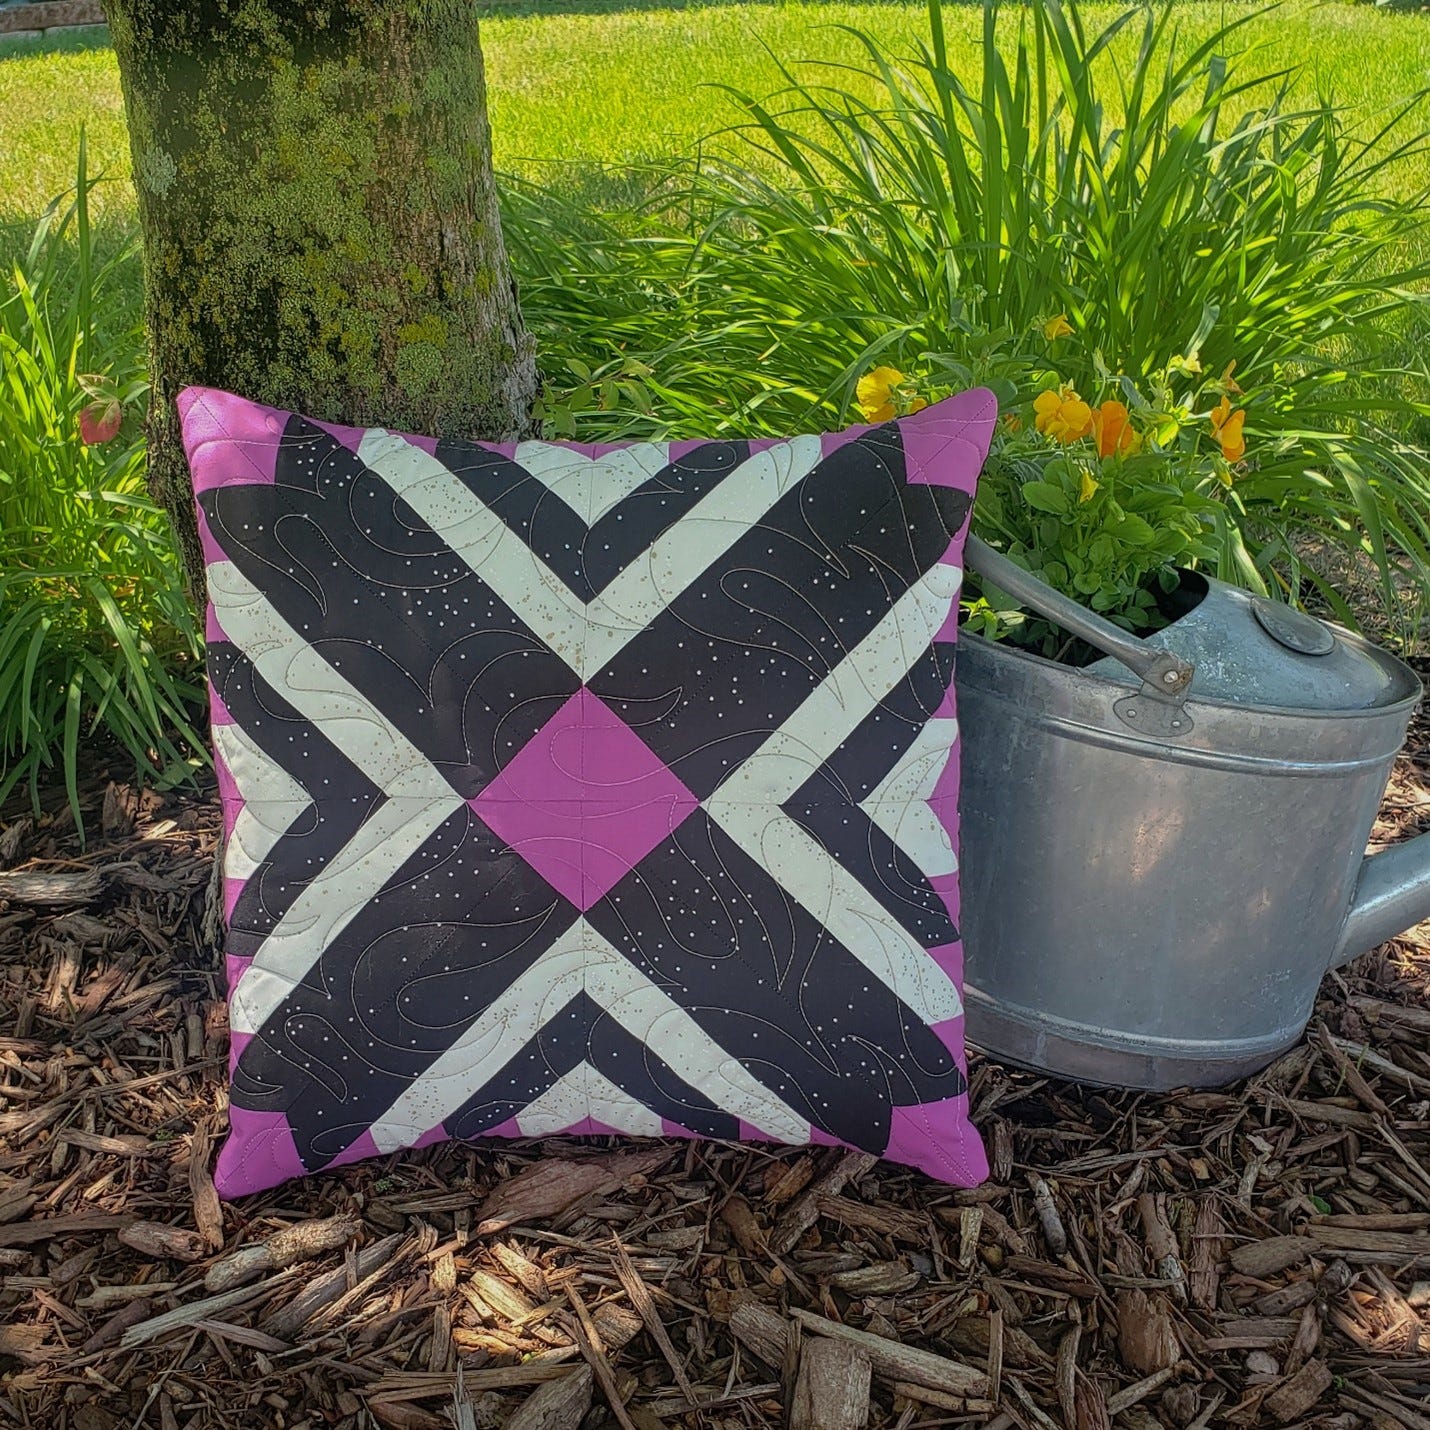
Block on Board (BOB) dies are designed to create an entire quilt block with just one die board. With BOB dies, you can get creative and create new block designs by using just some of the pieces or rearranging them in a different way. The GO! Lotus Block-10" Finished Die was the Die to Try in May 2023 and is being relaunched this month! Today, I’m sharing a fun pillow cover I made using parts of the Lotus Block to create a unique twist on this traditional quilt block.
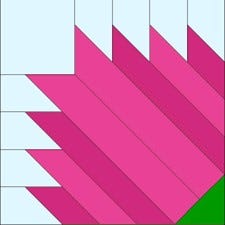
When I have an idea, I typically use Electric Quilt 8 (EQ8) Quilt Design Software to help develop the idea. The Lotus Block is available in the EQ8 quilt Block Library.

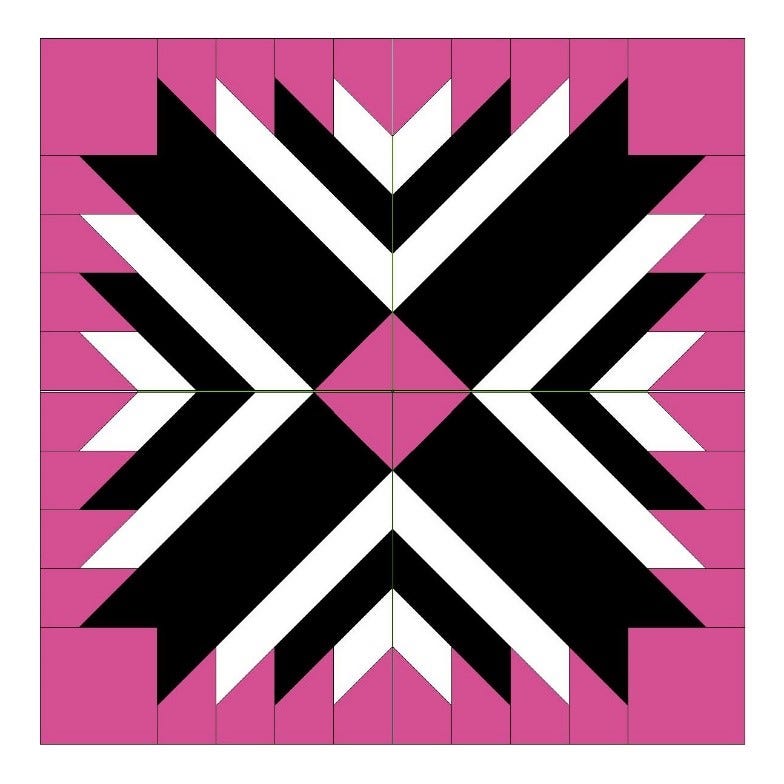
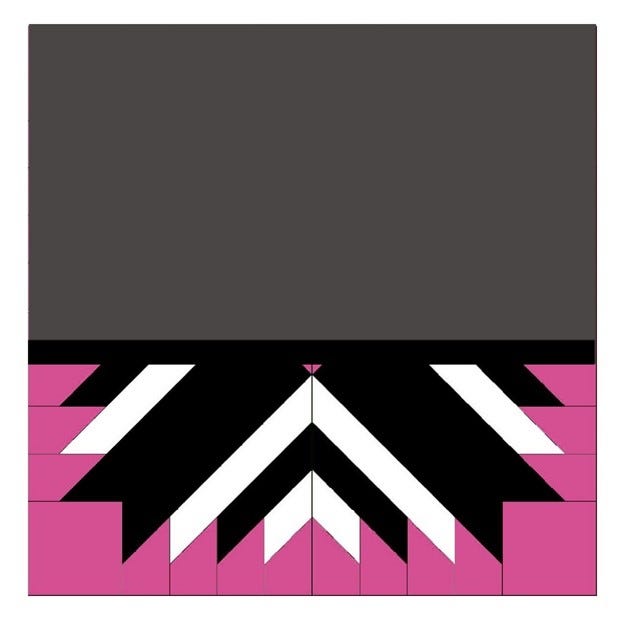
By not using Shapes E, F and G, you have a different block with lots of different possibilities. This revamped version of the Lotus Block measures approximately 7 1/2”, so four of the sections put together measure approximately 15". This is a great size for a throw pillow or tote bag panel.
By playing with the colors, this new block design creates a fun, modern quilt block, which will make a great quilted throw pillow cover!
Supplies Needed
- GO! Lotus Block–10” Finished Die
- 1/4 yard of pink fabric
- 1/4 yard of black fabric
- 1/8 yard white fabric
- 18” square of batting
- 18” square of backing fabric (optional)
- 1/3 yard of fabric for the pillow envelope back
- 14” or 15” pillow form (depending how full you like your pillows)
NOTE: To make this modern block, I am using a mix of Moda fabrics: Moda Bella Cyclamen (pink), Ruby Star Society Sugar (black) and Ruby Star Society Speckled White Gold Metallic. These were all leftovers from other projects.
Cutting Instructions
1. Fabric Color 1 (pink):
- Cut six 3 1/2" squares.
- Place these squares right side up over Shape A on the GO! Lotus Block-10" Finished Die and cut out 12 pieces.
- Cut sixteen 2 3/4" squares.
- Place these squares right side up over Shape B on the GO! Lotus Block-10" Finished Die to cut 32 pieces.
2. Fabric Color 2 (black):
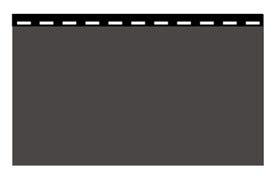
- To cut Shapes I and K on the GO! Lotus Block-10" Finished Die together, cut four 8 1/2" x 8 3/4" rectangles.
- Fanfold each rectangle into two layers and place over Shapes I and K to cut eight mirrored shape sets of each.
3. Fabric Color 3 (white):
- To cut Shapes H and J on the GO! Lotus Block-10" Finished Die together, cut four 4" x 11" rectangles.
- Fanfold these rectangles into two layers and place over Shapes H and J to cut eight mirrored shape sets of each.
Assembly Instructions
1. Assemble four sections of the block following Steps 1 through 4 of the GO! Lotus Block Assembly Instructions.
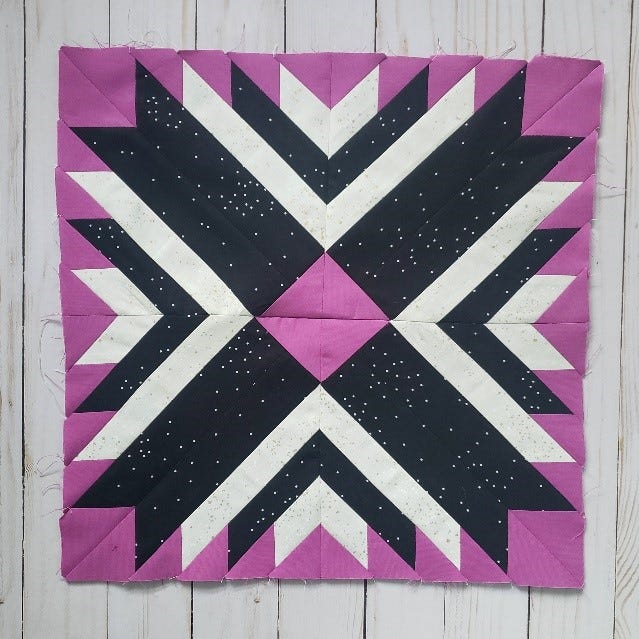
2. Quilt your block as desired.
Since I have a longarm, I tend to longarm quilt all my projects, even the small ones! For this project, I used an edge-to-edge pantograph called Fantasy Flame by Jessica Schick. I used Glide Mocha thread to pick up some of the gold in the cream Moda Speckled fabric.
For throw pillow covers, I usually make a simple envelope-style back.
3. From your pillow back fabric, cut one strip of fabric 11” x the Width of Fabric (WOF).
4. From the strip, cut two pieces the width of your quilted pillow cover. My trimmed pillow cover measured 15” wide, so I cut two pieces at 15” X 11”.
5. For the pillow backing, make a narrow hem by folding bottom long edge of one panel 1/4” to the wrong side and press.
6. Fold over 1/4” to the wrong side a second time and press.
7. Topstitch.
8. Repeat with the second pillow backing panel, but make a narrow hem on the top long edge.

9. Place the quilted pillow top face up.
10. Place the top hemmed backing panel on top of the pillow top, right sides together, lining up unhemmed edge with the top of the pillow cover.
11. Pin in place.
12. Place the bottom hemmed backing panel on top, right sides together, lining up unhemmed edge with bottom of pillow and pin.
13. Stitch around the entire edge of the pillow with a 1/4” seam.
14. Clip the corners, being careful not to cut stitching.
15. Turn the pillow cover right side out and insert a 14” or 15” pillow form, depending how full you like your pillows.
16. Enjoy your new pillow cover!
If you make a pillow cover or other project using the GO! Lotus Block-10" Finished Die, please share them with us on social media! Use the hashtag #AccuQuiltBuilt and tag @stephjacobsondesigns and @AccuQuilt so that we can see what you've created!


