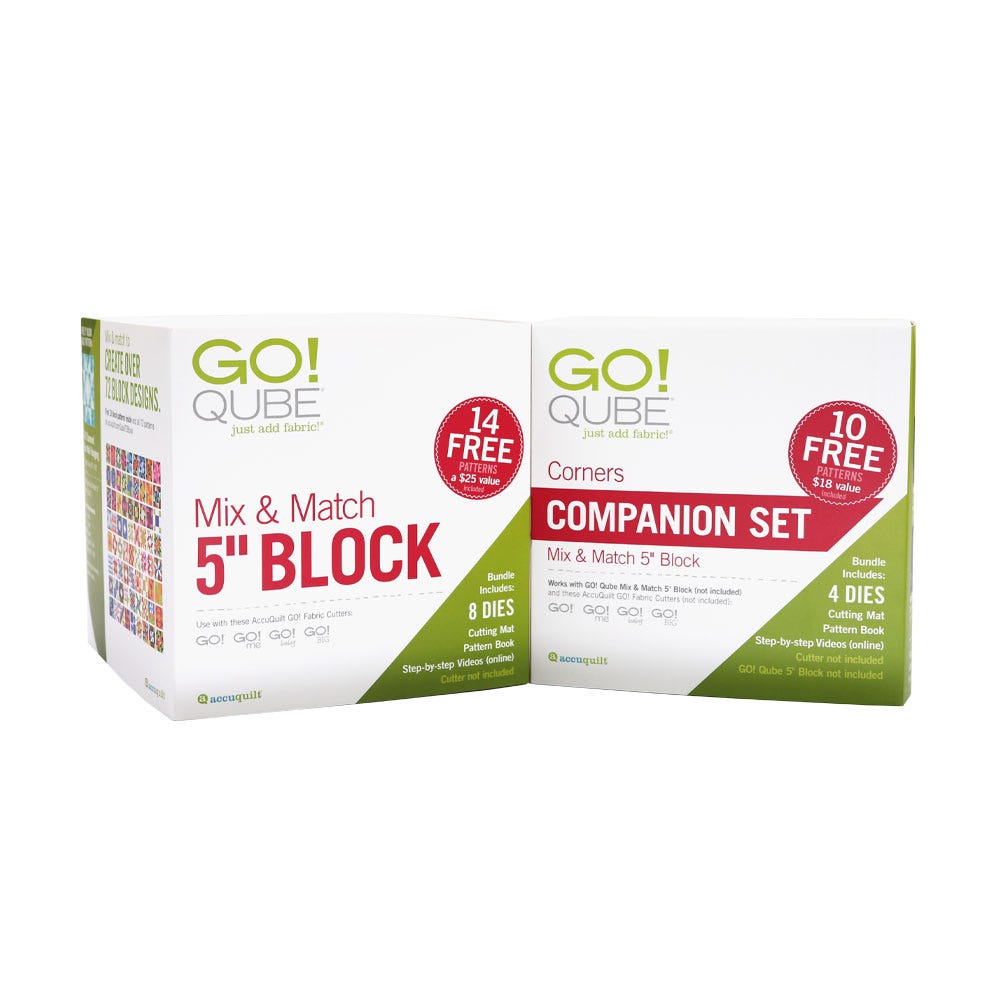
GO! Qubes
Back by popular demand is a project based on our GO! Qube Mix & Match Blocks, but with a bit of a twist. This project will show you how to use those eight basic GO! Qube Mix & Match shapes alongside the GO! Qube Companion Set-Corners.
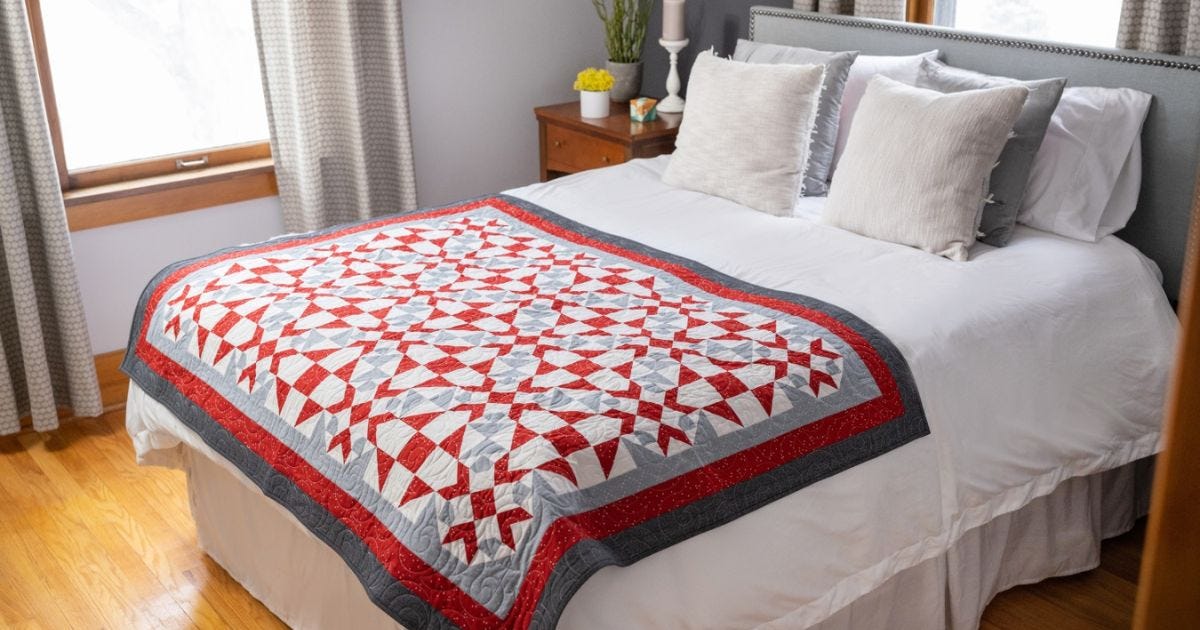
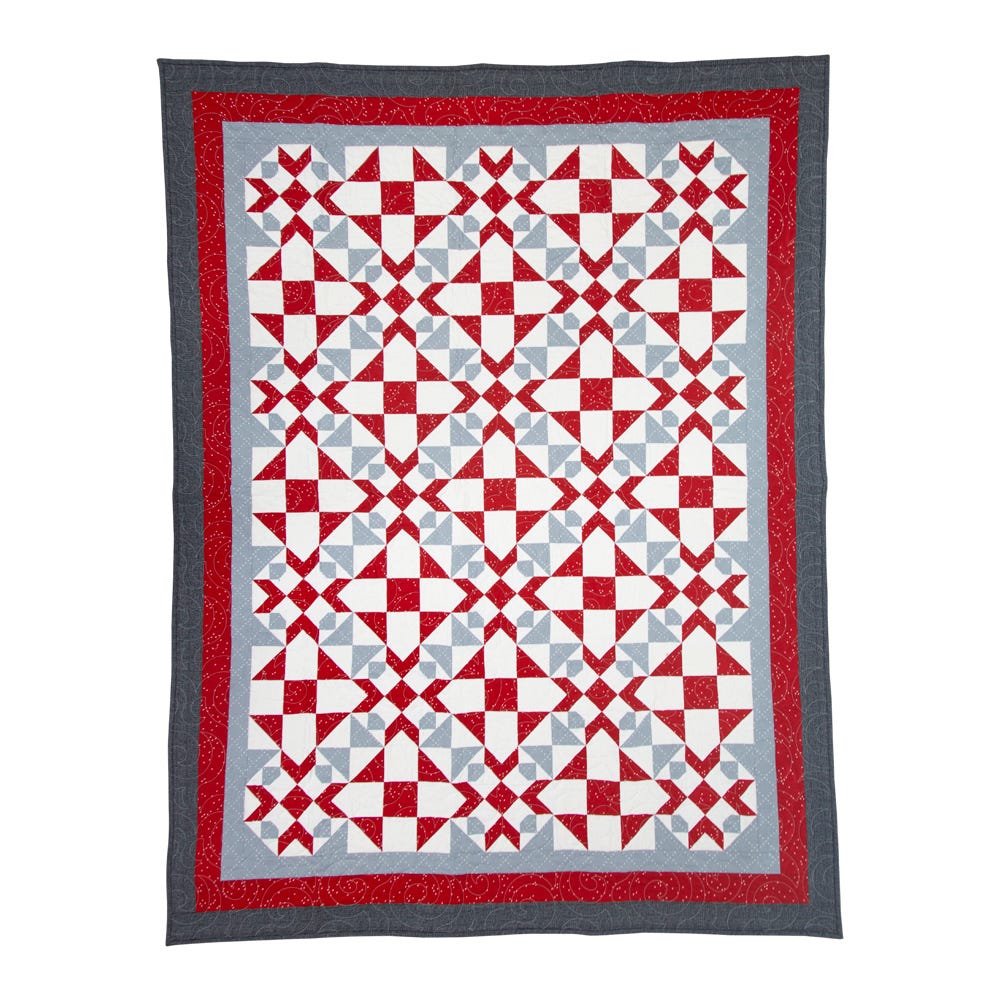
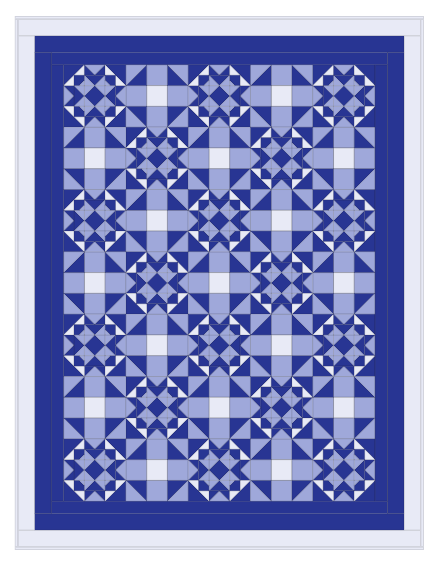
The pattern uses the 5” finished size of the GO! Qube and Companion Set-Corners, and that is the size that AccuQuilt's Cutting Expert, Pam Heller, and I will be working with. This is the size used in the original design by Marjorie Busby of Blue Feather Quilt Studio, but wait, there’s a twist! The blocks we’ll be making for this quilt will finish at 7 1/2”!
What Size Blocks?
If you find yourself scratching your quilting head and wondering how we’re going to create 7 1/2” finished blocks from the 5” GO! Qube, well, just stay tuned! This design takes you beyond our standard 4-patch or 2 x 2 grid layout to a 3 x 3 grid layout. Getting comfortable with expanding the basic grid is one of the keys to getting the most from your GO! Qubes, and we can’t wait to show you more!
Our project will finish to 48 1/2” x 63 1/2”, but of course, we have plenty of options available for you!
Other Size Options
We’ll also have the pattern for this project available for the following GO! Qube sizes: 4”, 6”, 8” and 9”. We won’t be going any larger with this pattern because the finished size would be so large, but you’re certainly welcome to use the 10” or 12” GO! Qubes if you want to tackle a really BIG quilt! To access the directions for the alternate sizes, click on your desired Qube size.
For the original directions for the GO! Qube 5" version, use these directions. You'll also want to download this version if you're planning to use the traditional rotary cutting directions found below.
Fun With Fabric
Is it just me, or is the best part of starting a new project getting to pick the fabric? If you’re a quilter who struggles with this step, here are some things that just might help you out!
The pattern calls for a total of four colors. To me, the red is really the focus color, so I suggest picking that fabric first. I often start a new quilt by finding one fabric that I really love and building a look I like from there.
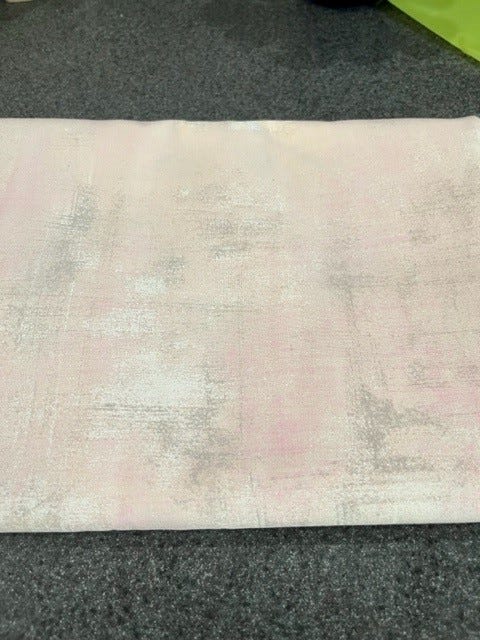
In my case, I knew I wanted a blush pink for my focus color, and one of my all time favorite fabrics is Ballet Slipper Grunge by Basic Grey for Moda. If you’re not familiar with Grunge fabric, it’s unique because it is dyed first and then printed on one side to create the look of it being randomly painted. This pulls in different colors and tones, giving the fabric both depth and a look of movement that makes it a great blender.
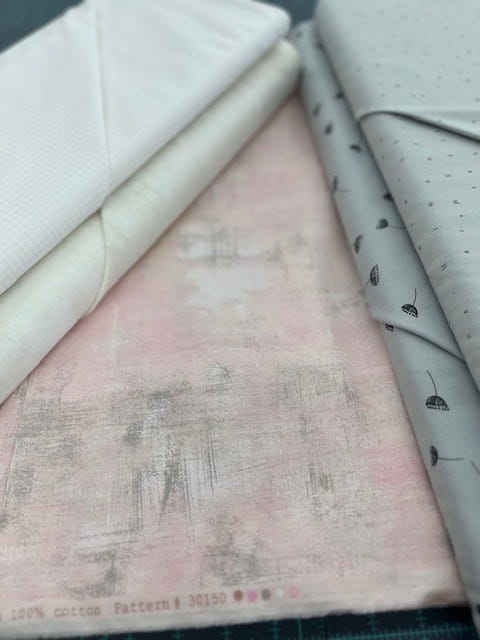
So, the next question is, well, what’s a blender? Blenders are fabrics that will look like solids from a distance, but actually have a pattern or tone-on-tone print when you are close to them. Blenders are great to use when you’re building a design off a focus fabric. When in doubt, check the selvedge edge of that focus fabric for the registration marks. These will show you all the colors appearing in the fabric individually to make them easier to match with other fabrics!
If you’re looking at prints, keep the scale of the print in mind! The red square in the center of the Shoo Fly blocks will finish at 2 1/2” if you are using the 5” size GO! Qube. A good way to think of this is putting your thumbs and first fingers together to form a square and looking to see how much of a print you will see in that size area. Since this pattern uses smaller pieces, this is a great time for solids, blenders and small prints.
I decided that the gray with black print was too big for this project, and that the top white was too bright.
I really liked the look of the dark border in the original design, so I tried out some accent colors to really frame out the quilt. Here are a couple of options.
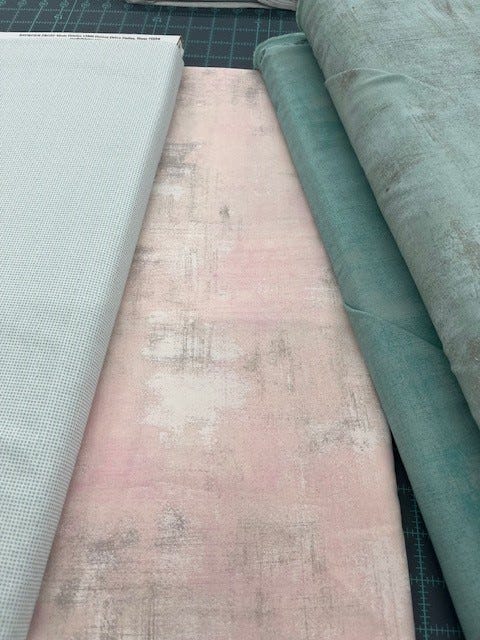
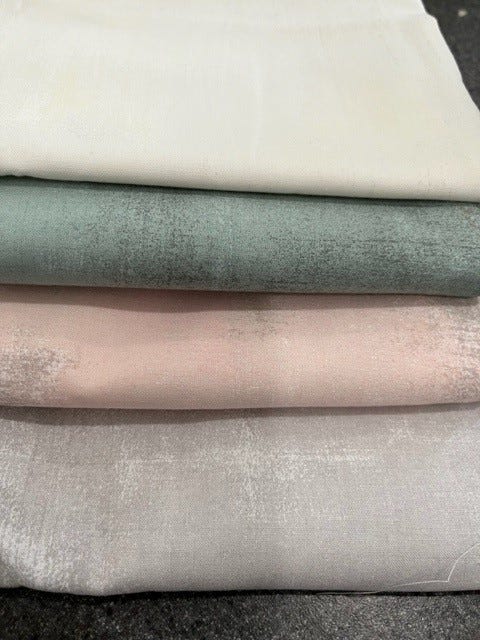
Here's what I decided on! I'm using the pink where you see red in the pattern and the pale gray where you see white. The sage green will take the place of the gray in the pattern.
For the middle border strip that is red in the pattern, I plan to use the white and then pull the pink back for the outer border and binding, maybe with a sage green or white flange.
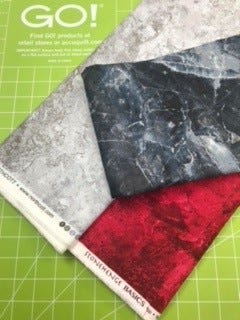
The pattern colors really spoke to Pam and her love of modern quilts, so when she saw these Stonehenge fabrics by Northcott on a recent trip, she knew that was what she wanted for this project.
Options
As with all quilt projects, there are so many creative options (a nice way to say decisions) that will make the project your own.
- What about making your blocks scrappy with a constant background? Use a neutral background color with three shades of your favorite color (just make sure you have enough contrast between them).
- Maybe holiday fabric like red and greens for Christmas, white silver and blues for Hannukah or black, orange, green and purple for Halloween?
- Lighter tones like mine or bold, jewel tones?
- White or light background or switch it to dark navy or black?
Just make it something you love, so you’ll love working with it!
When in doubt, be sure to use GO! Quilt. This is a free design tool on AccuQuilt’s website that allows you to re-color thousands of existing patterns, including this one, with color, multiple fabric collections or even your very own fabrics. Be sure to log into your account before you get started, so you can save all your design ideas!
AQS Rotary Cutting Directions
We want everyone to be able to participate in this quilt-along, so our friends at AQS have written traditional rotary cutting instructions for this pattern using the GO! Qube Mix & Match 5” Block size.
1. Using the red fabric, cut:
- Six strips at 2 1/2" x Width of Fabric (WOF) for Border 2
- 18 squares at 3 3/4" x 3 3/4"
- Cut each square diagonally twice to make 72 triangles (Shape 4)
- 34 squares at 3 3/8" x 3 3/8"
- Cut each square diagonally once to make 68 triangles (Shape 3)
- 17 squares at 3" x 3" (Shape 1)
- 18 squares at2 1/4" x 2 1/4" (Shape 6)
- 72 squares at 2 1/8" x 2 1/8"
- Cut each square diagonally once to make 144 triangles (Shape 5)
2. With the gray fabric, cut:
- Five strips at 2" x WOF for Border 1
- 36 squares at 3 3/8" x 3 3/8"
- Cut each square diagonally once to make 72 triangles (Shape 3)
- 72 squares at 1 3/4" x 1 3/4" (Shape 11.1)
3. For the white fabric, cut:
- 18 squares at 3 3/4" x 3 3/4"
- Cut each square diagonally twice to make 72 triangles (Shape 4)
- 34 squares at 3 3/8" x 3 3/8"
- Cut each square diagonally once to make 68 triangles (Shape 3)
- 68 squares at 3" x 3" (Shape 1)
- 180 squares at 2 1/8" x 2 1/8"
- Cut each square diagonally once to make 360 triangles (Shape 5)
- 72 squares at 1 1/2" x 1 1/2" (Shape 12.1)
4. Using the dark gray fabric, cut:
- Six strips at 2 1/2" x WOF for Border 3
You need to download the pattern using the GO! Qube Mix & Match 5” finished block for the directions. All the directions will be the same except for the following change to the Spin Block:
1. Draw a diagonal line on the wrong side of each white Half Square Triangle (HST) (Shape 12.1). Place a marked square on a corner of a gray square (Shape 11.1), right sides together. Stitch on the marked line. Trim away the excess fabric, leaving a 1/4" seam allowance.
Schedule
We’ll kick off this quilt-along on Wednesday August 2 at 12/noon CT on our AccuQuilt Live program. Be sure to visit the Events page on and enter your email, so you’ll receive Event Reminder emails for all our livestream events – and qualify for door prizes!
While the shows are aired live, they're also recorded and available to watch later on our website, Facebook page and YouTube channel. Tuning in live means you’re able to ask us questions we’ll be answering during the show!
- August 2: Cutting & Organizing
- August 9: Sewing Spin Blocks
- August 16: Sewing Shoo Fly Blocks
- August 23: Assembling the Top
- August 30: Show & Tell
Sharing
A big part of the fun in a quilt-along is sharing pictures of your progress and seeing what everyone else is doing as well. Be sure to join the fun by joining the AQS Quilting Project Parade Facebook Group and using the hashtag #AQSews whenever you post pictures there or on other social media! We can’t wait to see your fabric selections and to get started!
This group is such a warm and supportive community, and we love being a part of it! You’ll see us sharing on this page as AccuQuilt Cutting Expert Pam Heller and AccuQuilt Erica. So, gather up your supplies and we’ll see you on Wednesday, August 2 at 12/noon CT to start the GO! Shoo Fly Spin Throw Quilt!