
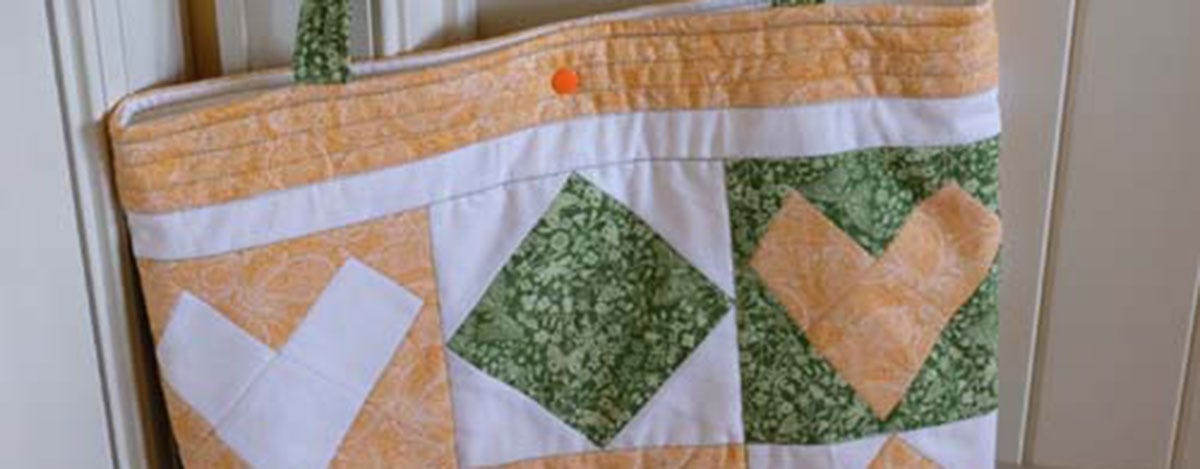
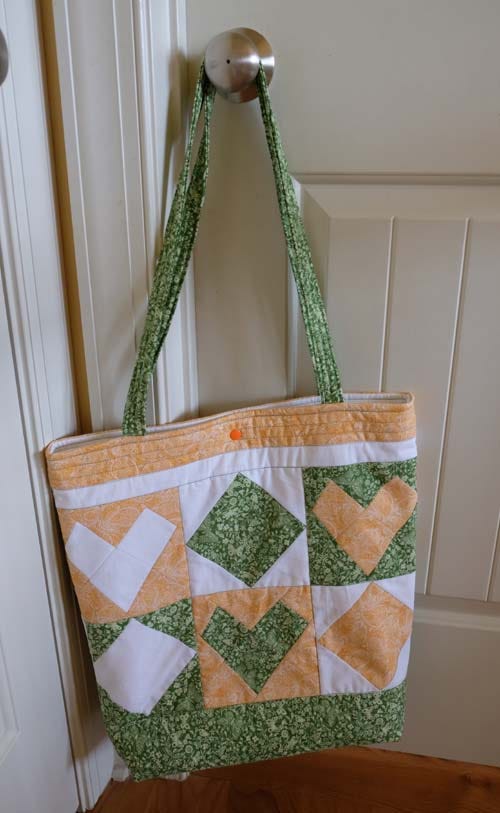
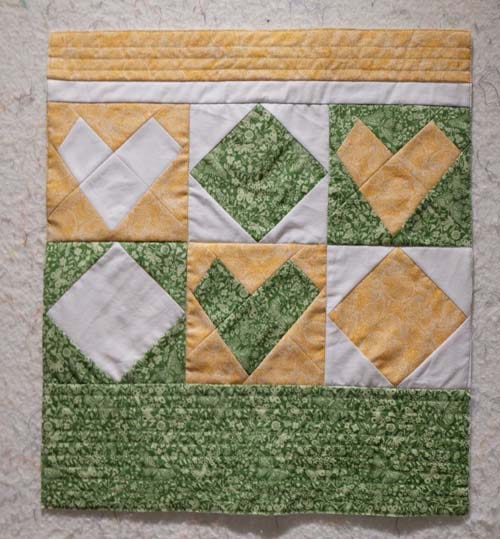
Hi, it's Bea again from beaquilter.com. I'm here to show you how to make this cute heart bag that I can up with.
Here's what you'll need to make this tote bag:
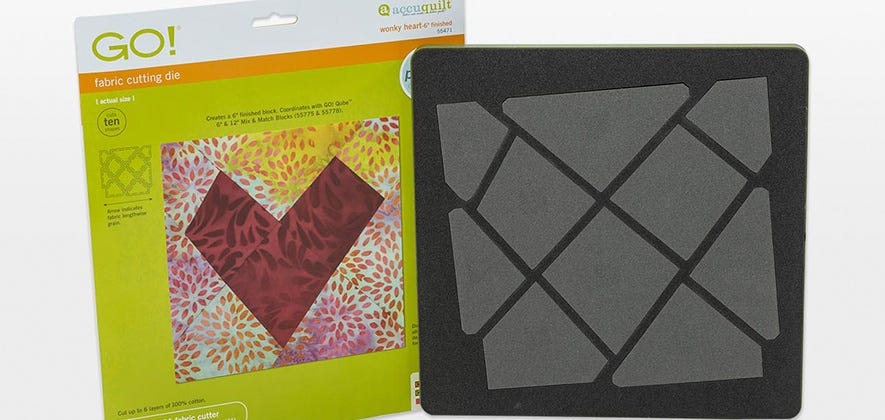
The new Wonky Heart Die
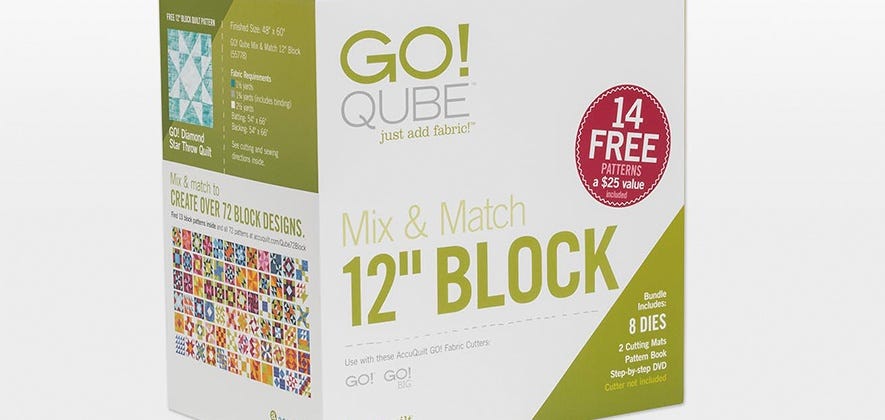
and the 12" QUBE set
and 3 different fabrics, about 1yd of each.
I used a green, orange and white fabric for my bag.
I couldn't wait to try this heart die!
And this bag was an idea I had for my daughter's friend's birthday, I was thinking it could be a bag for extra clothes or a laptop bag!
It measures approx. 18" x 18".
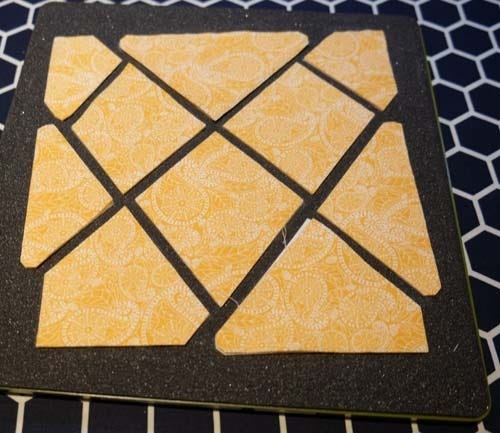
First I cut out (2) 10" squares EACH of the 3 fabrics
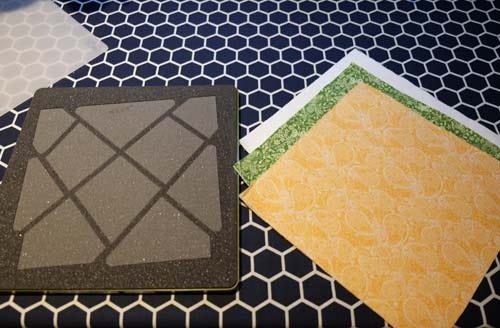
Then I laid them all right side up on the die and cut them out! Easy peasy!
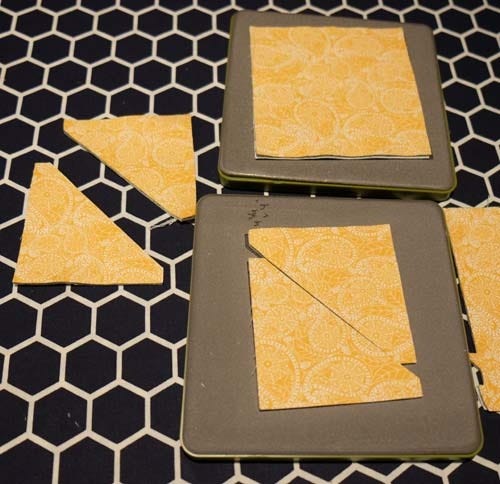
Next I got out my 12" QUBE set and cut out (2) on point squares - shape #6 of EACH fabric
and (8) small triangles - shape #5 of EACH fabric as well.
You can choose whatever shapes you want as your alternate block with the hearts, I just wanted a simple 2 colored block, so this on point block is a quarter of the 12" QUBE blocks, which is a 6" finished block!
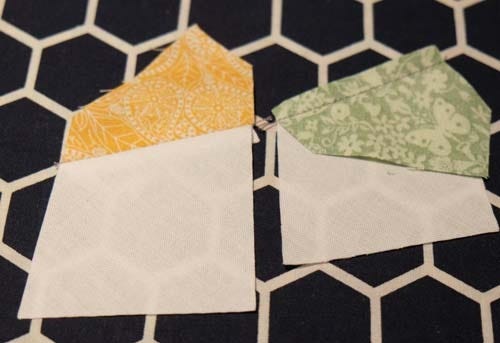
Then following the directions on the Wonky Heart die insert I started sewing the blocks together as much as possible and also the on point diamond in a square block.
Since I had two sets of everything and 3 fabrics, I matched them up so a green would be matched with a white on one block and then orange on another block and did that with all the fabrics.
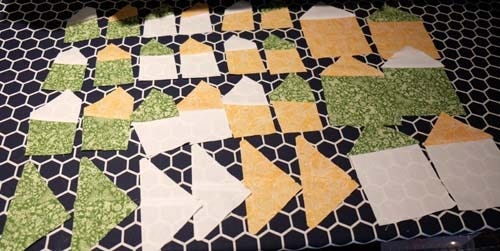
The wonky heart can be a little bit tricky but just line up so the 1/4" seam allowance matches up with where the fabrics meet.
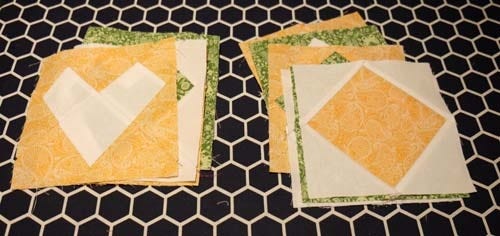
Then I finished sewing the blocks together, 6 different wonky heart blocks and 6 different diamond in a square blocks.
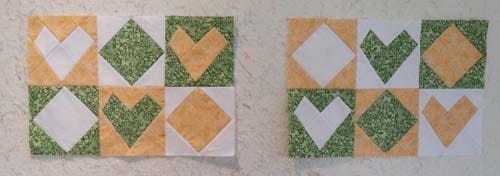
Then I sewed them together into a 2x3 grid two times, notice how the color placement is the same but it's the opposite shape on each panel section!
You want to alternate the block placement as the sides will end up touching each other, as these are the front and back pieces for the bag.
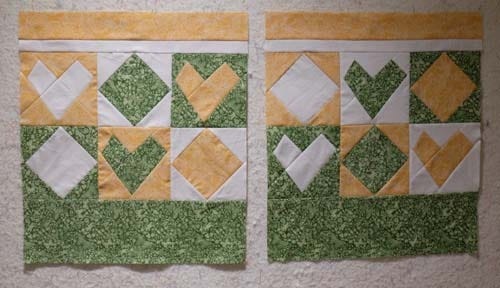
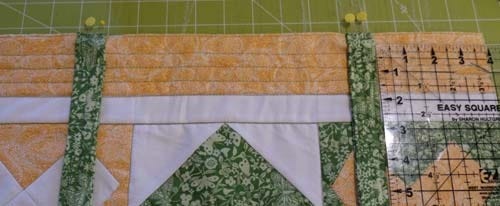
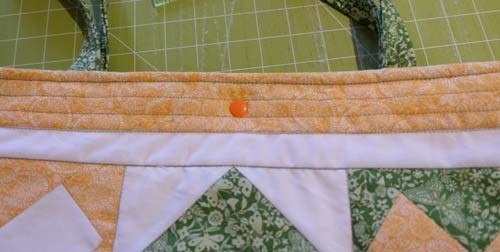
I added a 1 1/2" white strip to the top (1" finished) and then a 2 1/2" orange strip to the top above that and a 5 1/2" green strip to the bottoms.
Now they measure 18 1/2" x 20 1/2".
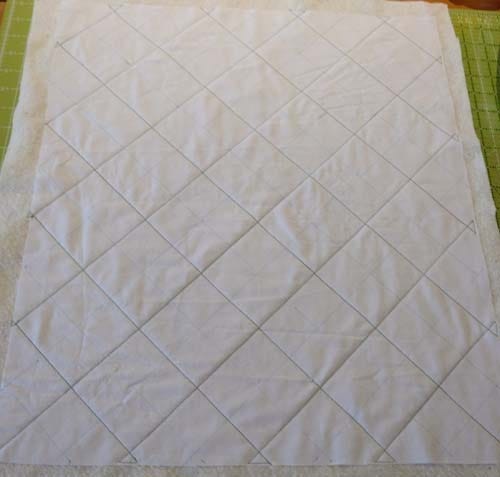
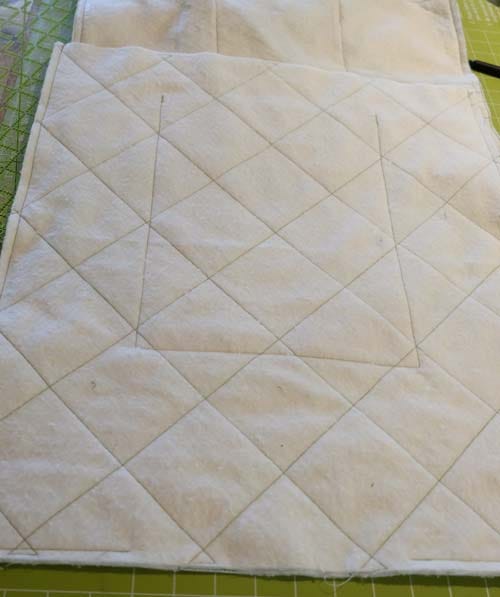
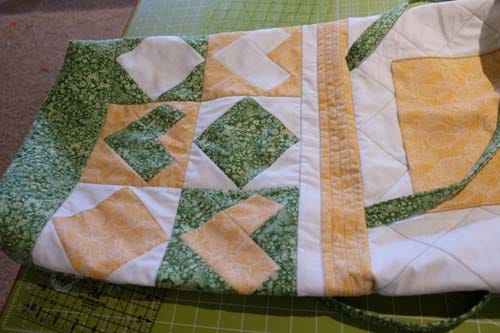
I laid a piece of batting behind each section and quilted it in green thread, I mostly did stitch in the ditch and straight lines.
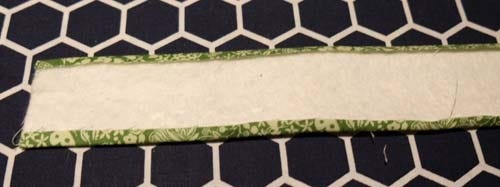
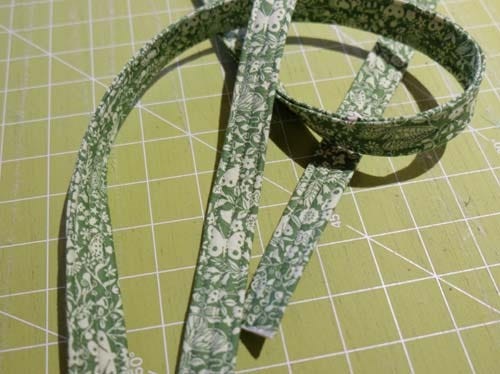
For straps I cut out (2) 2 1/2" WOF strips and then a 2" piece of batting and ironed over the edges, then folded the strap in half and pinned together, then top stitched down each side and up the middle and I trimmed it to about 30", but you can trim it to any size you want
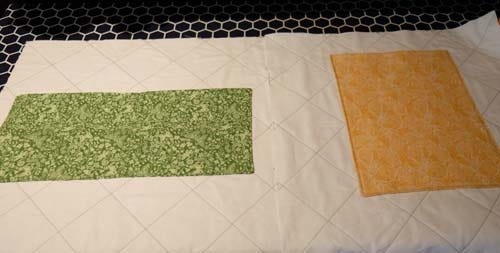
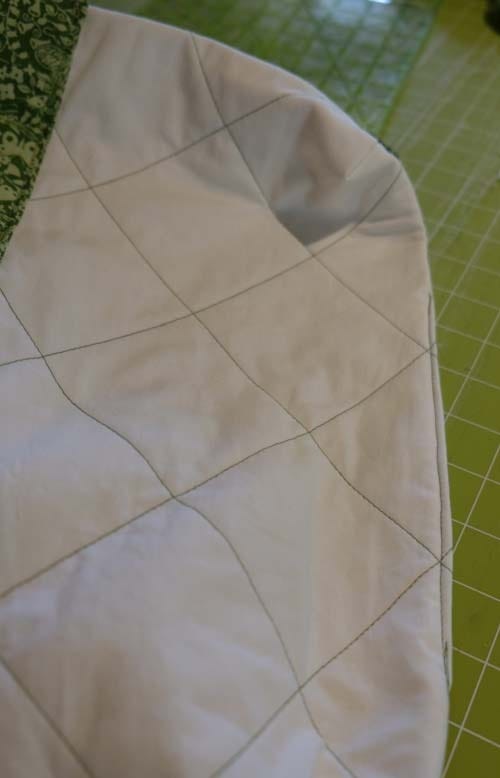
For the lining pieces, I cut out (2) 18 1/2" x 20" and also quilted those with a piece of batting behind them.
I used scraps to make pockets for both.
Each pocked has a double layer of fabric.
-sewn right sides together with an opening for turning, then turn right side out, iron flat and fold it the opening seam allowance, then place on the lining piece and pin, and top stitch around the edges and it will cover the small opening.
On the green pocket I market two lines in the middle 1" apart, that I stitched down as well, works as a pen holder!
Then I pinned the straps to the top edge of the front pieces, 4" from the sides and basted them down.
I had a walking foot on my machine since I quilted them, so the rest of the sewing I did with the walking foot as well, as it started getting really thick!
With right sides together, I stitched the front and back pieces together around the sides and the bottom,
and the same with the two lining pieces but I left an opening on the lining for turning
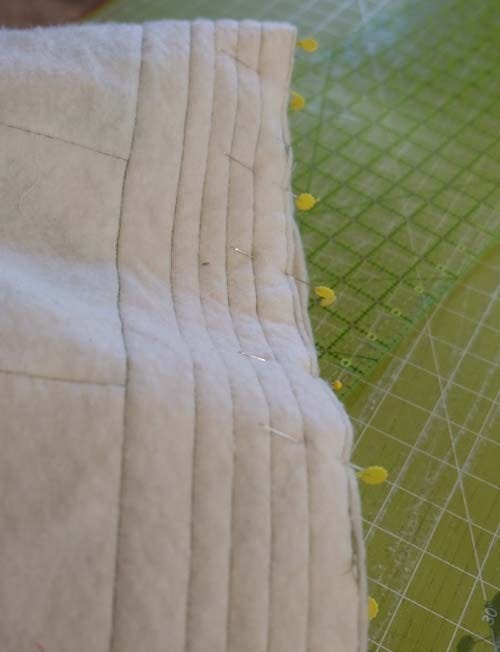
to create a " box bottom" for the bag so it can stand up,I folded the corners so the seams meet- it seems awkward, but you want to fold it opposite of what seems natural (look it up), match up the seam and then with a 45 degree mark on a ruler, trim away 3" of the bottom, on each of the corners on both the lining and the front of the bag.

then stitch it closed
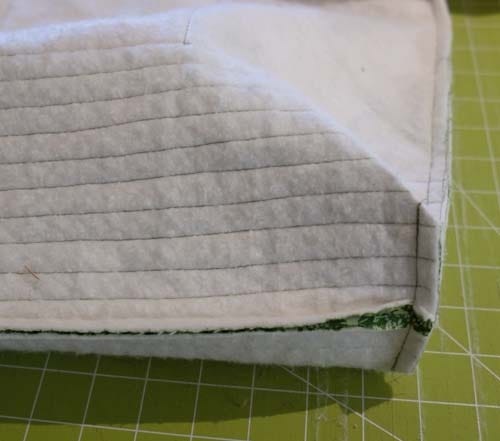
Check that those corners look right before continuing :)
Now turn the lining right side out and insert into the front and back of the back, so they are right sides together, pin around the top edge and match up the side seams, then sew it together. (keep the straps inside).
Turn everything right side out and check again that everything looks good, it should look like this.
If you want to add cardboard to the bottom of the bag, do so now, I cut a piece that was 3" x 18" and stuffed it inside.
Now sew the hole in the lining closed, you can whip stitch by hand or machine sew it, I did it on the machine, as I expect this bag to get some "abuse" inside, so this will hold up better!
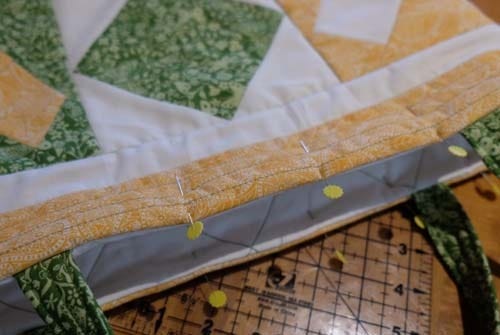
Now stuff the lining back into the bag and I like to top stitch around the upper edge, so even though it's sewn together, I pinned it and had the outer part of the bag go over the edge slightly, so the lining wouldn't show at all, and I pinned all the way around, and top stitched right on top of one of my quilting lines.
I added a snap to the bag too.
VOILA! the bag is all done.
You can use this method to make any size bag you want and use any sized QUBE you want, the method is the same!
Hope you have fun!


