

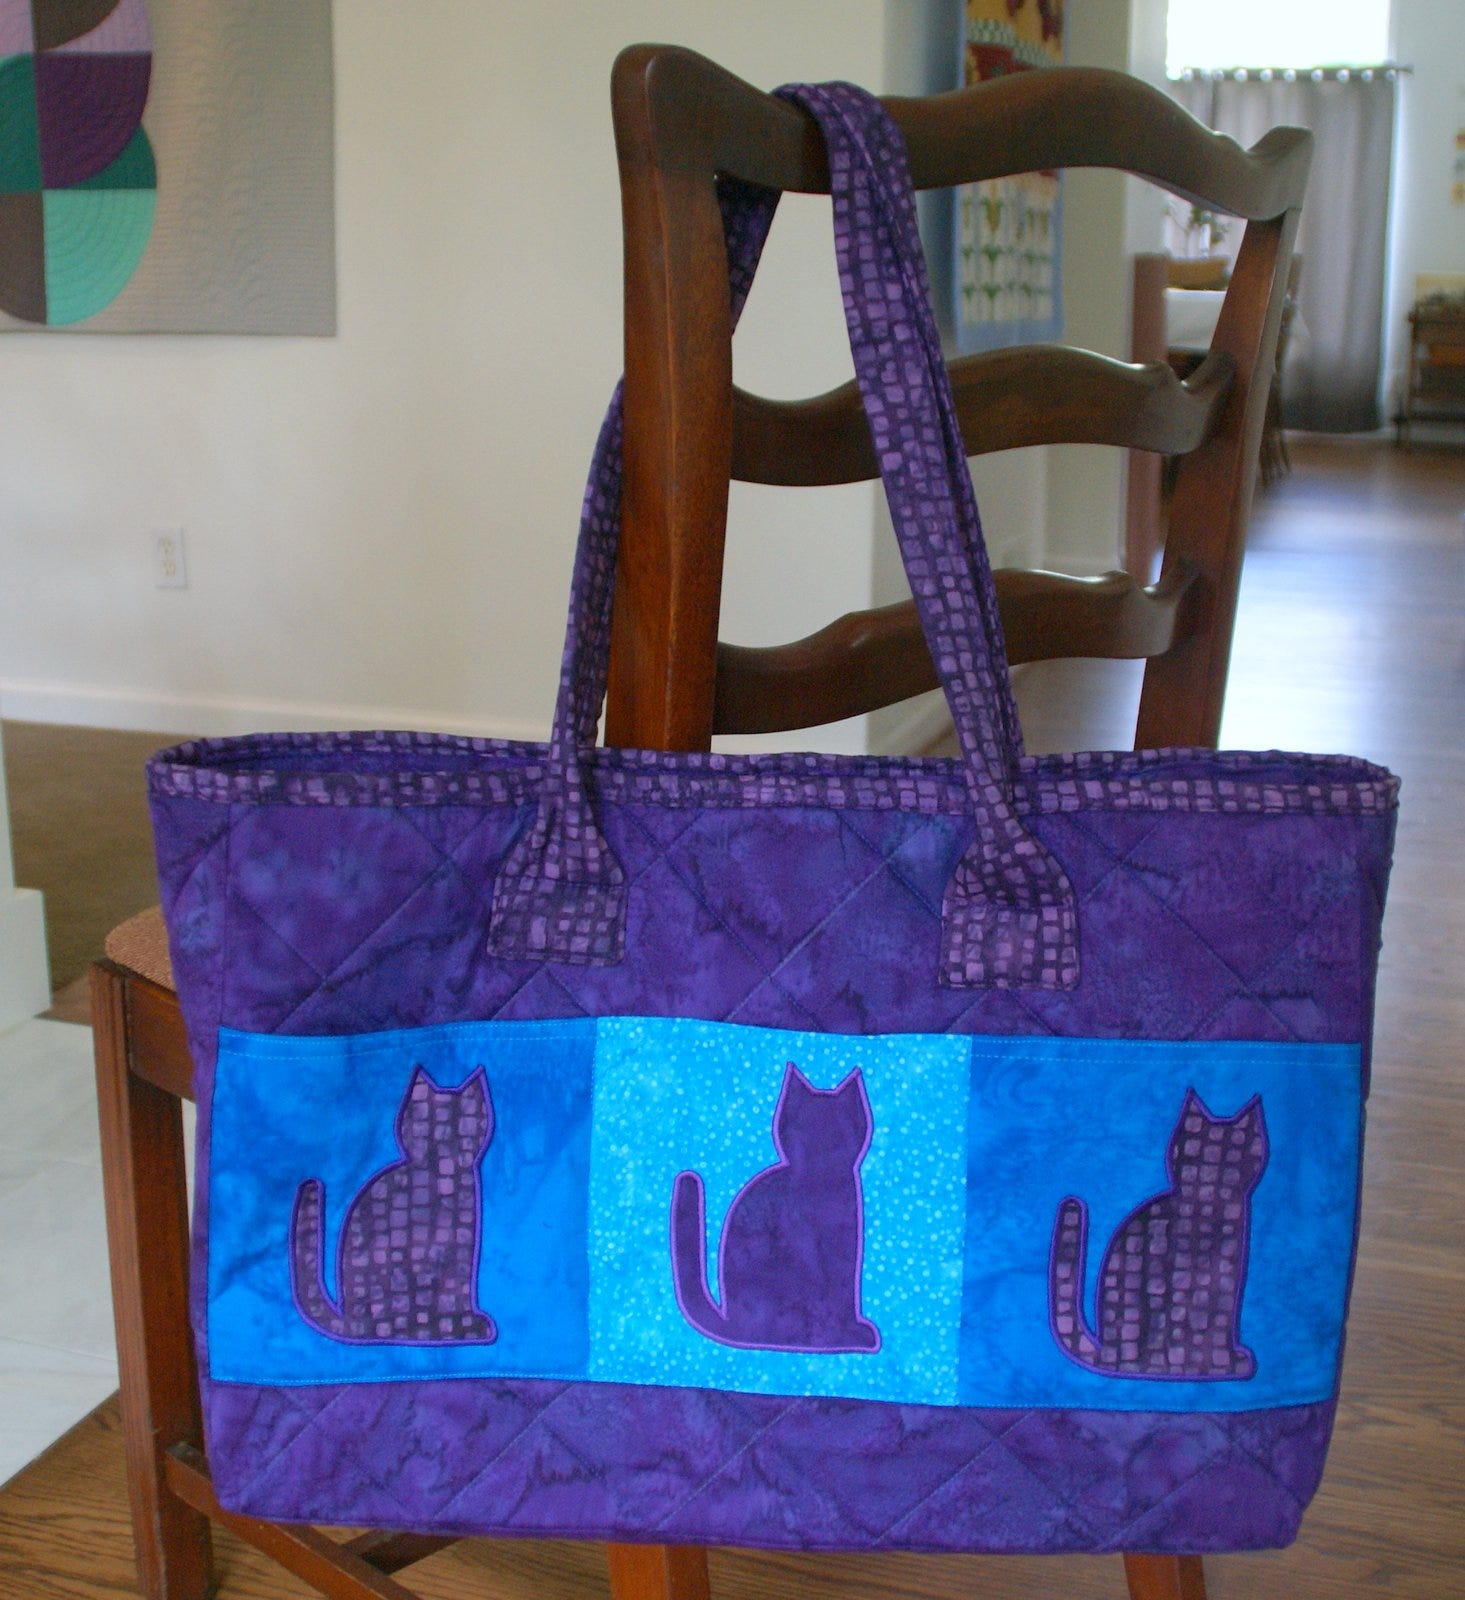
Hey AccuQuilters! It's Lori from Lori Miller Designs back another FREE AccuQuilt tutorial. Do you love your furry little babies and quilt inspectors like I do? Here is a fun project for all of you kitty cat lovers to make this sweet, roomy carryall tote.
I used the Calico Cat Die (55065), a 12" Qube Mix & Match (55778), and the new 2 3/4" GO! Strip Die (55489).
This Carryall Tote finishes at 12" x 18" x 4 1/2".
Dies Used
- GO! Calico Cat (55065)
- GO! Qube 12” Mix & Match (55778)
- Square - 6 1/2" unfinished (55000) Shape #1 (from the Qube)
- GO! Strip Cutter 2 3/4" (2 1/4" Finished) (55489) for bag sides and handles
- GO! Strip Cutter 2½" (2" Finished) (55053) for binding
- Fabric used to make the quilt
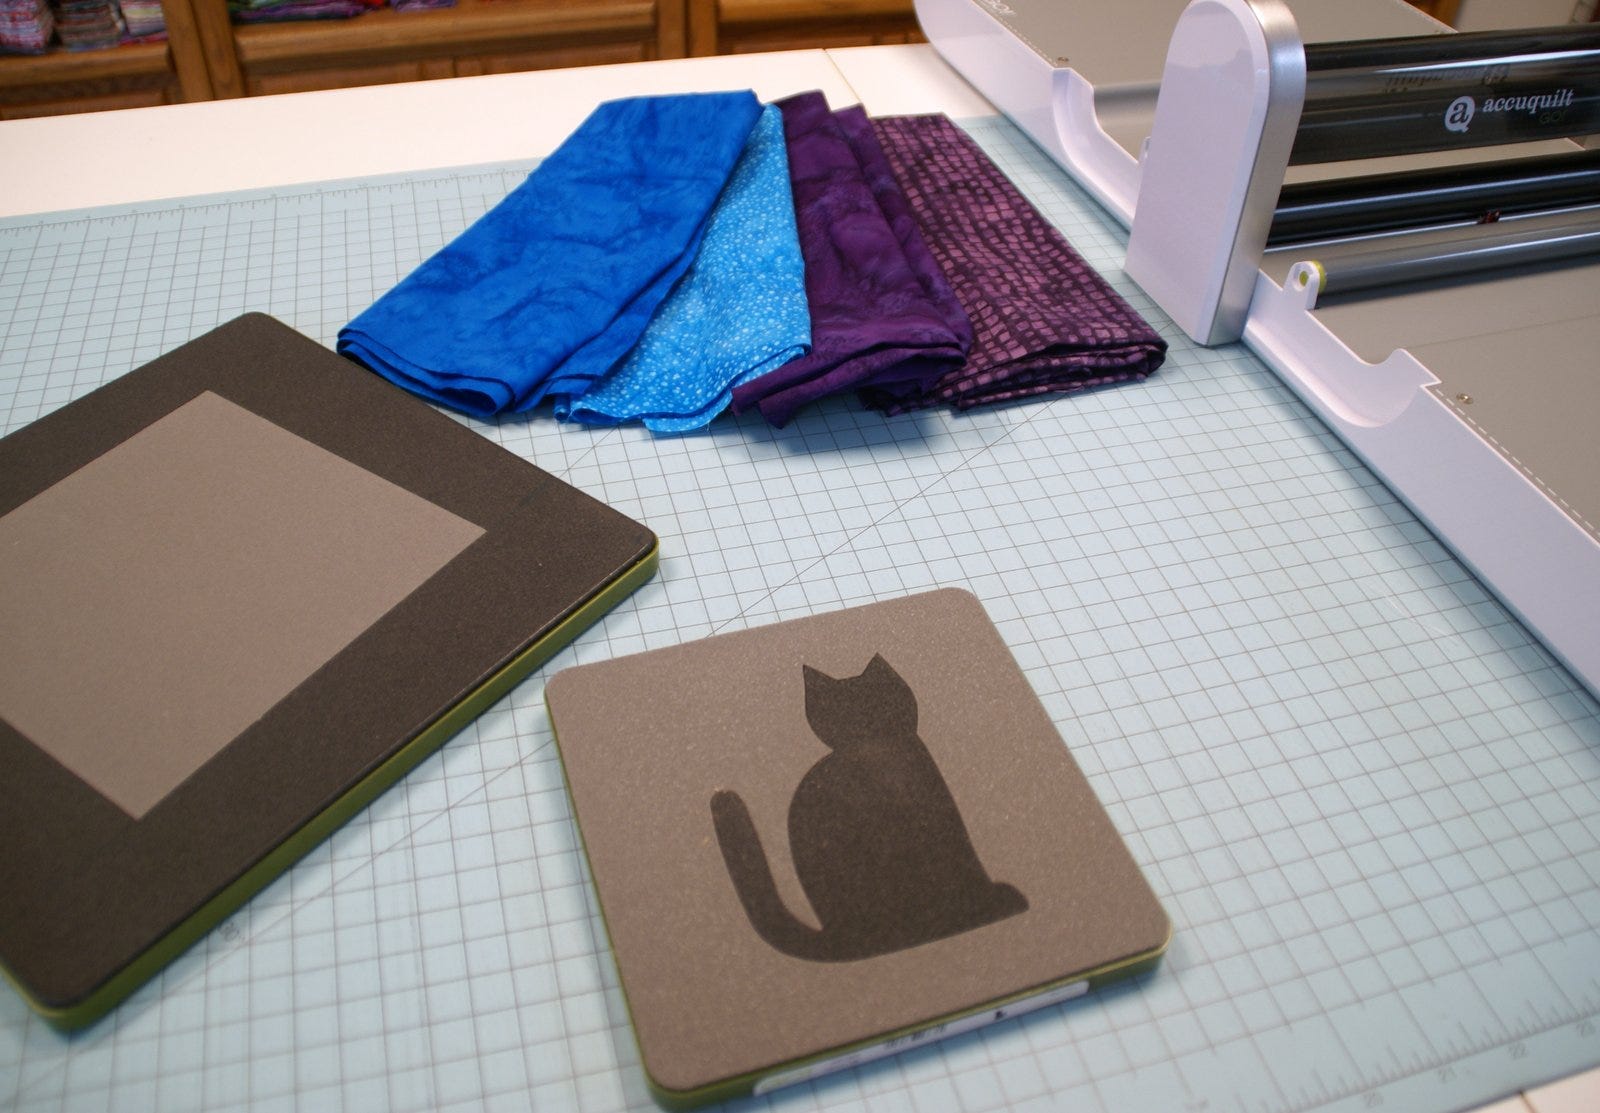
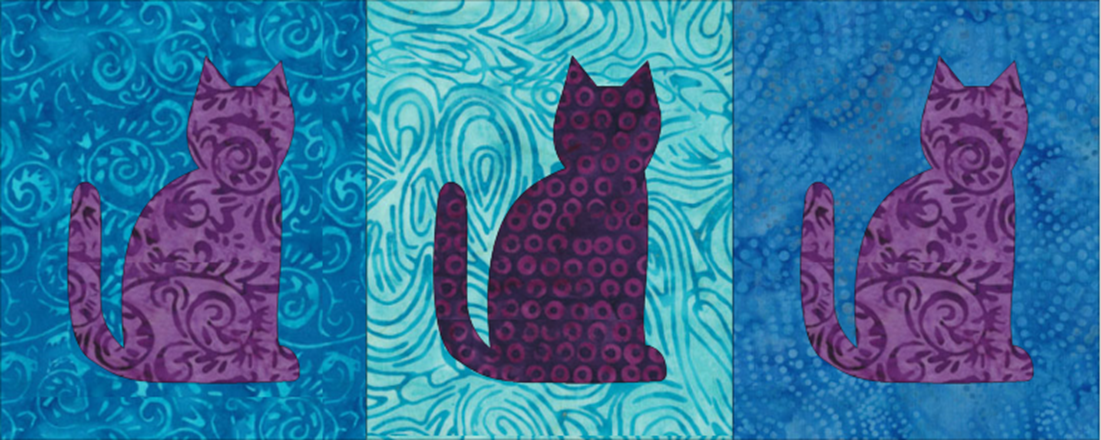
These purple and teal blue batiks were the perfect choice to really show off the calico cat applique shapes.
Materials Required
- 1 2/3 yd - Dark Purple Batik
- 7/8 yd - Medium Purple Batik
- 1/4 yd - Dark Teal Blue Batik
- 1/4 yd - Light Teal Blue Batik
- 1/4 yd - Pellon Fusible Fleece
- 1 1/2 yd - Pellon Flex-Foam
- 3/4 yd - Pellon Medium Weight Fusible Interfacing
- 1/4 yd - Heat and Bond Lite
- Coordinating thread
Cutting
Dark Purple Batik
- 4 - 12 1/2" x 18 1/2" rectangles for bag body
- 1 - 6 1/2" x 12 1/2" rectangle for pocket lining
- 1 - 8 3/4" strip x WOF, subcut 3 - 2 3/4" strips x WOF; subcut 2 - 2 3/4" X 12 1/2" strips for bag bottom
- subcut 4 - 2 3/4" x 12 1/2" strips for bag sides
- 1 - 7" x 14" strip for 2 cats
Medium Purple Batik
- 1 - 6" x WOF strip, subcut into 2 - 2 1/2" x WOF strips for binding
- 1 - 8 3/4" x WOF strip, subcut into 3 - 2 3/4" x WOF strips
- 1 - 3 1/2 " x WOF strip, subcut into 1 - 2 3/4 " x WOF strip.
- Subcut 2 3/4" strips into 4 - 2 3/4" x 30" strips for handles.
- 1 - 7" x 14" strip for 2 cats
Dark Teal Batik
- 1 -7 1/2" x WOF strip, subcut 2 - 6 1/2" squares using Shape 1 for pockets
Light Teal Batik
- 1 -7 1/2" x WOF strip, subcut 2 - 6 1/2" squares using Shape 1 for pockets
Heat and Bond Lite
- 2 - 6 1/2 x 13 1/2" rectangles for cat appliques
Fusible Fleece like Pellon 987F
- 2 - 2 1/2" x 29 1/2" strips for handles
Medium Fusible Interfacing like Pellon 931TD
- 2 - 12 1/4" x 18 1/4" rectangles for lining
- 1 - 6 1/4" x 18 1/4" rectangle for pocket lining
- 1 - 6 1/4" x 6 1/4" square for single pocket
Headliner Foam like Pellon Flex-Foam or Annies Soft and Stable
- 2 - 16" x 24" rectangles for bag body
Let's Sew!
Prep Pockets
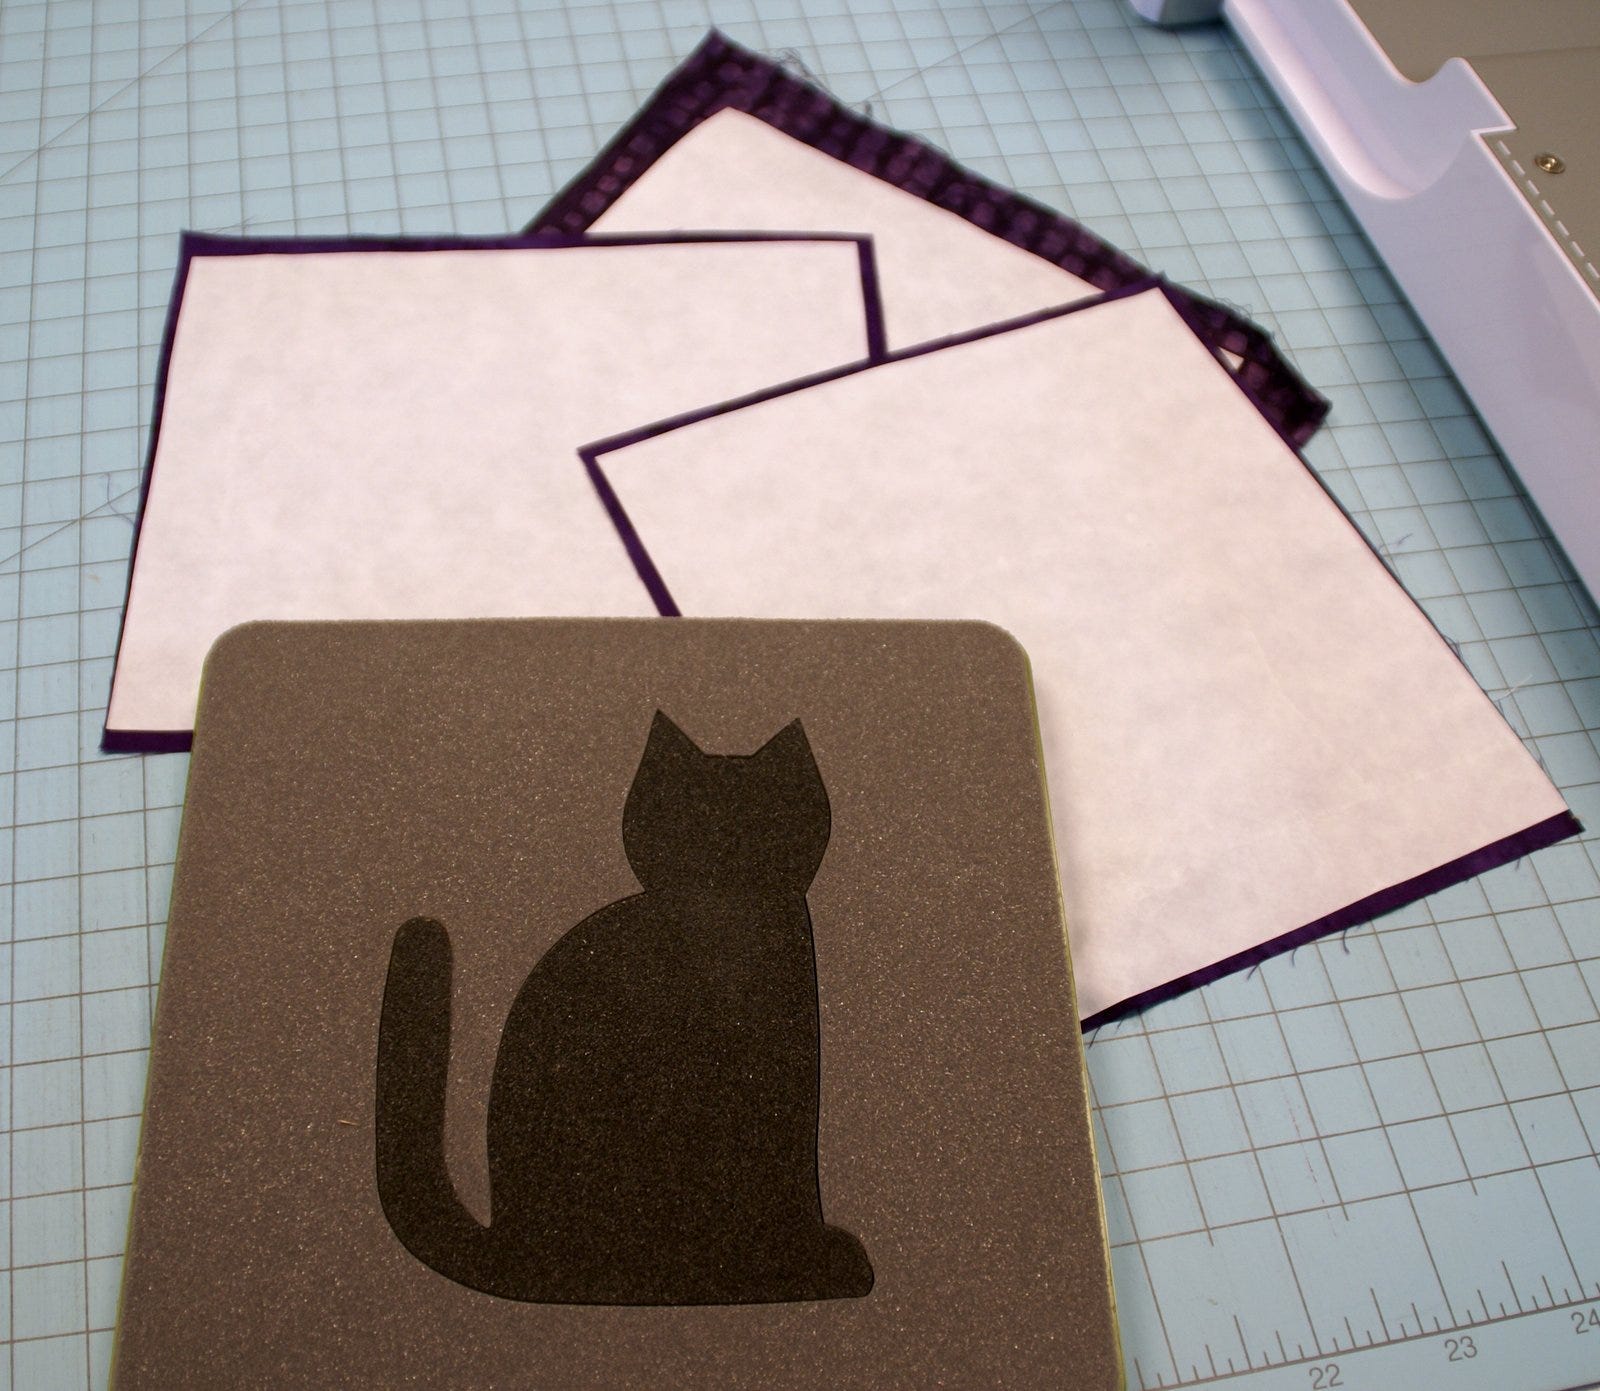
1. Press the heat and bond lite to the wrong side of each of the Purple batik 7" x 14" strips.
2. Cut two applique cats with both the dark and medium purple batiks for a total of four. Remove the backing paper.
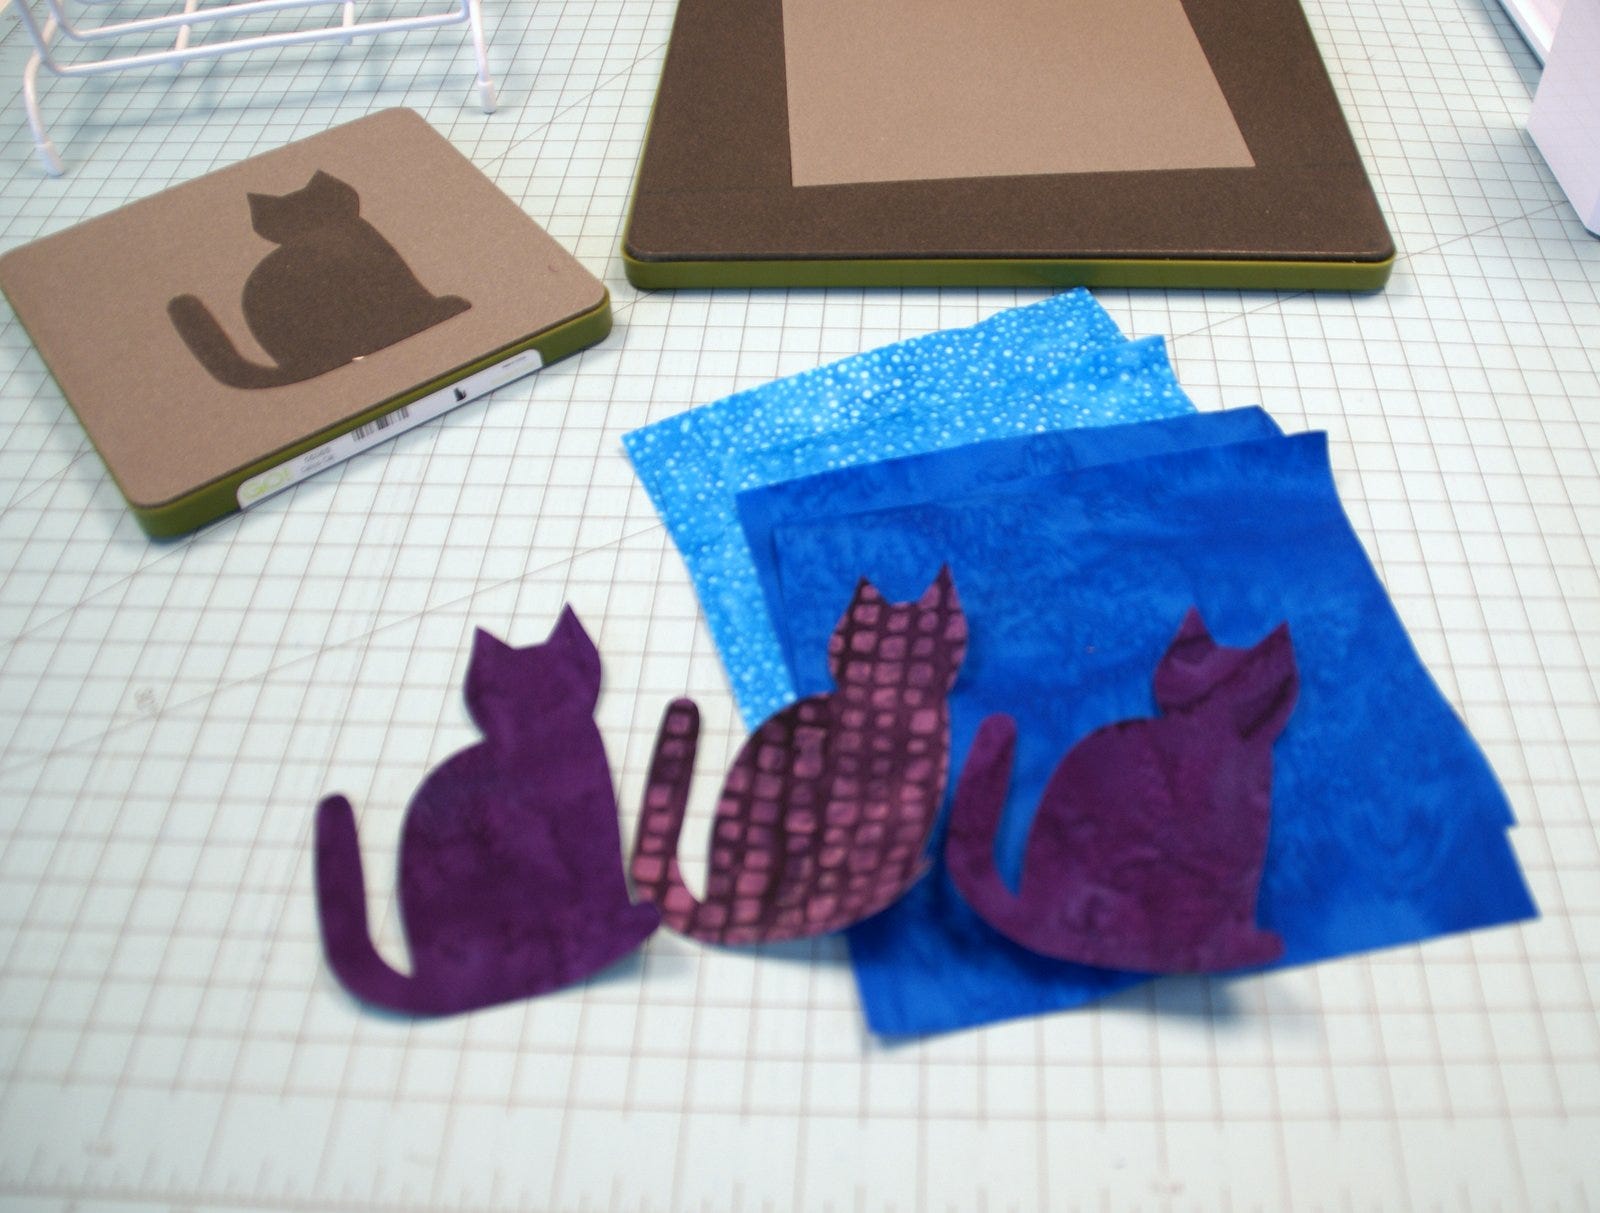
3. Sew the large pocket together with a light teal batik 6 1/2" square in the center, and the dark teal batik squares on each side. Press seams.
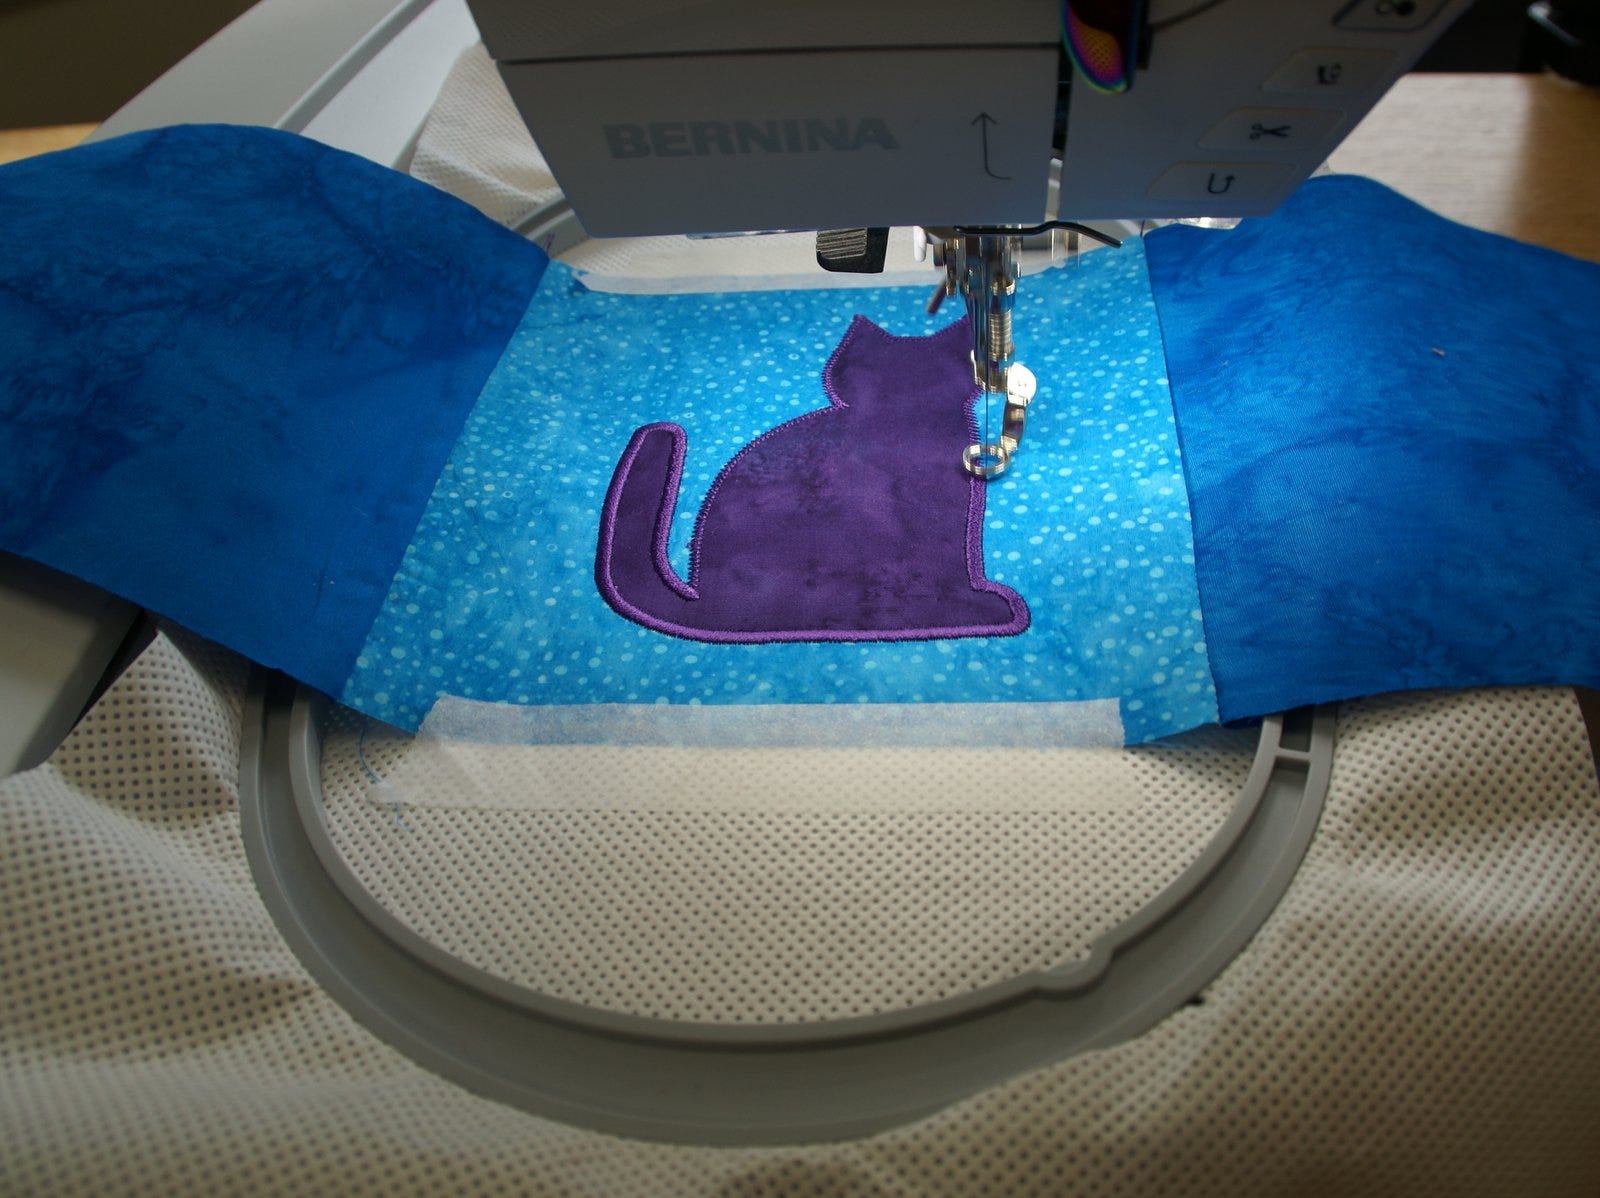
4. If you are using the free embroidery from Accuquilt, arrange your calico cats on each pocket and embroider them down. There is a large pocket with three cats and a single pocket with one cat.
5. Otherwise, arrange your calico cats and press them in place. Use your favorite method to finish the raw edges, straight stitch, zig-zag, buttonhole, or satin stitching.
6. Press the medium-weight interfacing to the wrong side of the large and single-pocket lining.
7. Place the pocket lining over the pocket right sides together.
8. On the large pocket, ONLY stitch the top and bottom long edge.
9. On the small pocket, stitch all the way around leaving a 3" opening for turning on the bottom.
10. Turn the pockets right side out and press.
11. Topstitch 1/4" from the top of the pockets.
12. Set aside.
Make Handles
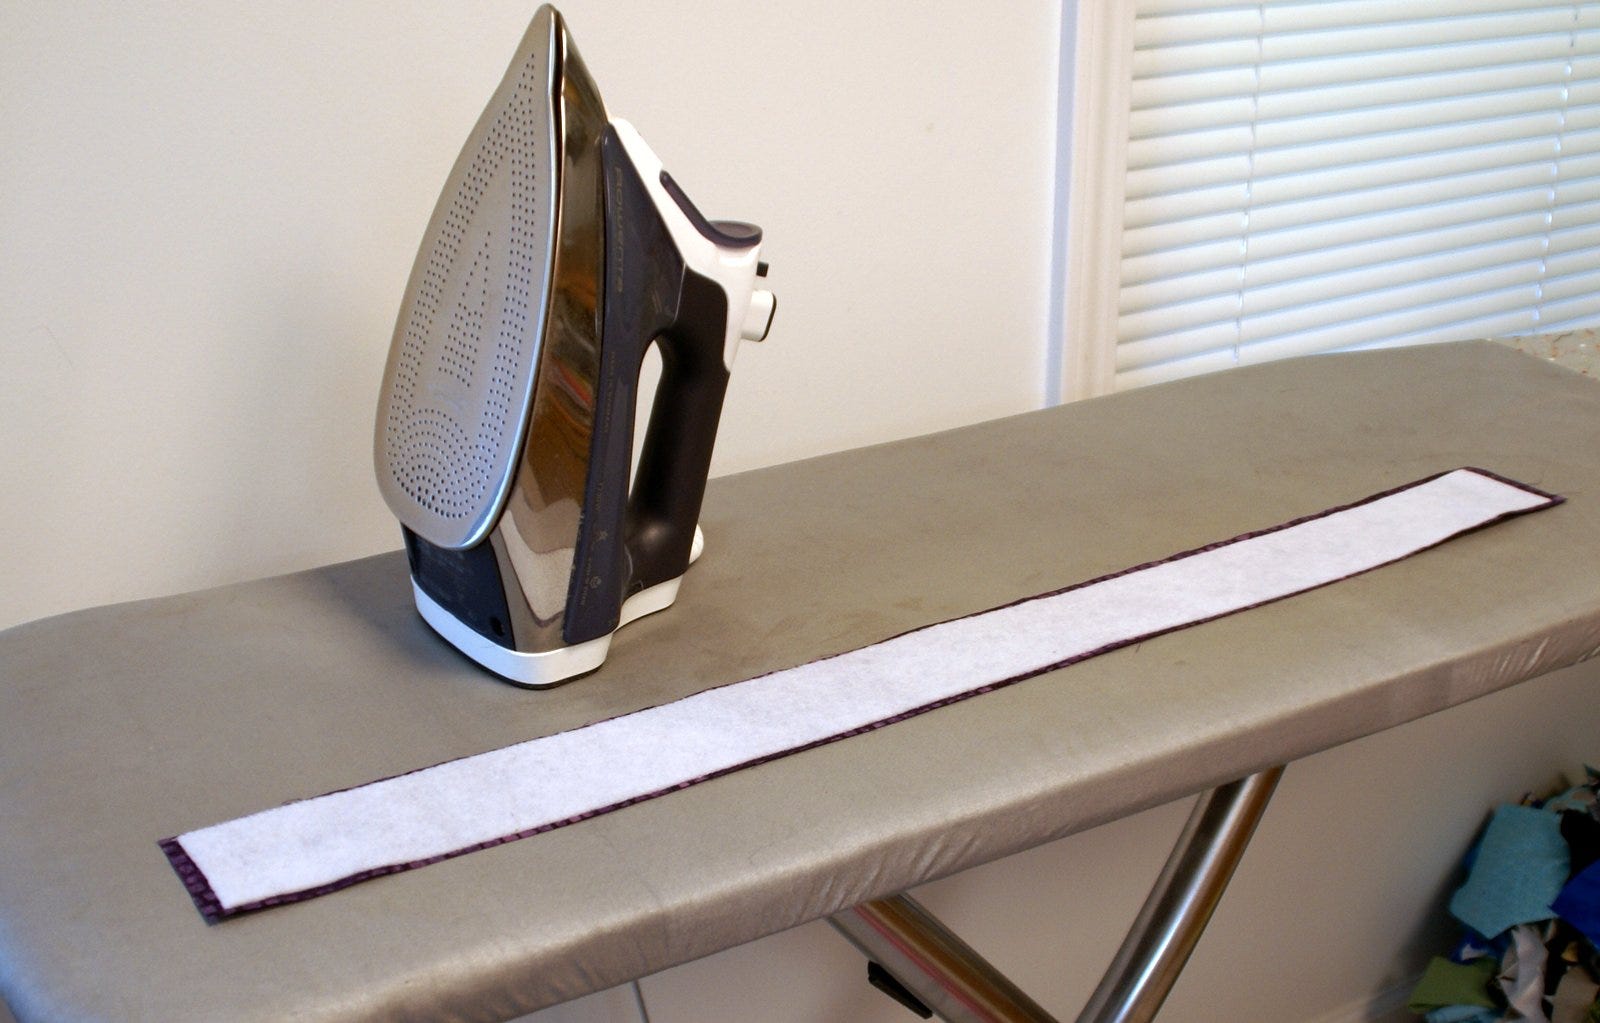
1. Press the fusible fleece strips to the wrong sides of 2 of the medium purple batik 2 3/4" x 30" strips.
2. Place the remaining medium purple batik strips over the fused strips, right sides together.
3. Stitch all the way around the handle strips leaving an opening for turning on the side. You should have two handles.
4. Clip corners and turn right side out.
5. Press.
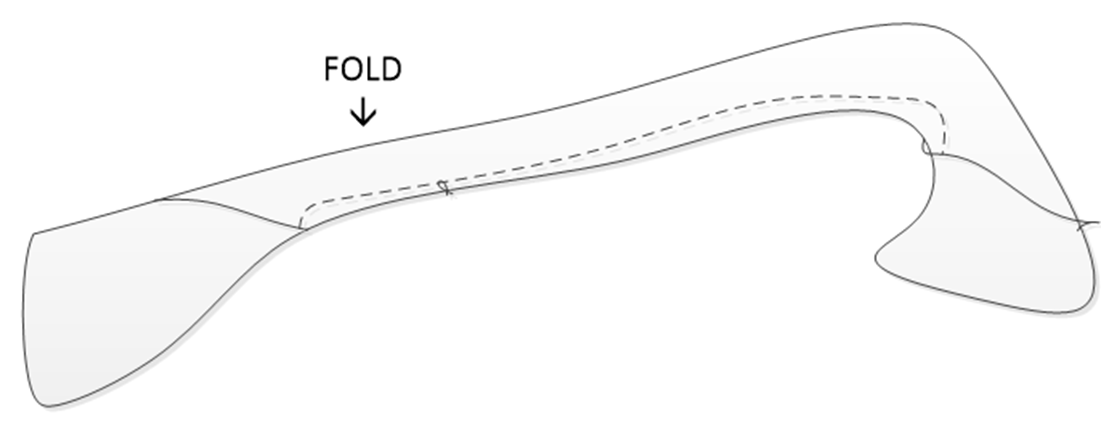
6. Fold the handle in half. Measure 3" from each end of the handle and mark with a pin.
7. Stitch the two-seam edges together with a 1/8" seam from the 3" mark to the 3" mark.
Pro Tip: Be careful to catch the opening in the seam.
8. Do this for both handles.
Make Tote Back
1. Arrange the 12 1/2" x 18 1/2" rectangle on top of the Pellon Flex foam, center left to right, and align close to the top of the foam. Pin in place.
2. Take the 2 3/4" x 12 1/2" side strips and stitch to each side of the rectangle right through the foam. Flip open and finger press.
3. Take the 2 3/4" x 18 1/2" strip and stitch to the bottom of the rectangle right through the foam. Flip open and finger press.
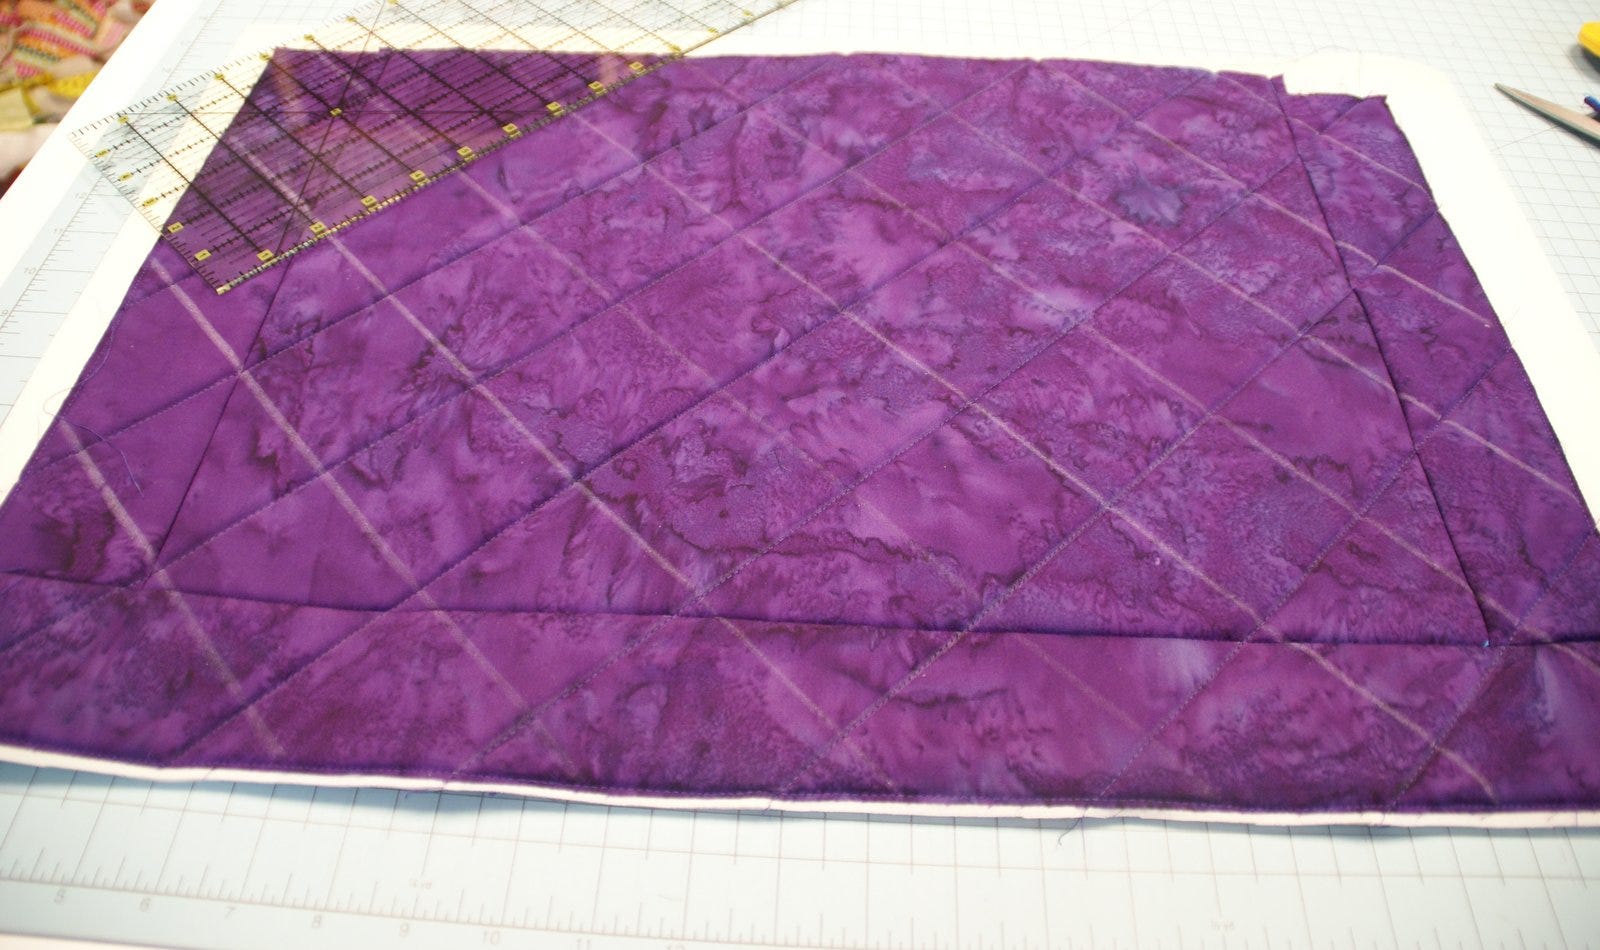
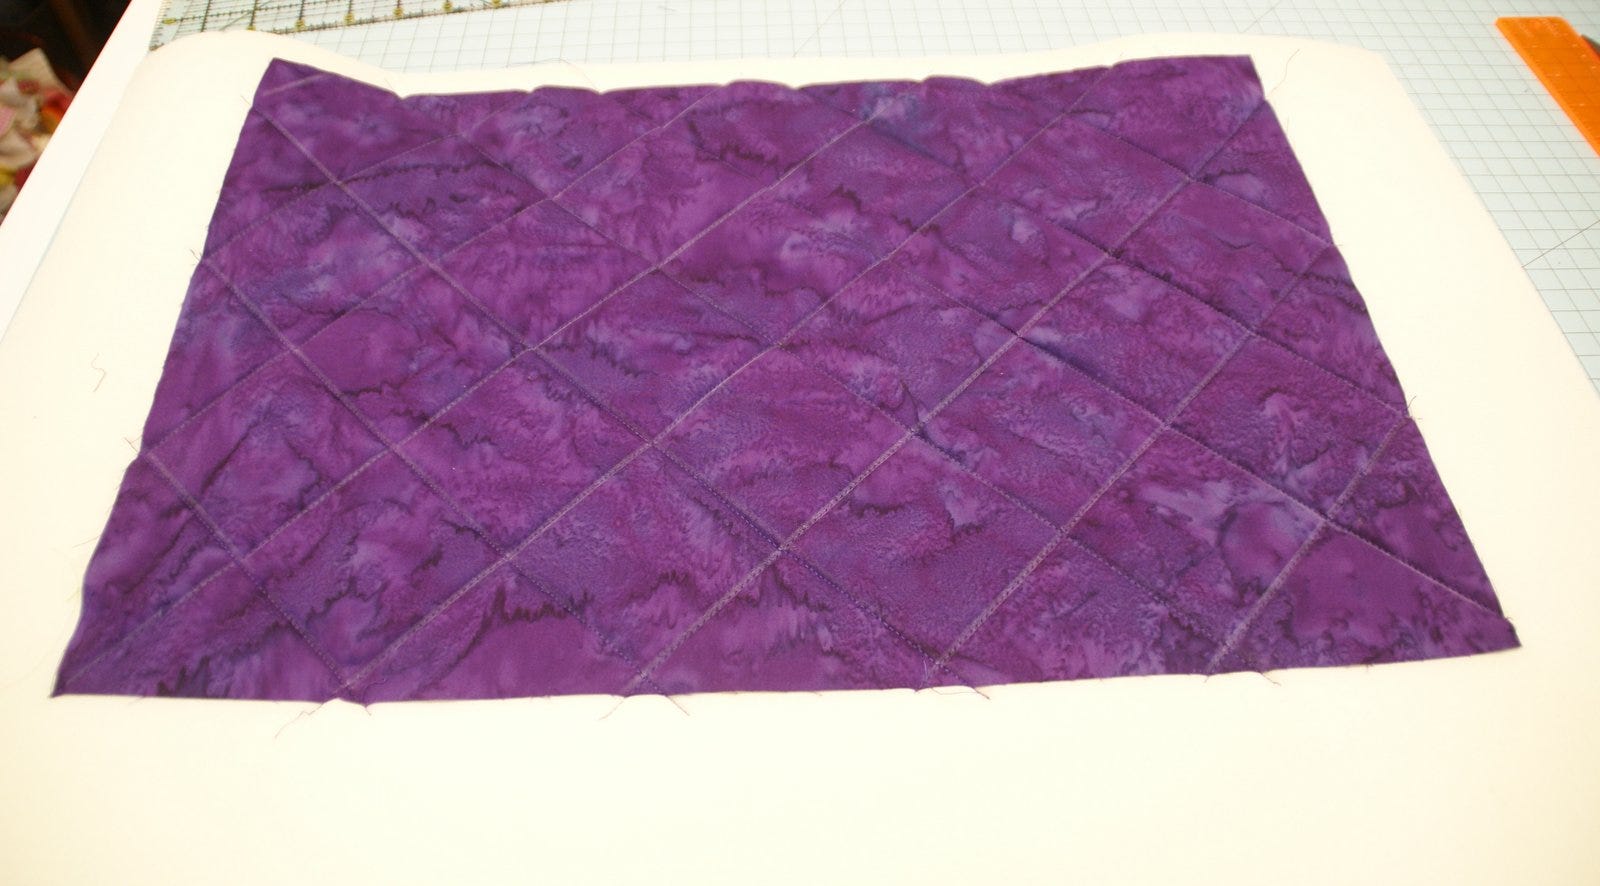
4. Quilt as desired but do not use a dense design. I used a large diamond grid for mine.
Trim away any excess flex foam.
Make Tote Front
1. Arrange the 12 1/2" x 18 1/2" rectangle on top of the Pellon Flex foam, center left to right, and aligning close to the top of the foam. Pin in place.
2. Quilt as desired again. We are only quilting the center rectangle right now as we want to add the pocket before we add the sides and bottom. We will add additional quilting later.
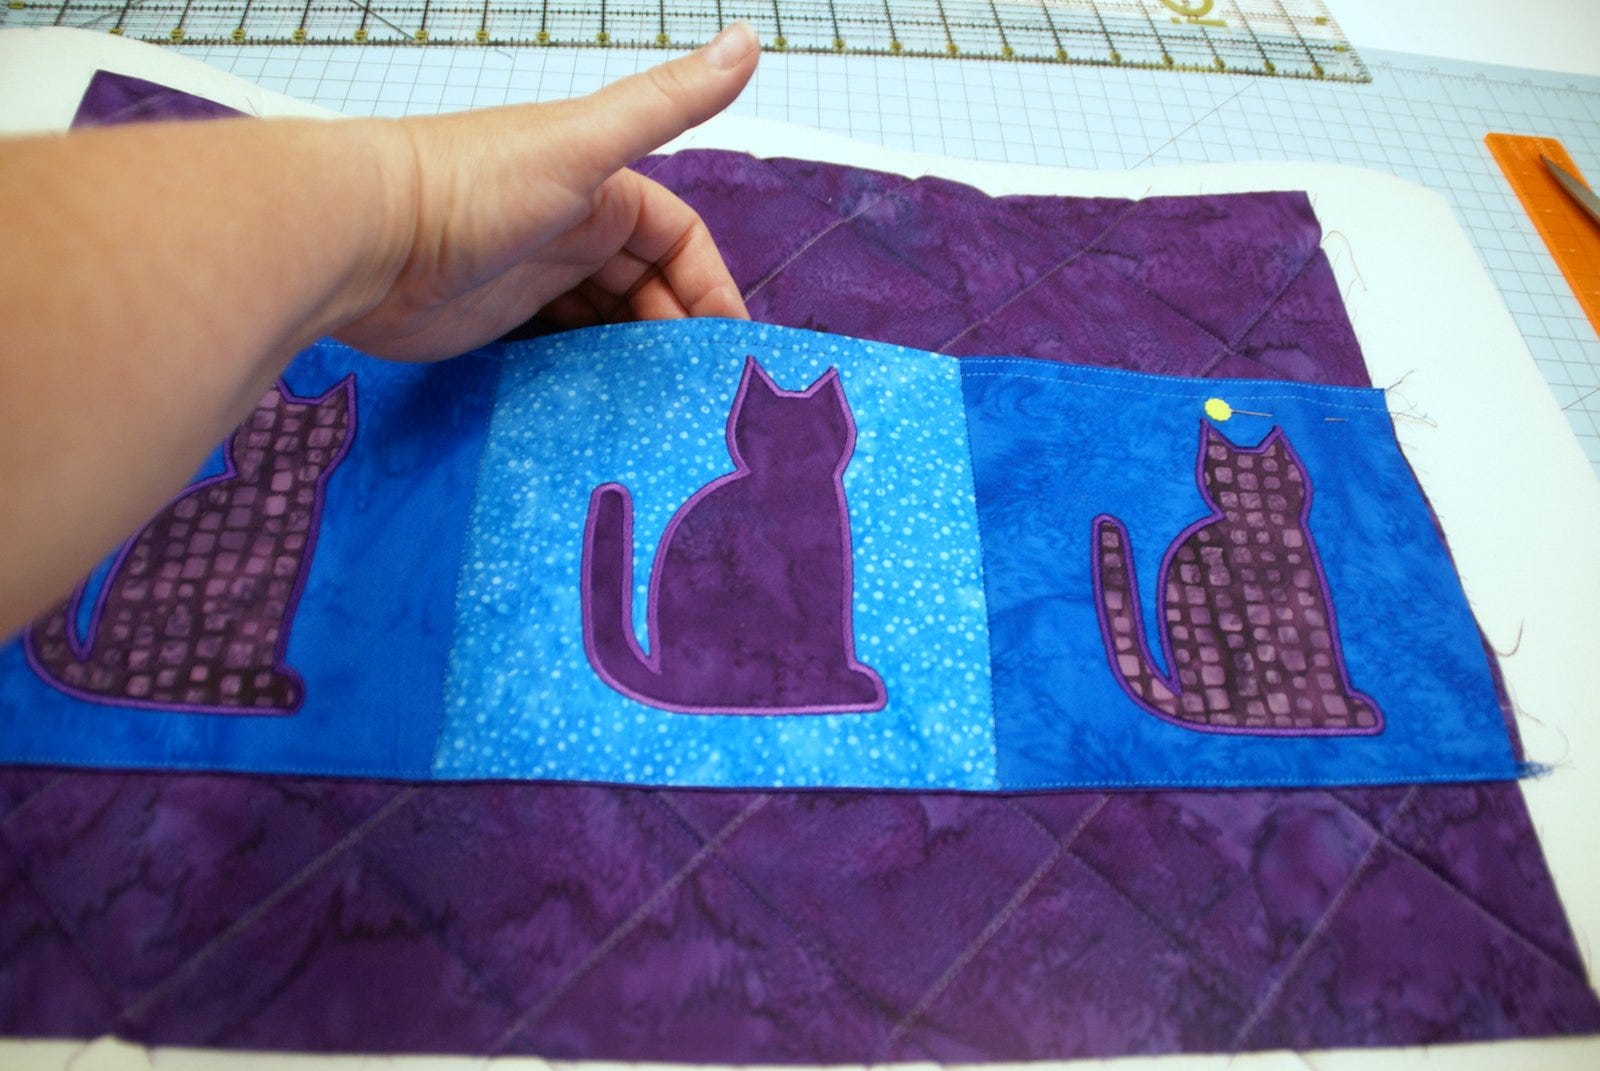
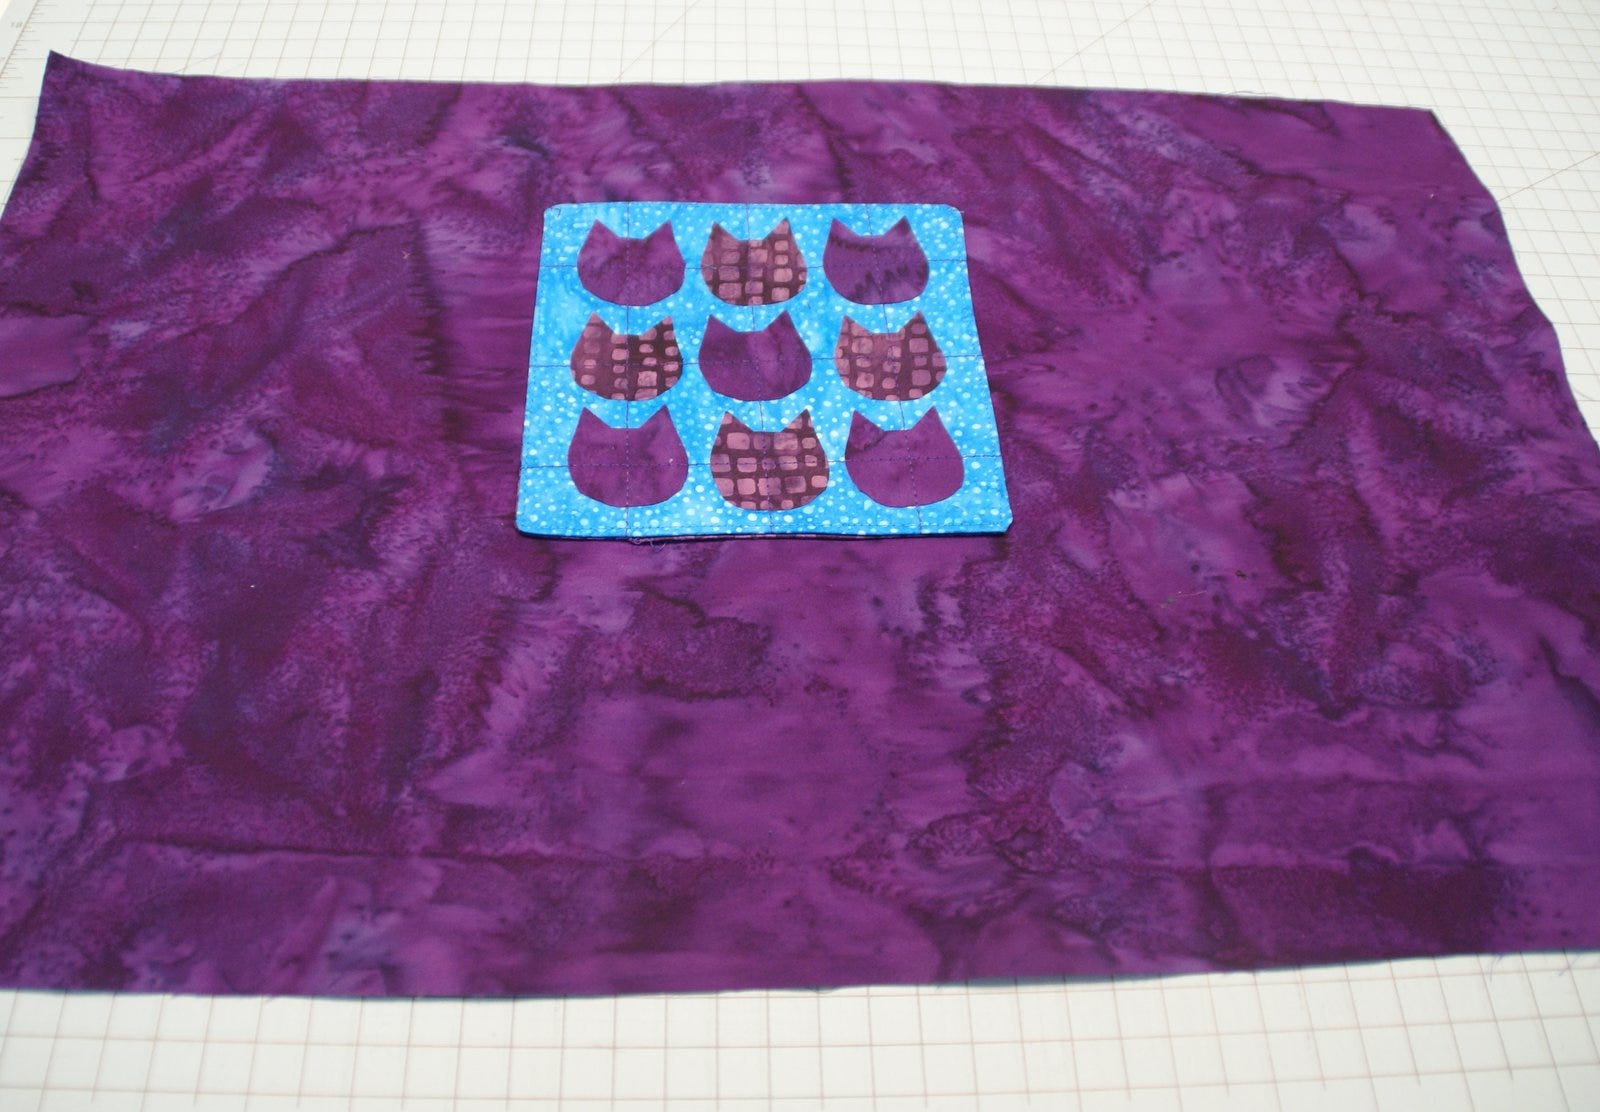
3. Take the large pocket and place face up on top of the quilted rectangle. Place the pocket 4" down from the top.
4. Pin and baste the sides with a 1/8" seam.
5. Stitch the bottom of the pocket 1/8 " away from the bottom edge.
6. Stitch in the ditch between each pocket on the seam, backstitching at the top to secure it.
7. Take the 2 3/4" x 12 1/2" side strips and stitch to each side of the rectangle right through the foam. Flip open and finger press.
8. Take the 2 3/4" x 18 1/2" strip and stitch to the bottom of the rectangle right through the foam. Flip open and finger press.
9. Quilt as desired on the sides and bottom to match up to the center rectangle.
10. Trim away any excess flex foam.
11. Measure and trim in small adjustments so that the front and back of the tote are the same size.
12. Place the front and back right sides together and stitch around the sides and bottom of the tote.
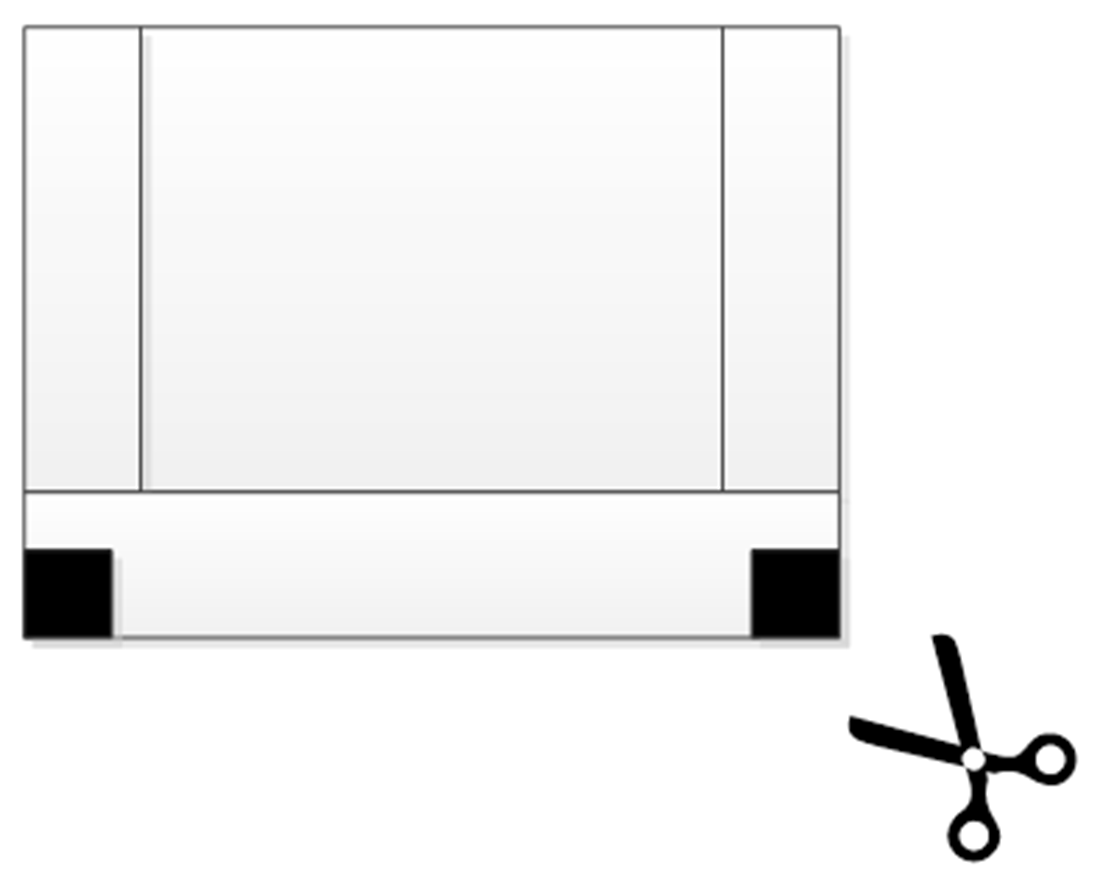
13. From the bottom two corners of the front and back, cut out a 1 3/4" square.
14. Pinch the square so the raw edges are together to form a box corner and stitch across it.
Assemble Lining
1. Press the medium-weight fusible interfacing to the wrong sides of the two lining rectangles.
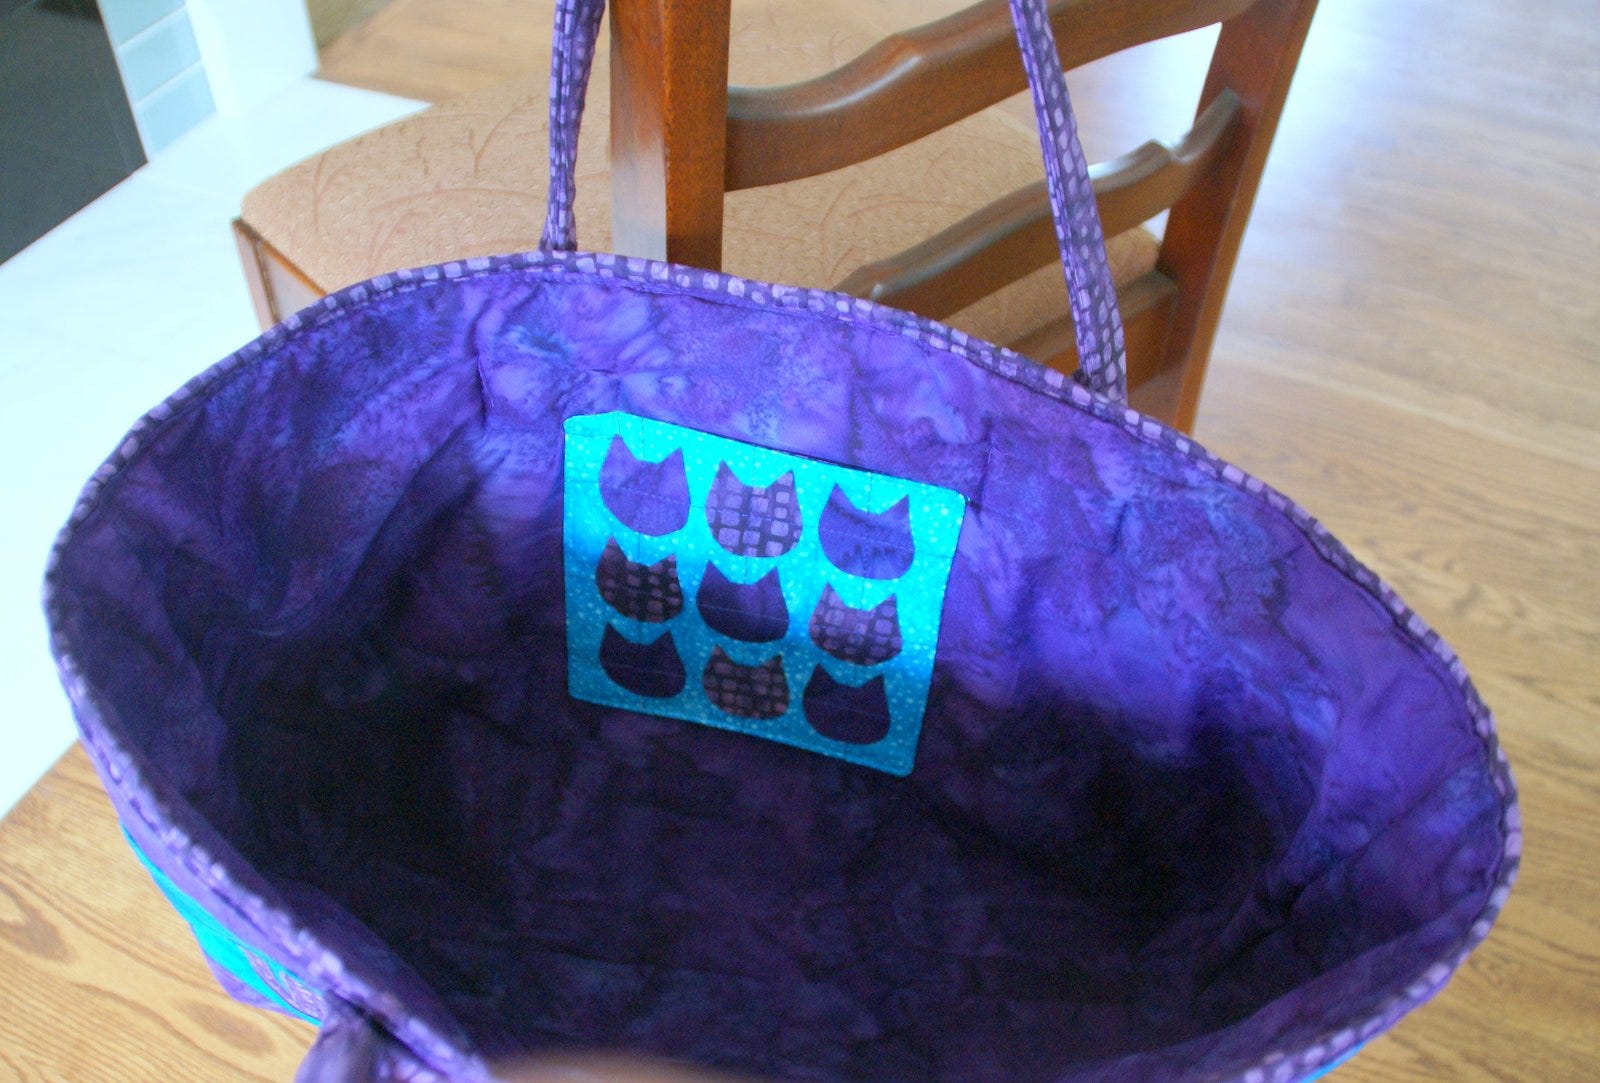
2. On one lining piece, arrange the single pocket 3 1/2" down from the top and centered. Pin in place.
3. Stitch pocket onto the lining 1/8" away from edge stay stitching at the beginning and end.
Pro Tip: In the directions, I have you place a full calico kitty on this pocket, but I could not help myself. I used all the little extra fabric pieces with the fusible to just cut out kitty heads from the calico cat die. I just then rounded the bottom of his face and arranged them on the pocket. It is fun to play around with the dies and create something new.
4. With right sides together, stitch around the top and bottom of the lining.
5. From the bottom two corners of the front and back, cut out a 1 3/4" square.
6. Pinch the square so the raw edges are together to form a box corner and stitch across it.
Assemble Tote
1. Place the lining inside the tote wrong sides together.
2. Carefully pin together the top aligning the side seams.
3. Baste 1/8" from the edge all around.
4. Join binding strips and press.
5. Finish the top of the tote with the binding.
Attach Handles
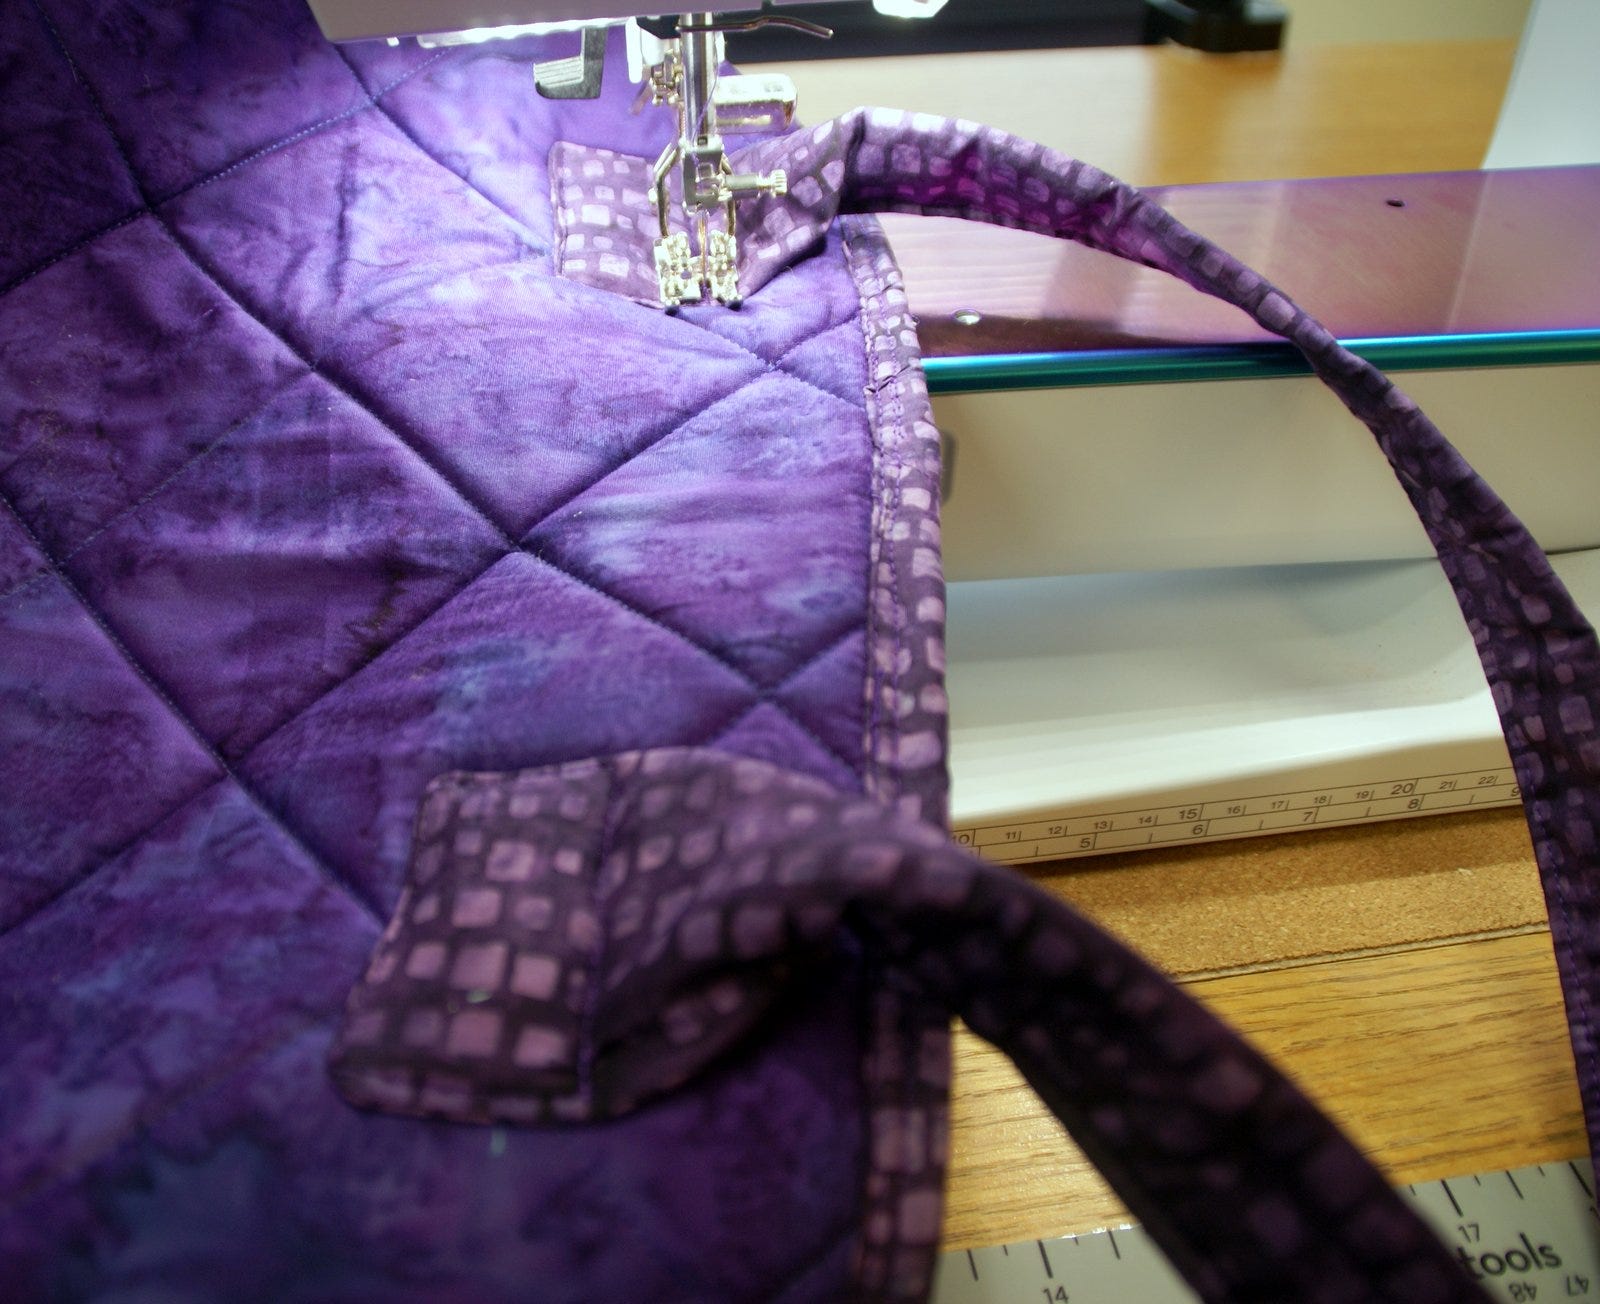
1. Take the handles and open up the bottoms. Arrange the handles 3 1/2 " down from the top and about 4" in from each outside seam (where the pockets end). Pin.
2. Stitch a rectangle shape through the bottom of each handle.
3. Repeat for the other side.
4. Show it off! You're all done!
This Kitty Cat Carryall Tote is a show stopper with lots of room and pockets for everything you need. I am thinking of a dear cat-loving friend who will love this too.
I would love to see your versions of my design. Be sure to tag me on Instagram or Facebook, links below.
Facebook
AccuQuilt
Lori Miller Designs
Instagram
AccuQuilt
Lori Miller Designs
Lori Miller of Lori Miller Designs is an AccuQuilt GO! Getter, Pattern Designer, Quilter, Educator, and EQ8 Superfan. She loves how quickly and accurately she can create beautiful quilts with her AccuQuilt GO! Cutter.


