

As quilters, we tend to toss around terms that others may not understand – sometimes, even other quilters! You know, terms like "stash," "fat quarter," "WOF (width of fabric)," "UFO’s (un-finished objects)," and "PIGS (projects in grocery sacks)." Right up there near the top of the confusing terms list must be the term "setting."
What Is "Setting" in Quilting?
According to AccuQuilt's Glossary of Quilting Terms & Acronyms, "setting" refers to "[t]he arrangement of completed Blocks forming the Quilt Top. Blocks can be set side by side, or on point, like diamonds, with or without Sashing. Arrangements can also vary with certain asymmetrical block patterns."
A good way to look at it is thinking of setting blocks on point, finishing on point quilts with setting corners and setting triangles, and using setting squares. Just like most curious terms, this mystery is easy to solve. Quilters use the term "setting" to refer to placement, so setting blocks on point means placing them on an angle in the quilt.
Setting quilt blocks on point can completely change the look of a quilt block and add new and exciting secondary designs to a project. This is typically accomplished by sewing together quilt blocks in diagonal, or angled, rows vs. horizontal or straight across rows. A fantastic example of setting blocks on point is the GO! Stars in the Crown Quilt.

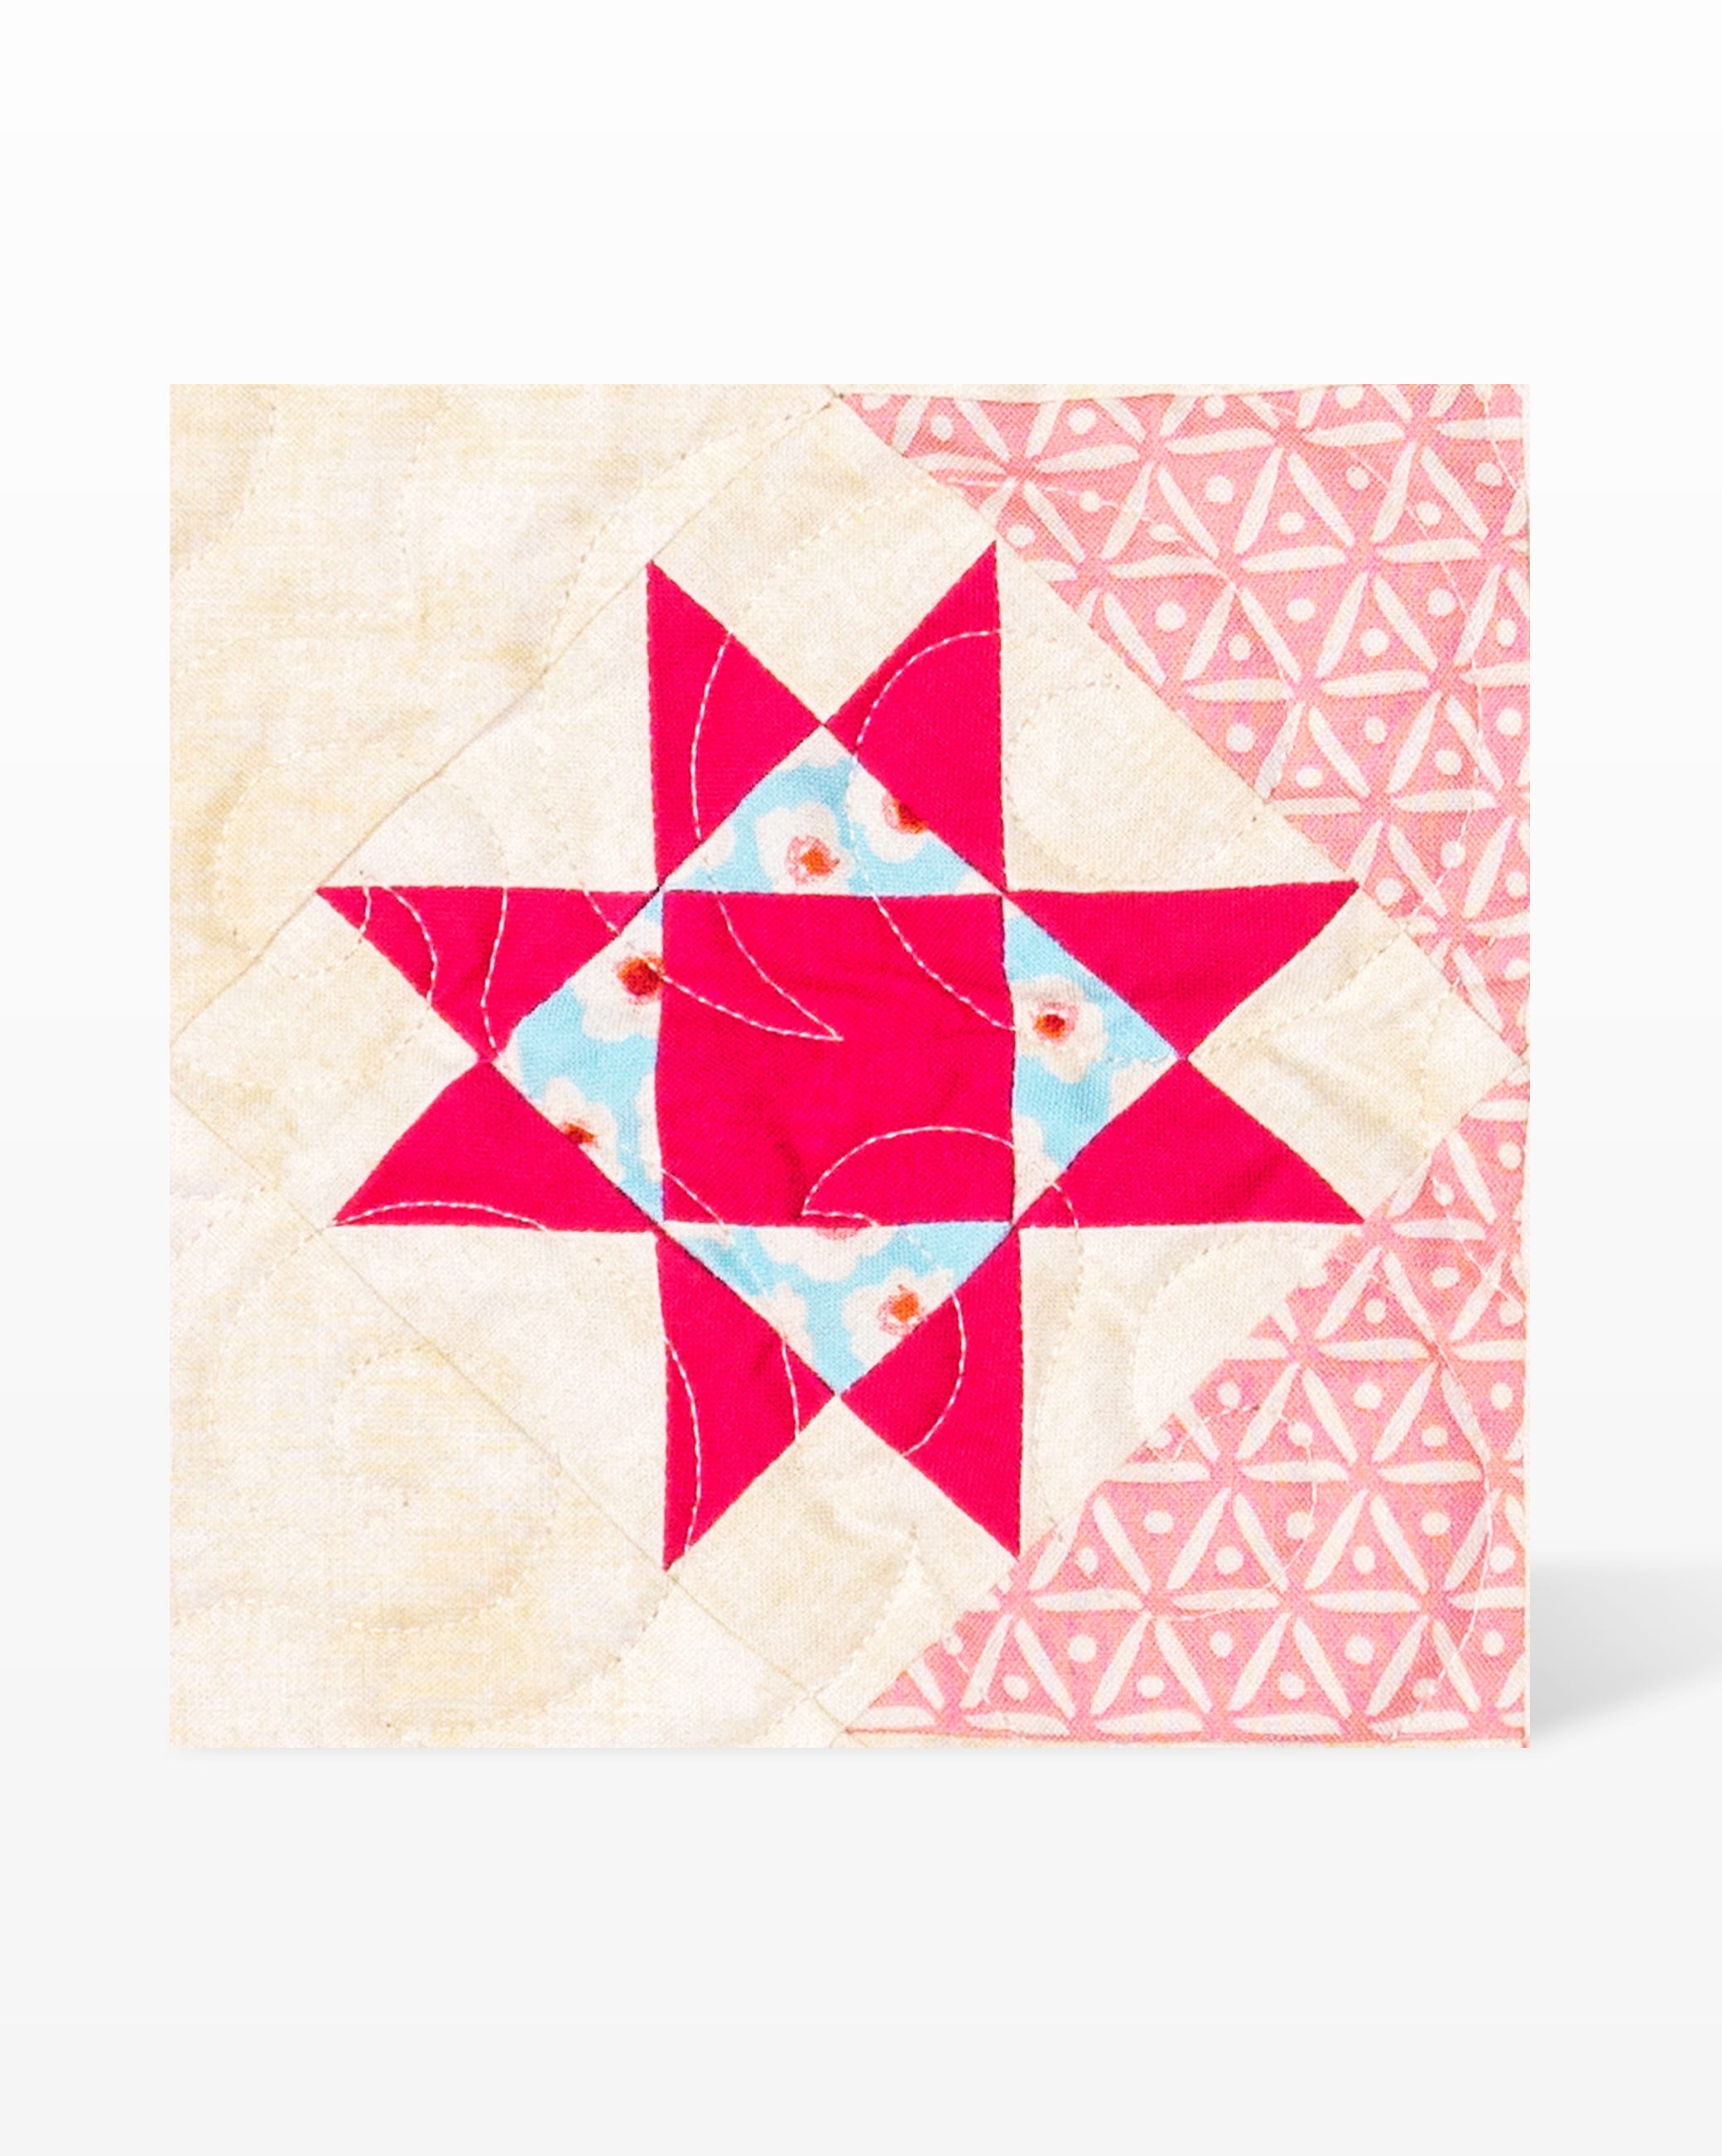
Take a look at the basic block in the quilt, a Sawtooth Star variation that can easily be made with any GO! Mix & Match Qube.
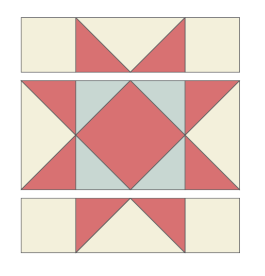
Rotating that block to be on point gives it the illusion of being an Ohio Star block!
Great, right? But now, how exactly do you finish the edges of your quilt? Looks like big triangles, and many a quilter has cut large squares in half from corner to corner to create these end pieces only to discover that they have cut the bias, or stretchy, part of the fabric on the outside of their quilt, causing it to warp or go “wonky” (yes, another highly technical quilt-y term).

Determined quilters could use a complicated equation to calculate how to cut setting triangles to go along the edges of an on point quilt that put the tight, lengthwise grain on the outside edge, but this process is difficult at best and can cause quilters to walk away from the design possibilities of setting their blocks on point. Luckily, AccuQuilt has the perfect solution!

Setting Triangles
GO! Setting Triangle Dies come in seven different finished sizes to match the seven sizes of GO! Qubes – 4”, 5”, 6” 8”, 9” 10” and 12”. By laying the fabric out on the die board with the lengthwise grain running parallel to the lengthwise blades on the die, it’s simple to set blocks on point.
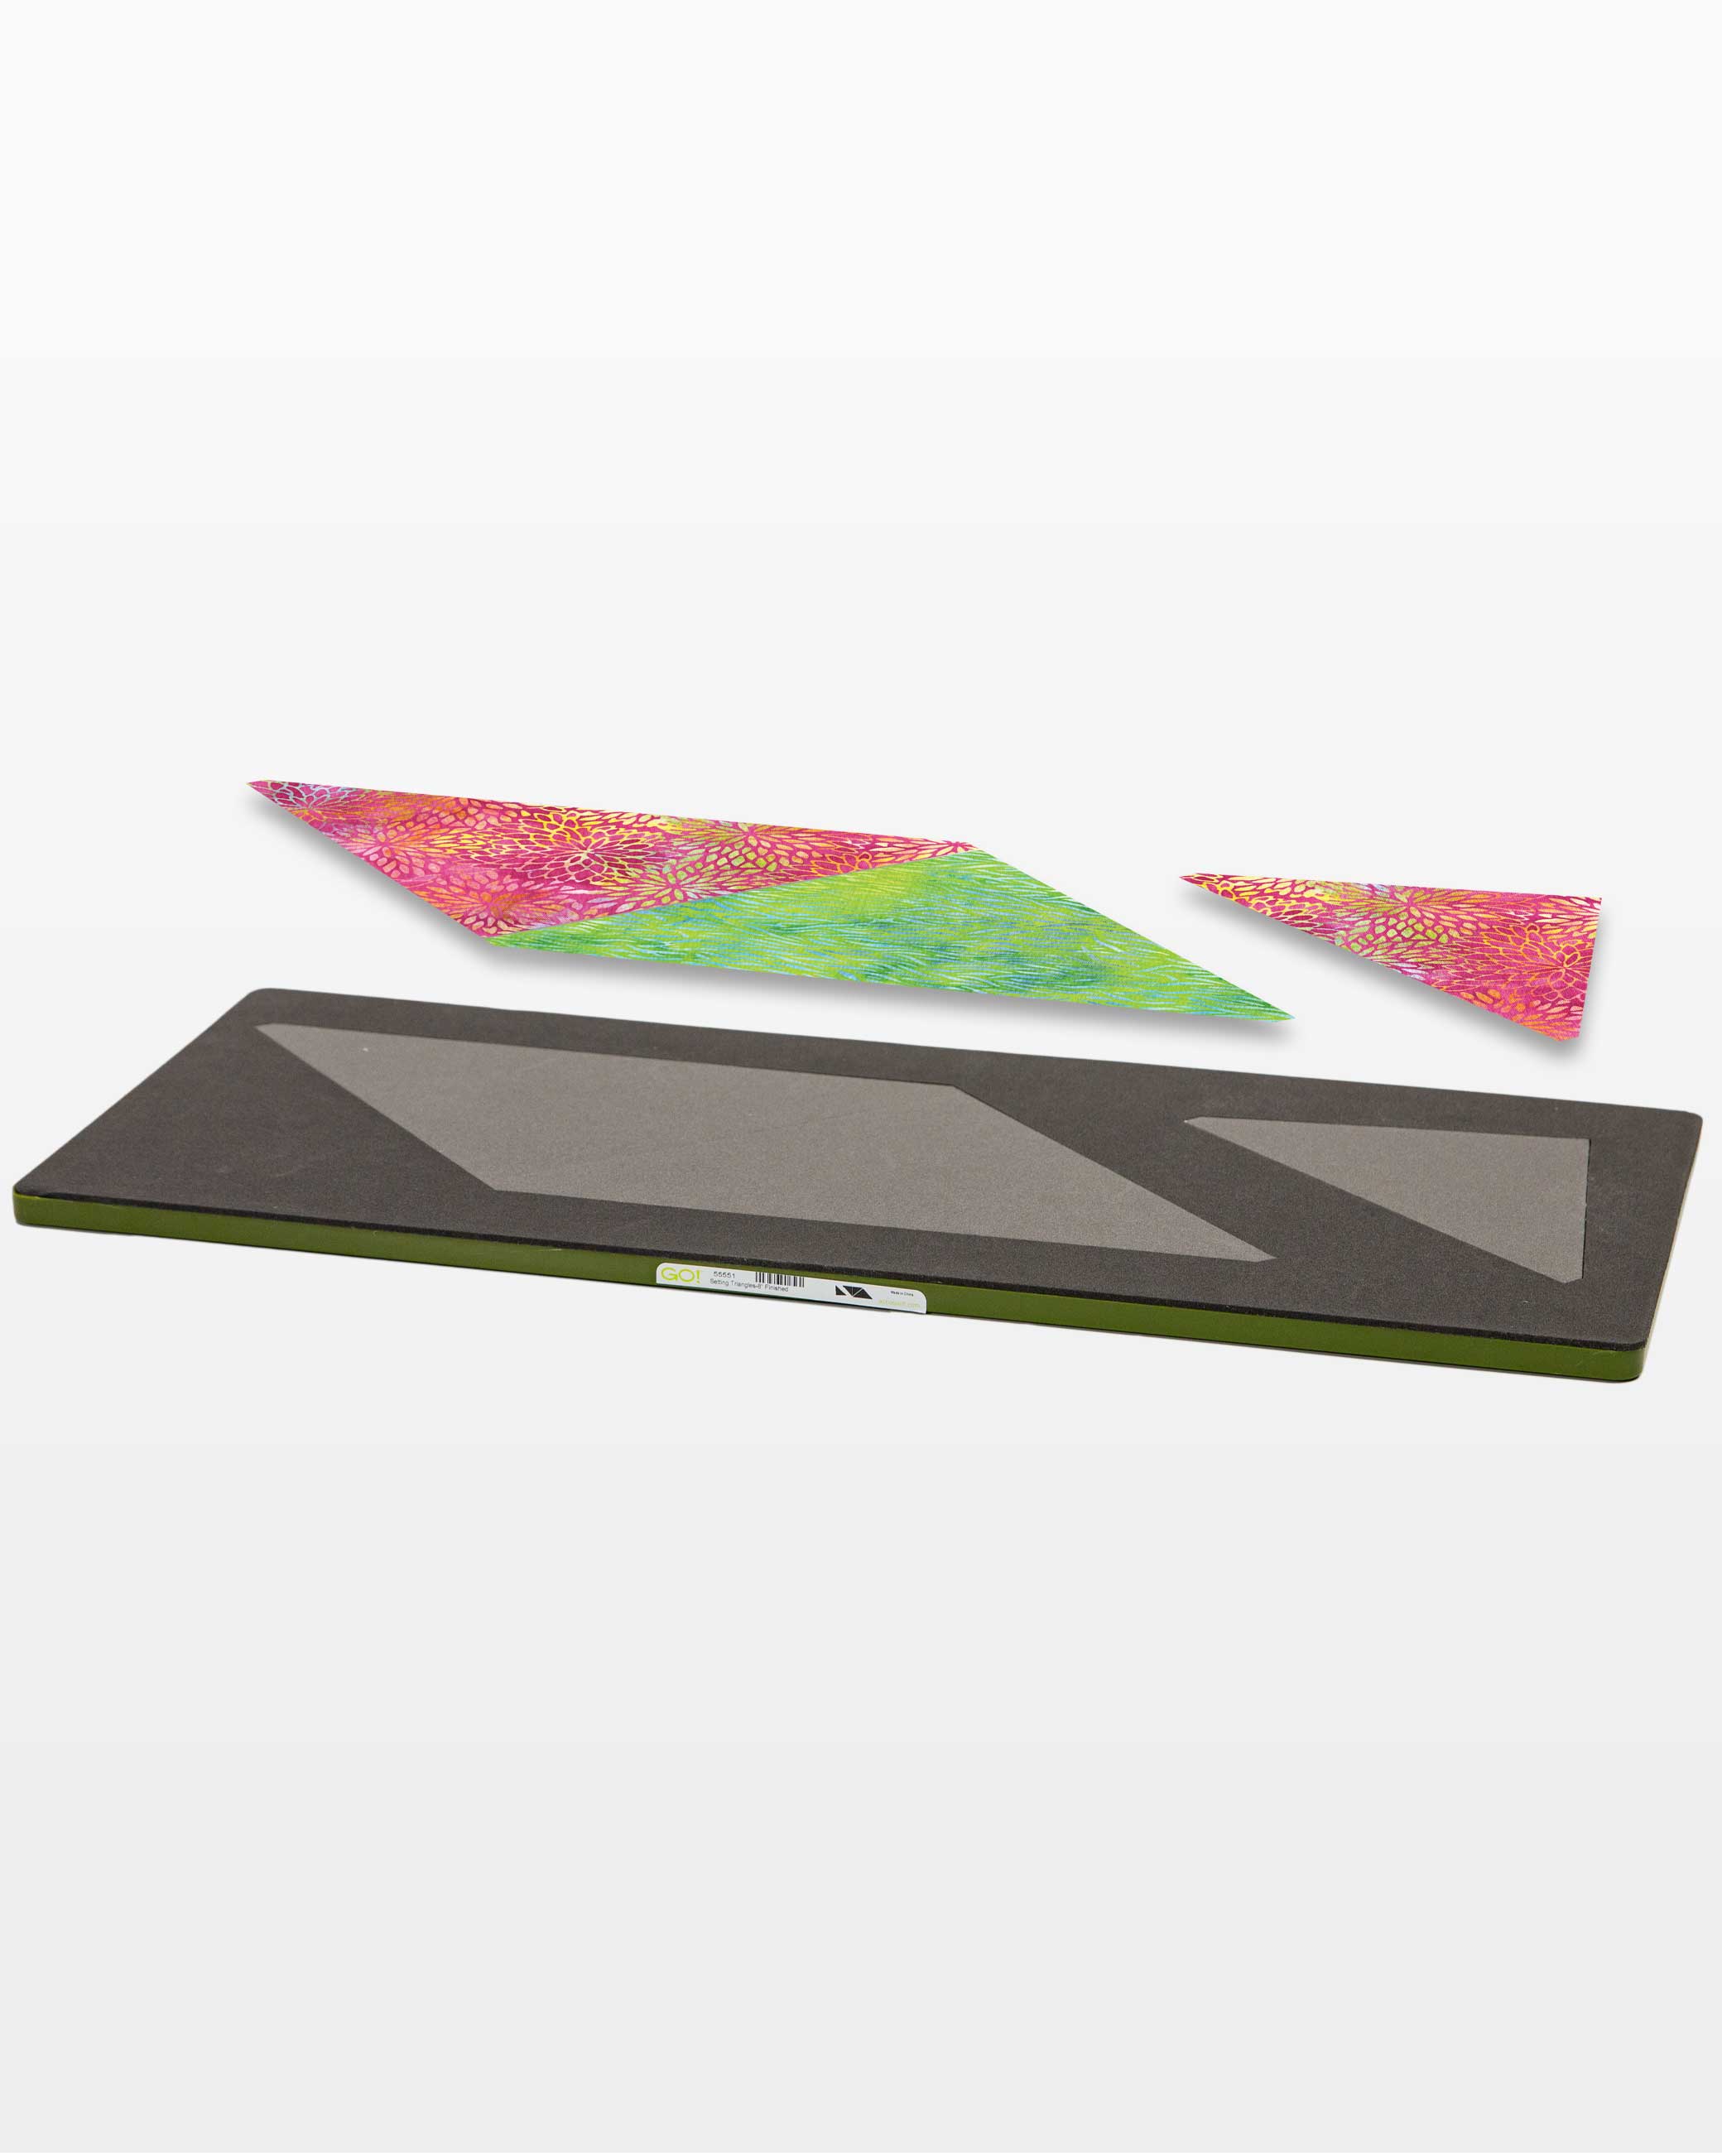
These dies also include perfectly sized setting corner triangles to finish off the four corners of your quilt.
To see a GO! Setting Triangles Die in action, take a look at this video tutorial that Pam and I made:
The GO! Setting Triangle Dies will work with any matching size block/die. The GO! Hunter Star Block on Board Die finishes to 12”, so you would set it on point using the GO! Setting Triangles-12” Finished Die. The GO! Weathervane Die finishes to 8”, so you would use the GO! Setting Triangles-8” Finished Die, and so on.
Setting Squares
So, what happens if you want to alternate your pieced blocks with solid blocks? Those solid blocks are referred to as setting squares. Setting squares need to be the same size at the blocks used in the project.
Setting squares can be used
- To add another level of design to any project
- To add larger scale prints to a quilt, giving them a way to really shine
- With a solid or low volume fabric to give the eye a place to rest between complex blocks
- As background to add applique to a project
- To provide open space for complex custom quilting
- To add to the overall design.
Examples of Using Setting Squares
A great example of using setting squares is in the GO! Gingham Heart Throw Quilt.
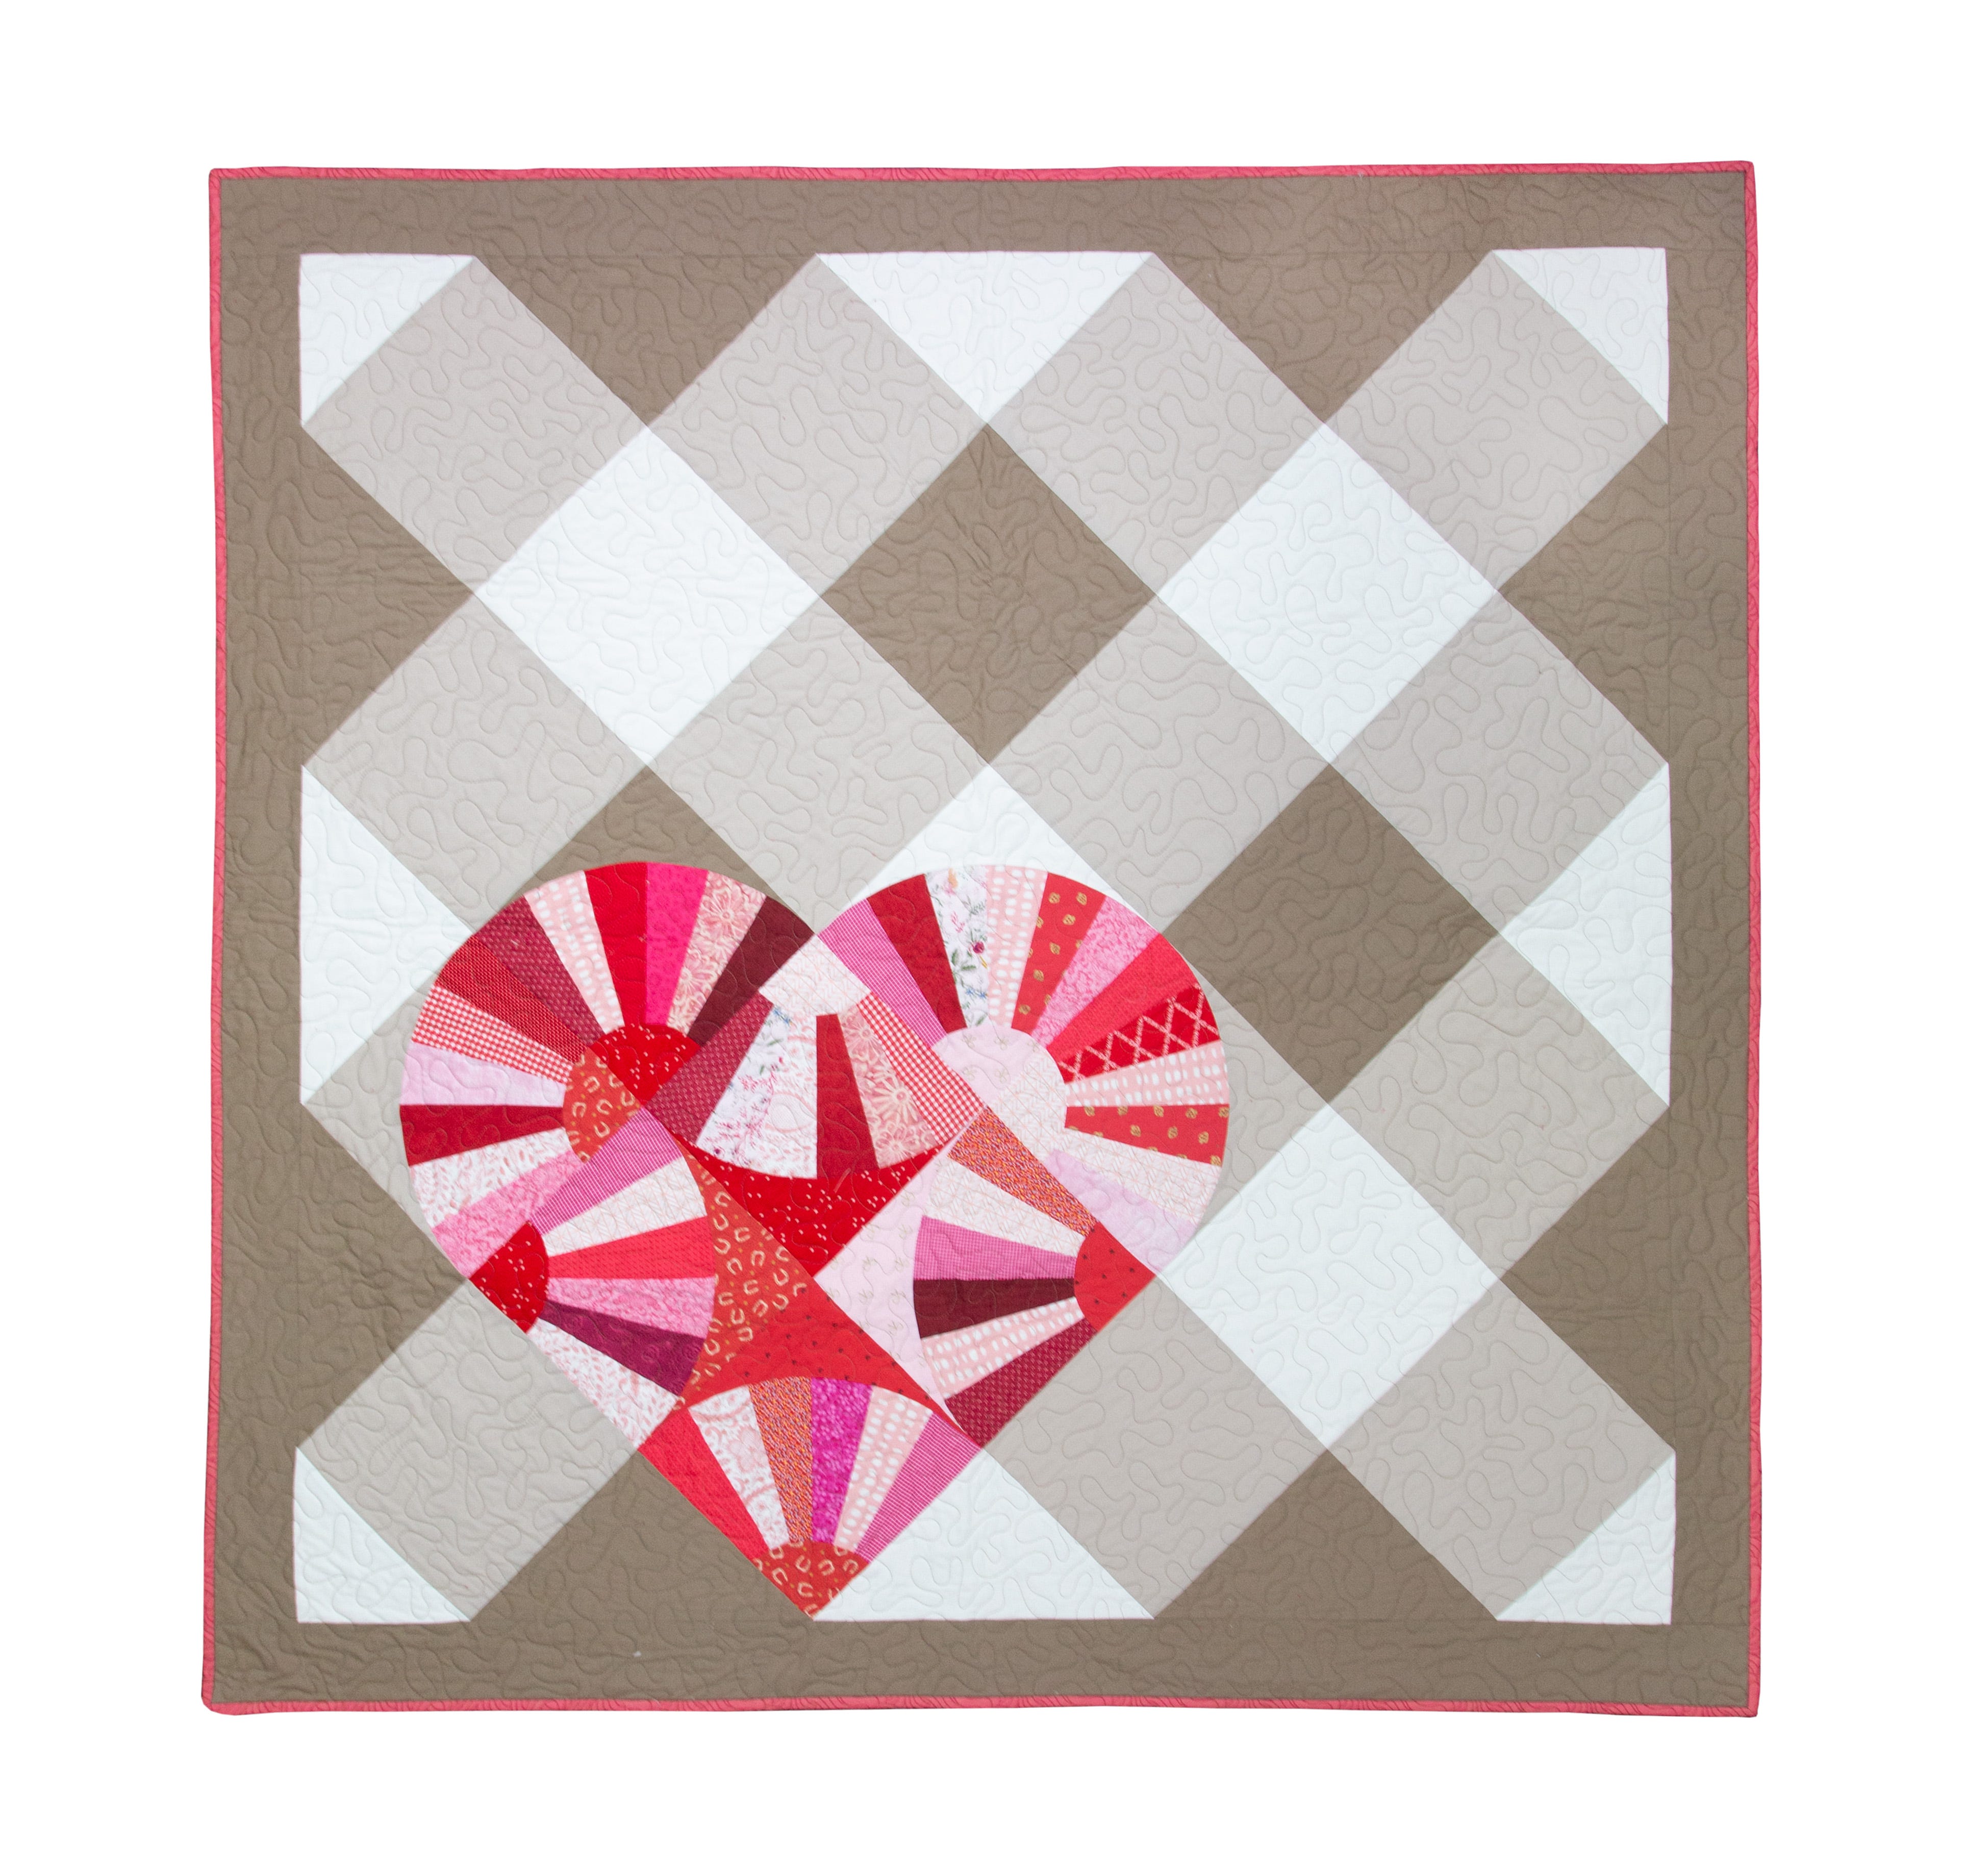
In this quilt, the GO! Big Square 9 1/2” (9” Finished) Die is used to create the on point gingham background, highlighted by a heart that’s cleverly created using the GO! Grandmother’s Fan-9” Finished Die. The sides and corners are finished off using the GO! Setting Triangles-9” Finished Die.

Another example is the GO! Freshen Up Table Runner.

This pattern combines the GO! Qube Mix & Match 10” Block and Companion Set-Corners with the GO! Setting Triangles-5” Finished Die because the units on point in the center of the runner are 5” finished units from the 10” Qube. Tricky, right?
On a different note, the GO! Daisy Chain Wall Hanging uses setting squares to create a design element without being on point.

The daisy blocks are created using the GO! Courtyard-10” Finished Die, alternated with 10” finished squares made with the GO! Square-5 1/2” (5” Finished) Die.
Along a similar vein, in the GO! Stars in Space Throw Quilt, the setting squares add to the negative space in the quilt.
This not only gives the eye a place to rest, but adding to the overall design by allowing the GO! Starry Path-9” Finished blocks to float on point across the quilt.
A striking use of setting squares can be found in the GO! Stacked Circles Throw Quilt.
.jpg)
The GO! Square 7 1/2” (7” Finished) Die is partnered with the GO! Drunkard’s Path Block on Board Dies in the 7” and 3 1/2” finished sizes to create the stacked, 3D effect with ease.
How Will You Set Up Your Next Project?
All the patterns shown above are free downloads available at AccuQuilt.com. I hope you’ll expand your quilting horizons by exploring the possibilities created when you set blocks on point and use setting squares in your projects! Be sure to share them on social media using the hashtag #AccuQuiltBuilt and tag us @AccuQuilt so that we can all be inspired, too!


