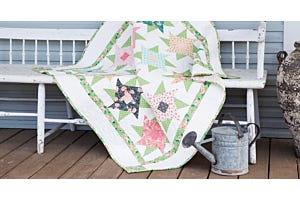
It’s time to get started on the second 2023 AQS & AccuQuilt-Along: Scrappy Star Log Cabin Quilt! I’m so excited to jump into making this fun project with all of you! Today, we’re kicking off by cutting and organizing all our pieces.
Before we start, let’s talk about why I’m so excited about this pattern and all the creative options (which sounds way more exciting than saying “decisions”) you can make along the way with this project!
Three Ways to Quilt Along
One reason I love this project is that quilters have three different ways to cut their blocks:
- Using the GO! Log Cabin-12" Finished Square by Leslie Main Die
- With the GO! Strip Cutter-1 1/2” (1” Finished) 5 Strips Die and subcutting with a rotary cutter
- Traditional rotary cutting
Subcutting directions are listed in my blog post from March 22 or the AQS blog post introducing the event.
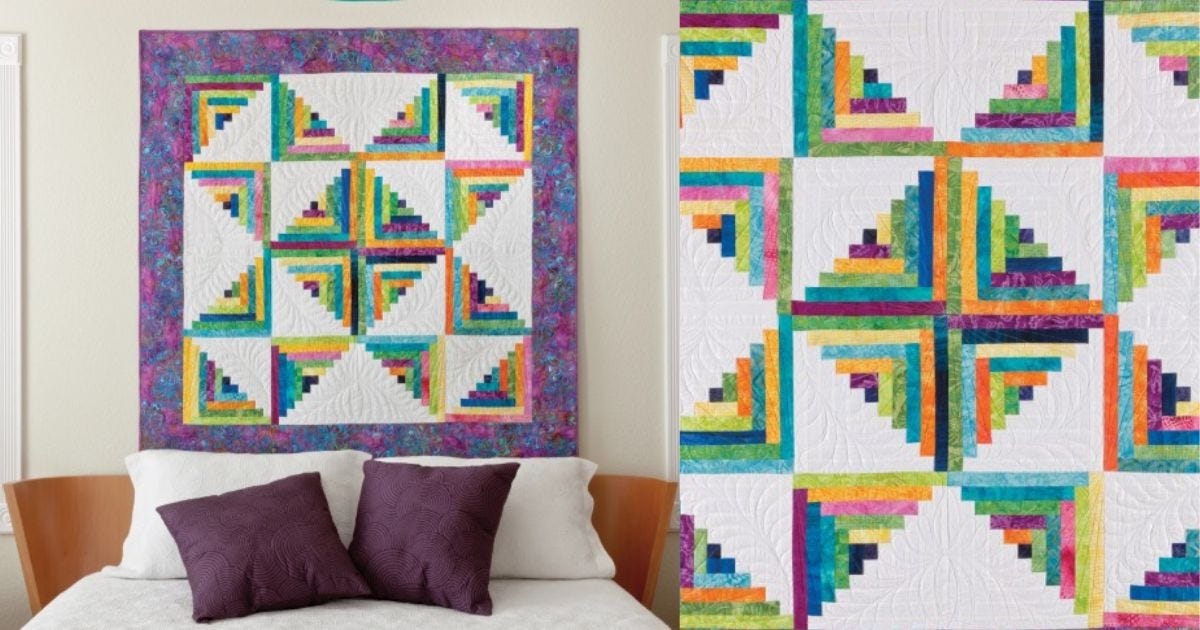
I’m already seeing quilters asking about using different widths of strips to build their blocks, too. Plus, you can make your blocks smaller or larger depending on the number of “logs” you use! I will be following the pattern using the GO! Log Cabin Die and making 11” finished blocks.
AccuQuilt Cutting Expert Pam Heller has already decided to make blocks that finish to 12”, again using the GO! Log Cabin Die, but she’s taking it one step further by planning to create 24 blocks instead of the 16 called for in the pattern!
No matter what method you select, or what choices you make along the way, you’ll want to download the free pattern for the GO! Scrappy Star Log Cabin Quilt for fabric requirements and assembly directions.
Let’s GO!
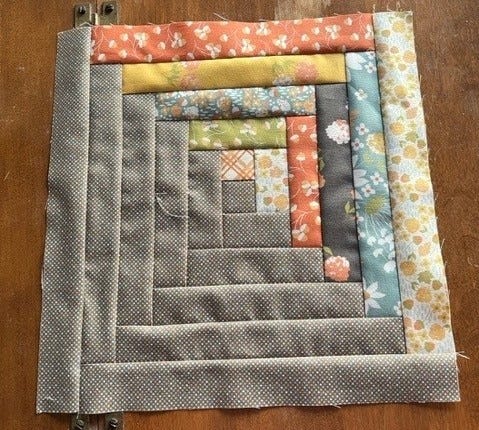
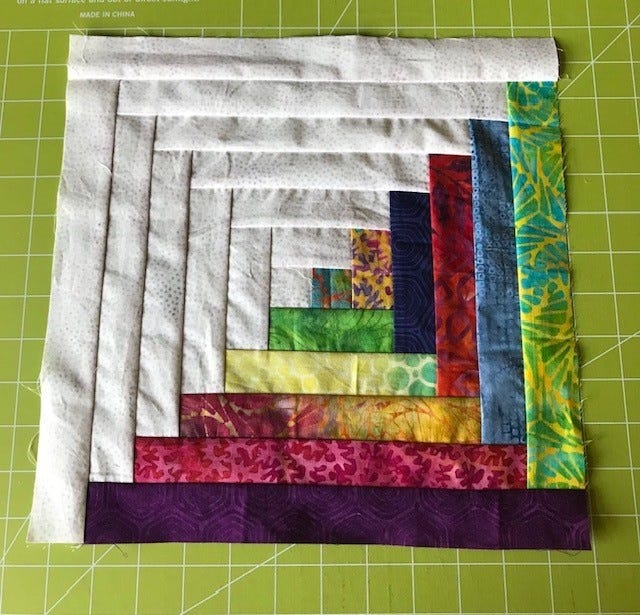
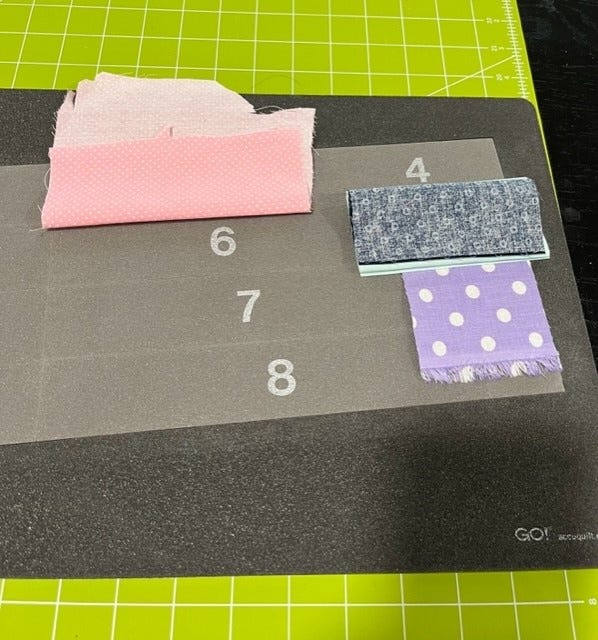
I’m using the GO! Log Cabin Die for my project, and I started with my constant fabric. In the pattern, this is light, but I’m actually using a gray with tiny dots for my constant. This means that half of each block will be this fabric.
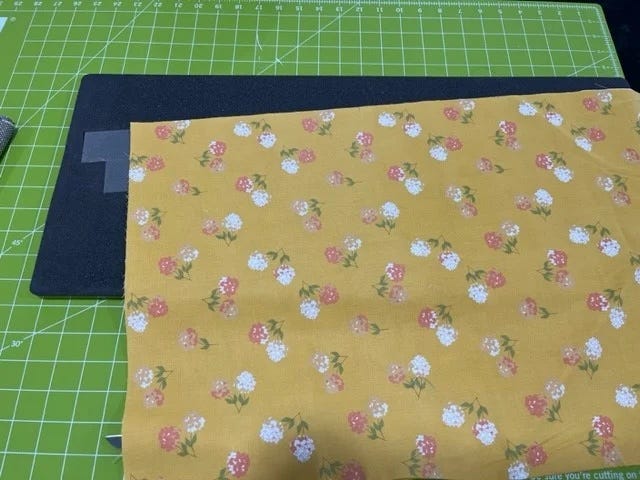
When using this die, it’s key to lay your fabric so that the lengthwise grain/selvedge edge runs the long way on the die and follows the same angle as the strips on the die. Why? Unlike our strip cutter dies, this die has crosswise blades. That means that you want your fabric to go through the cutter this way to get the most accurate cuts! It’s like driving over a speedbump one tire at a time.
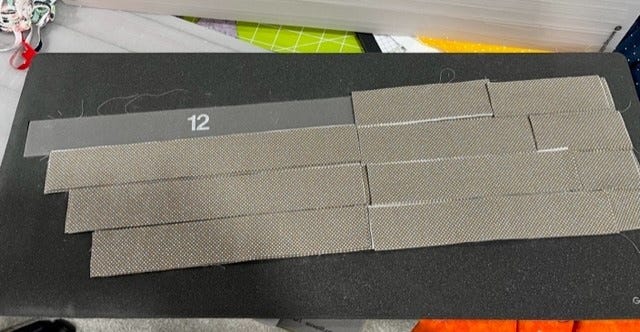
Before you panic by seeing that not all of the final strip is covered with fabric, let me explain! Reading the pattern through will show you that you will not be using all the pieces to make the size Log Cabin blocks we are working with! You will not need to use Shape 12 at all, and will only use Shape 11 in your designated “dark” fabric.
The pattern will use the shape number and the letter "D" for dark and "L" for light. To keep me from being too confused, I’m using my dark gray as my dark. I’m calling the other prints light.
Stop Right There!
Before you get excited and pull your pieces off the die, you’ll need an organization plan!
One of my favorite tools for organizing quilt pieces is a box of plastic sandwich bags, the kind that zip shut.
At this point, I have quite a supply that I re-use on a regular basis. This method is both quick and cheap. Use a permanent marker to write the shape on each bag before adding your fabric. I suggest separate bags for you lights and darks, too.

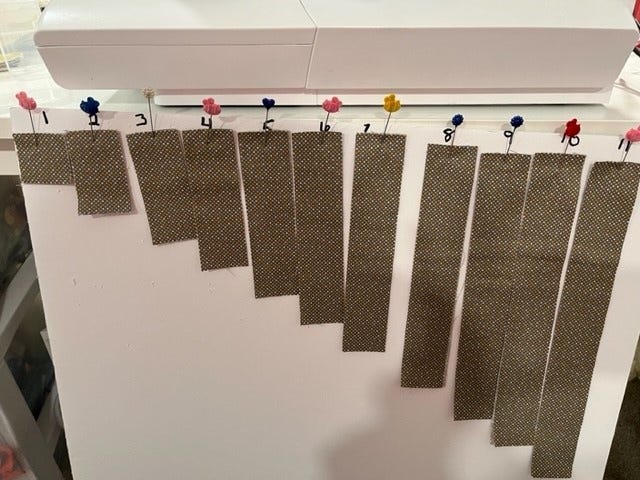
I wanted to try out some other ideas this time, so I decided to pin my dark fabrics to a large piece of foam core I picked up for $1.25. I can stand it right by my sewing table, and it gives me a chance to use my cute, decorative pins!
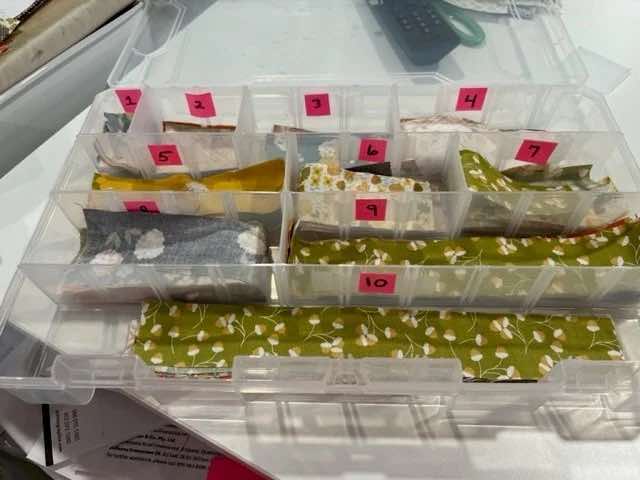
Recently, I finished up the top for my temperature quilt. I made it from March 1, 2022 to February 28, 2023, and had stored all my 2” finished half square triangles by color in a bin with dividers.
Since this bin has a lid that fastens securely and the dividers are moveable, I’m using this for my light/scrappy fabrics.
Organizing doesn’t have to be expensive! Maybe a couple of silverware drawer organizers? Cookie sheets with magnets? Small plastic baskets?
There are all kinds of ideas, and dollar-type stores and thrift stores are a great place to look for storage and organizing solutions.
With your constant fabric cut, let’s have fun with scraps! The key thing to remember is the lengthwise grain.
If you are truly using scraps, you’ll want to figure out the longest shape you can cut from that piece, fanfold it over the shape, cover with a cutting mat and cut.
If you’re using yardage, simply cut your Width of Fabric (WOF) strip, fanfold across the shapes and cut no more than six layers at a time.
What About Pre-Cuts?
Unless you’ve decided to make chunky Log Cabin blocks with 2 1/2” wide strips, you’ll want to stay away from jelly rolls or pre-cut 2 1/2” strips for this one since the lengthwise grain would not be correct for the GO! Log Cabin Die. Plus, cutting the 2 1/2” strips to 1 1/2” strips would waste a lot of beautiful fabric. 10” squares will not be quite long enough for your longest strip that’s going to cut at 10 1/2” if you are following the pattern. If you’re determined, you can make Fat Quarters work by putting them on only one end of the die at a time. You’ll go through the cutter more often this way, but you will be able to put those Fat Quarters to work.
Pam is using a bundle of 1/2 yard cuts for her project, and I am using yardage for mine.
Once your fabric is all cut and organized by dark, light and shape size, your work is done for the week!
Be Sure To Share
The fun of a quilt-along is seeing what everyone else is doing! Be sure to join the AQS Quilting Project Parade Facebook group and post all your progress pictures there using the hashtag #AQSews. If you run into any issues, this is a helpful and knowledgeable group that’s growing all the time. Pam and I both belong to the group and will be popping in to answer your questions and share our progress as well, so be sure to join us!
Next Time
Next week, we’ll start sewing our blocks together. Now, I know that some of you won’t be able to resist sewing a block or two together just to “try it out,” and I don’t blame you! All I can say is that Pam and I may have done the same thing as part of getting ready, and we both love, love, love sewing these blocks together!
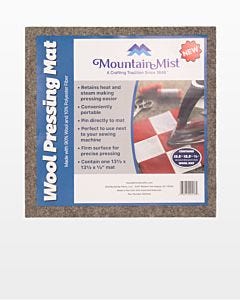
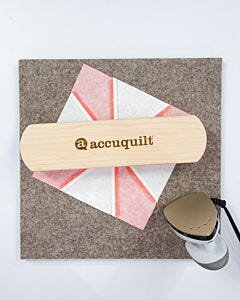
If you’re in the market for things to make the sewing the blocks easier, I would suggest lining up a wool pressing mat, small iron and one of AccuQuilt’s new GO! Quilters Clappers. Having these handy will be a big help when we start sewing next week!
See you next week!