
Hey, AccuQuilters! Porfiria here from Make It Sew NYC. A thought occurred to me recently that probably resonates with many other quilters.
Most days, I am readily thinking about what quilt I will make next. When I talk with coworkers about new babies coming, upcoming graduations, and just-around-the-corner weddings, my mind begins to spiral into a world of quilting. I wonder what I am going to give as a gift to the parents, graduates, and newlyweds, respectively, and always land on the same idea: a beautiful, handcrafted quilt.
I immediately start mentally planning everything out for this new project, become eager for when I can begin to cut the fabric, and joyously imagine the happy reactions from the recipient when I give them the finished project.
A Quick and Easy Quilt
One of my coworkers is expecting, so I wanted to gift them a small, simple, and traditional patchwork quilt for their baby to enjoy when she is born. I love big blocks, but lately, I’ve been playing around with smaller blocks. So, I wanted to have a larger finished block size for this quilt.
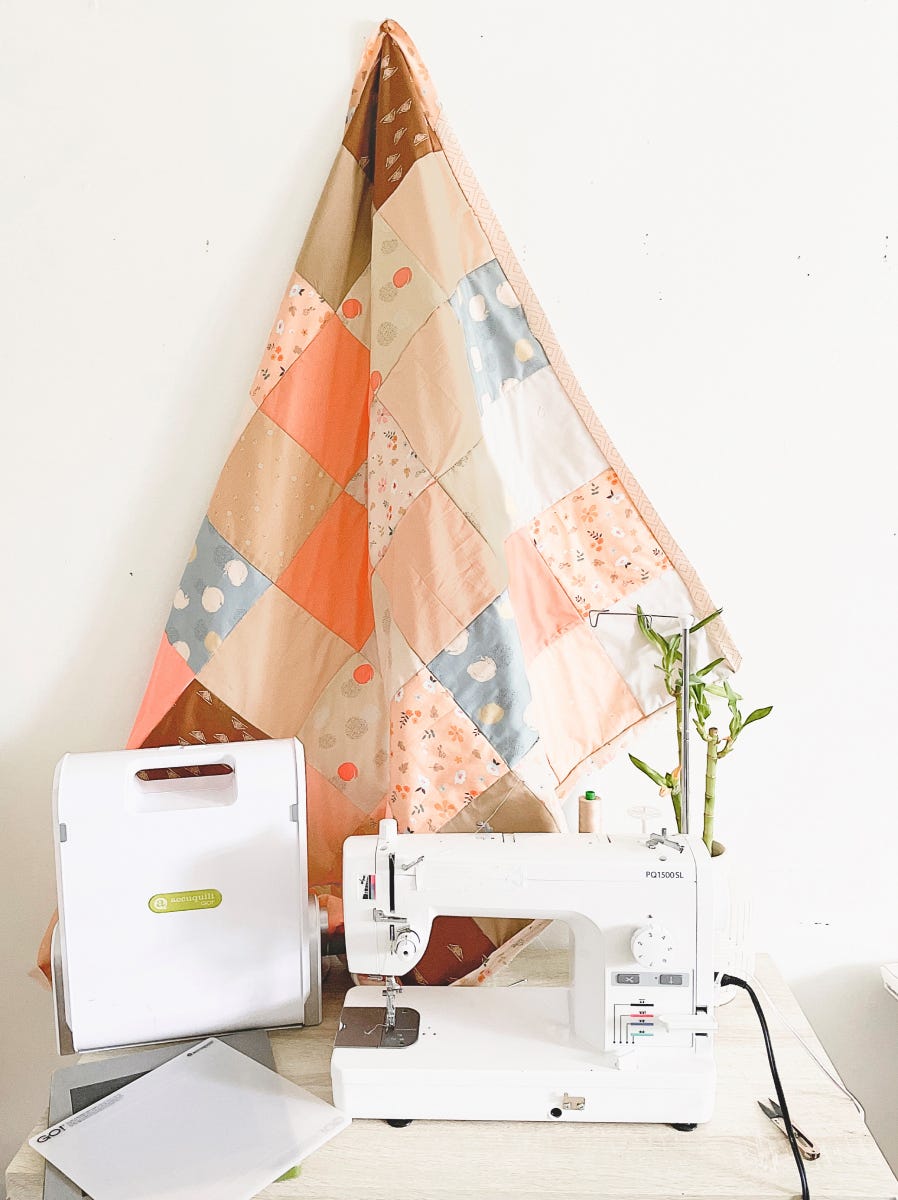
I decided to use fun patterns with softer shades so that the finished quilt fits the colors and theme of the nursery. This quilt only took me two days to complete from start to finish, which makes it great for beginning quilters or for quilters looking for a weekend project.
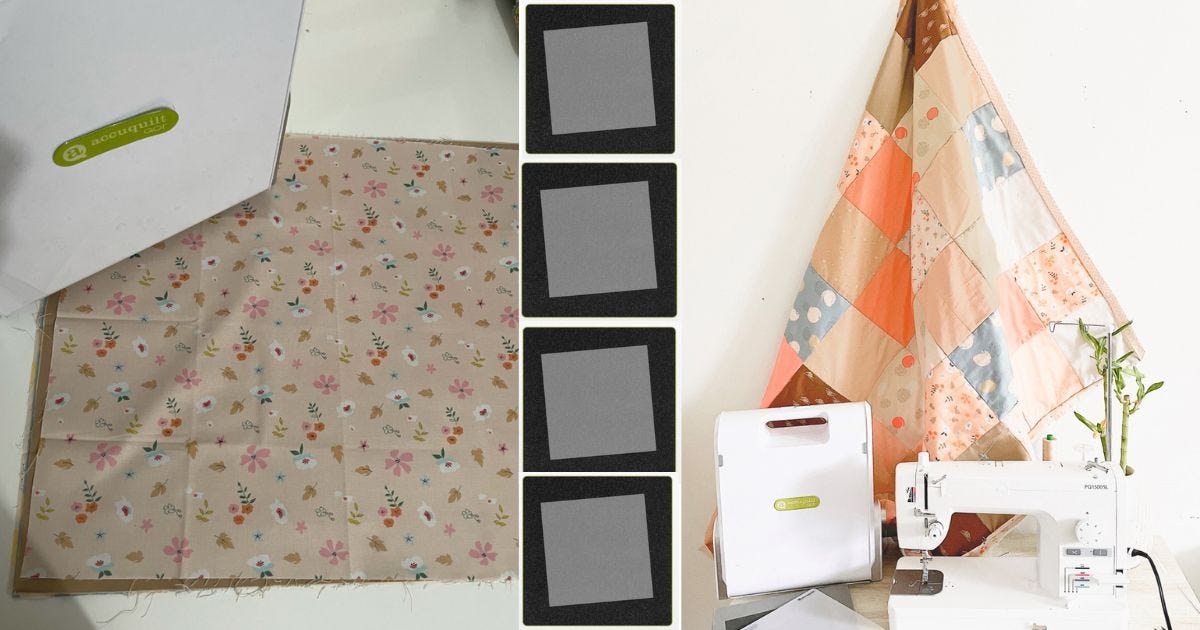
GO! Dies Needed:
- GO! Big Square-10 1/2" (10" Finished) Die
- GO! Big Square-9 1/2" (9" Finished) Die
- GO! Square-7 1/2" (7" Finished) Die
- GO! Square-5 1/2" (5" Finished) Die
-Die.jpg)
-Die.jpg)
-Die.jpg)
-Die-(1).jpg)
Steps:
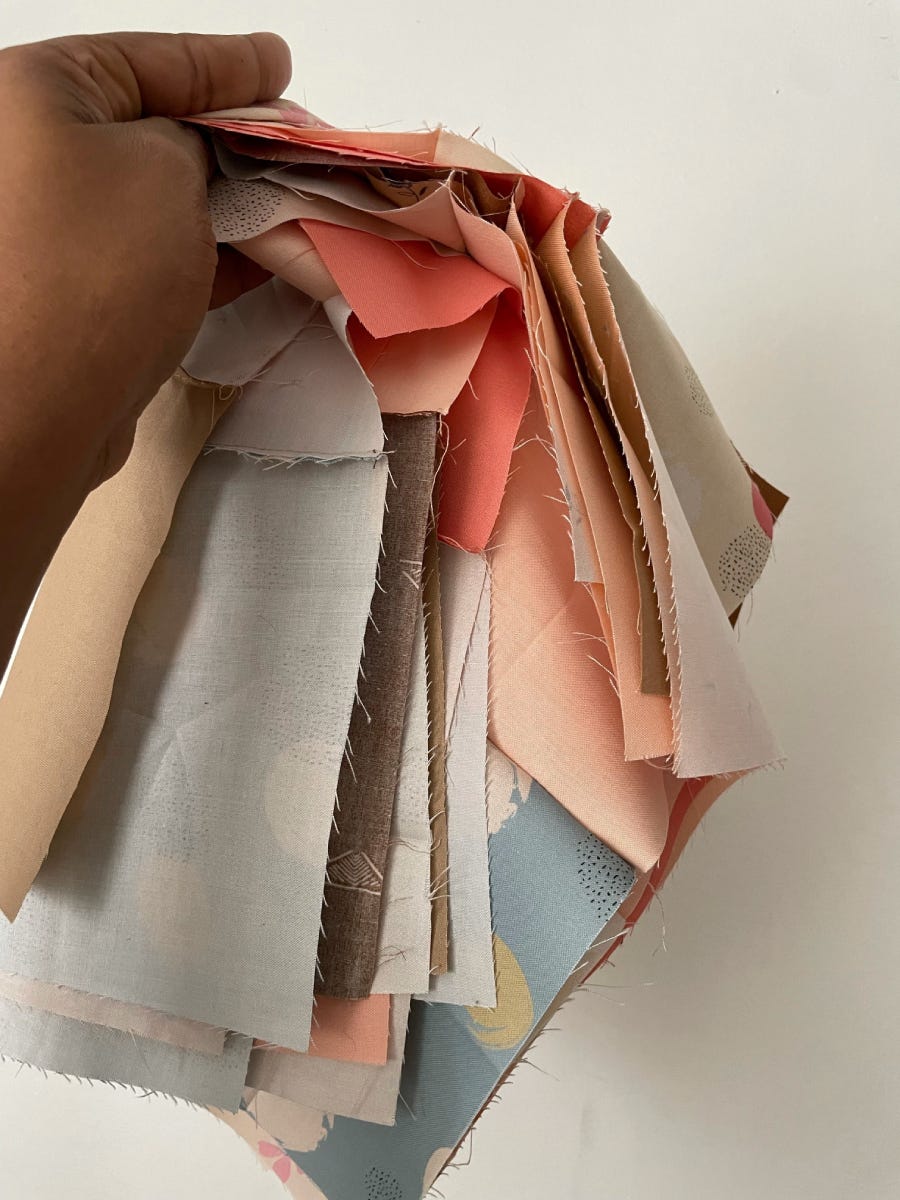
You will need about two yards of fabric to make this quilt. However, I used about eight fat quarters because they can make this speedy project even easier.


The GO! Dies I used fit perfectly in my GO! Big Electric Fabric Cutter. I love how it cuts so quickly that I can almost immediately start piecing.
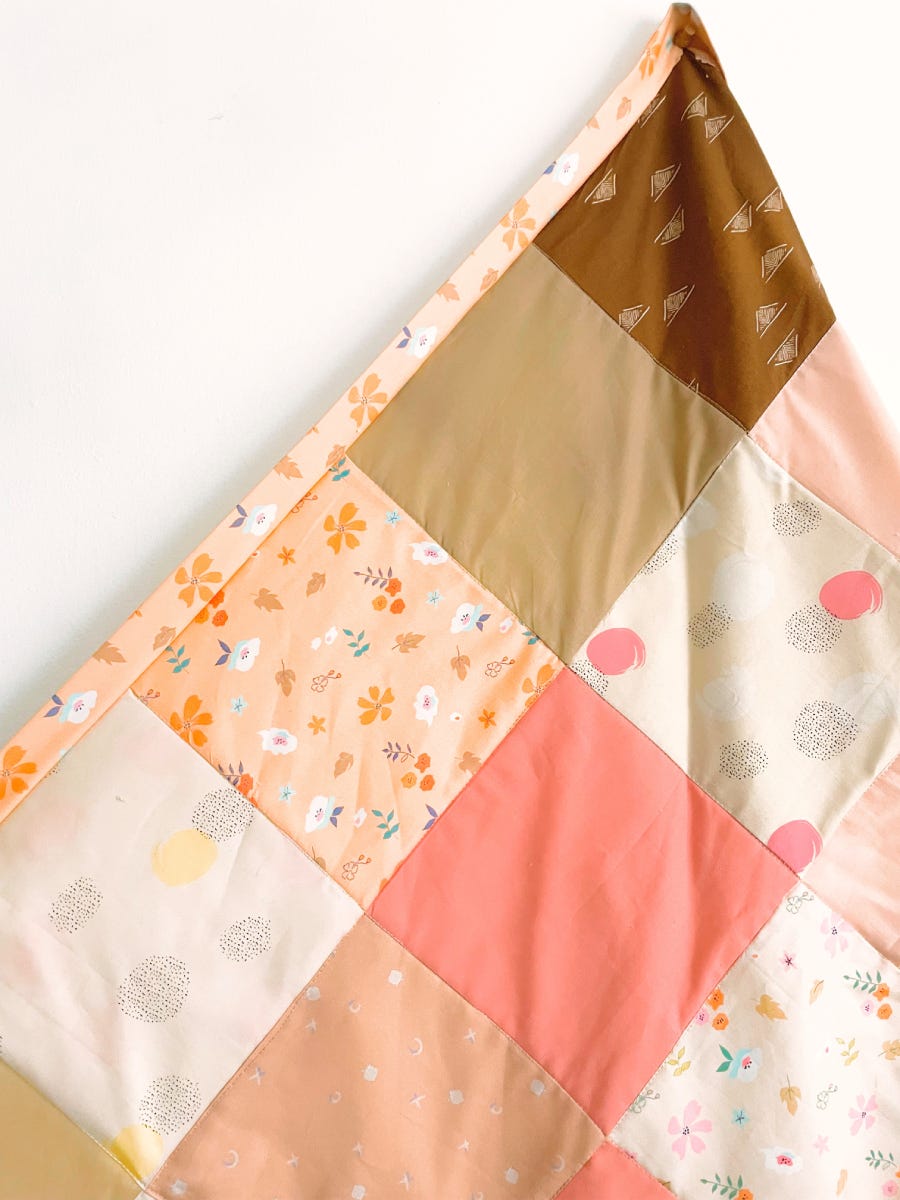
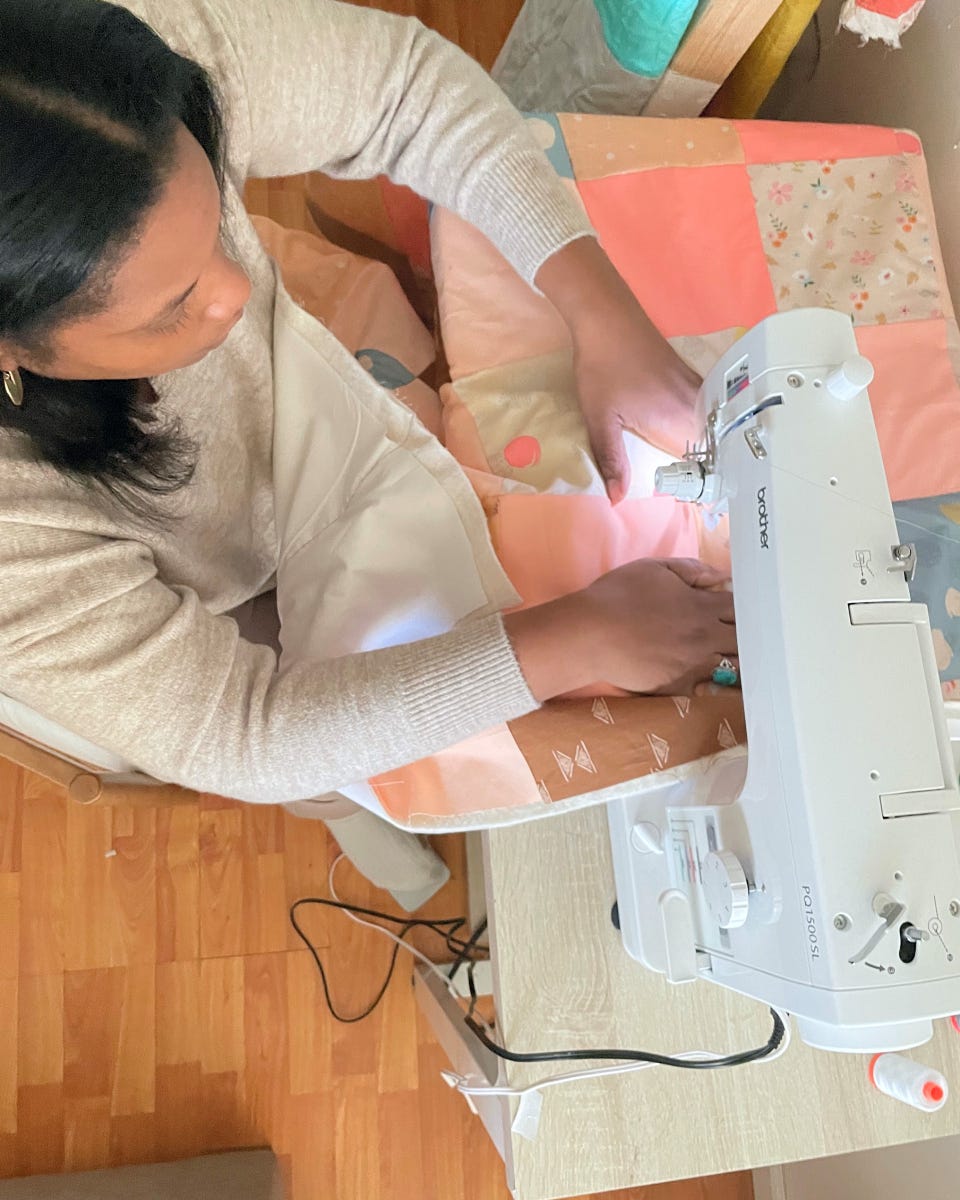
Once all of your fabric is cut, start sewing each block into rows. Then, sew the rows together. I did six square blocks horizontally, and eight squares across vertically.
Pro Tip: This quilt came out more rectangular, but if you create a baby quilt, use the same amount of square blocks vertically and horizontally.
Once everything is all sewn together, you can admire your work and appreciate how quickly the whole thing came together. The quilt I made is geared toward a child-size quilt because baby quilts finish at 36" x 48" and I wanted something a little bigger than that. Luckily, GO! Square Dies come in various sizes to achieve whatever finished block size you want.
I am so excited to hand this gift to the mommy-to-be!
An Effortless Project for the Weekend
Honestly, you can’t go wrong with a square block quilt. The flexibility to make one is impressive and is one of the reasons why I enjoy quick projects like this.
If you make your own version of this tutorial, use the hashtag #AccuQuiltBuilt and share your project with us @mrsporfiria and @AccuQuilt on social media. We can't wait to see yours!


