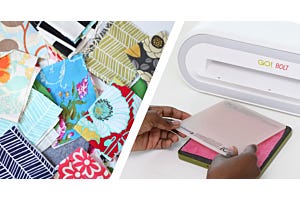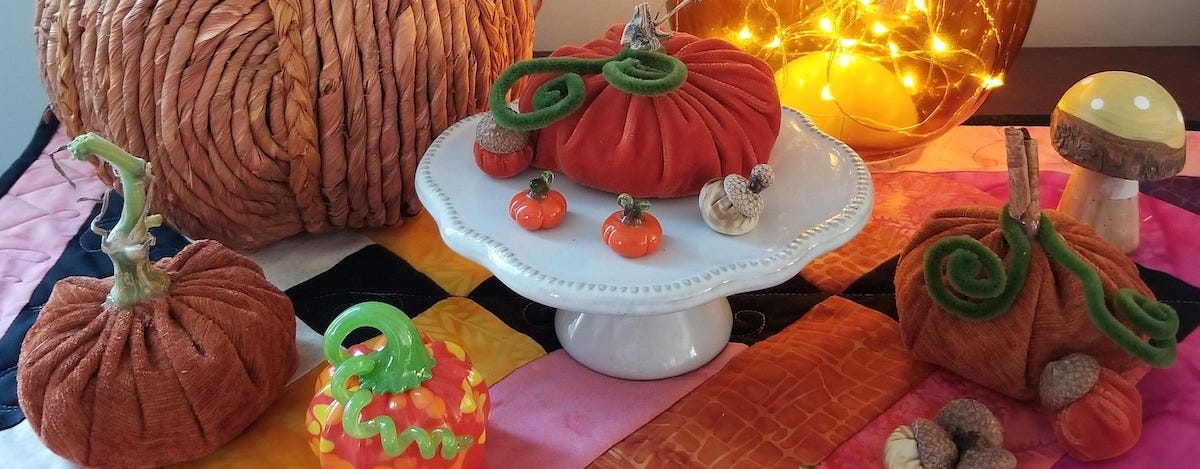
Hi, it’s Jen from DizzyQuilter.com. I don’t know about you, but the days are getting shorter, and I’m starting to get pumpkin fever. I’ve got my pumpkin bread recipe out, and my husband is happily using his pumpkin spice creamer every morning. It’s time to start decorating for fall so today I’m making velvet pumpkins, and I’m using my AccuQuilt GO! to keep it easy. Want to play along?
Materials for One Pumpkin
- GO! Circle-8” Die (55360)
- 9” square of velvet
- Strong thread
- Stuffing (I used poly pellets, like what is in Beanie Babies)
- Stem from small squash, cinnamon stick piece, or wine cork (you can get creative here)
- Chenille stems (pipe cleaners)
- Hot glue gun and glue sticks
Other Optional Circle Sizes:
- GO! Circle-2", 3", 5" Die (55012)
- GO! Circle-1½", 1¾", 2¼", 2½" Die (55155)
- GO! Emojis Limited Edition Die (55191) - Circles are 1¾" and 5½"
I don’t do any fabric prep with this one. If your fabric is wrinkled, just go with it. Some velvets melt with irons, so be careful, but an imperfect circle will not affect how your pumpkin comes out.
Cutting Your Pumpkin
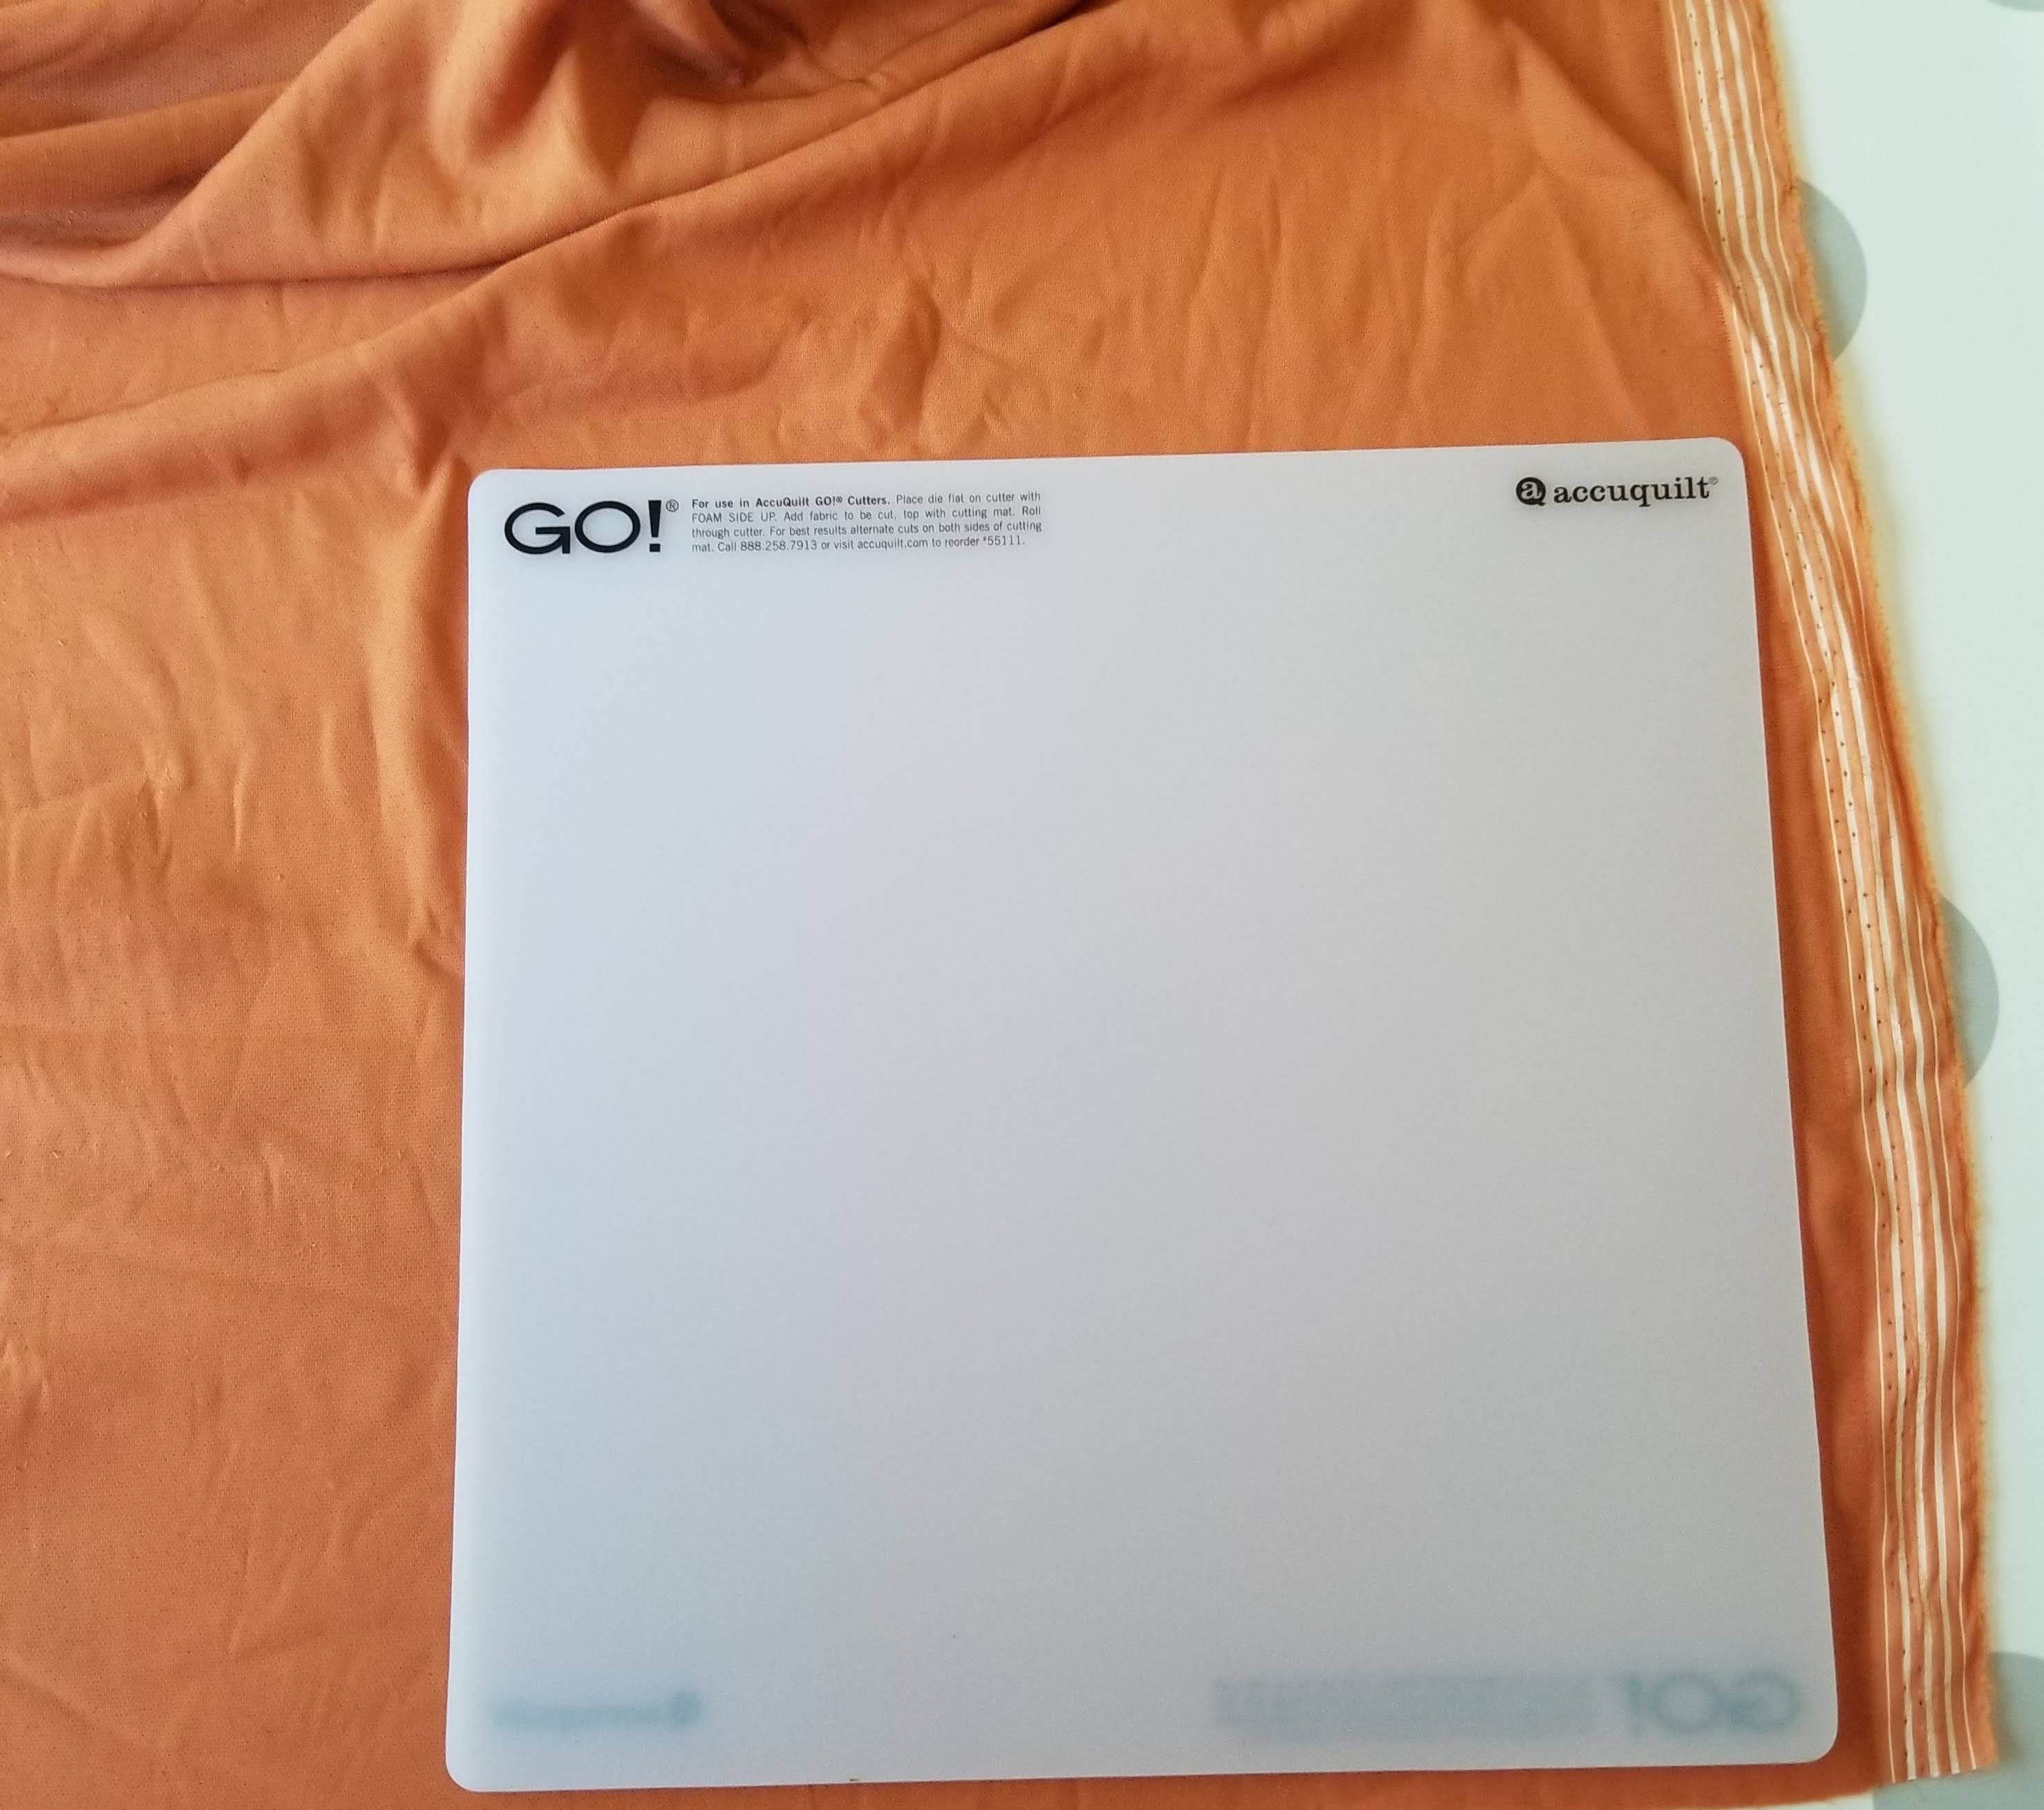
I use my cutting mat as a quick and easy template to cut off an appropriate square of velvet from my yardage, but you can easily use scraps that are smaller as long as the fabric covers most of the circle on the die.
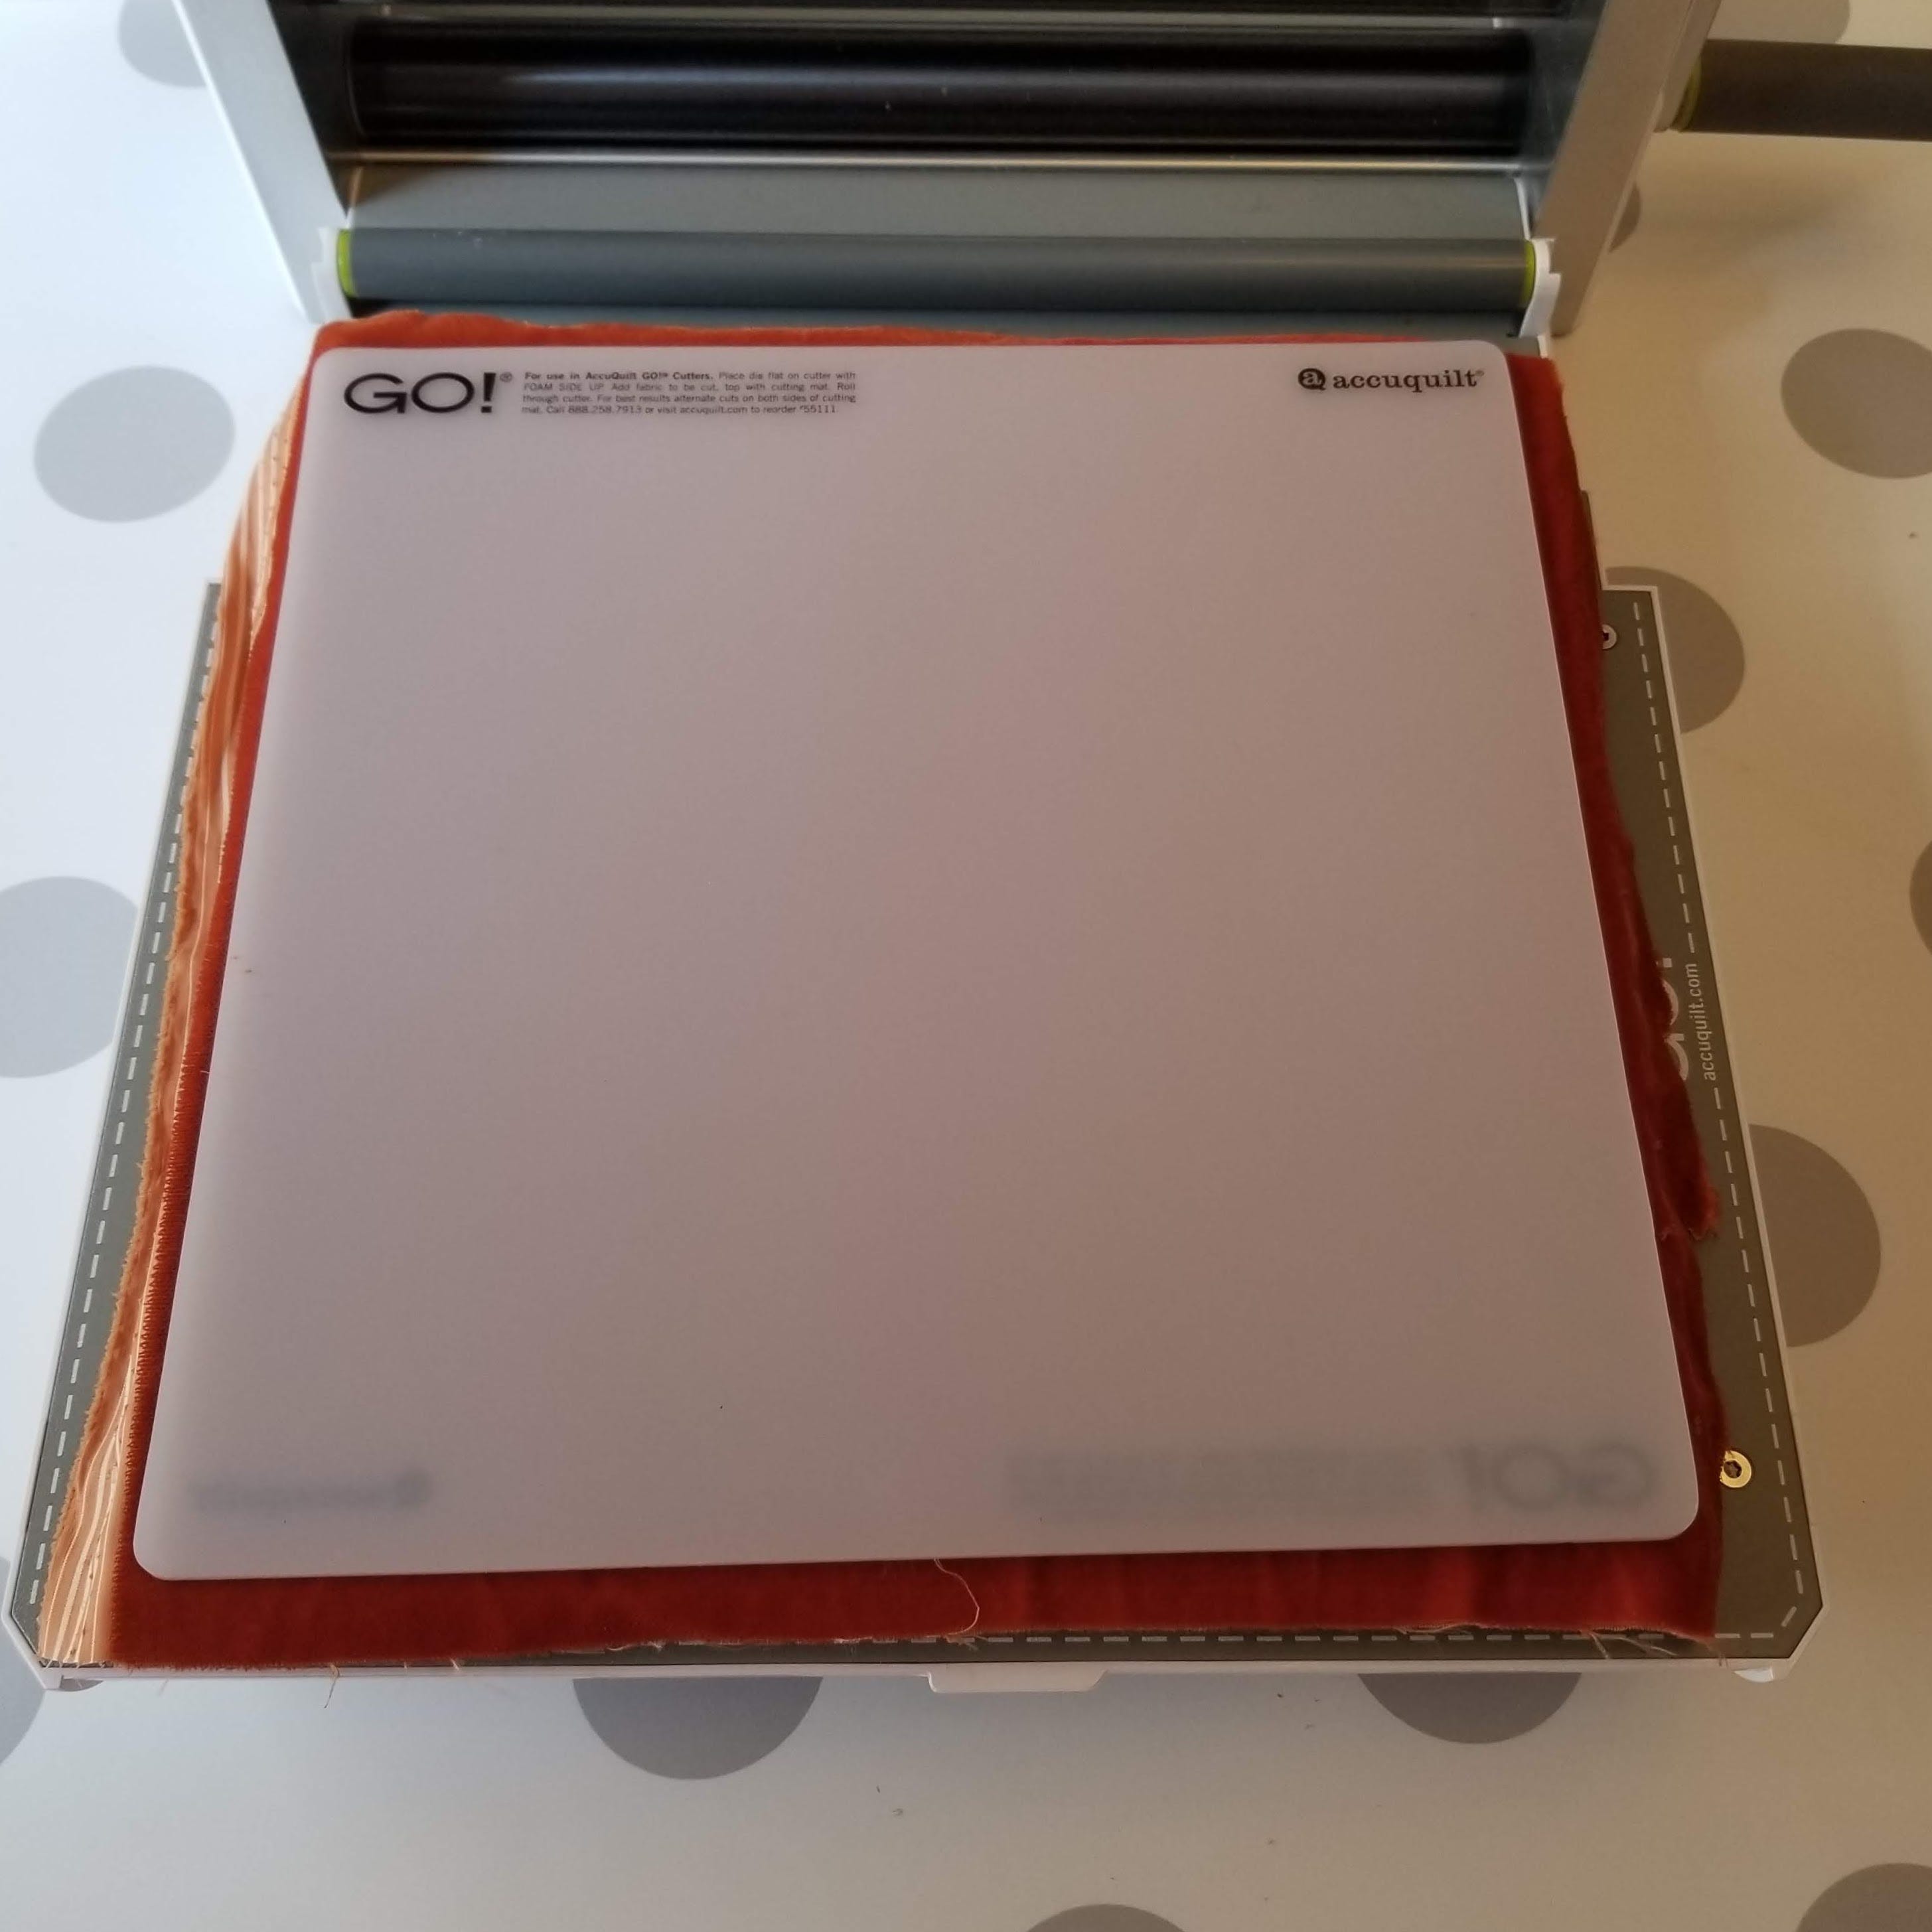
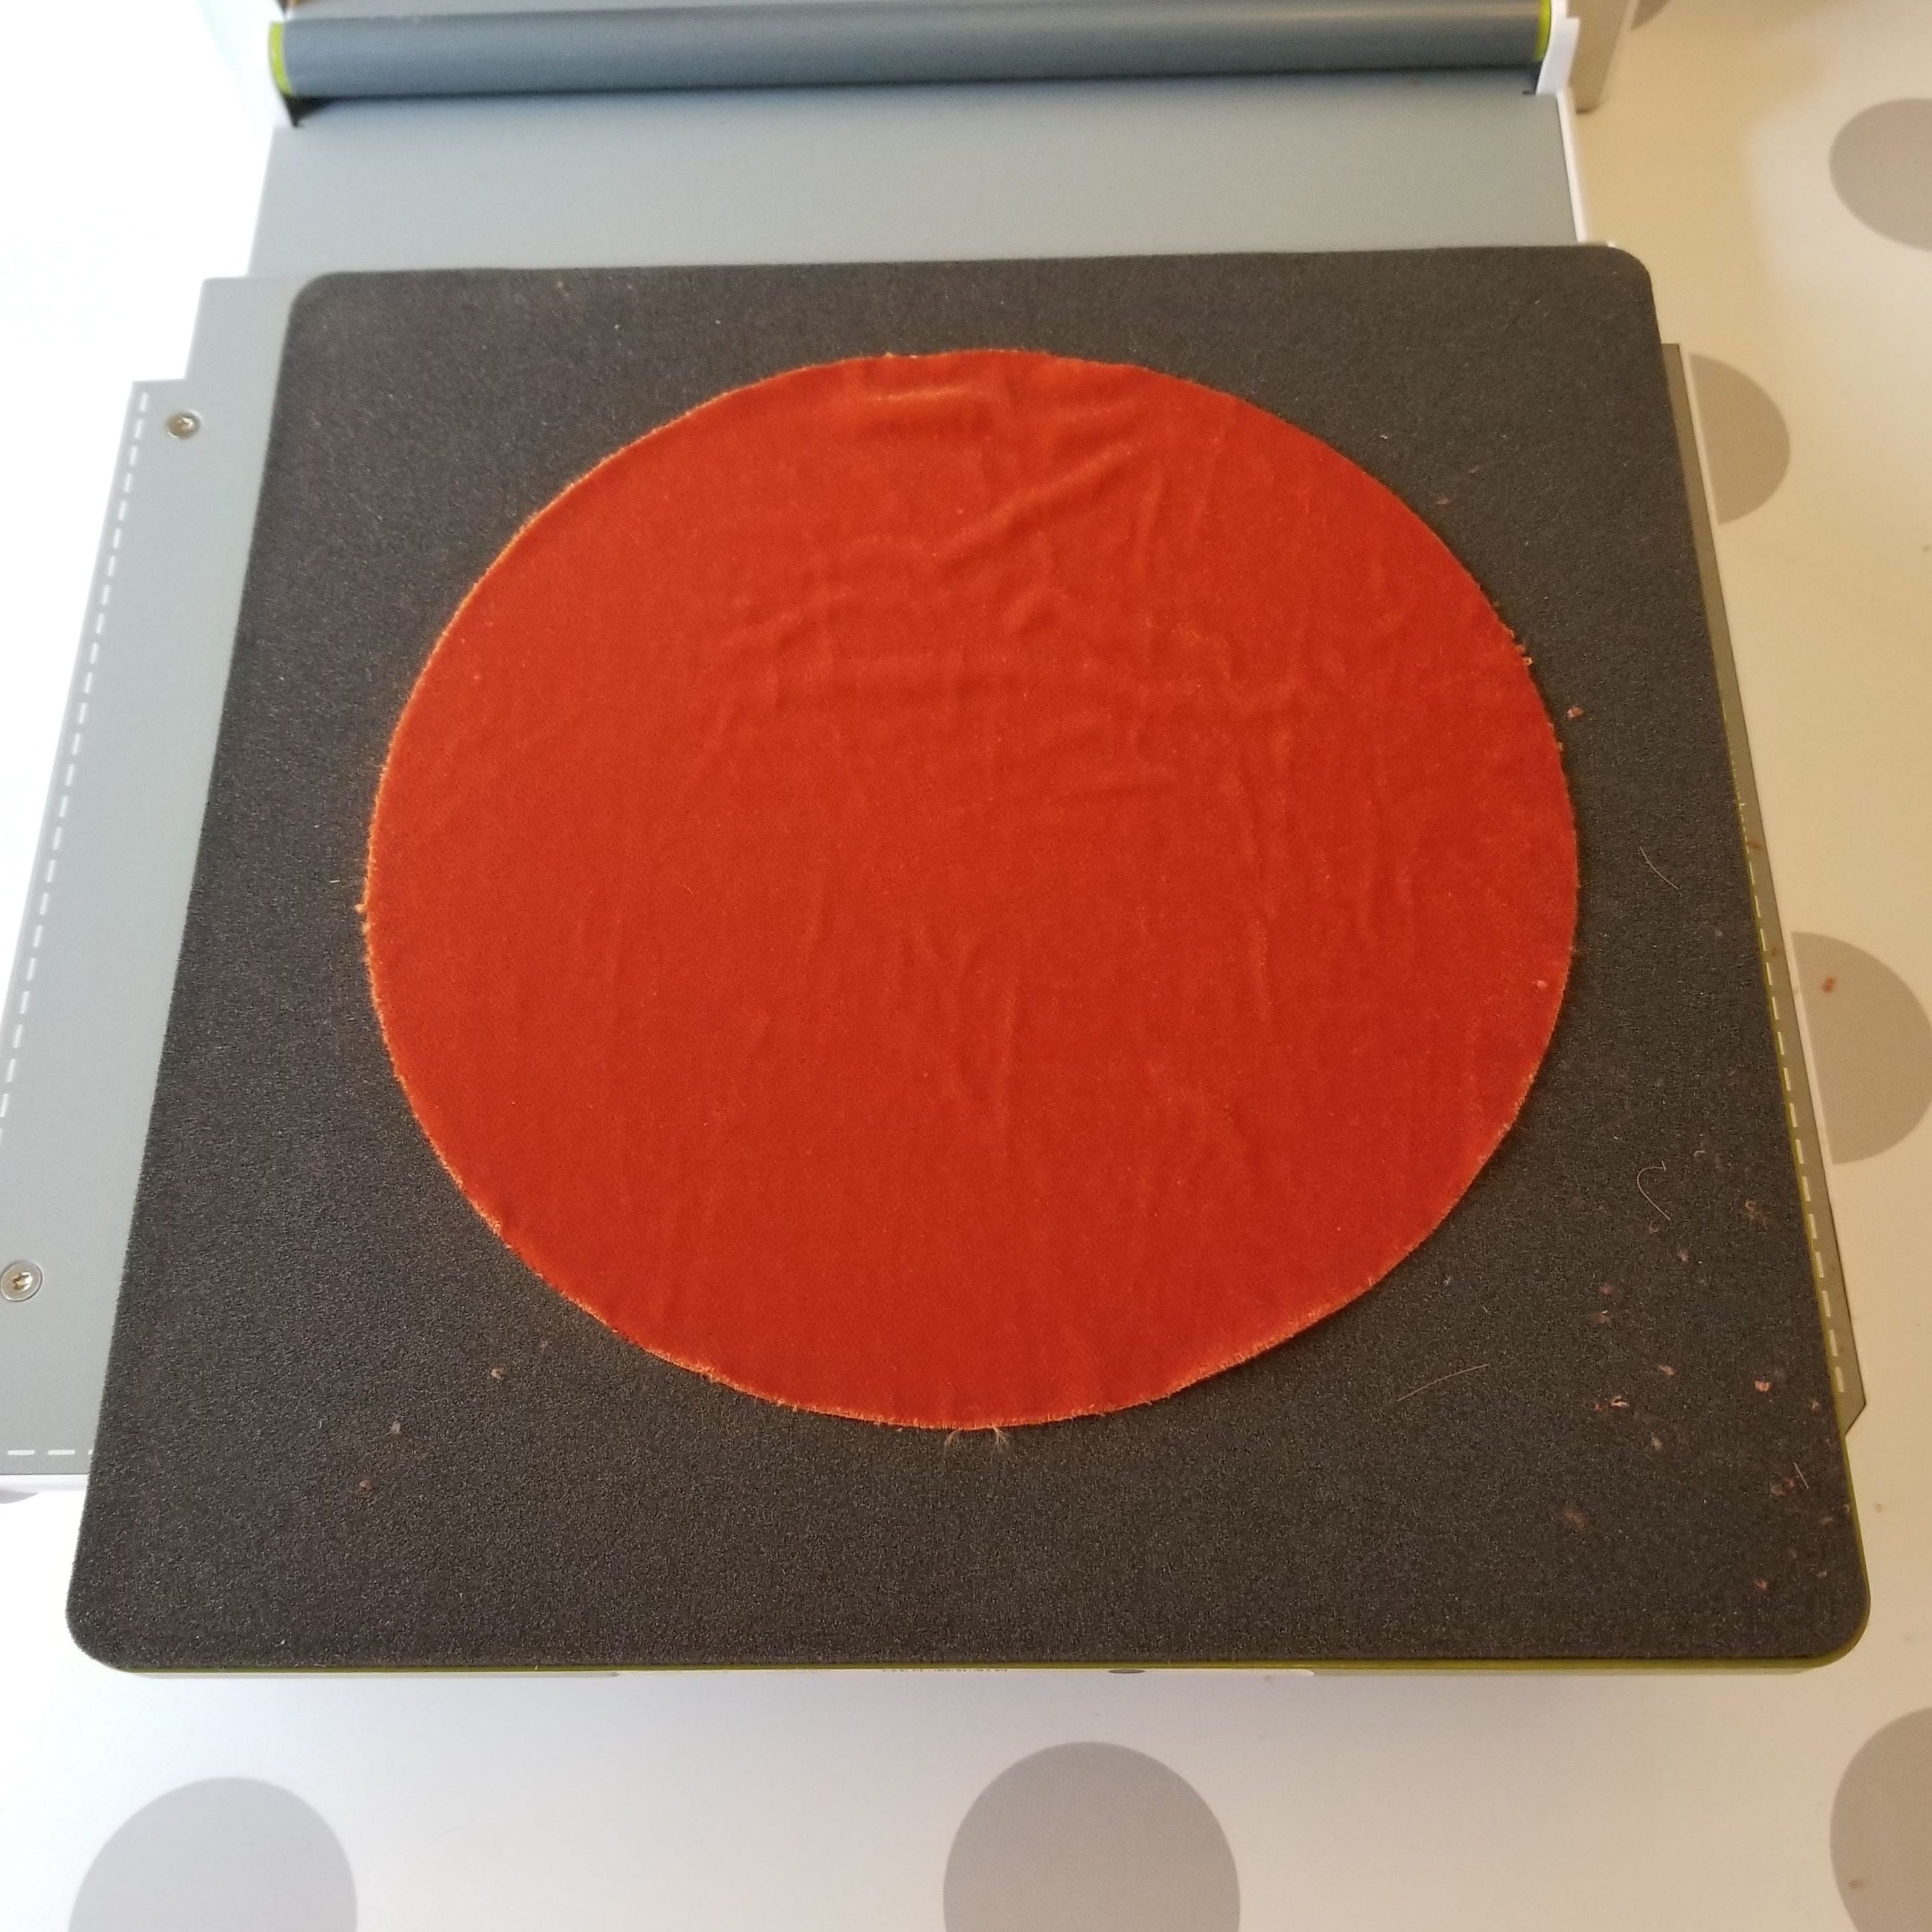
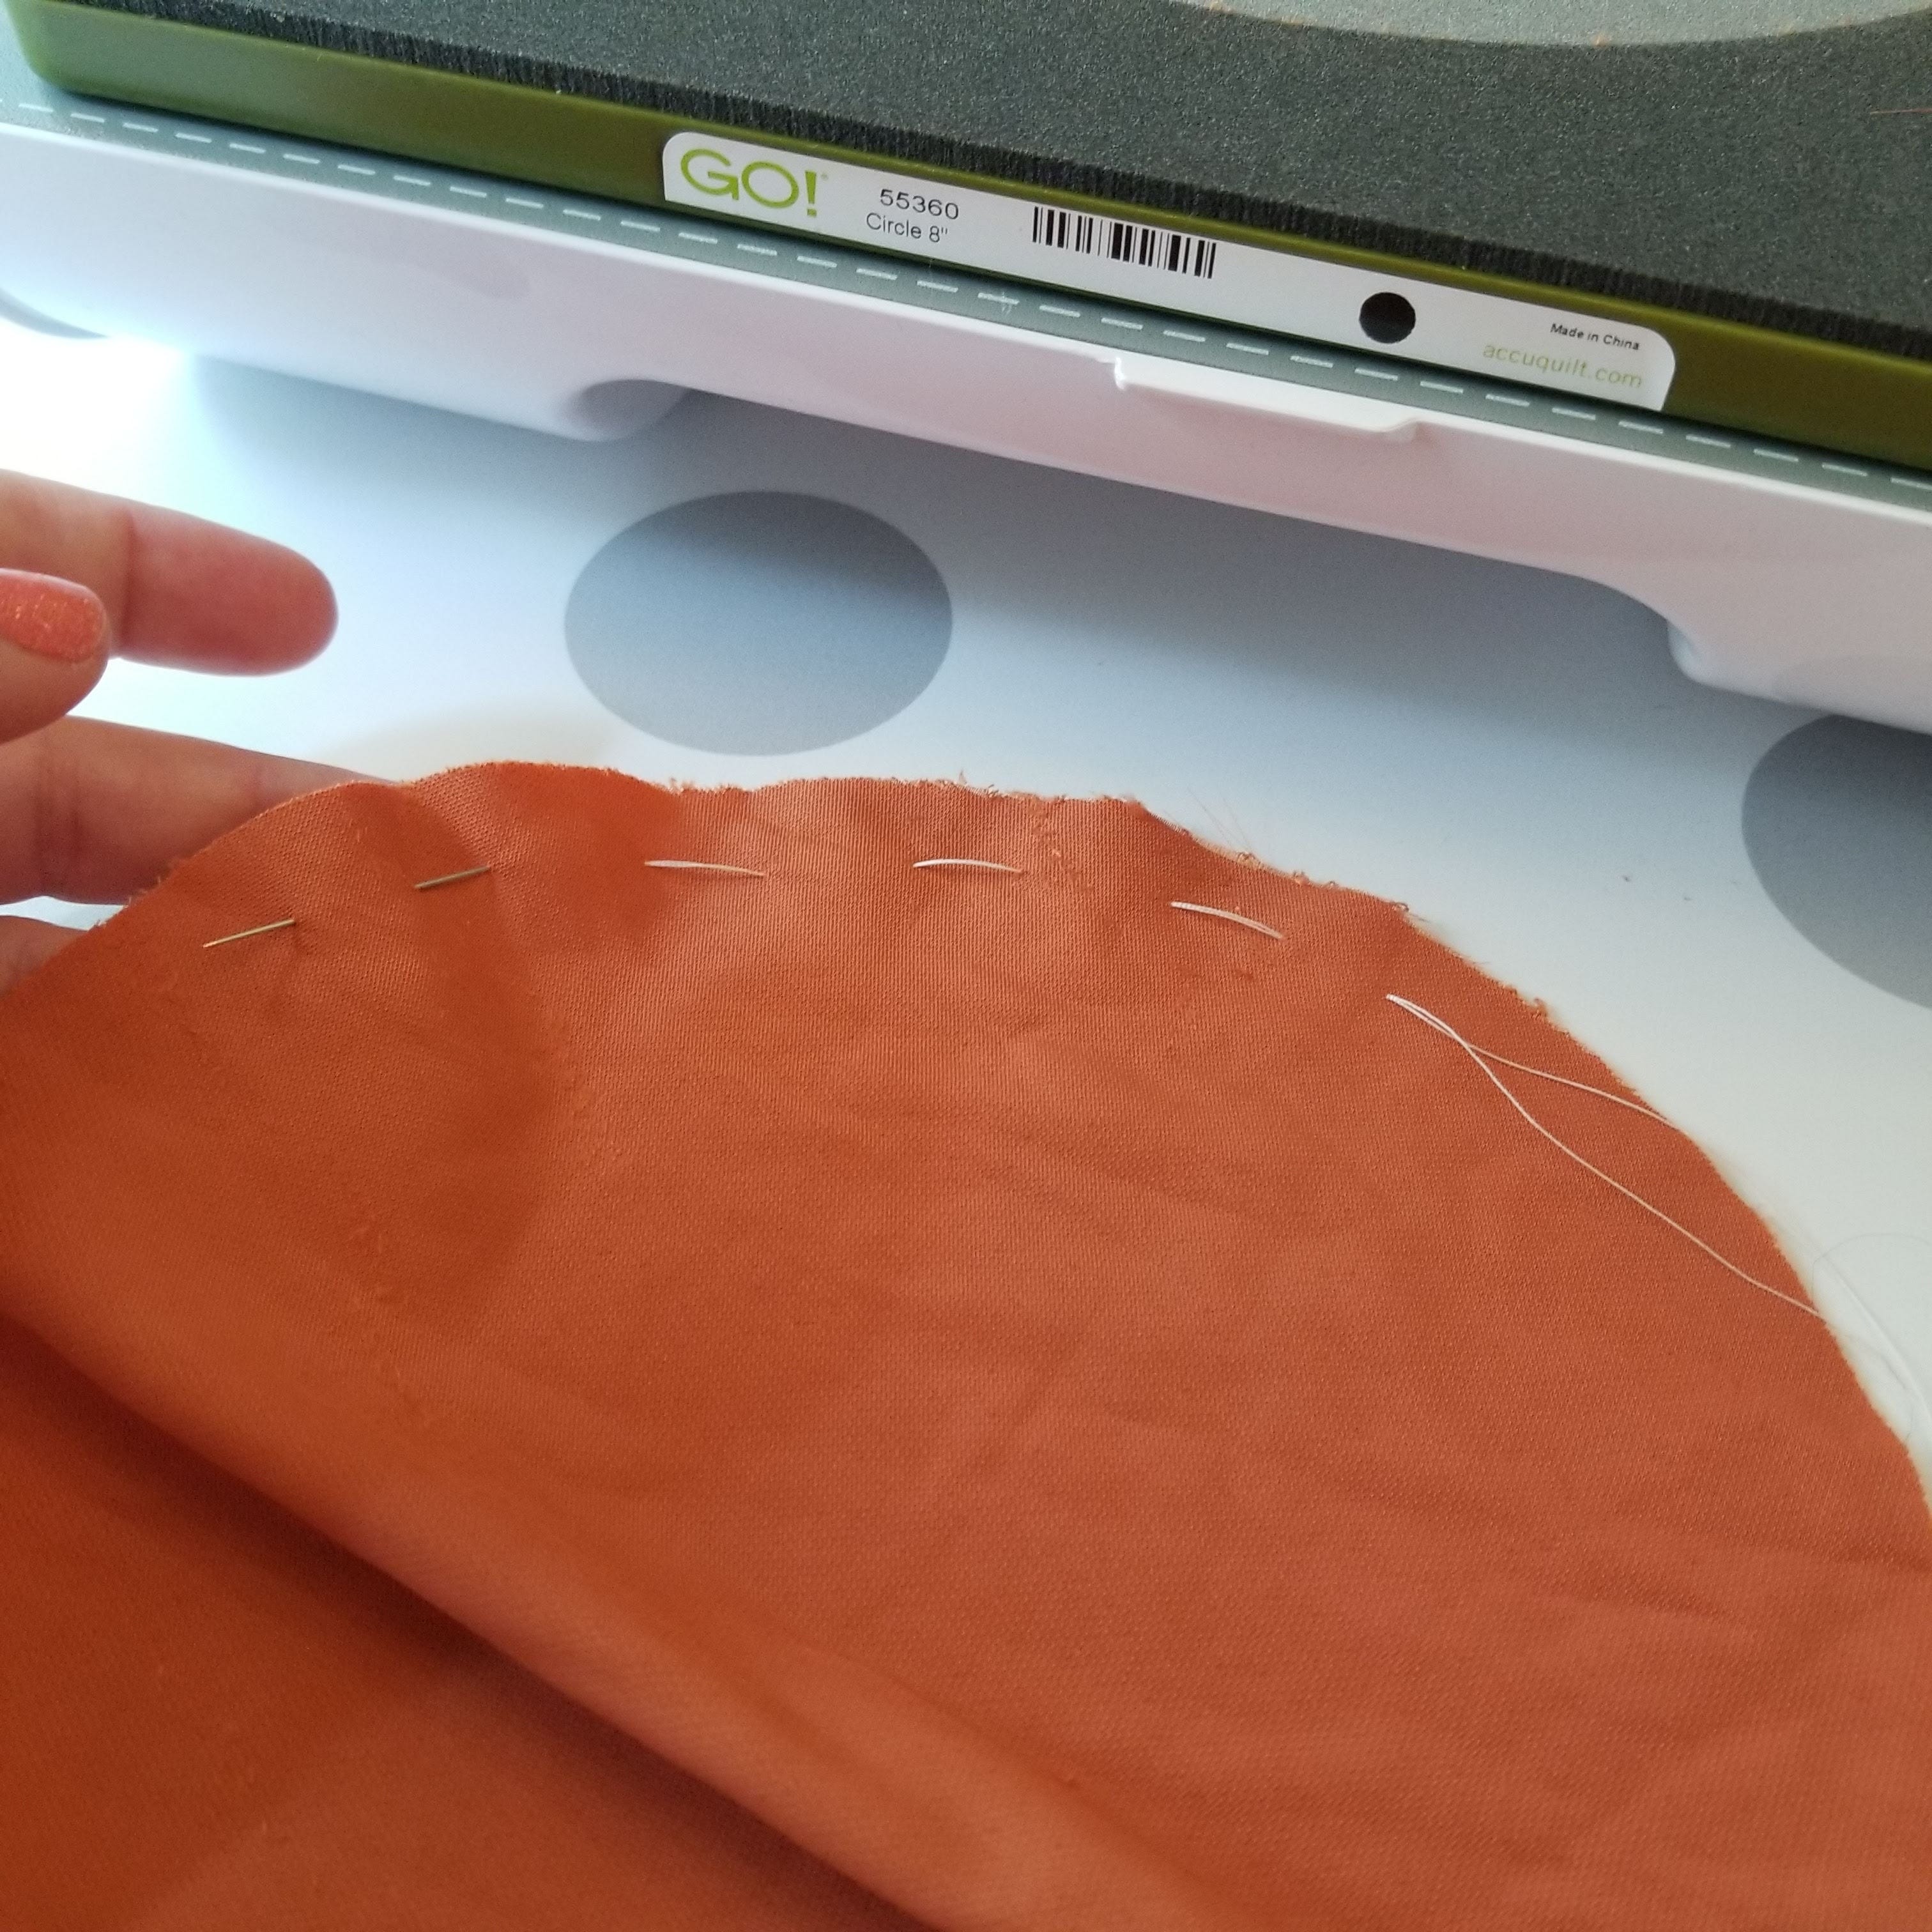
Lay your velvet square onto your GO! Circle-8” die, place the mat on top, and roll it through the cutter.
Sewing Your Pumpkin
Using a doubled length of thread, sew a running stitch around the outer edge of your fabric, about ¼” in from the edge. I like to make my stitches really large, almost an inch. Smaller stitches mean smaller pleats, larger stitches larger pleats.
Pull the stitches partially closed, leaving space for the filling.
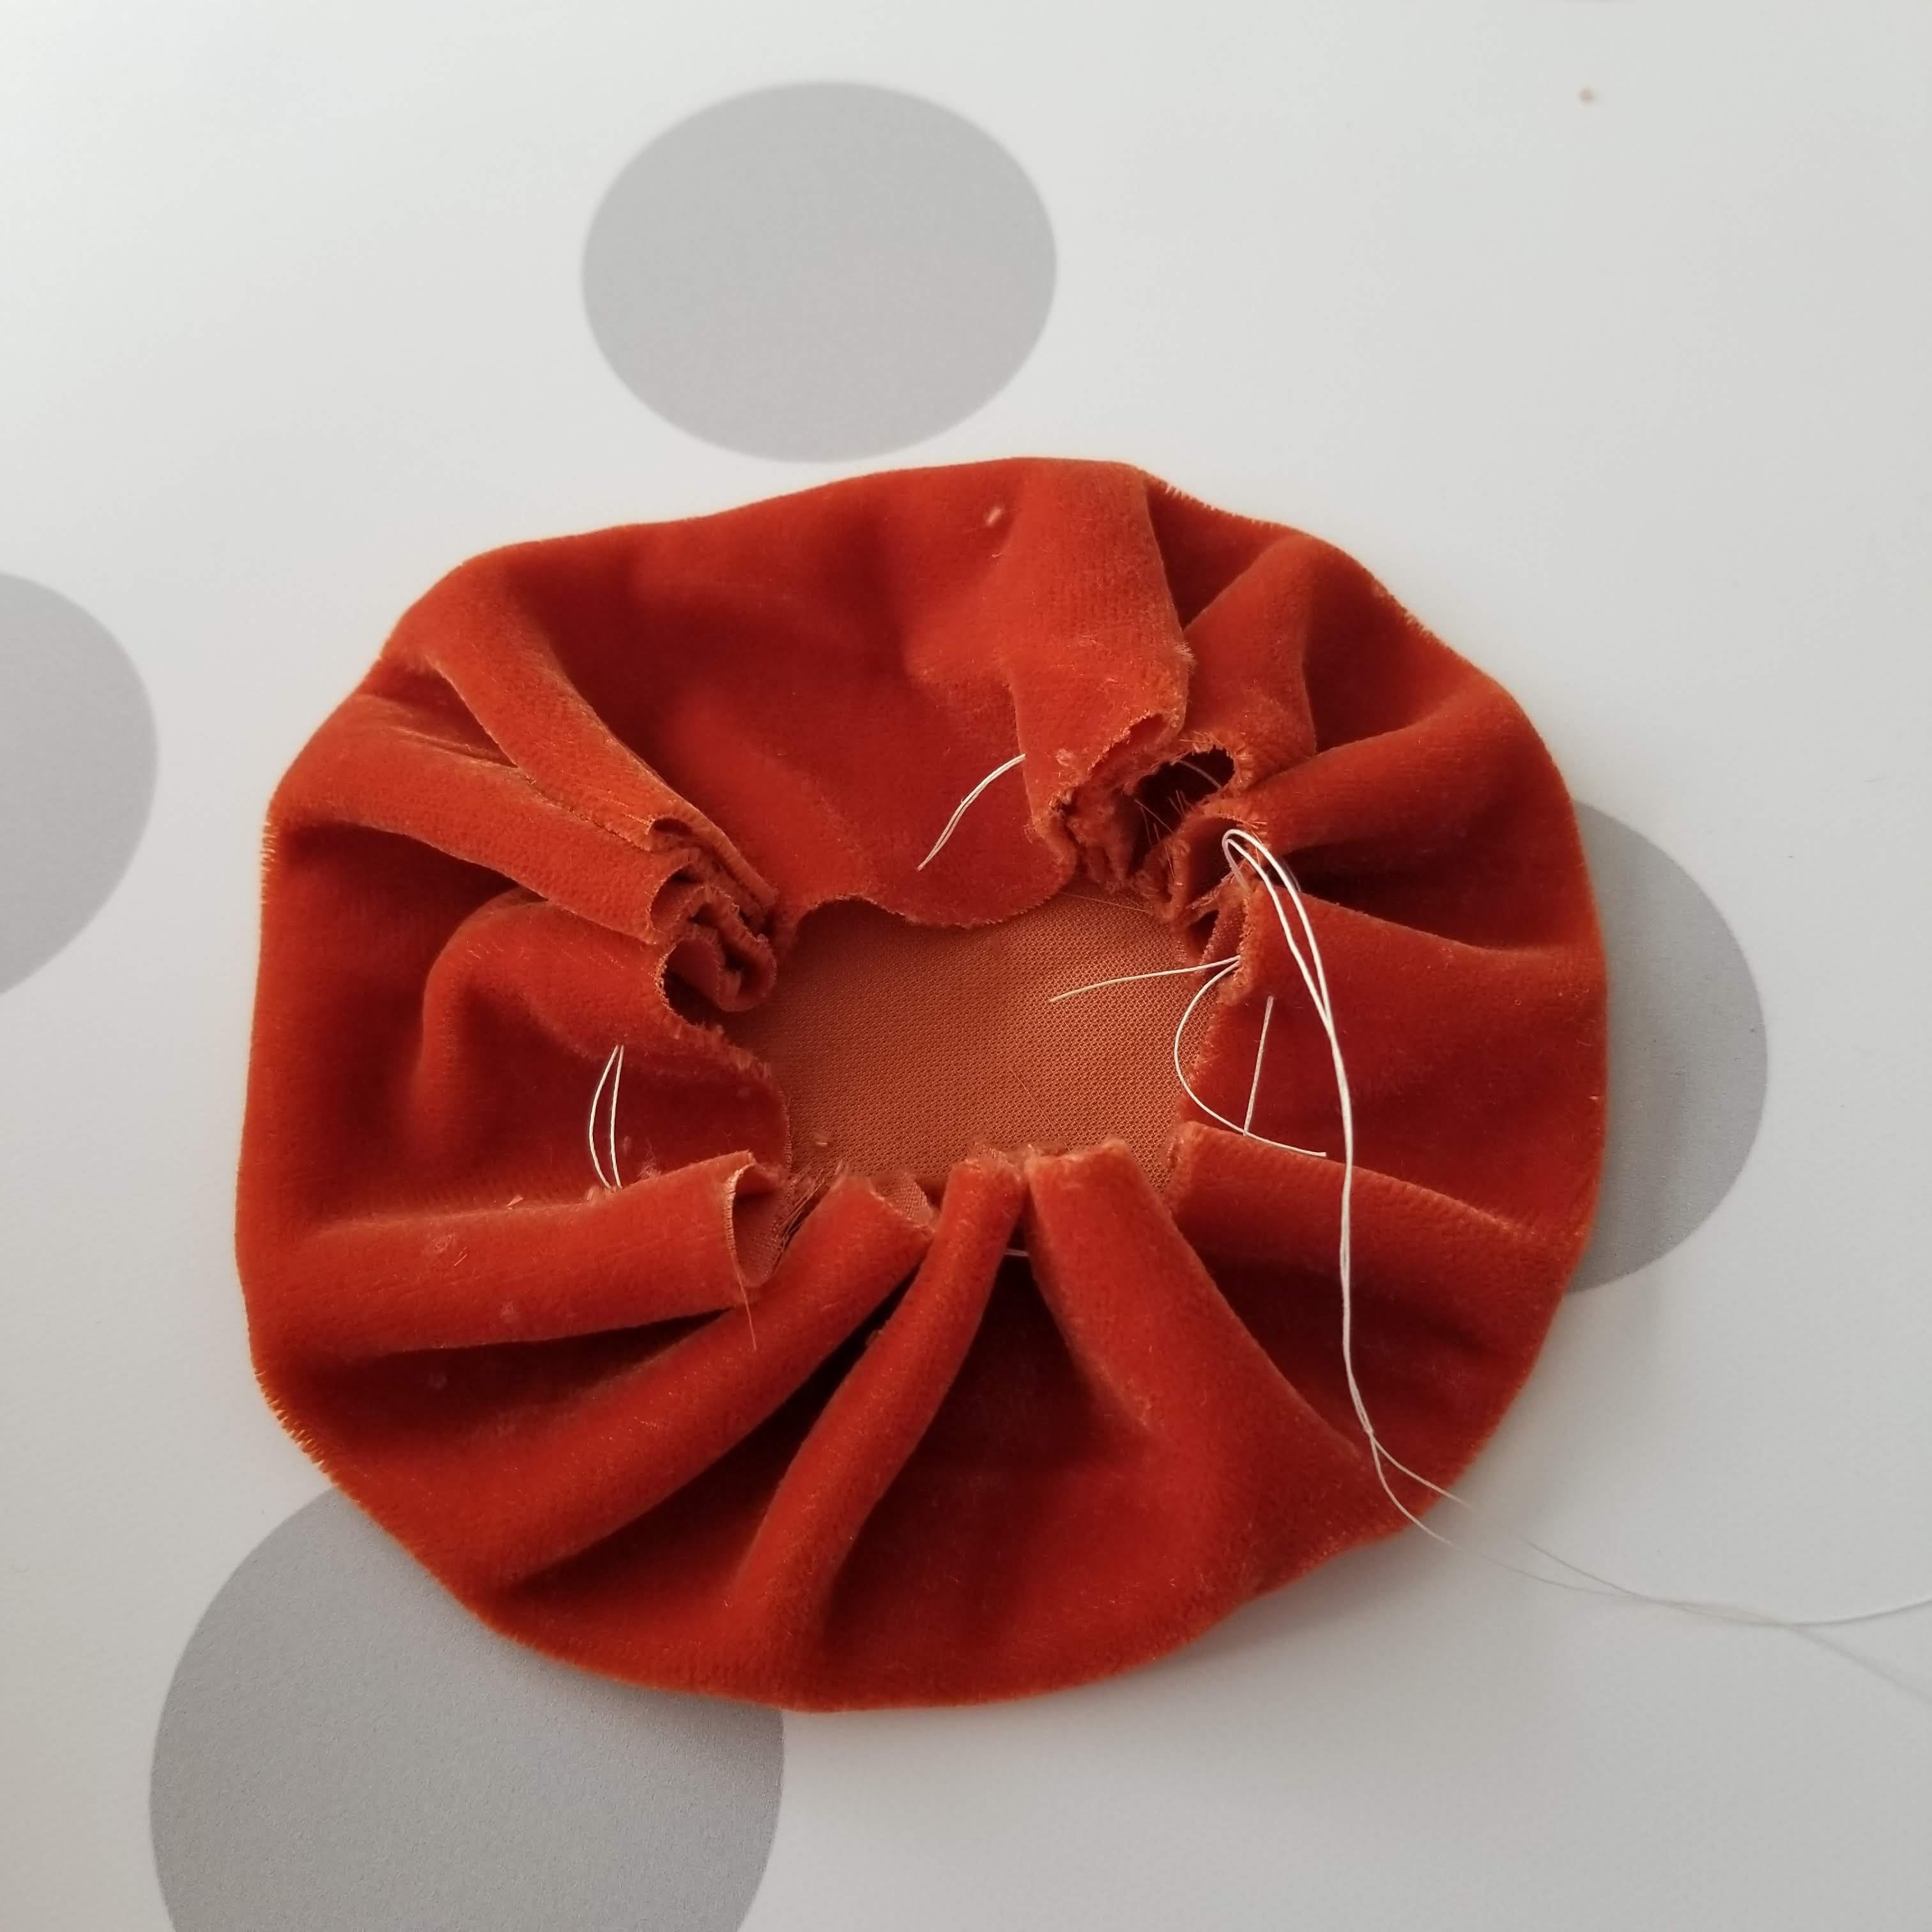
I used poly pellets, as I have a bunch of them on hand and I like the weight of the pumpkin with them. It does make for a flatter pumpkin, though. I have seen others online filling them with fiber fill, which seems to make for a rounder pumpkin. I did one with crushed walnut shells in the bottom, and wool batting scraps in the top, to use as a pincushion on my sewing table. That one is a bit rounder. You can use just about anything that will puff them up, but I wouldn’t use items like rice or corn - I think they would attract bugs.
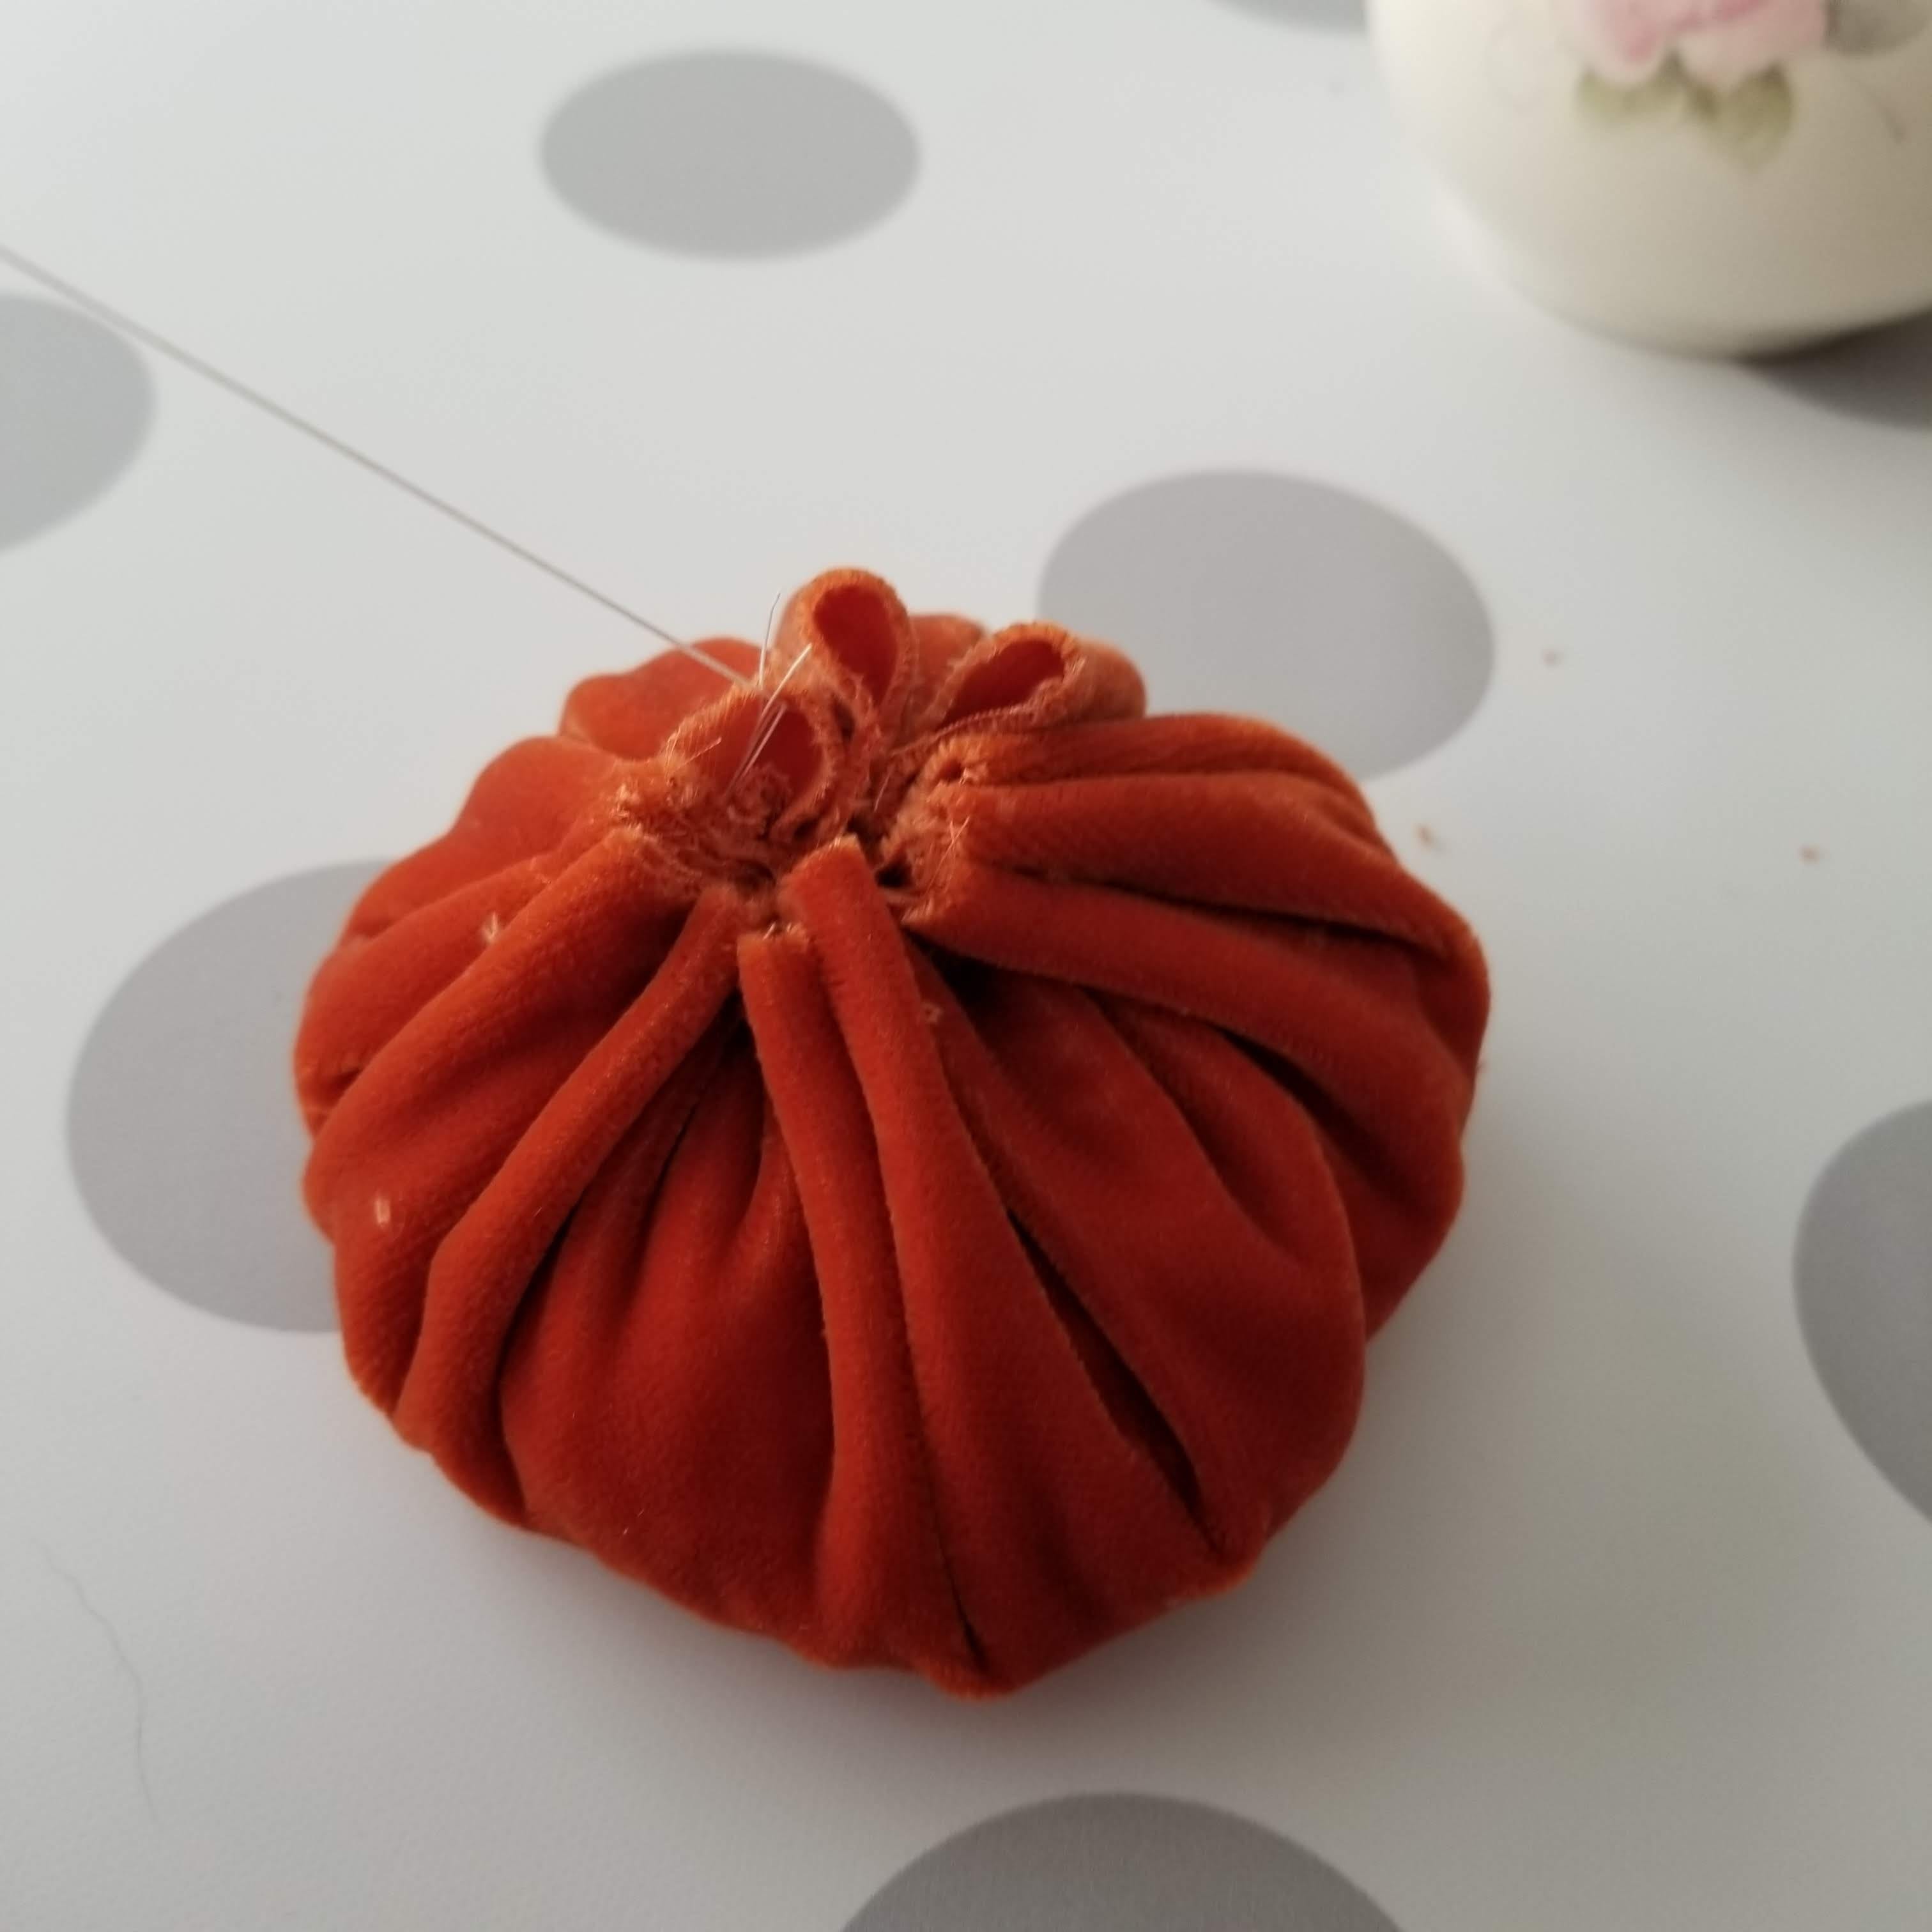
Once filled, pull the stitches tight. I take a few more stitches across the top, then knot it off to make sure they stay closed.

Add the Finishing Touches
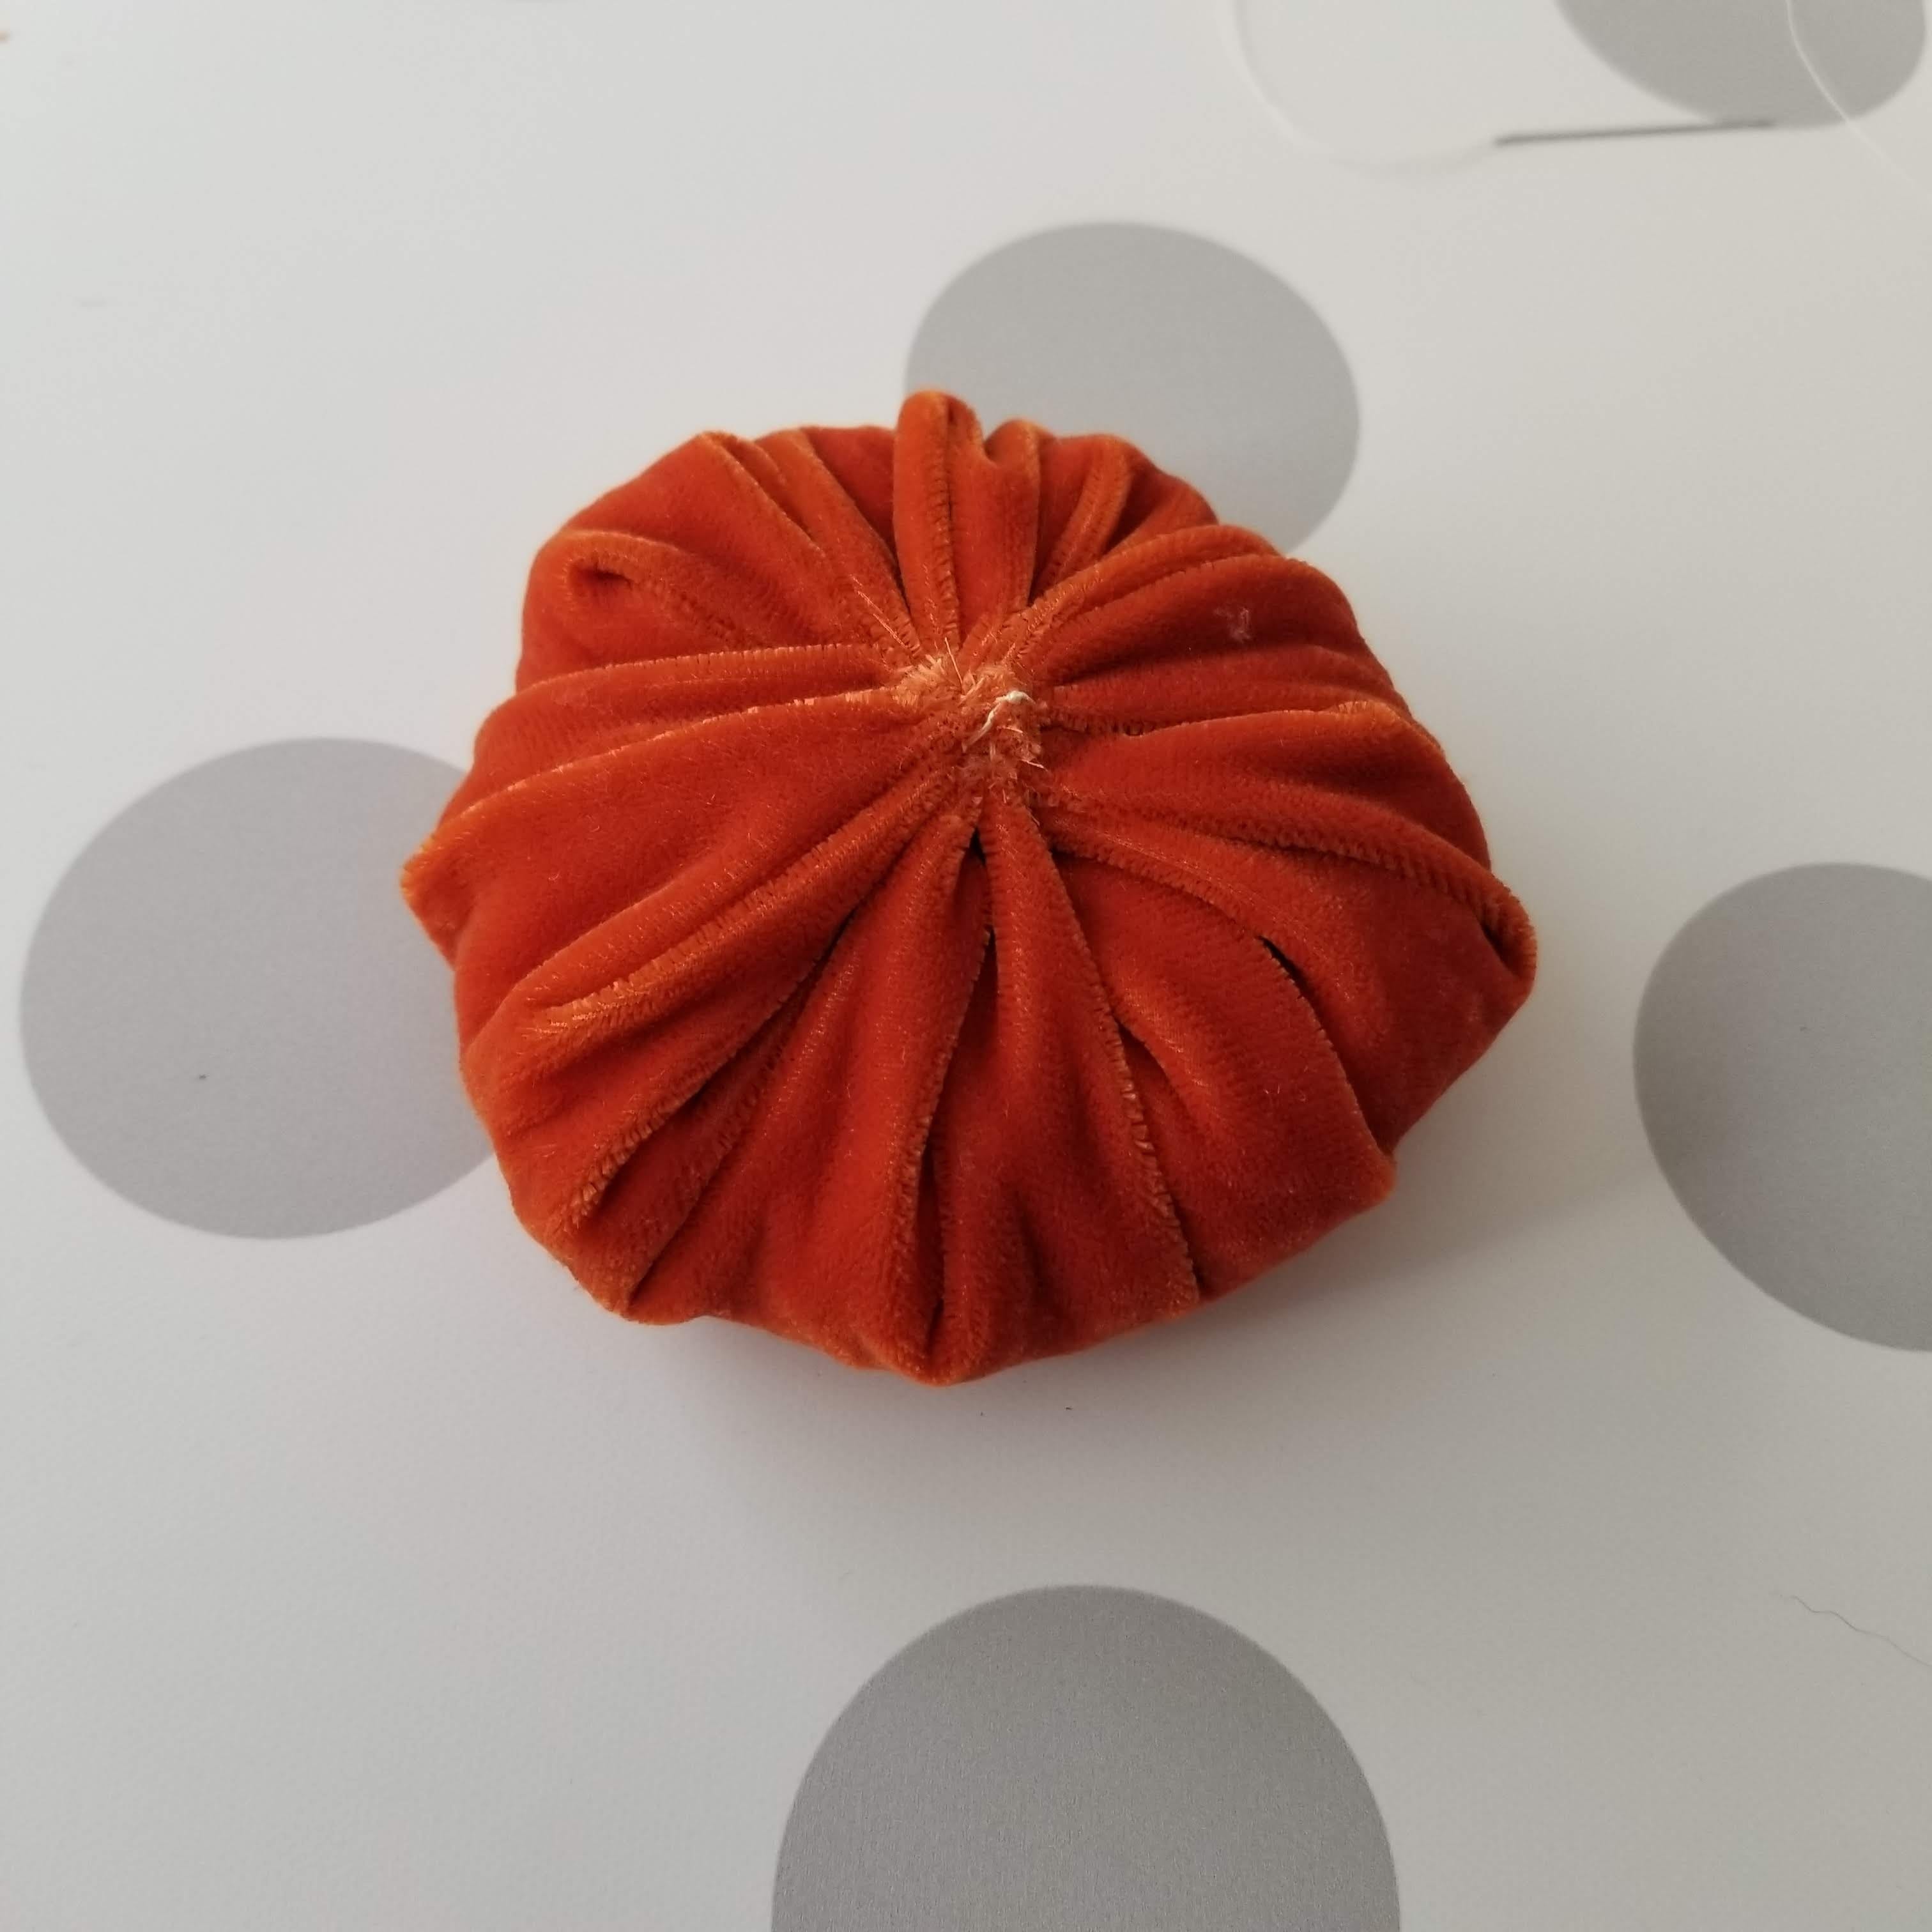
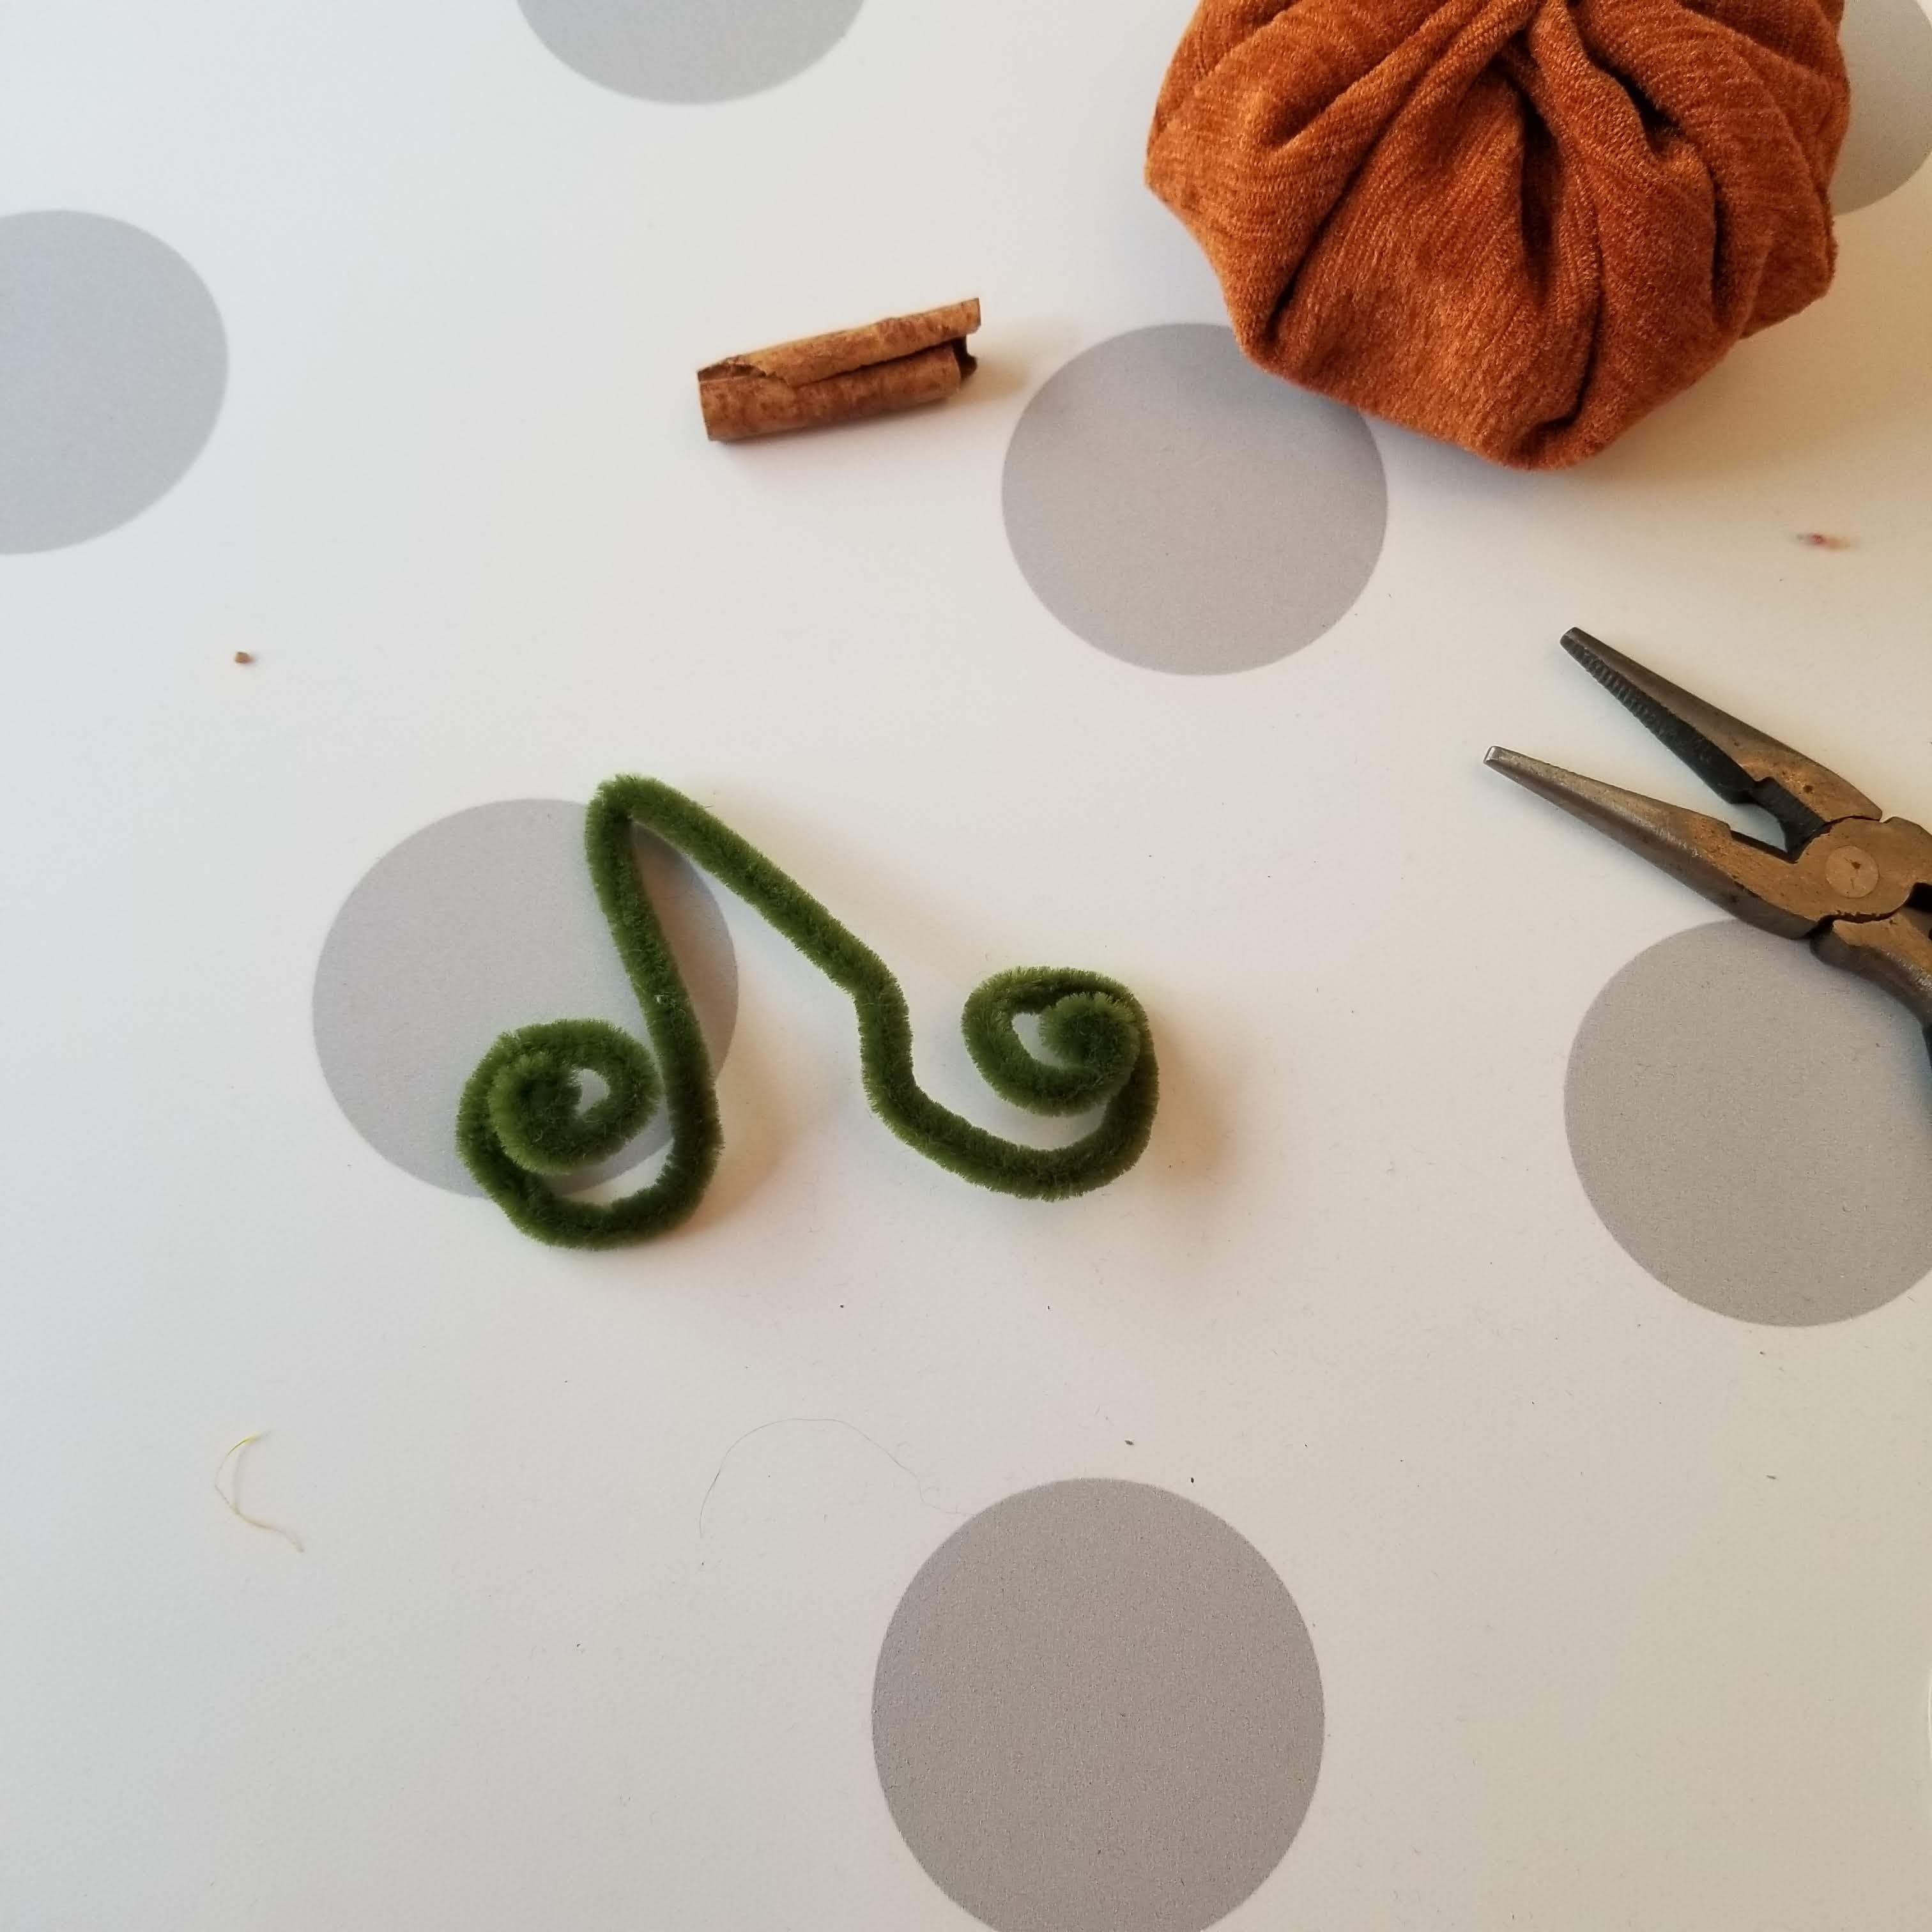
Prep your chenille stem “vine”, if you are using one. I just bent the ends of the stem into a swirl.
Apply hot glue to the base of your pumpkin stem, and hold it firmly onto your pumpkin.
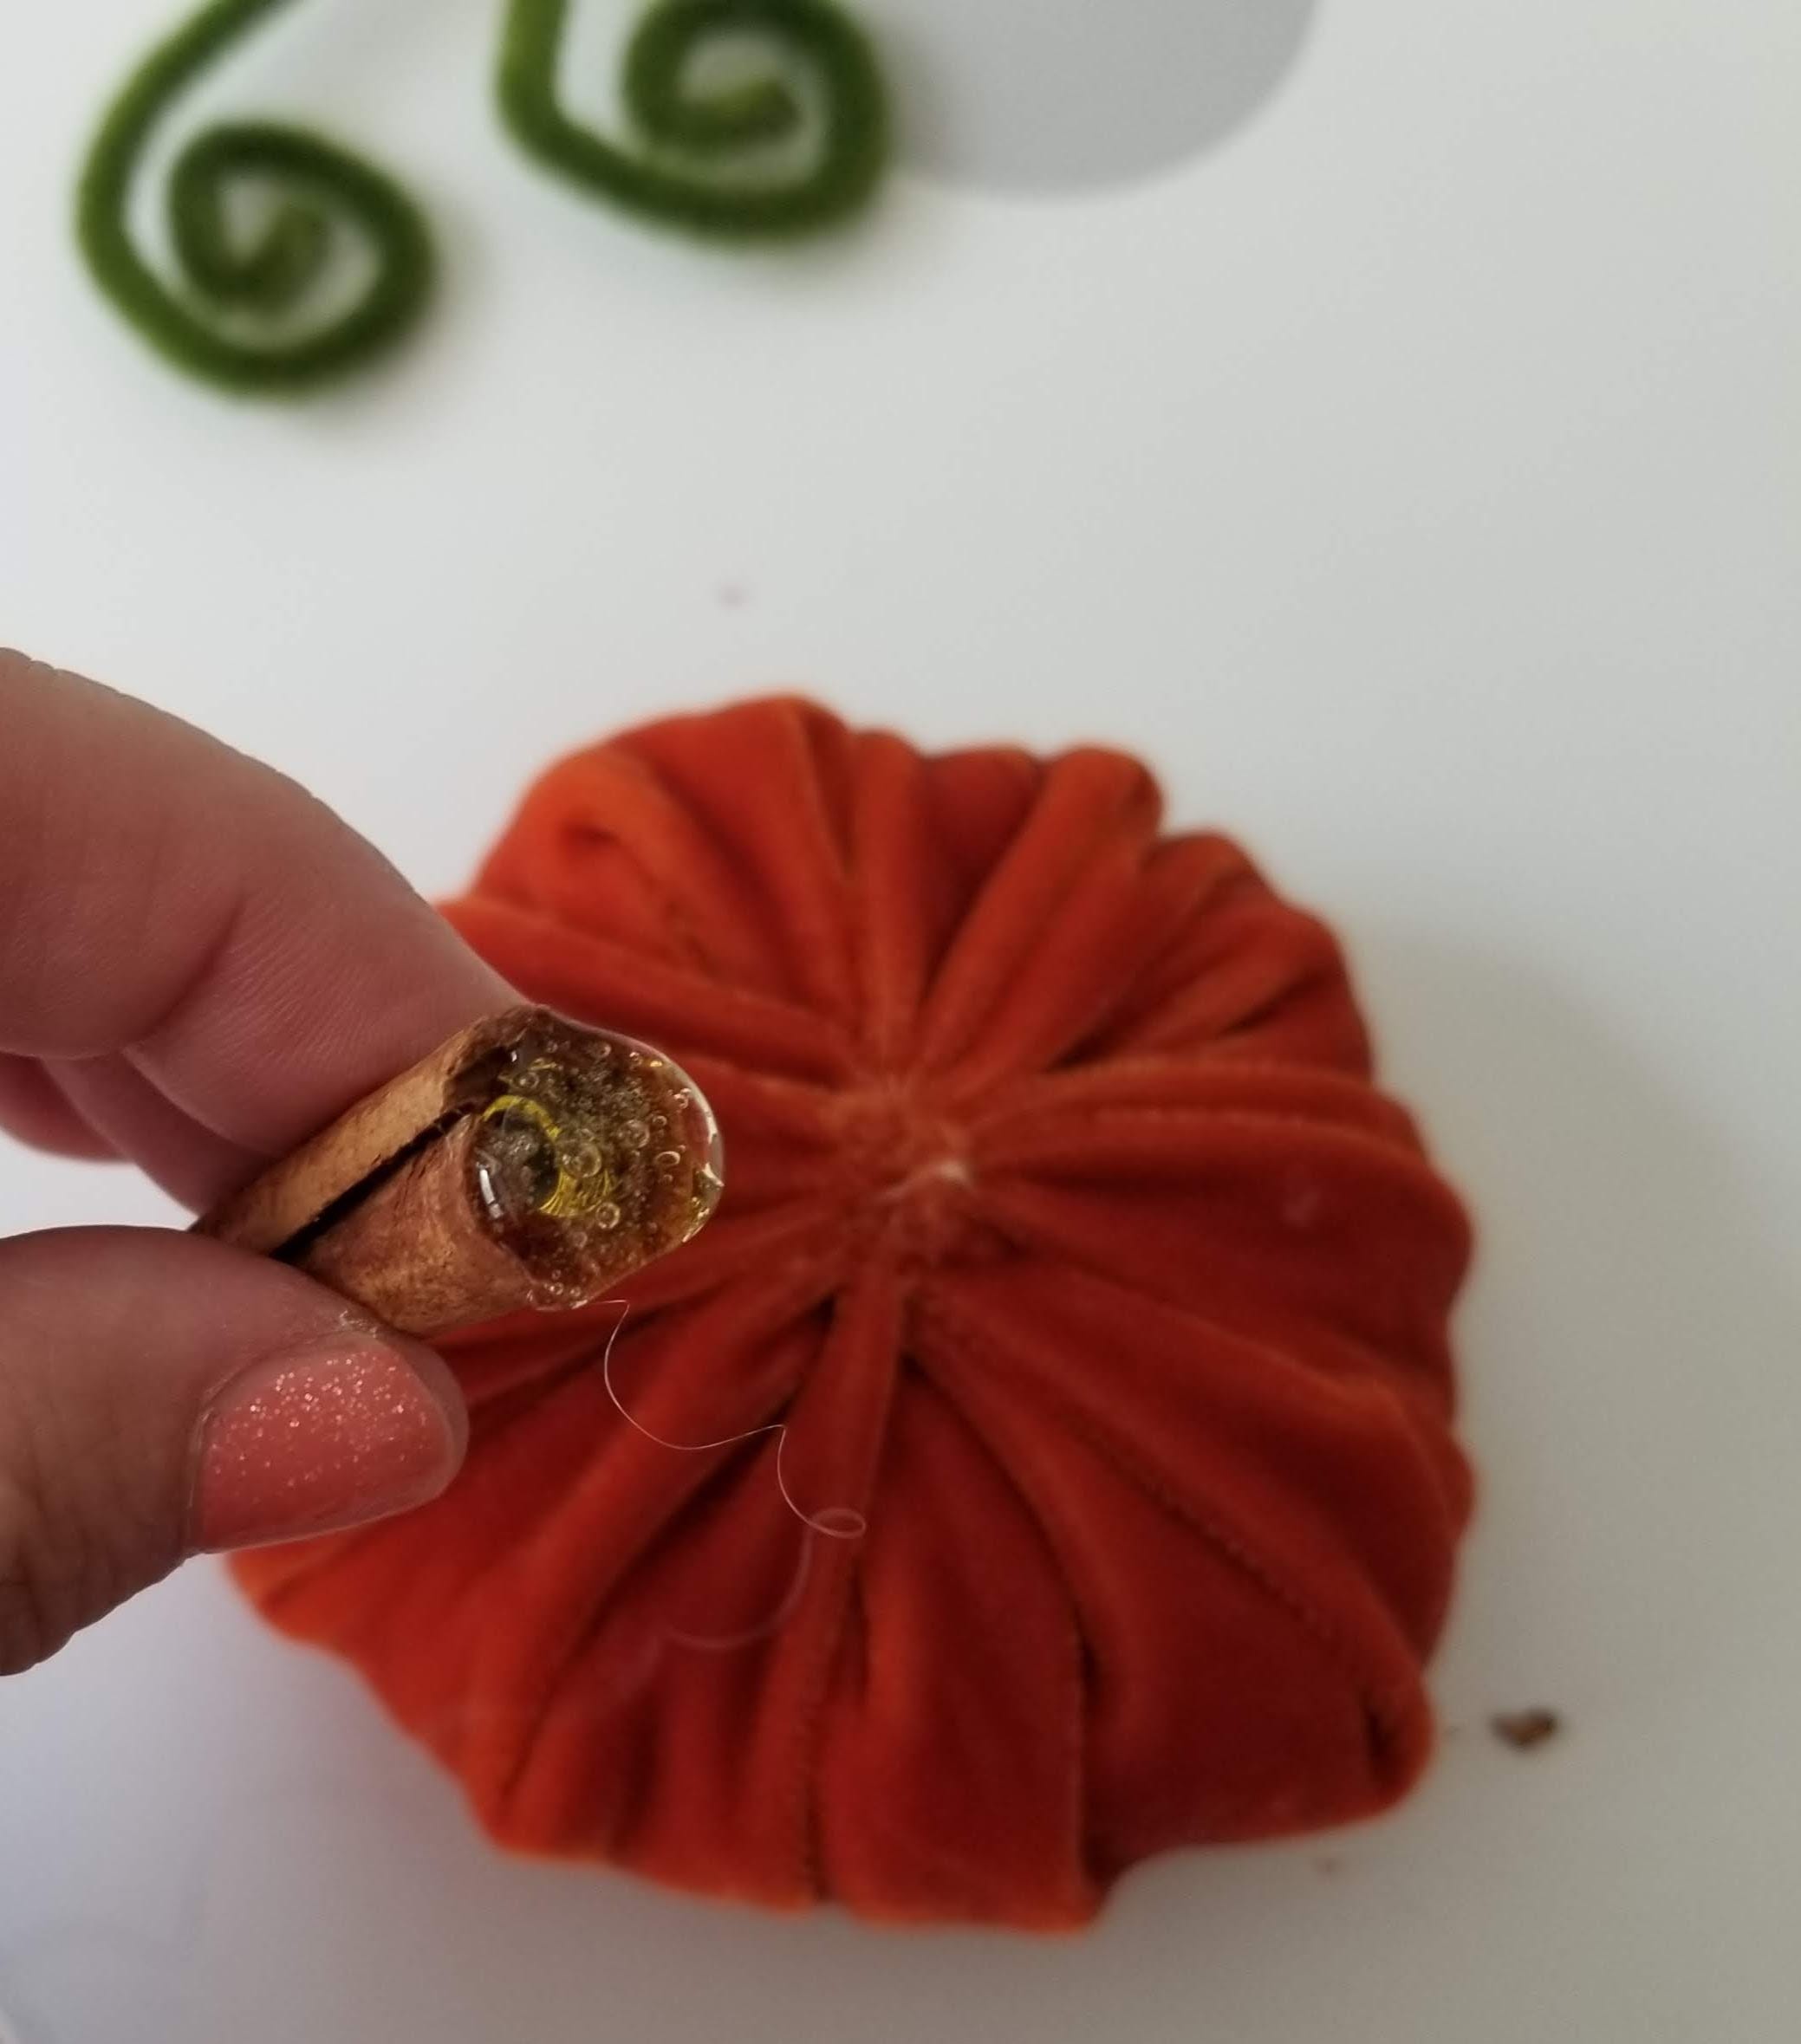
Two of my pumpkin stems are actually stems from tiny little butternut squashes I grew in my garden. The other one is half of a cinnamon stick. It’s easier and smells nice, too. If you like the look of the real stems, I would suggest finding some from gourds or other little squashes. The ones from real pumpkins are too big.
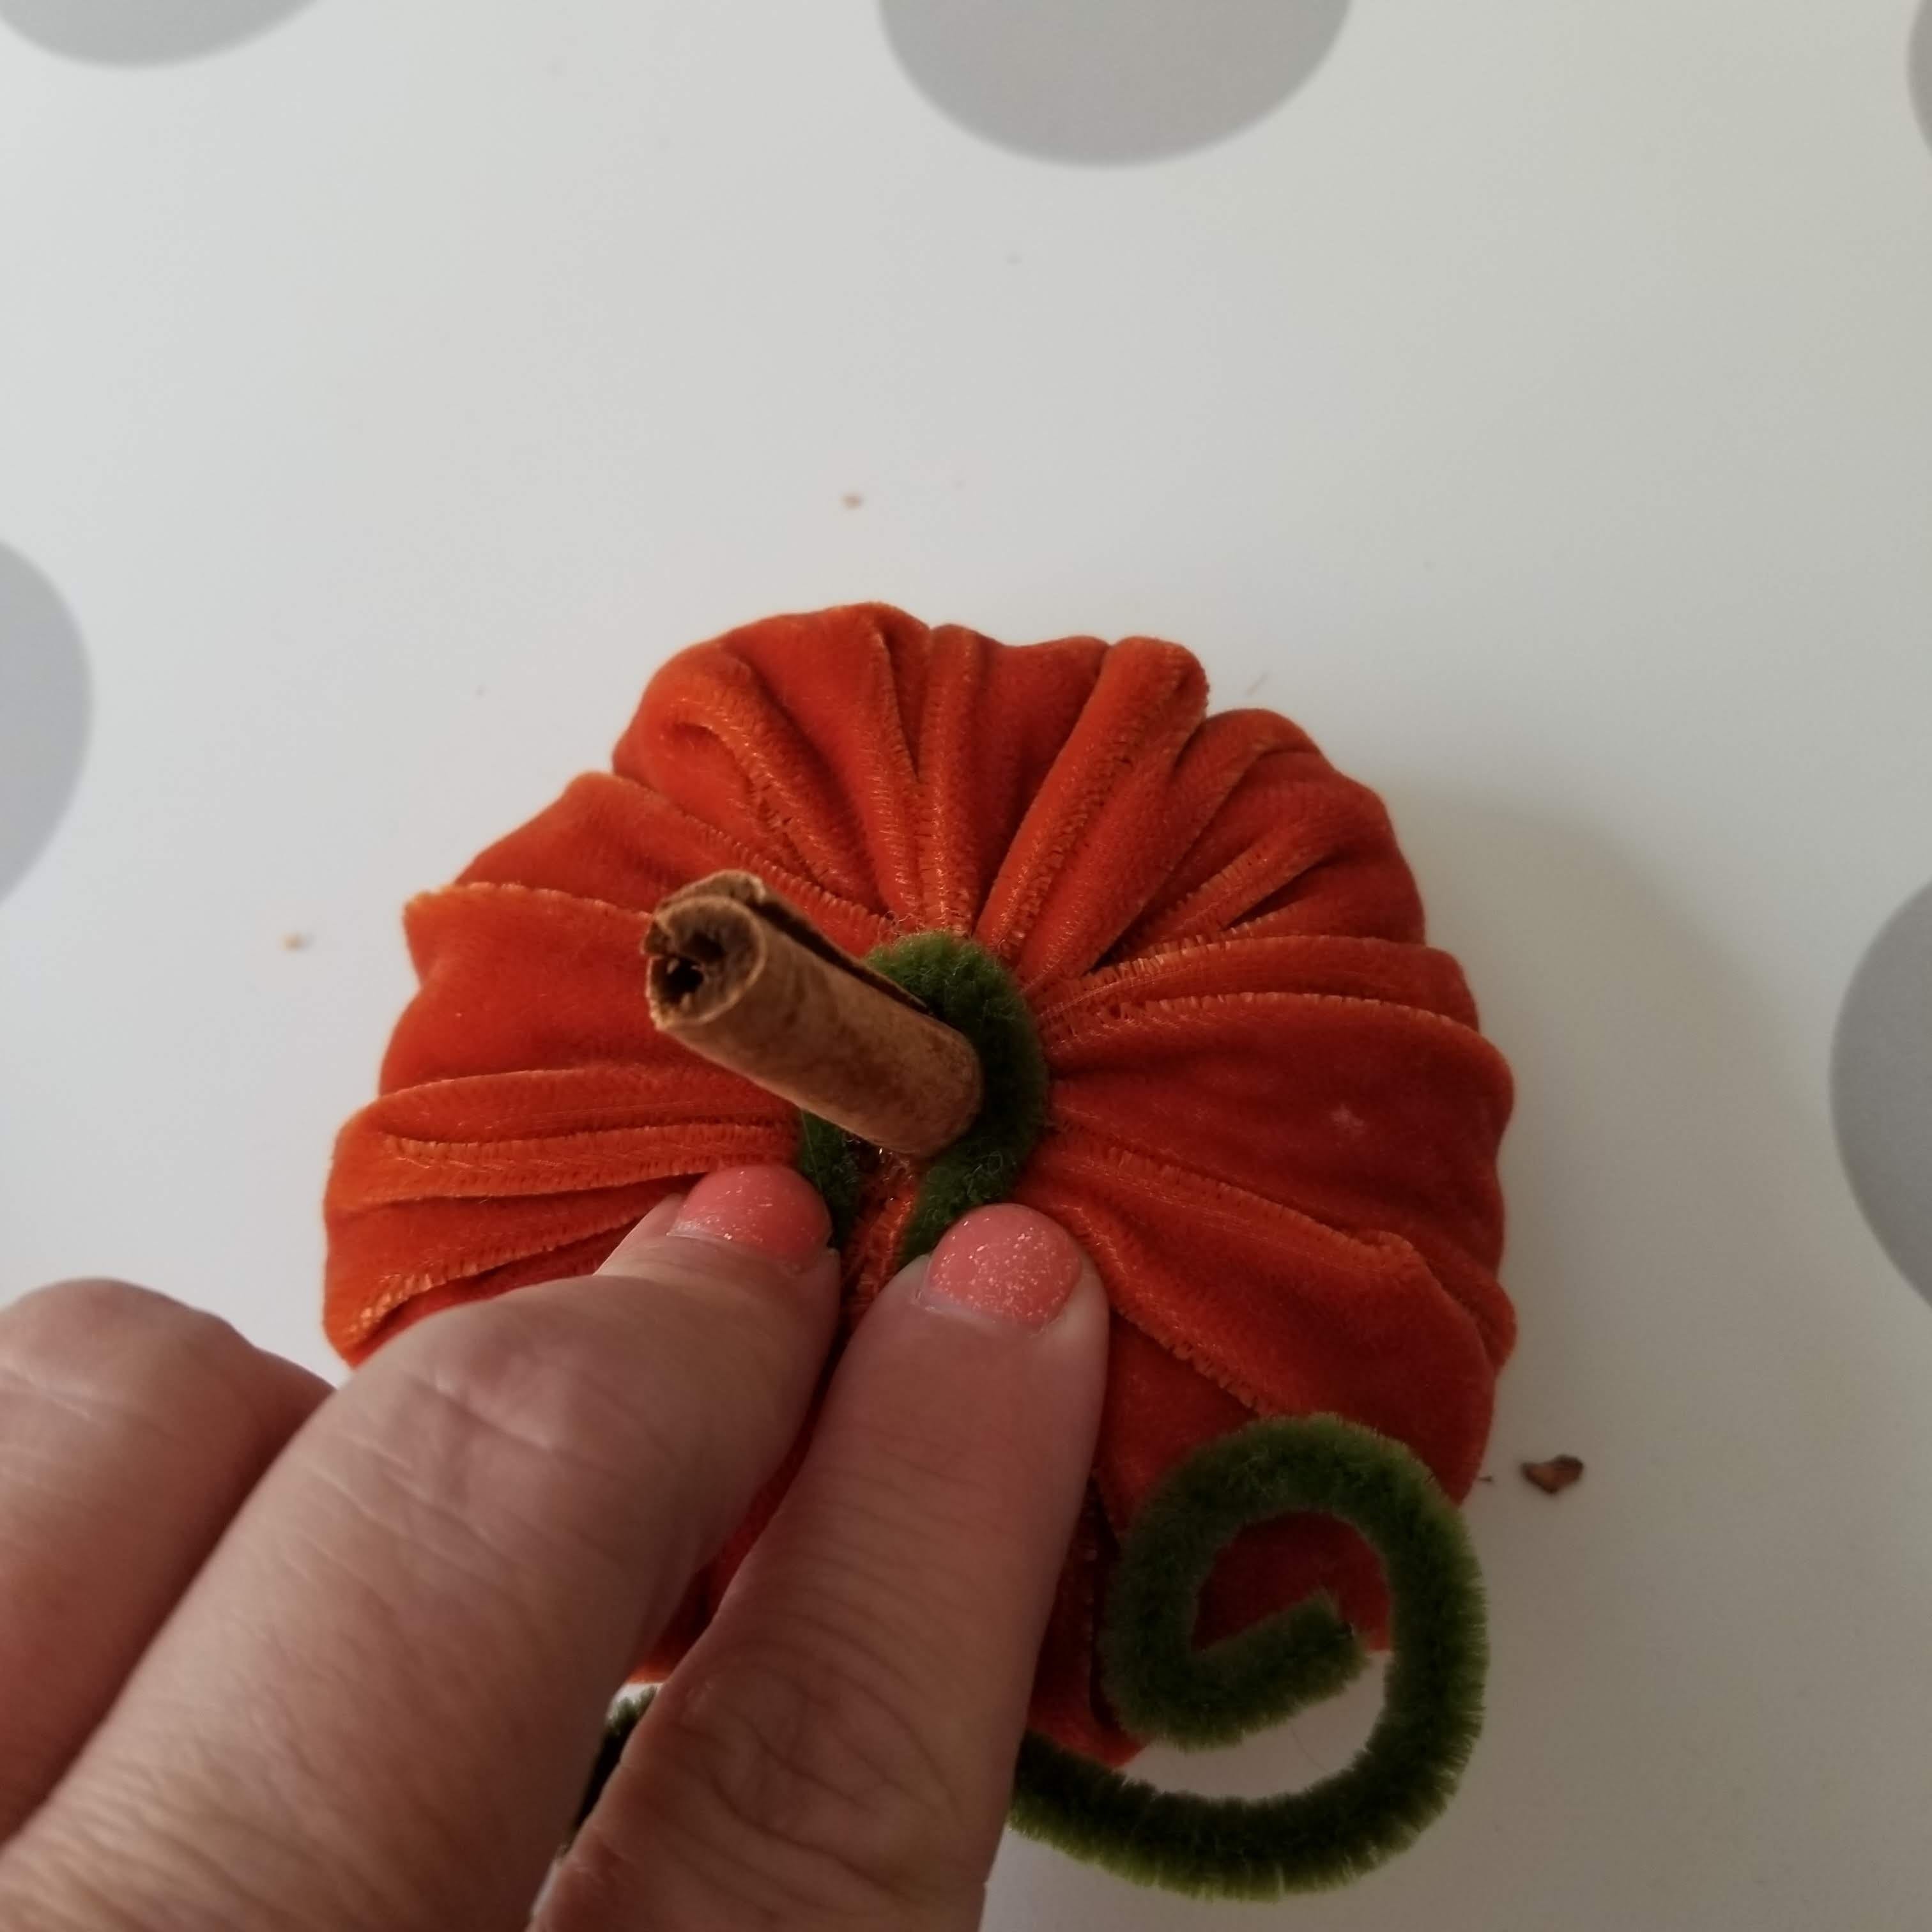
Use the chenille stem “vine” to cover any excess hot glue that seeps out around the bottom.
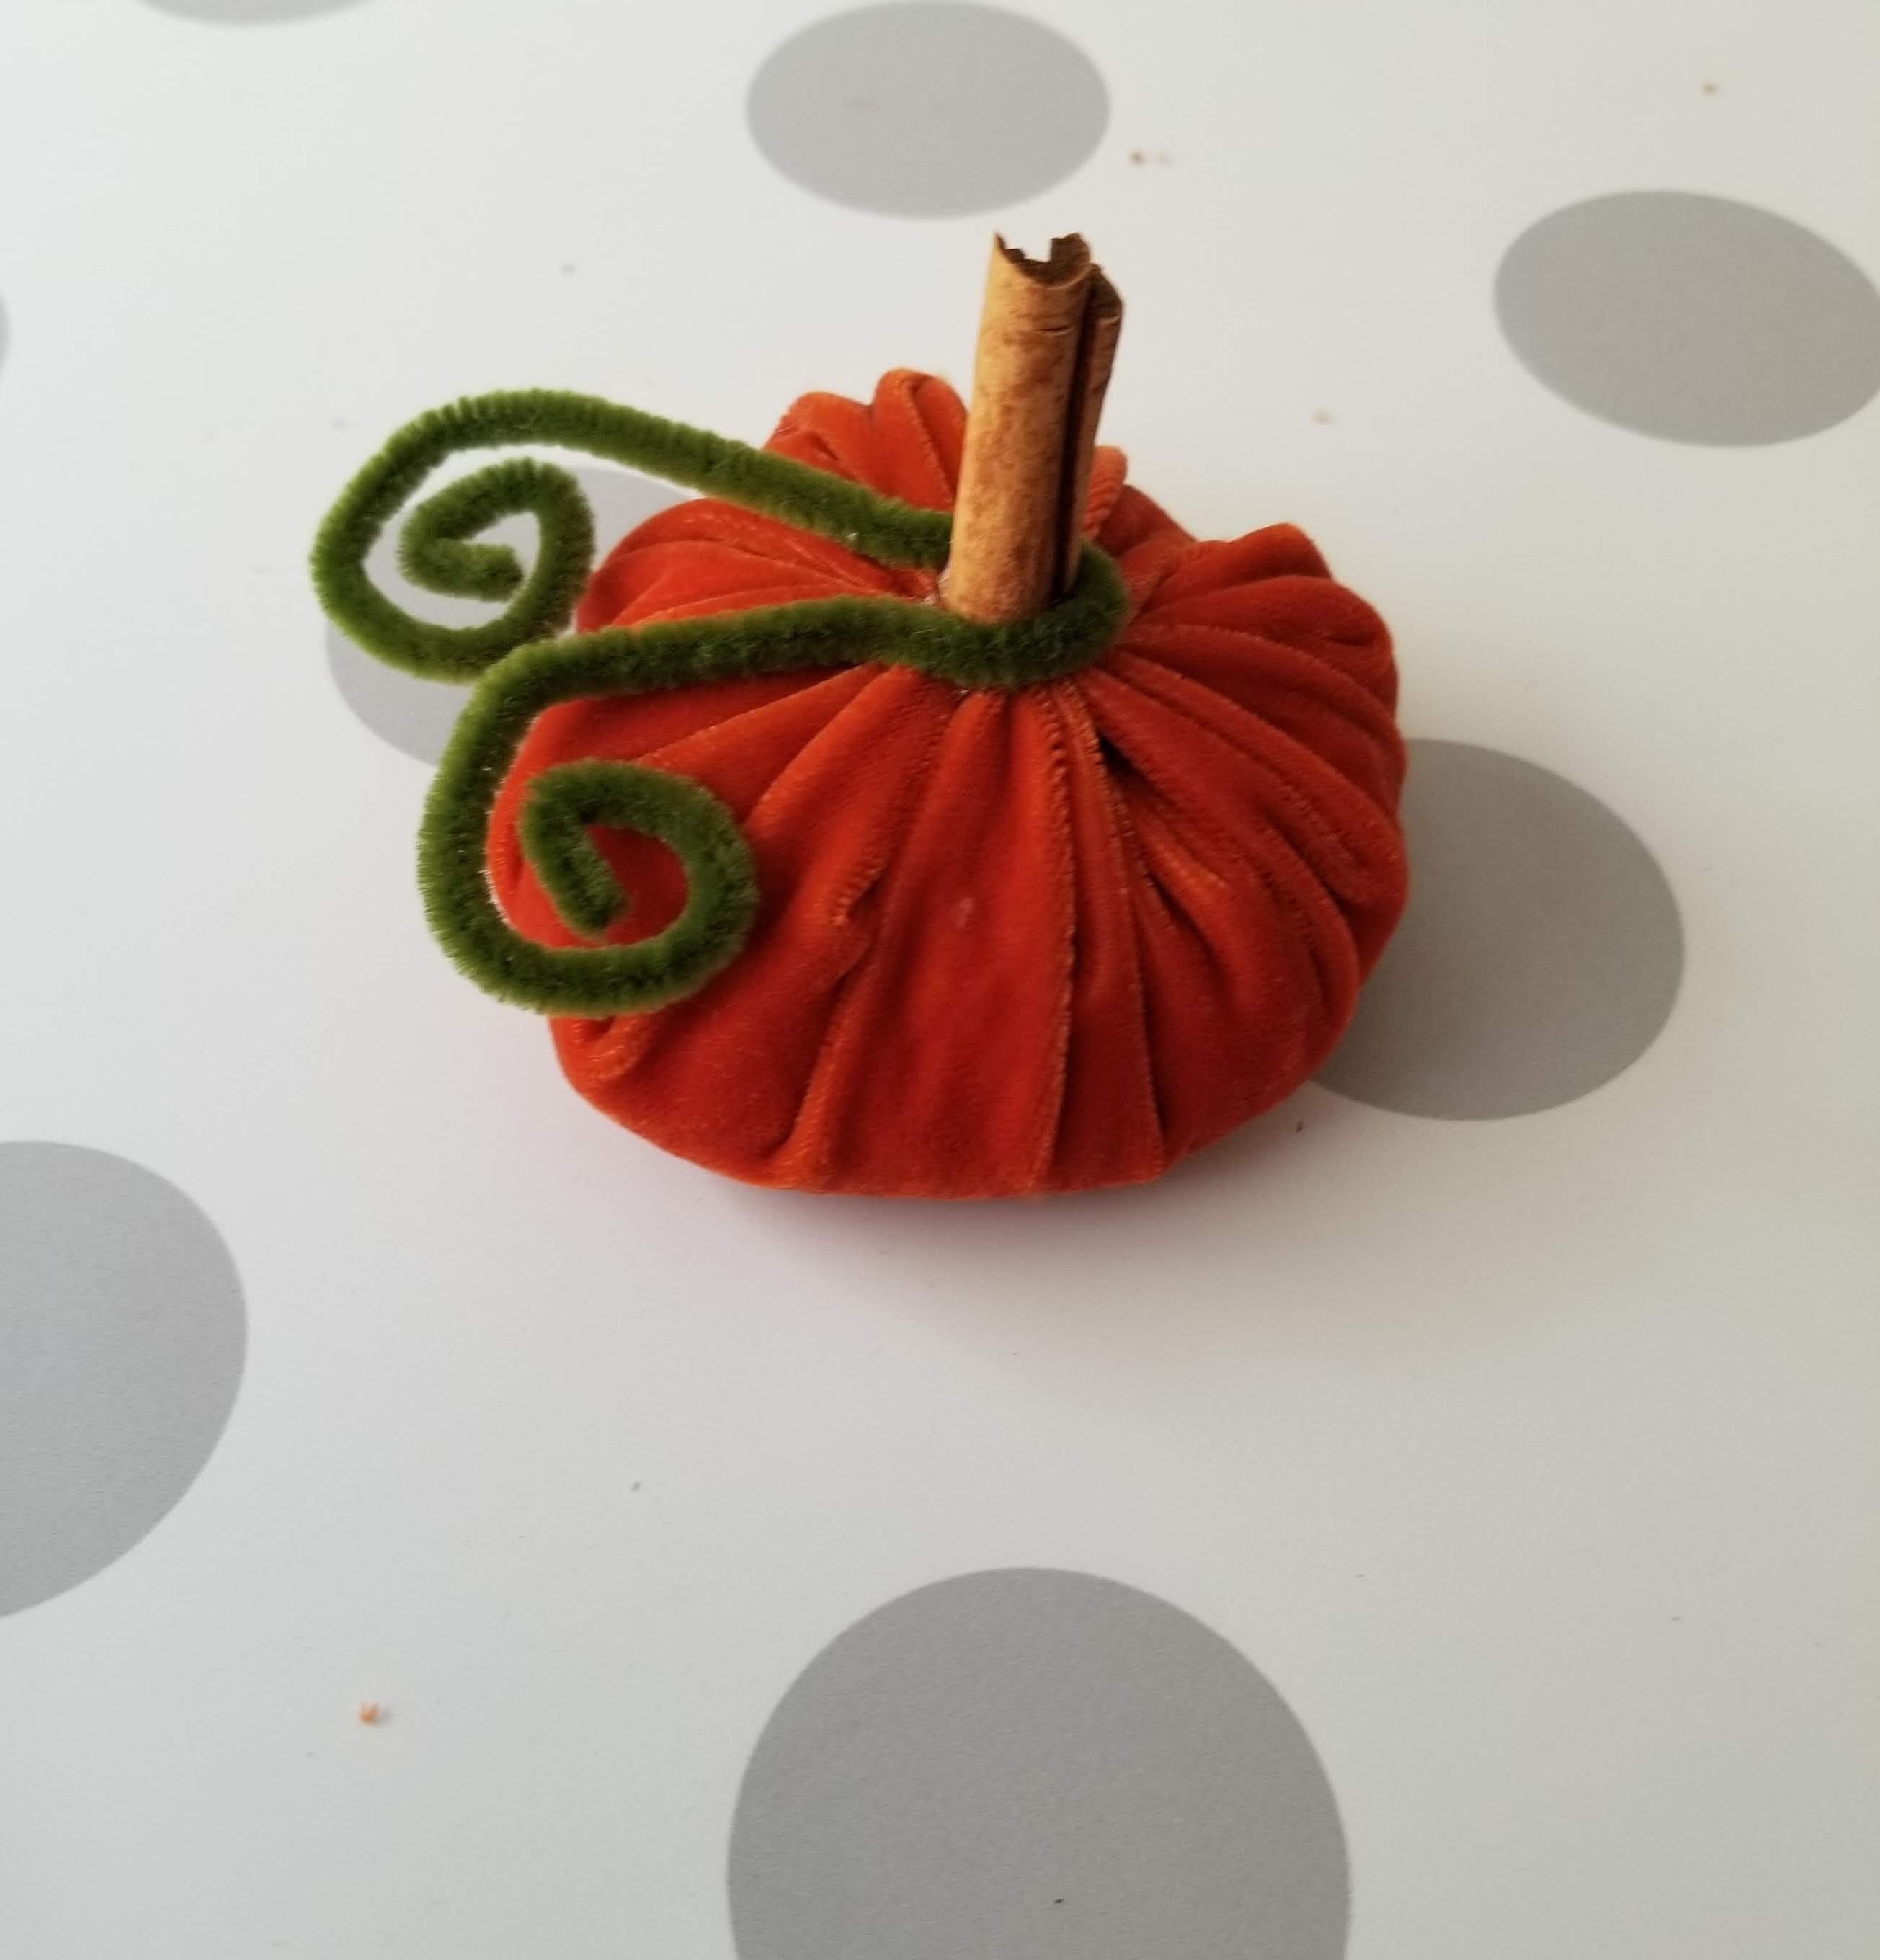
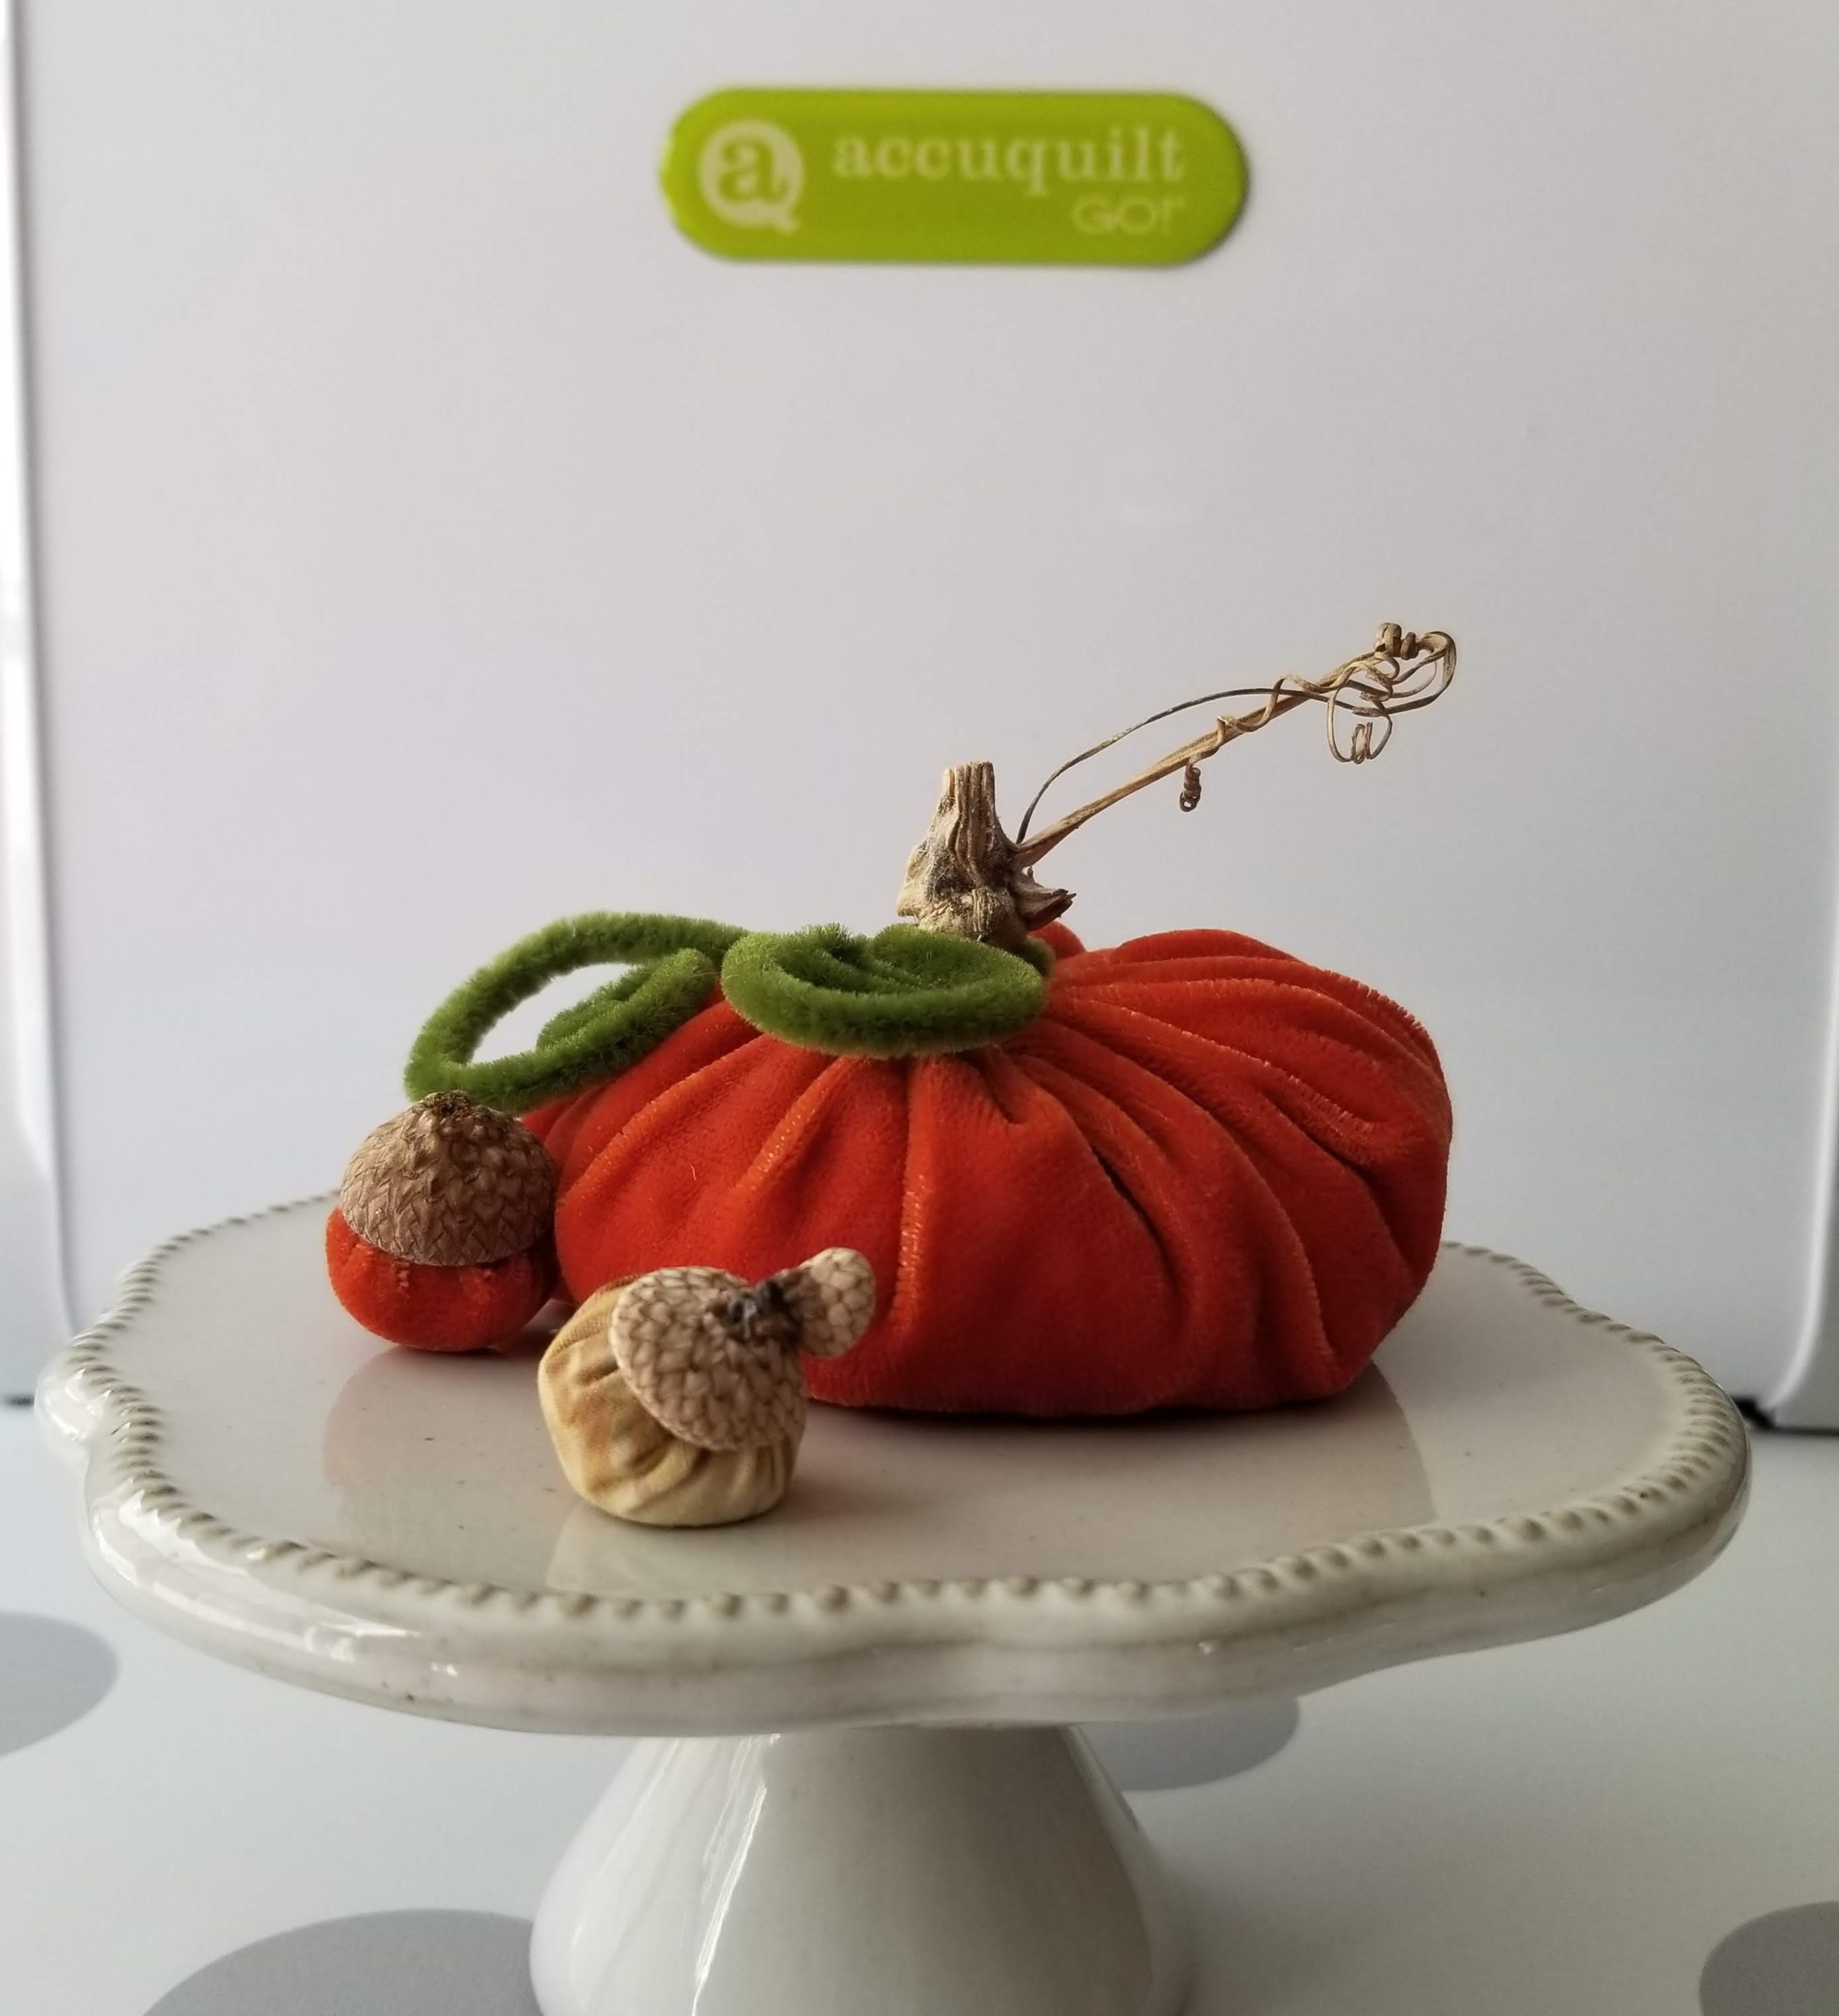
Et voila, you have a lovely little pumpkin. I made four in one session, and also made a handful of tiny acorns. (And took hundreds of photos!)
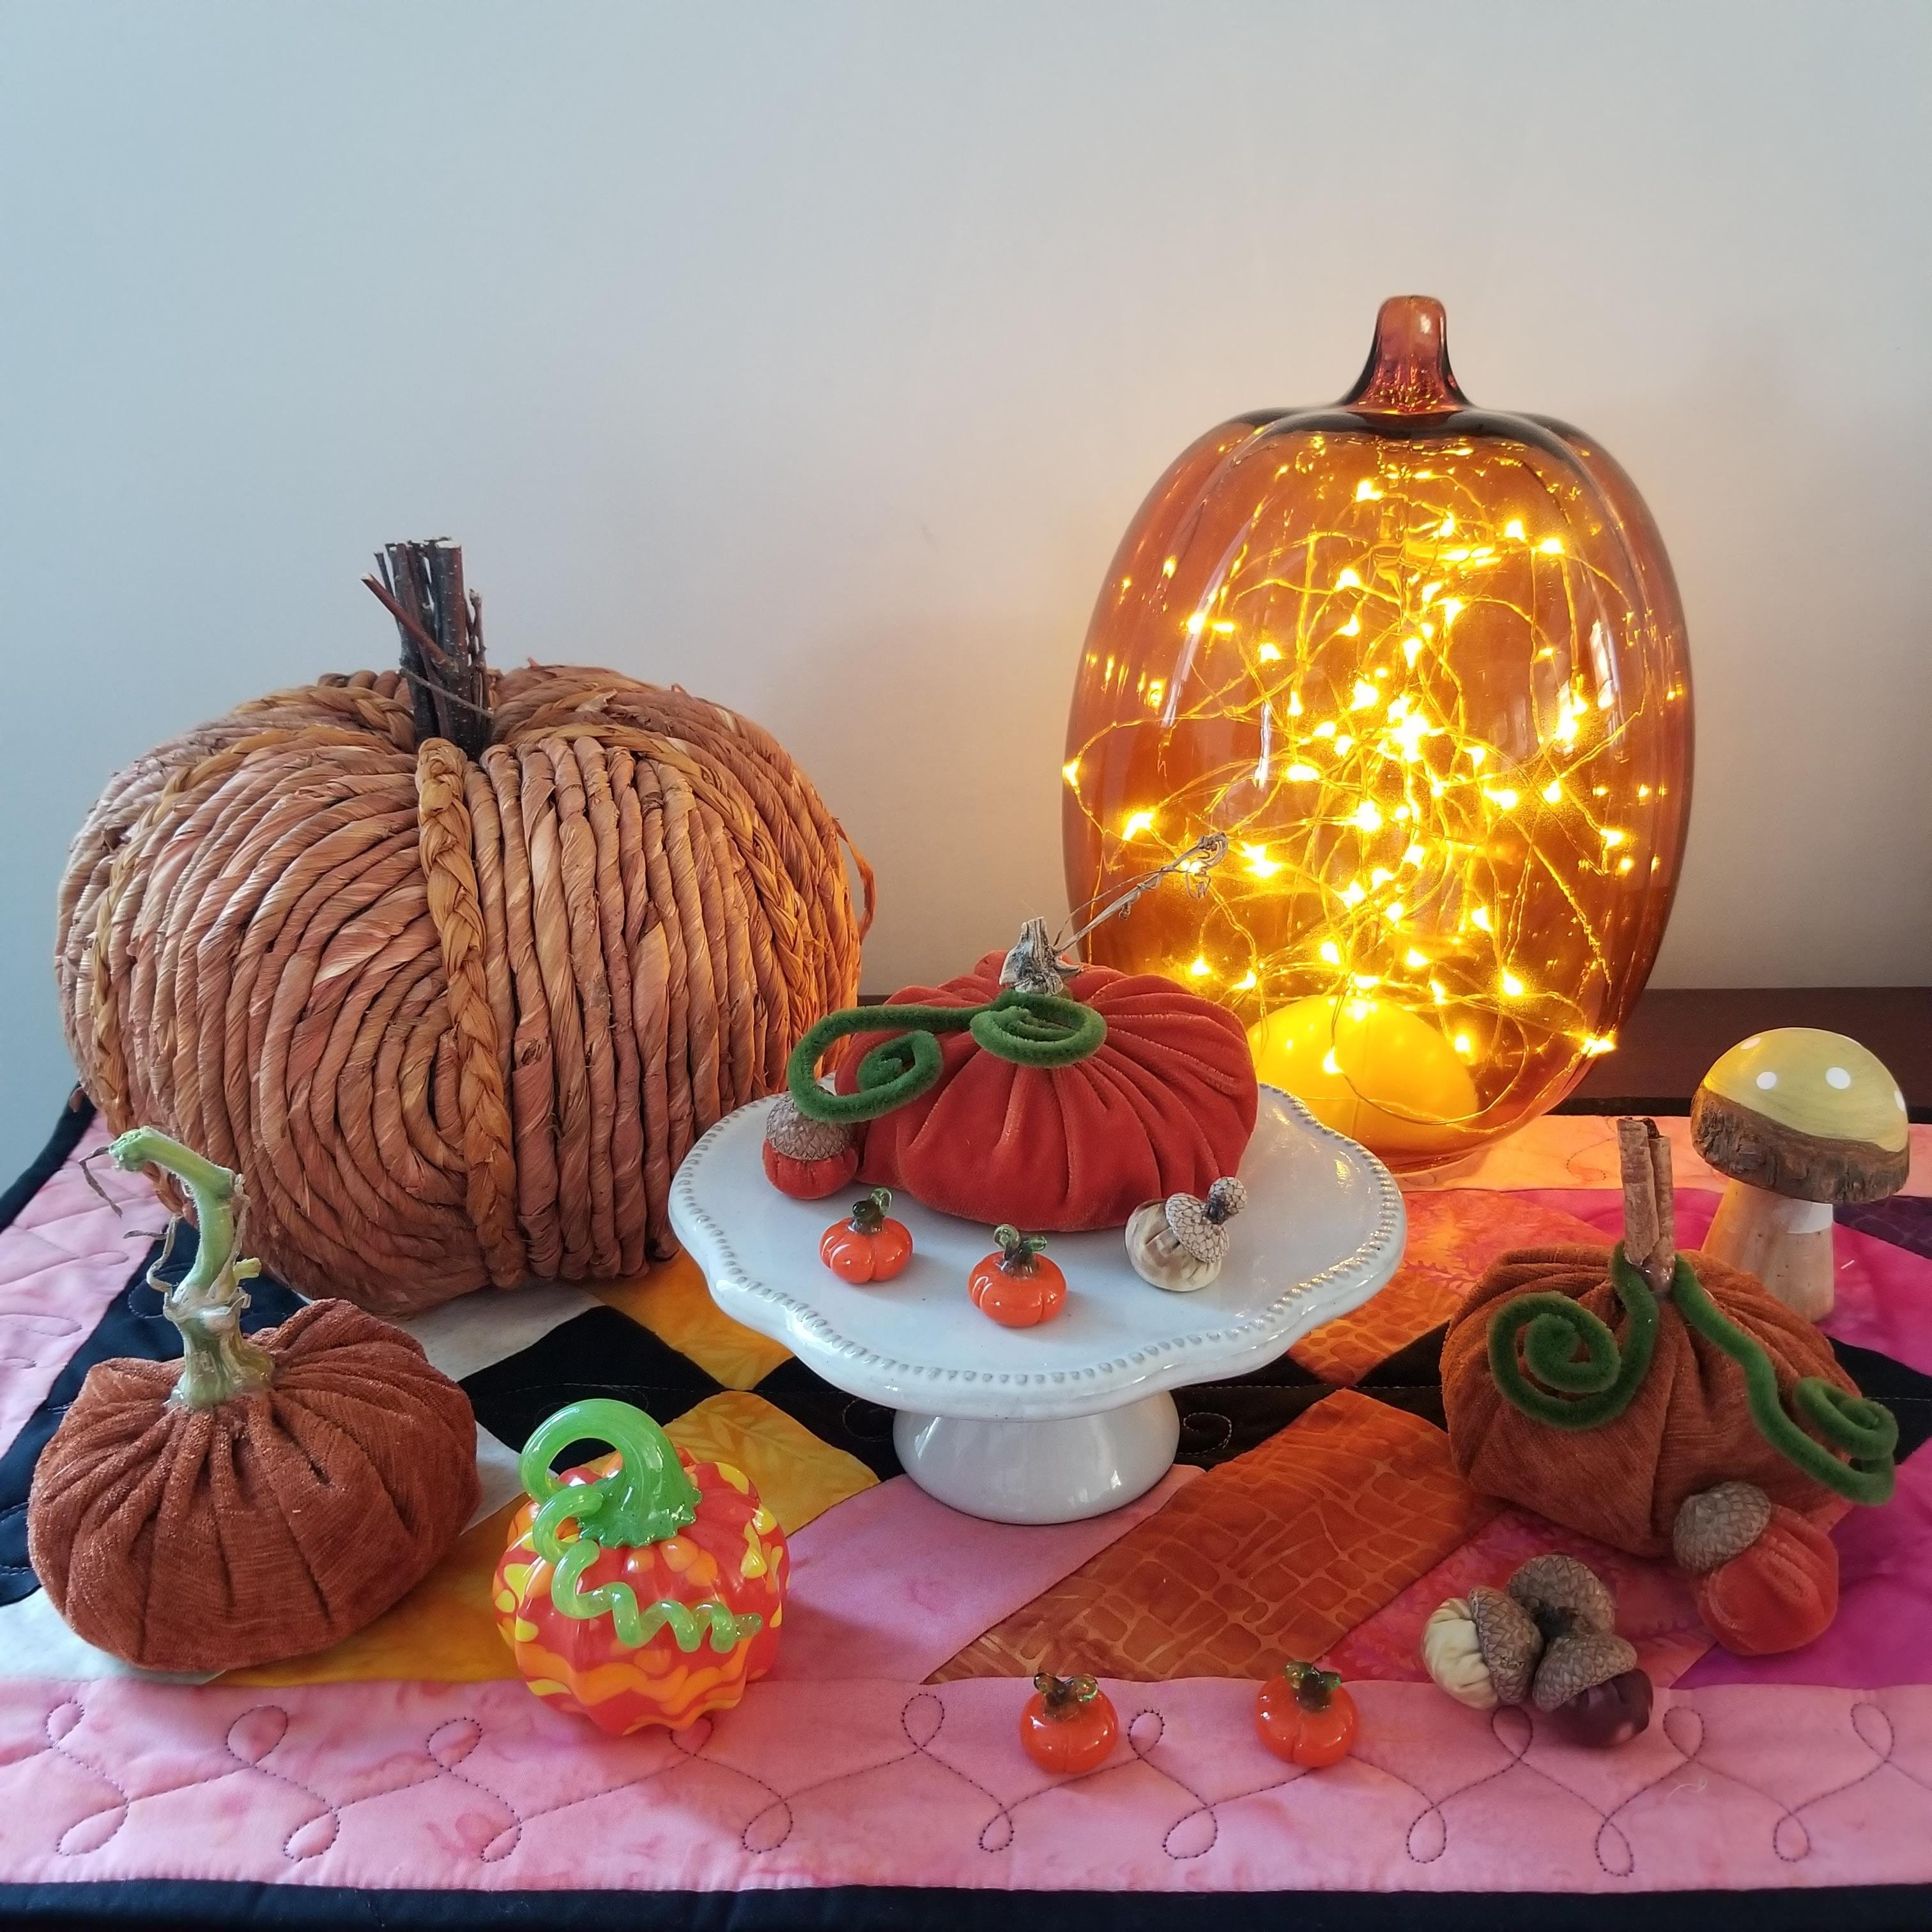
The acorns are the same procedure, except I used the 2” circle in the GO! Circle-2", 3", 5" die (55012), a scrap of stuffing, and an acorn cap. I don’t like that they roll upside down, because the cap is heavier than the fabric. I used a metal washer in one, which helped. I used some velvet, and also some batik scraps I had lying about. They are intermingled with my seasonal pumpkin display now. This is more decorating than I have done in years! (Thank you to @TinkerEllen for the acorn inspiration.)
I hope you enjoyed this little project! If you're making something, be sure to share it with us on Instagram. Tag me @JenStrauser and @AccuQuilt with your creations. We love to see how other quilters use their AccuQuilt GO! Don't forget to subscribe to the blog so you'll know when any of the GO! Getters create another tutorial!