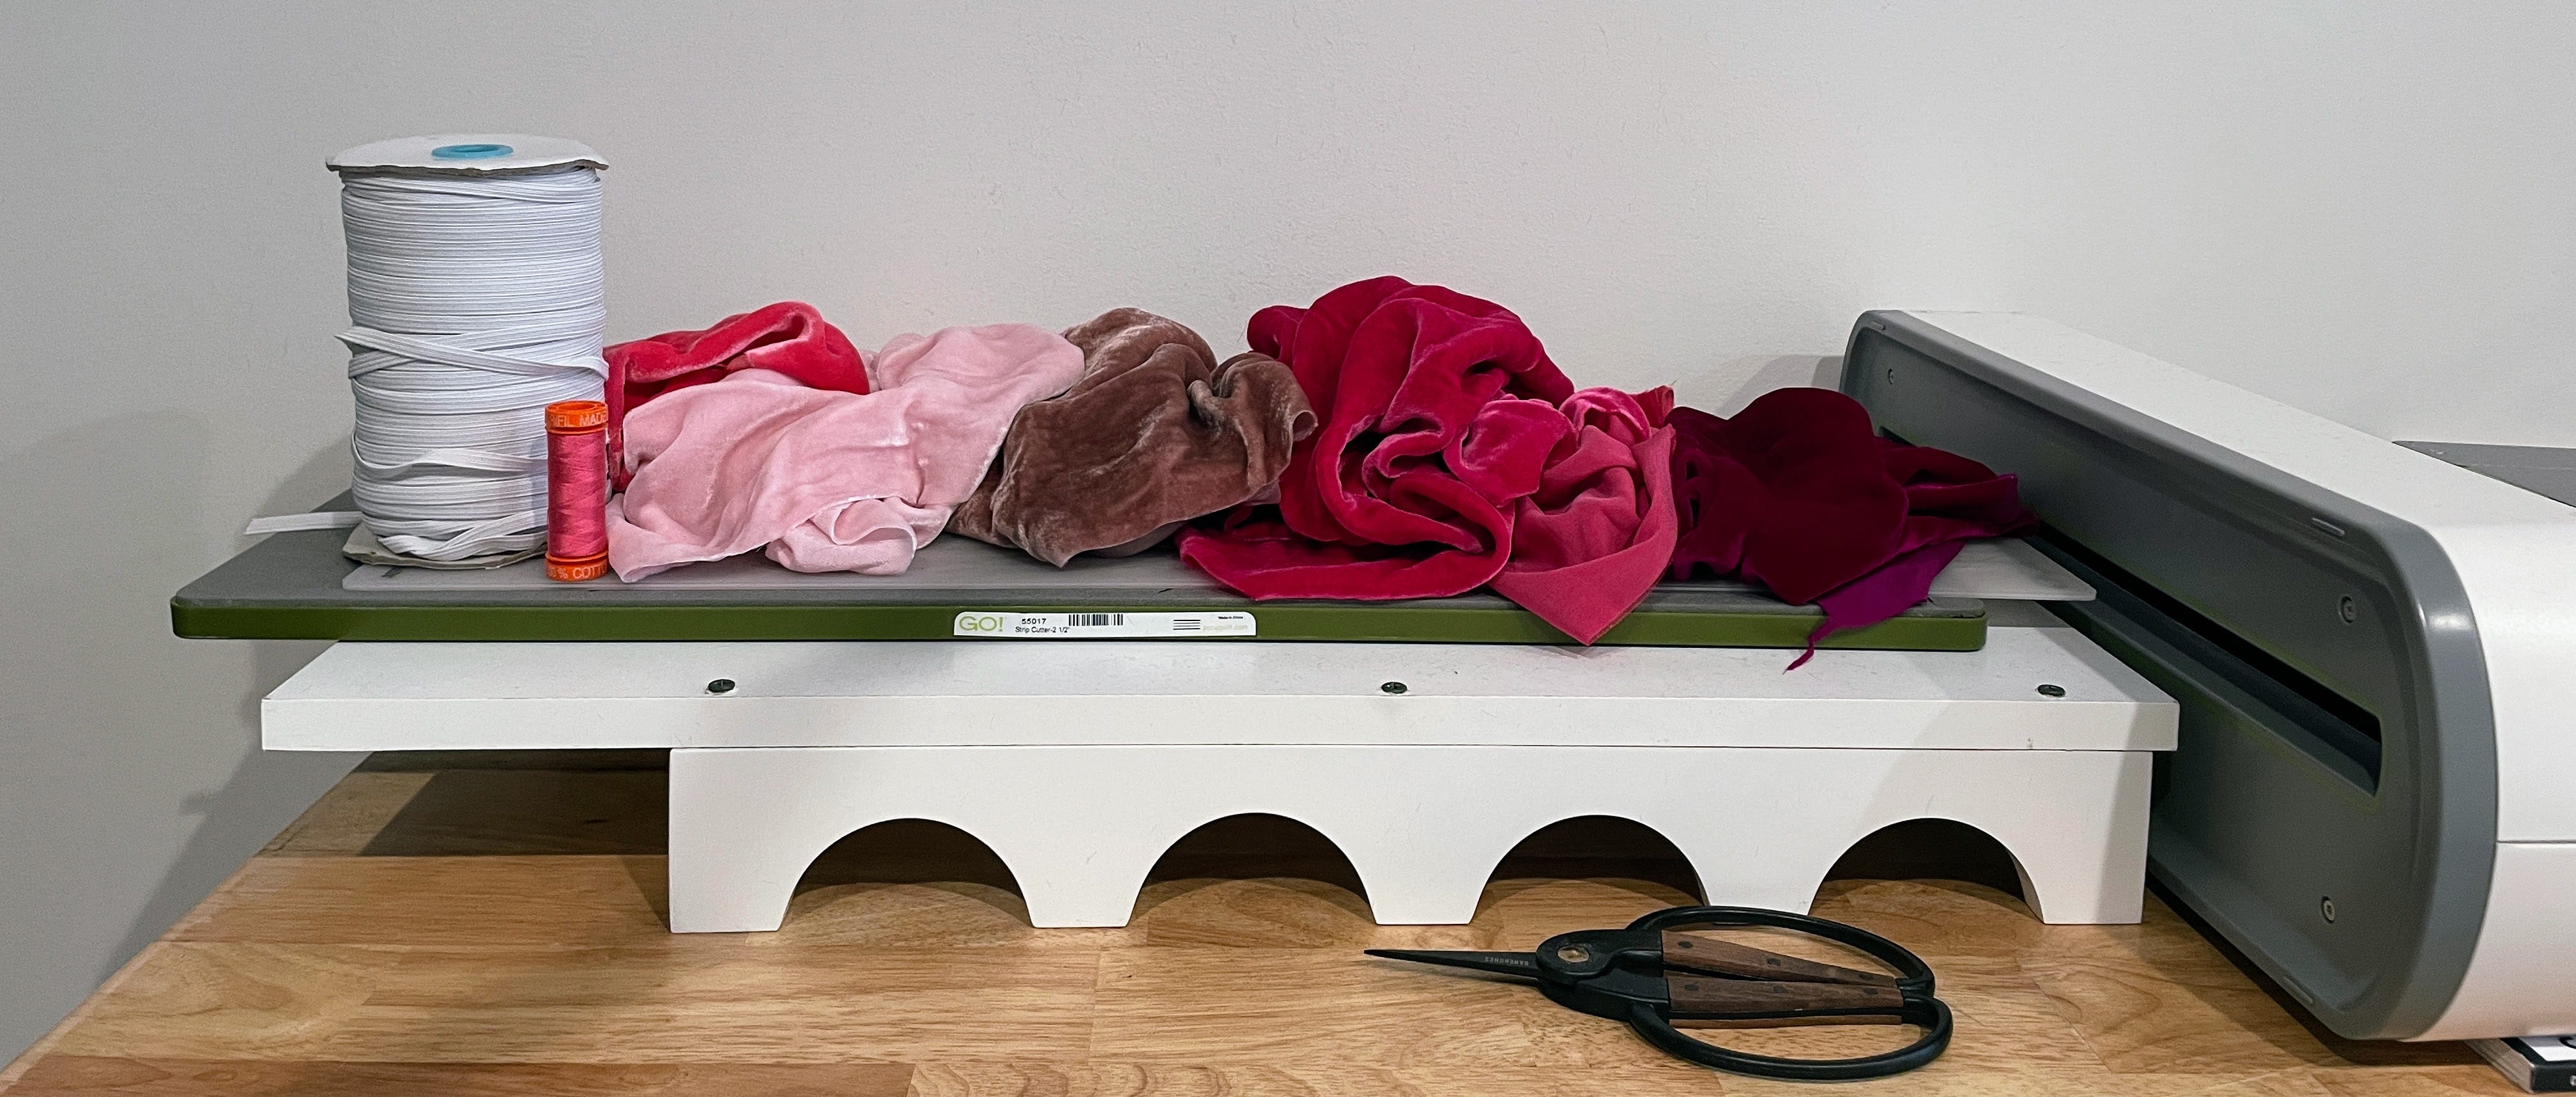
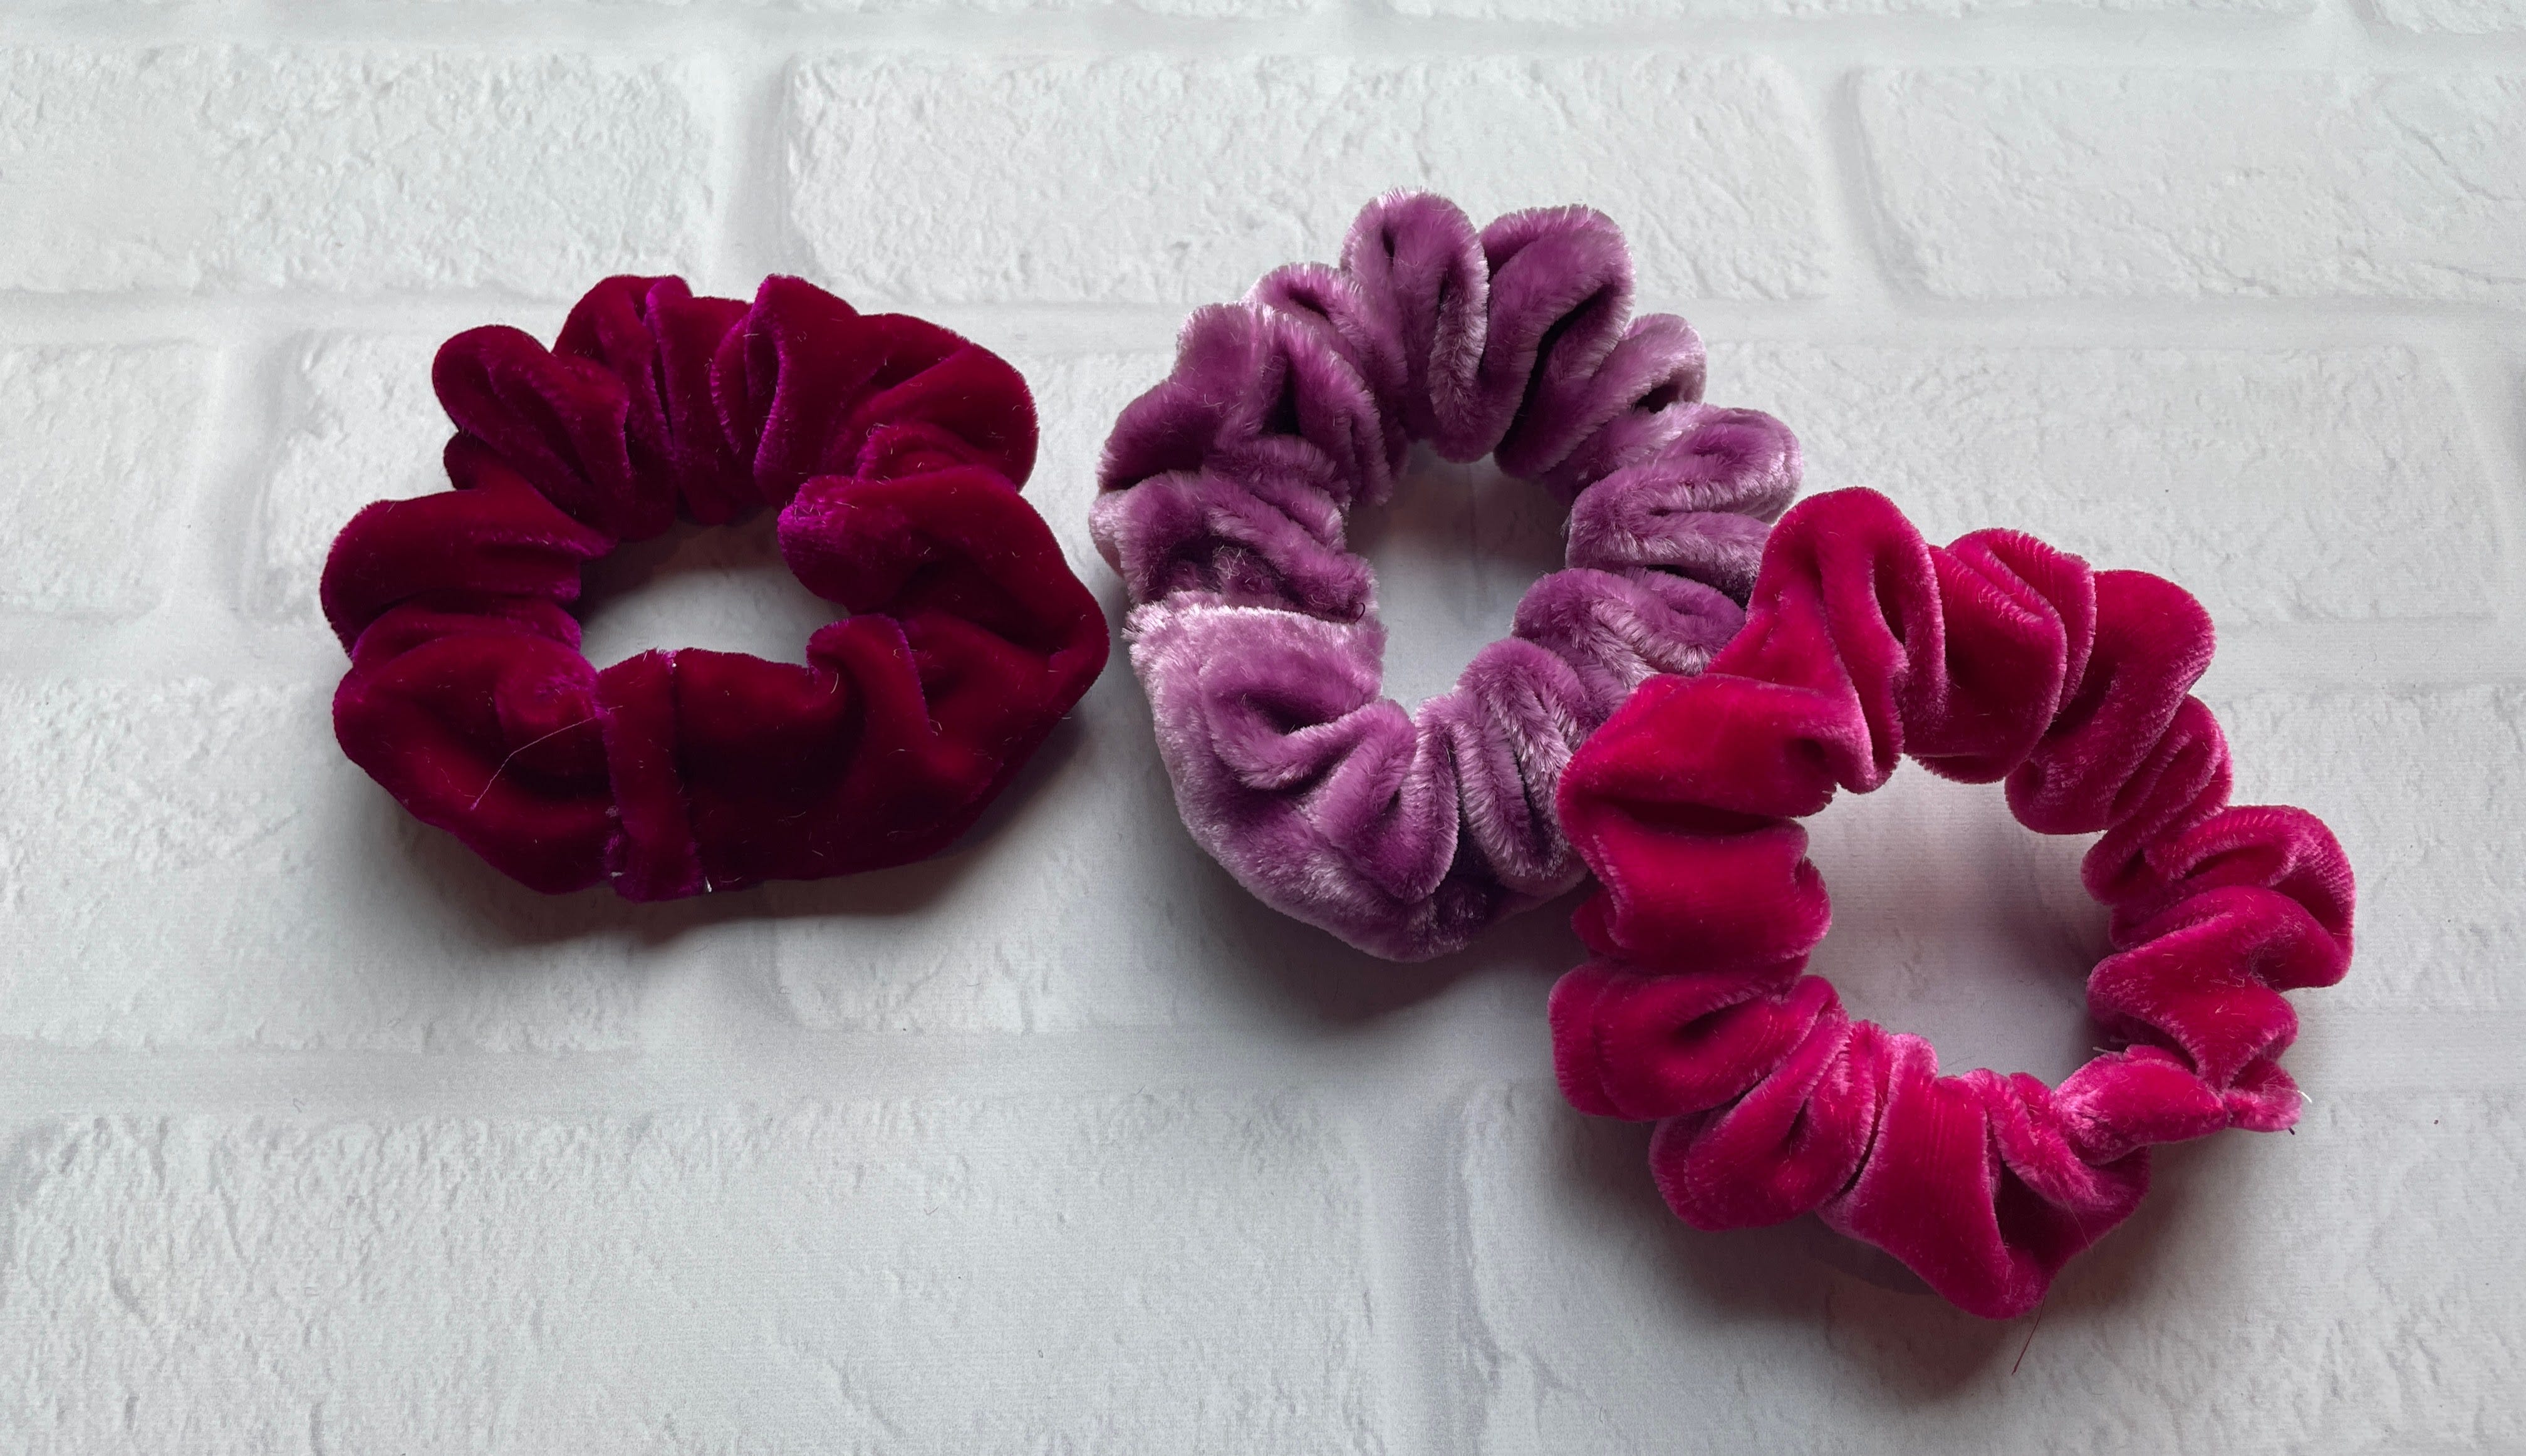
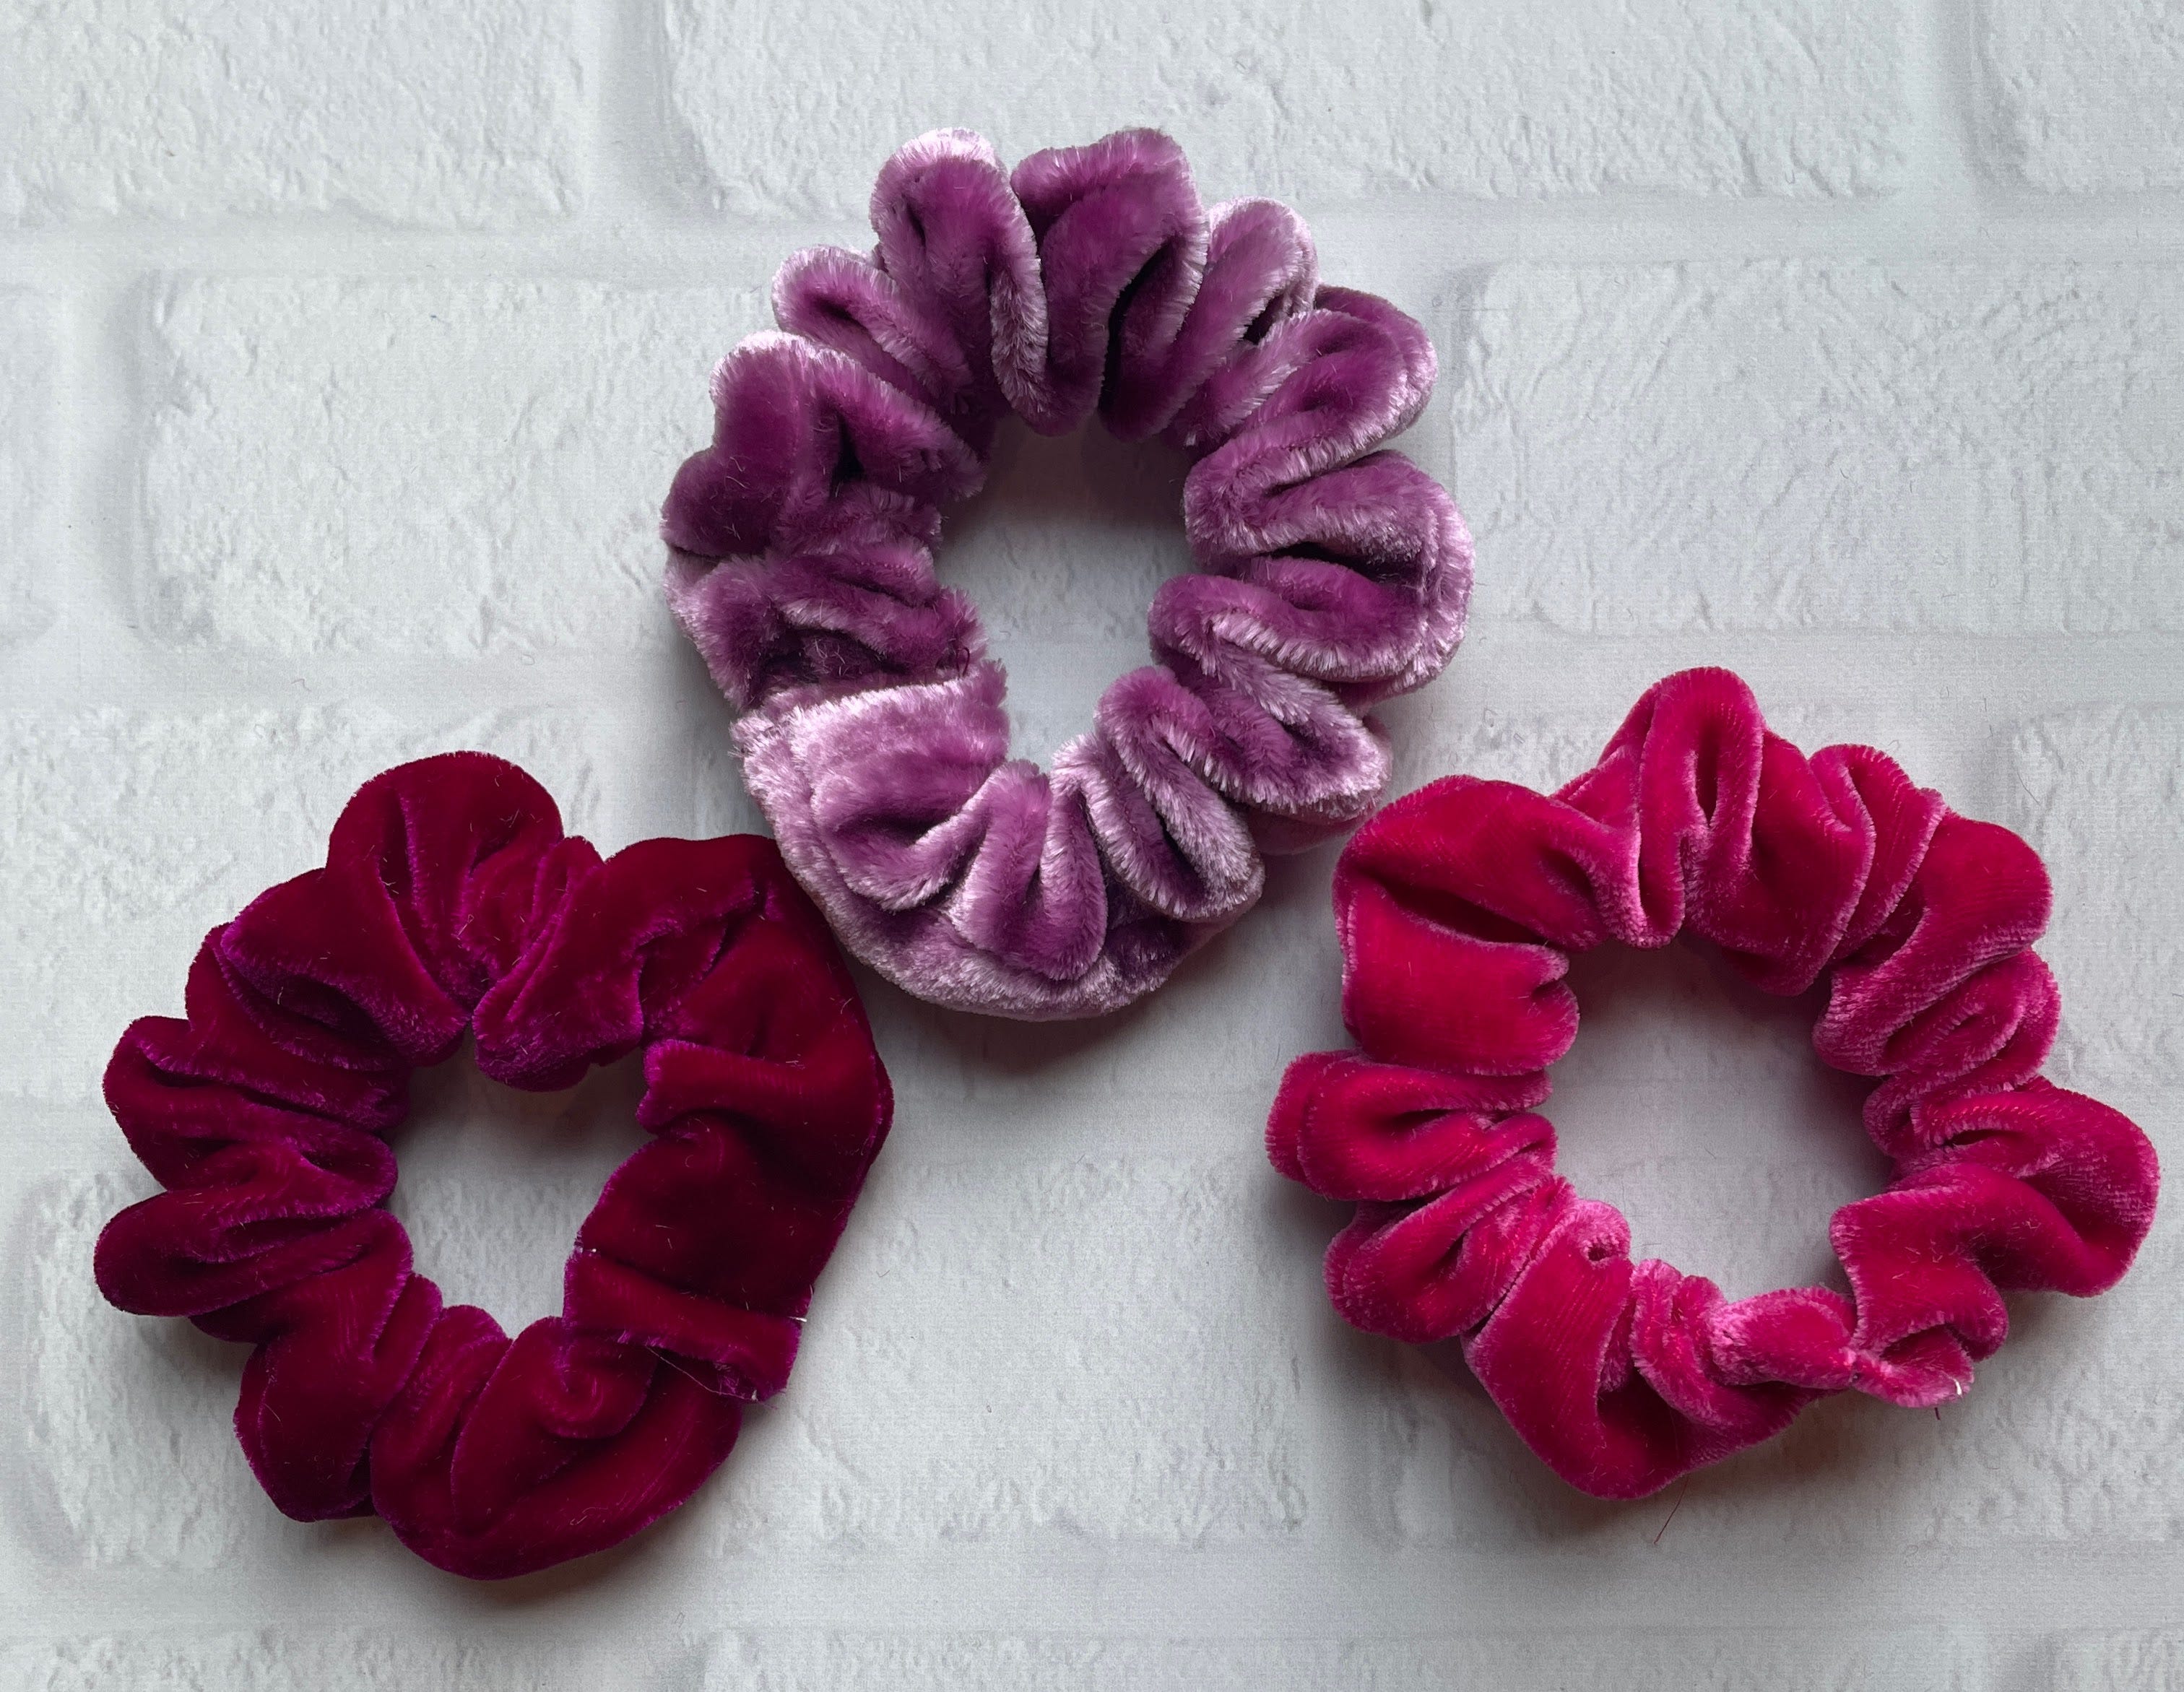
Now, if you don’t have velvet, you can use any fabric you like. I personally still use velvet scrunchies in my hair because you can’t make me leave the 80’s. These would be fun with any fancy fabric, though, so use what you have.
I used my 2 1/2” strip cutter for these as that is the widest I have. I think they would be even better with anything up to the 5” strip cutter. I’m going to add a bigger one to my shopping cart now! Maybe the 4” because it would be great for quilt borders, too.
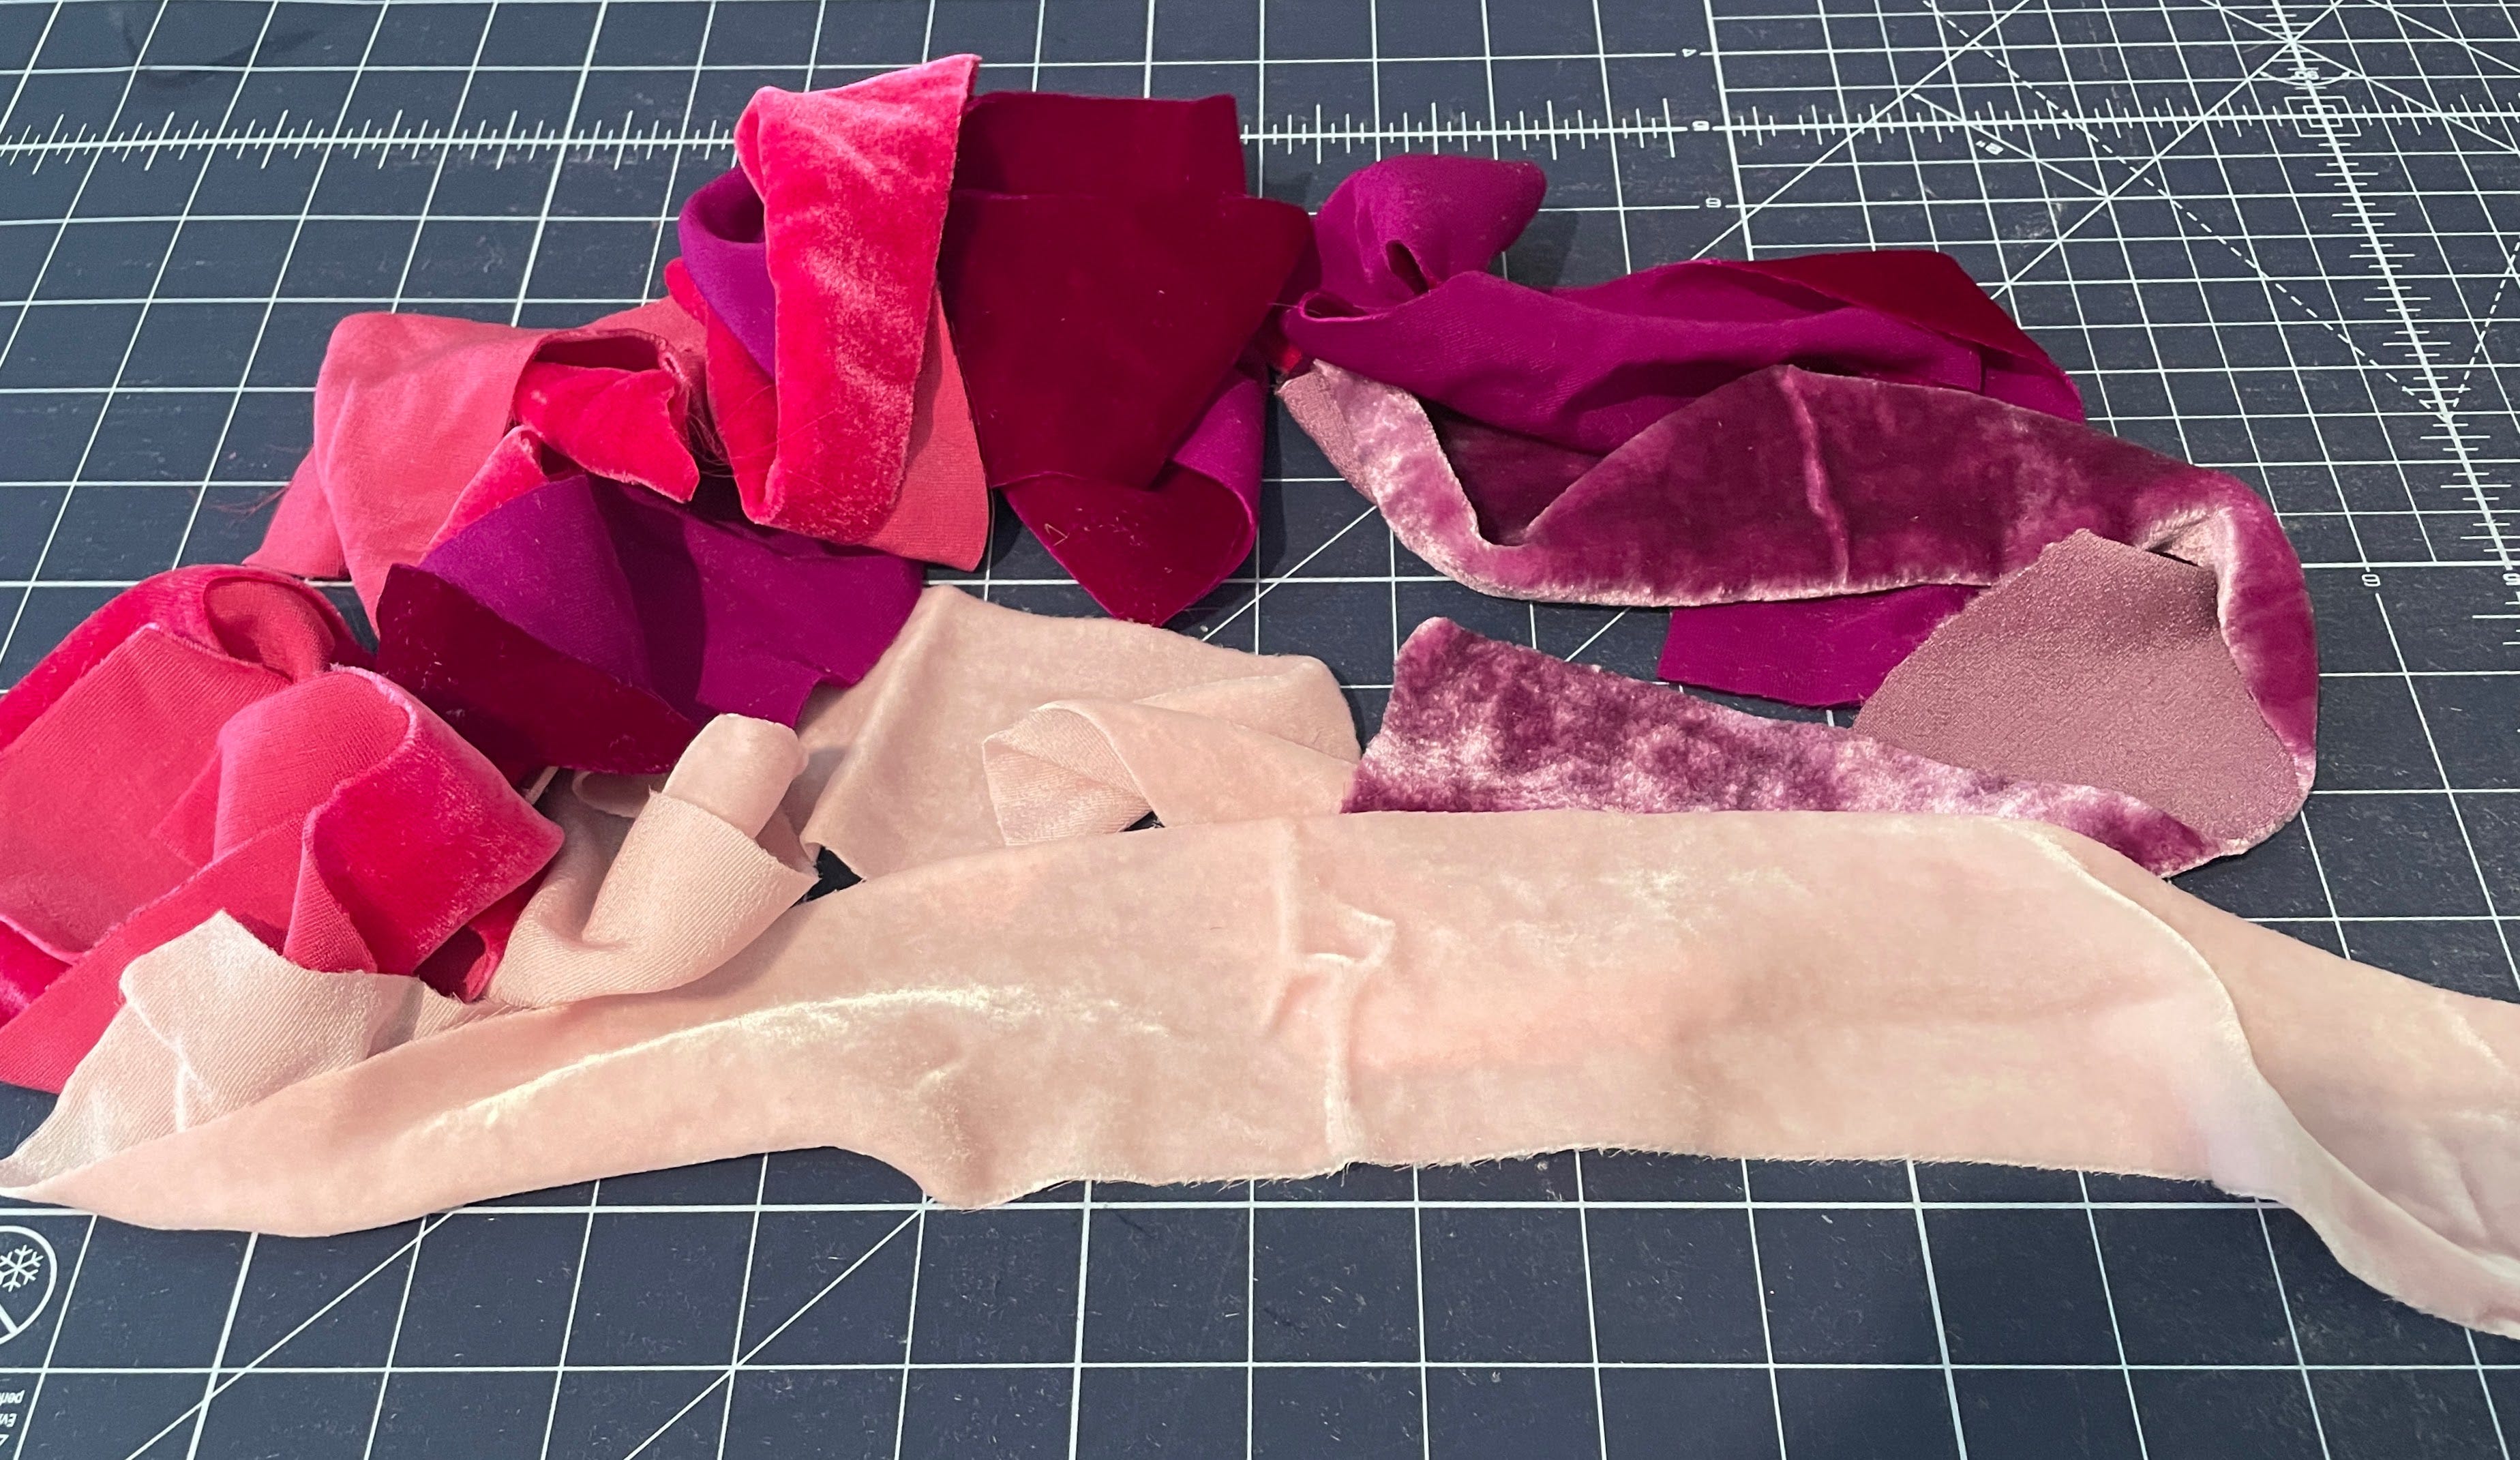
One final note: I made several with different lengths of strips. Anything between 12"-17” worked great for me. It was nice to be able to use up a bunch of my velvet scraps with this project and not worry that I was a little bit short on some of the strips.
Supplies Needed
- GO! Strip Cutter-2 1/2" (2" Finished) 3 Strips Die
- 3” x 12"-16” of velvet or other fabric
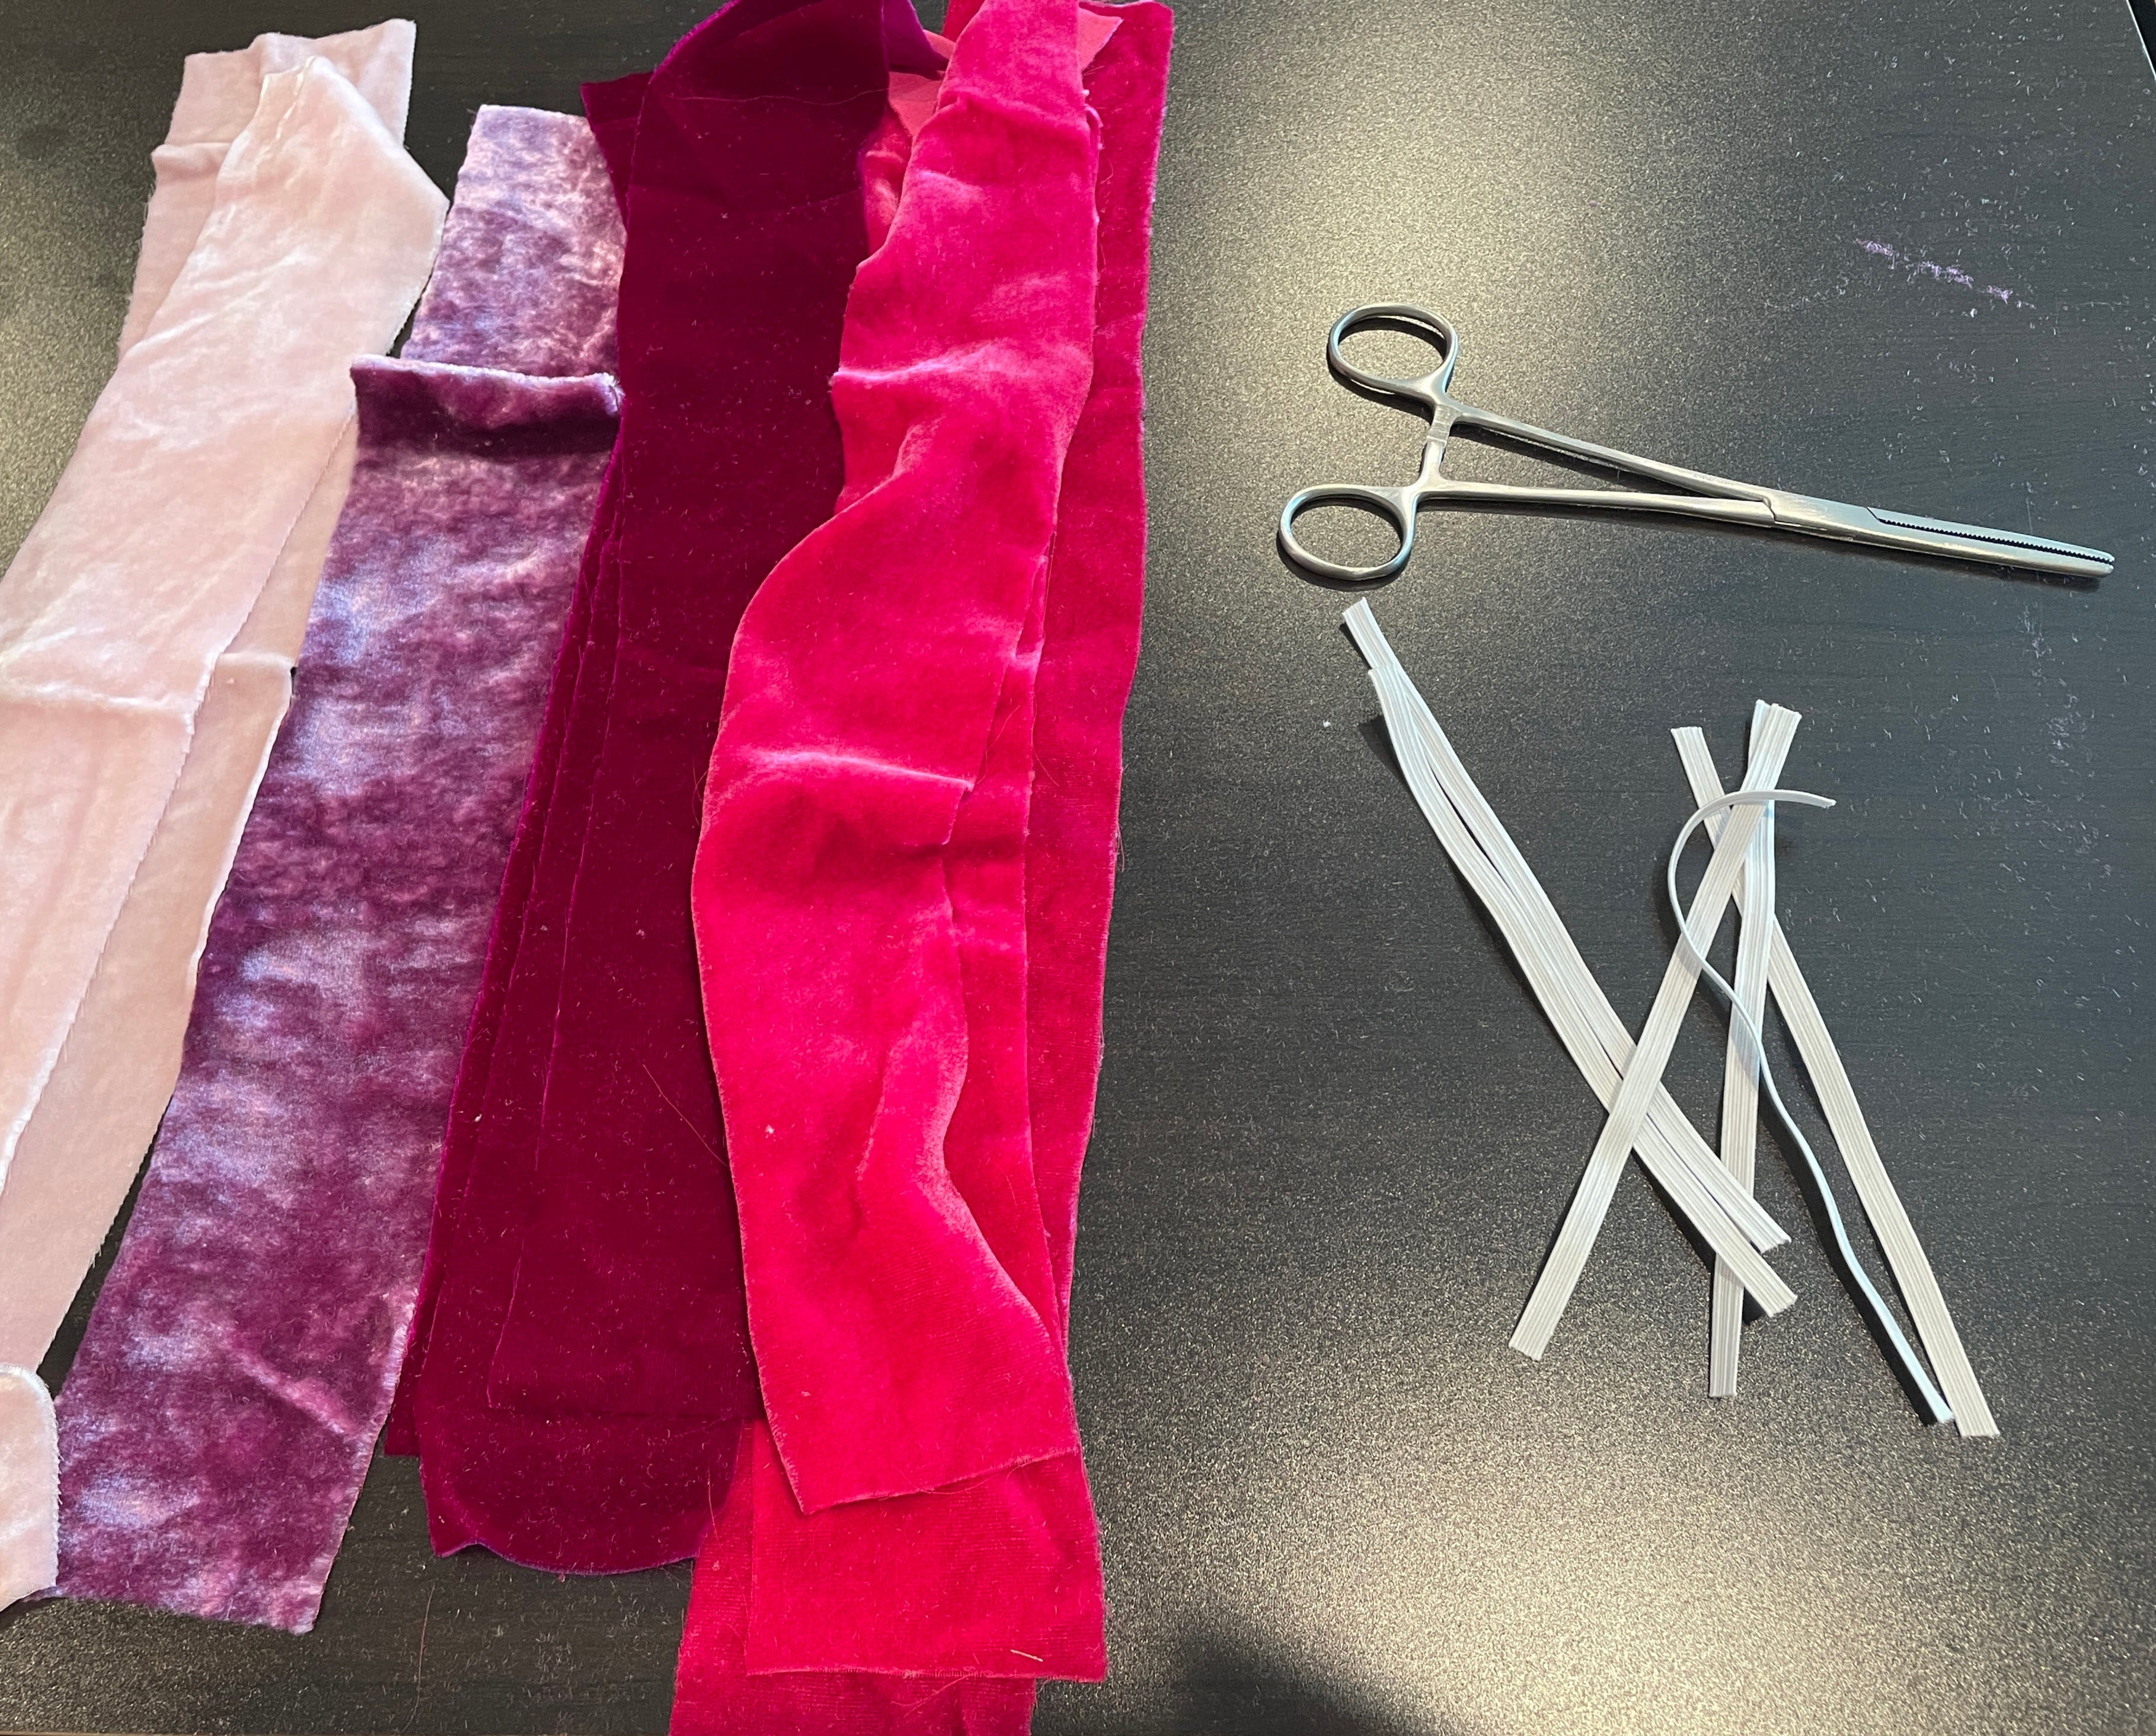
- 6” of 3/8” wide elastic
Cutting & Assembly Instructions
1. Cut the strips nap side up (if using velvet). I only cut one layer at a time in my GO! Fabric Cutter because this stuff is shifty.
2. Turn under one short end of the velvet by 1/4” and stitch. You are making a finished edge.

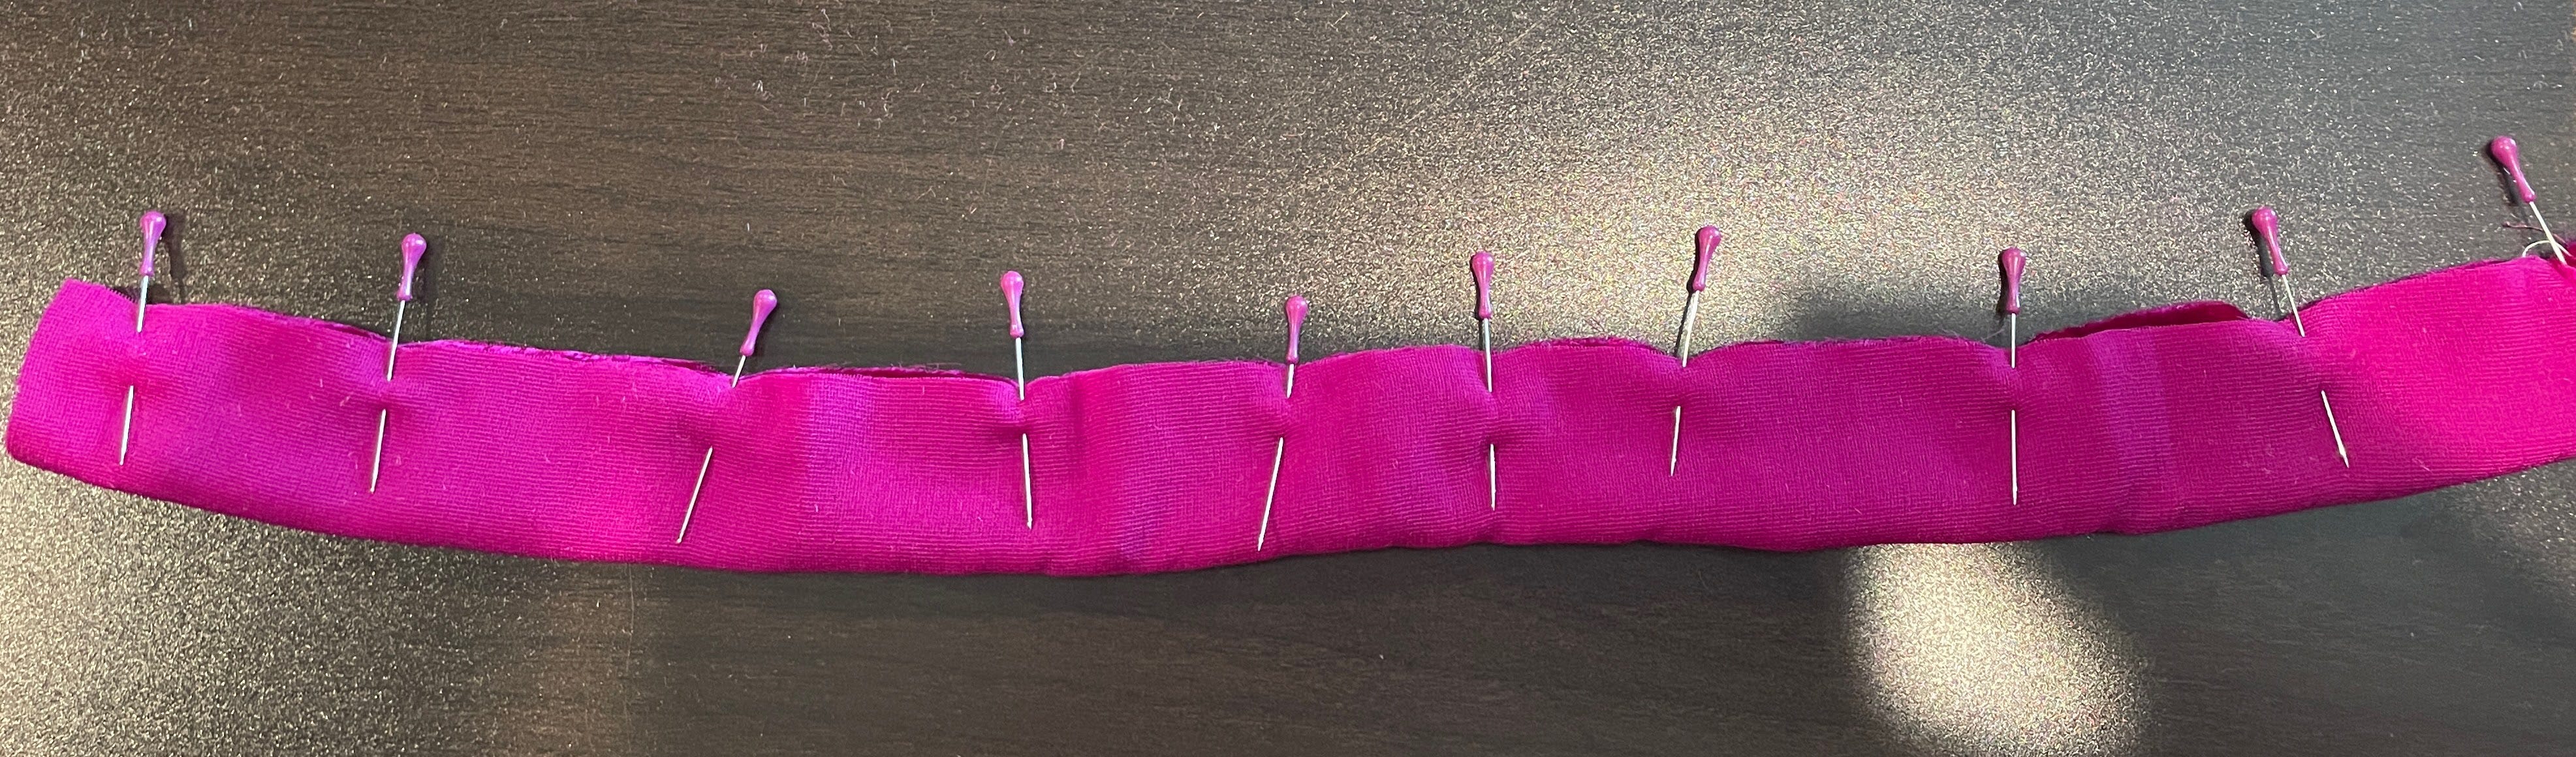
3. Fold the velvet strip right sides together along the long edge and pin the dickens out of it. Stitch using a 1/4” seam allowance. Go slow and keep everything lined up.
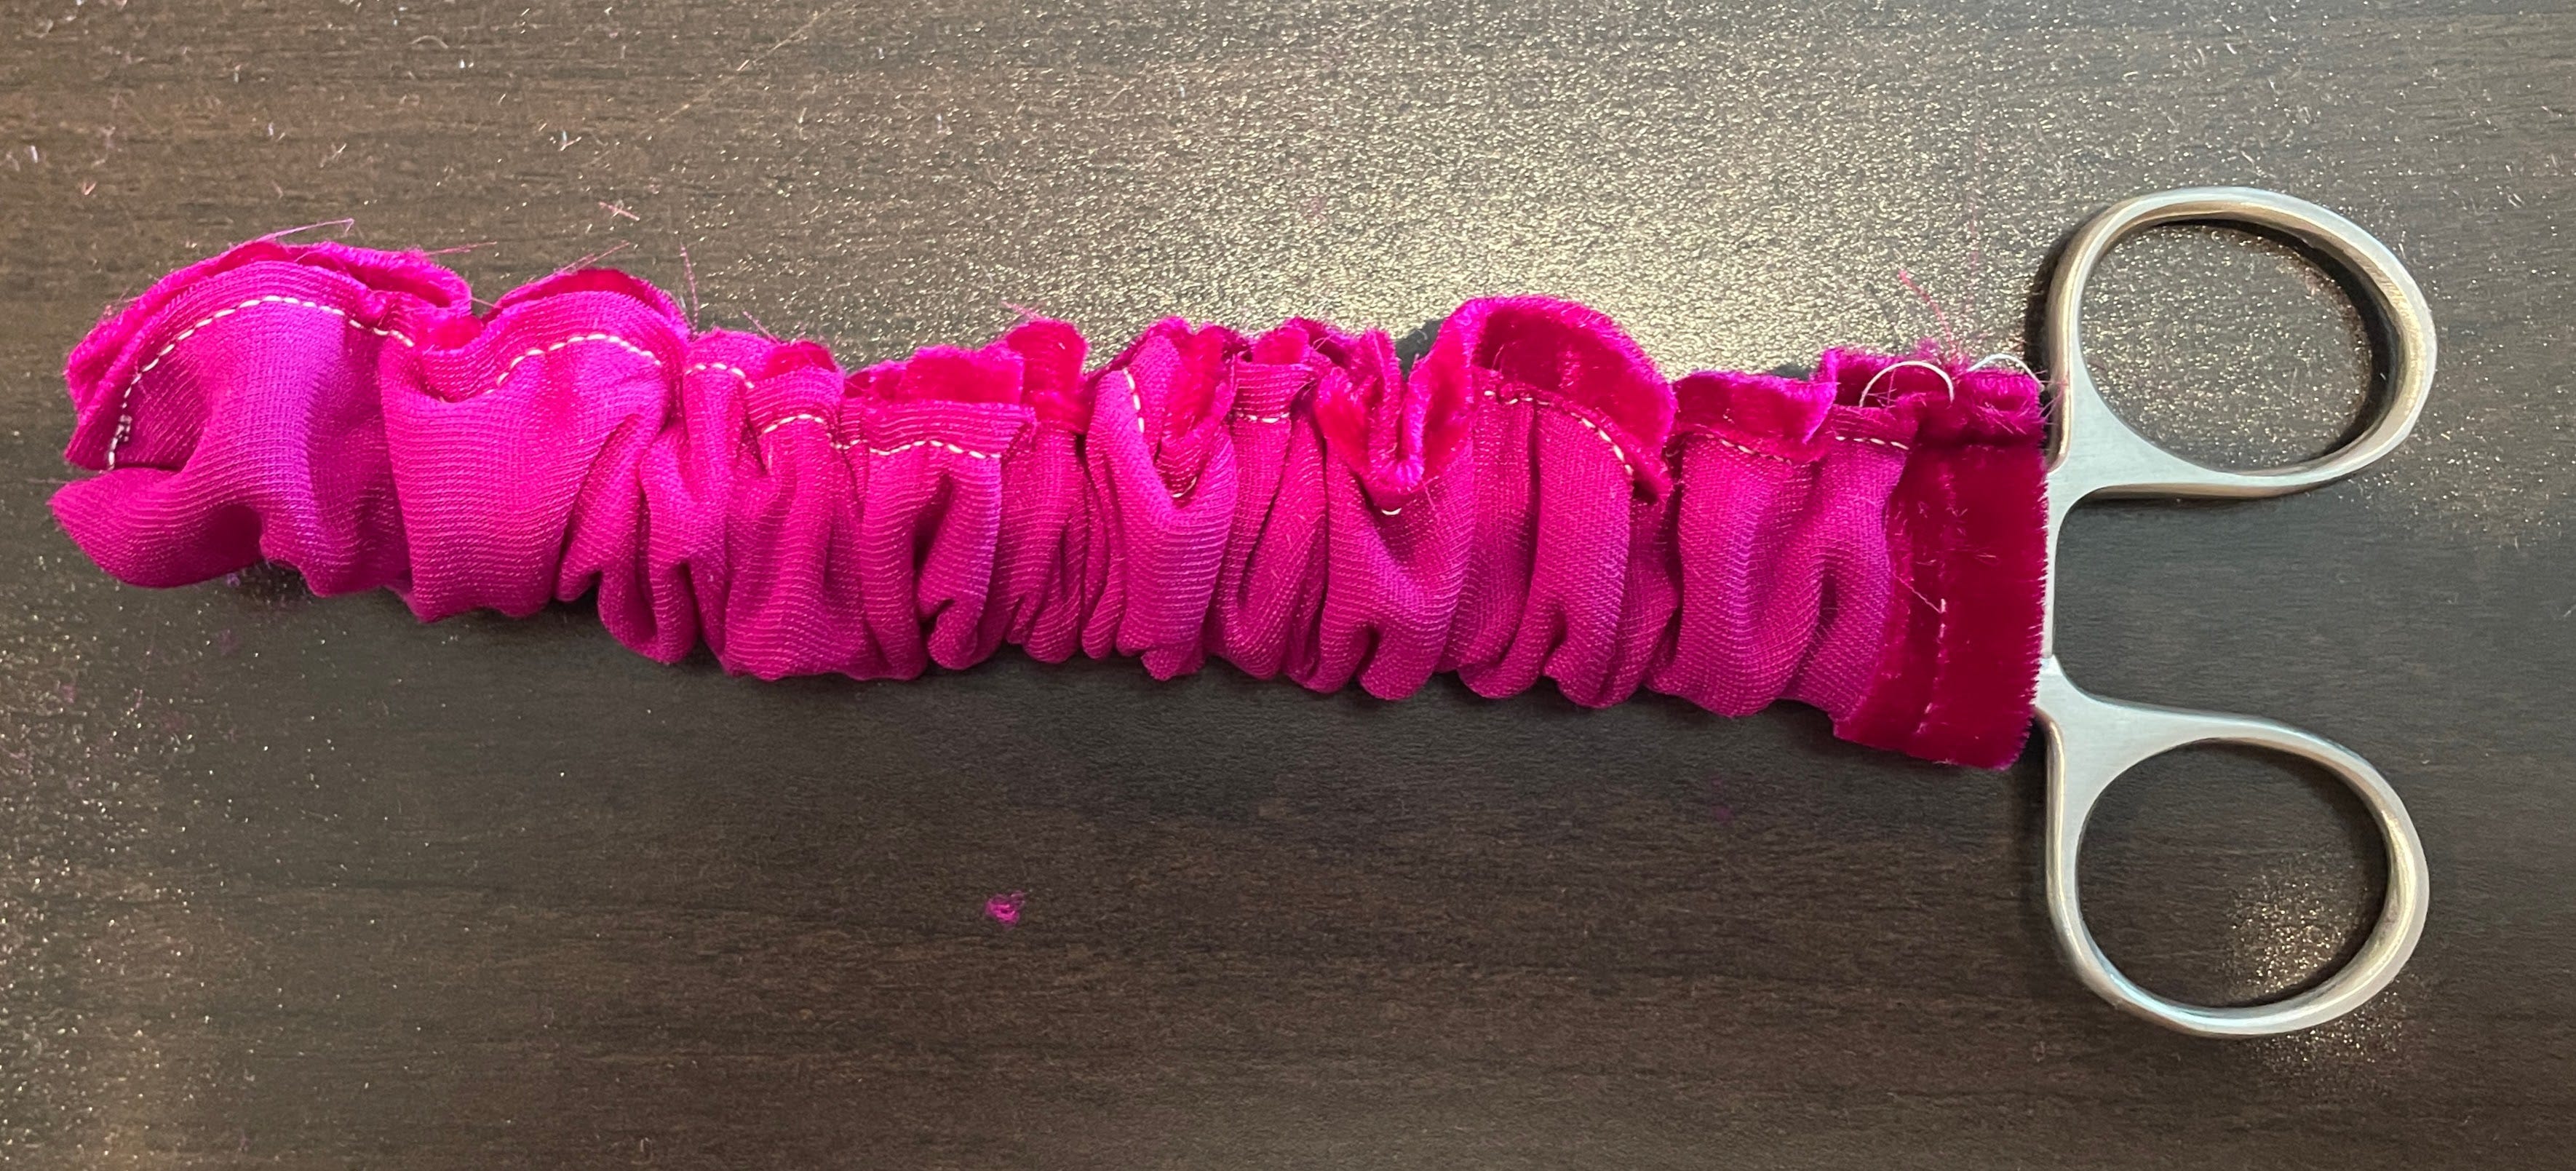
4. Turn the tube right side out using your favorite turning tool. I like this hemostat.
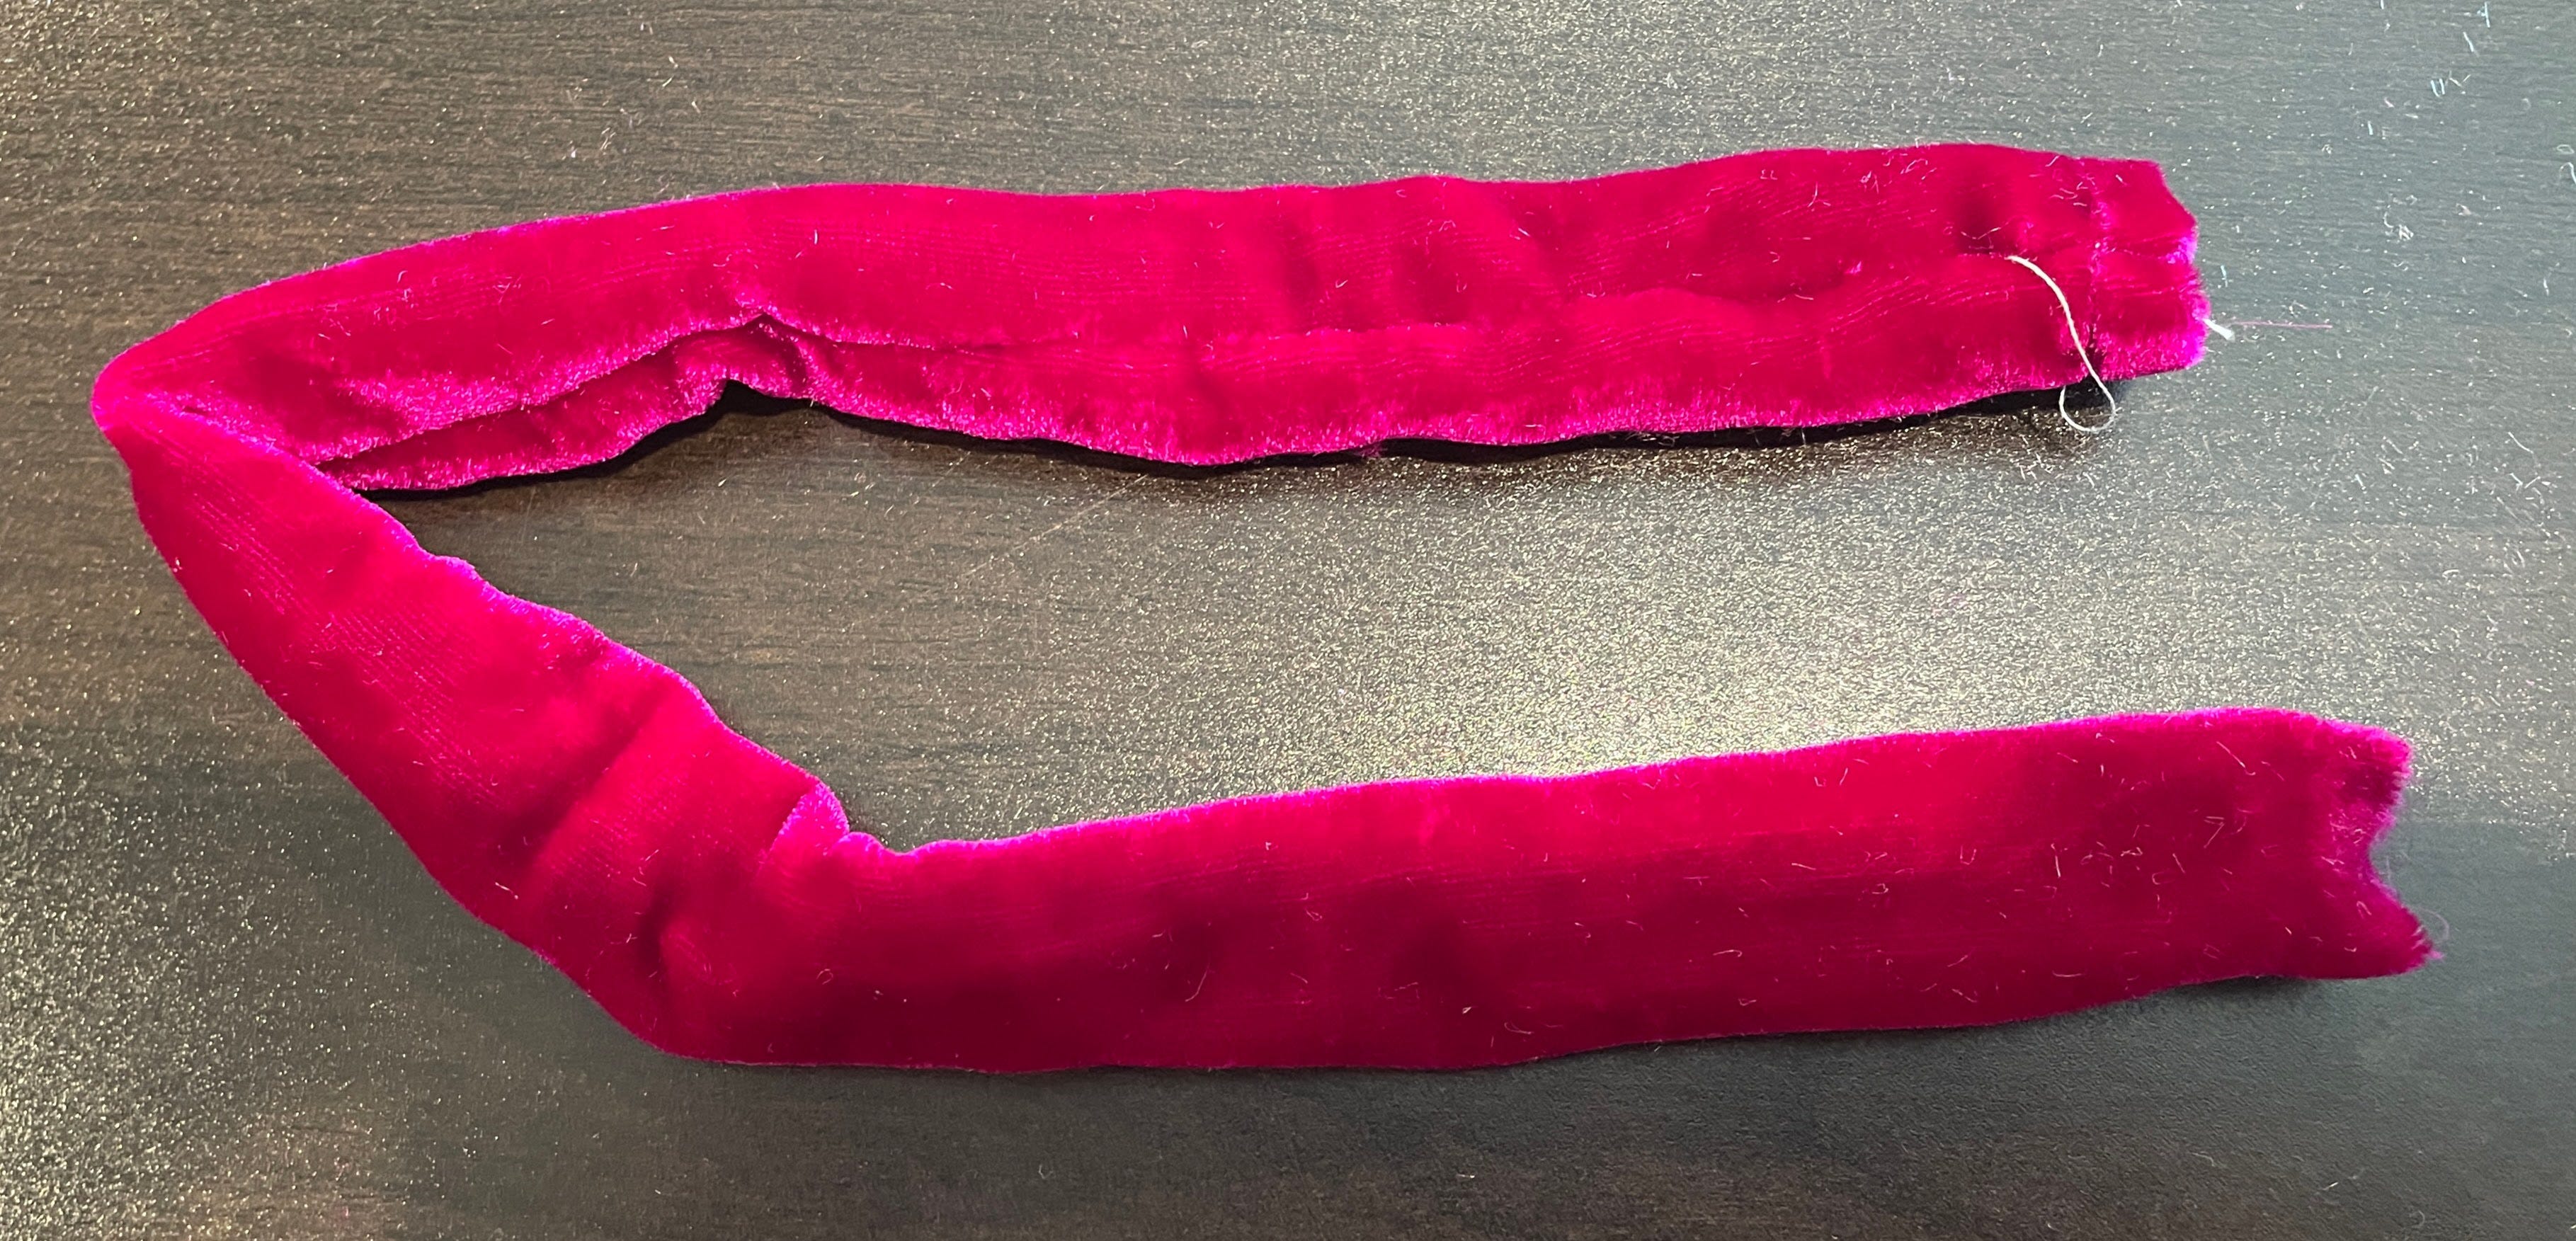
5. Thread the elastic through the tube and stitch the ends together.

6. Feed the unfinished end of the scrunchy into the finished end.

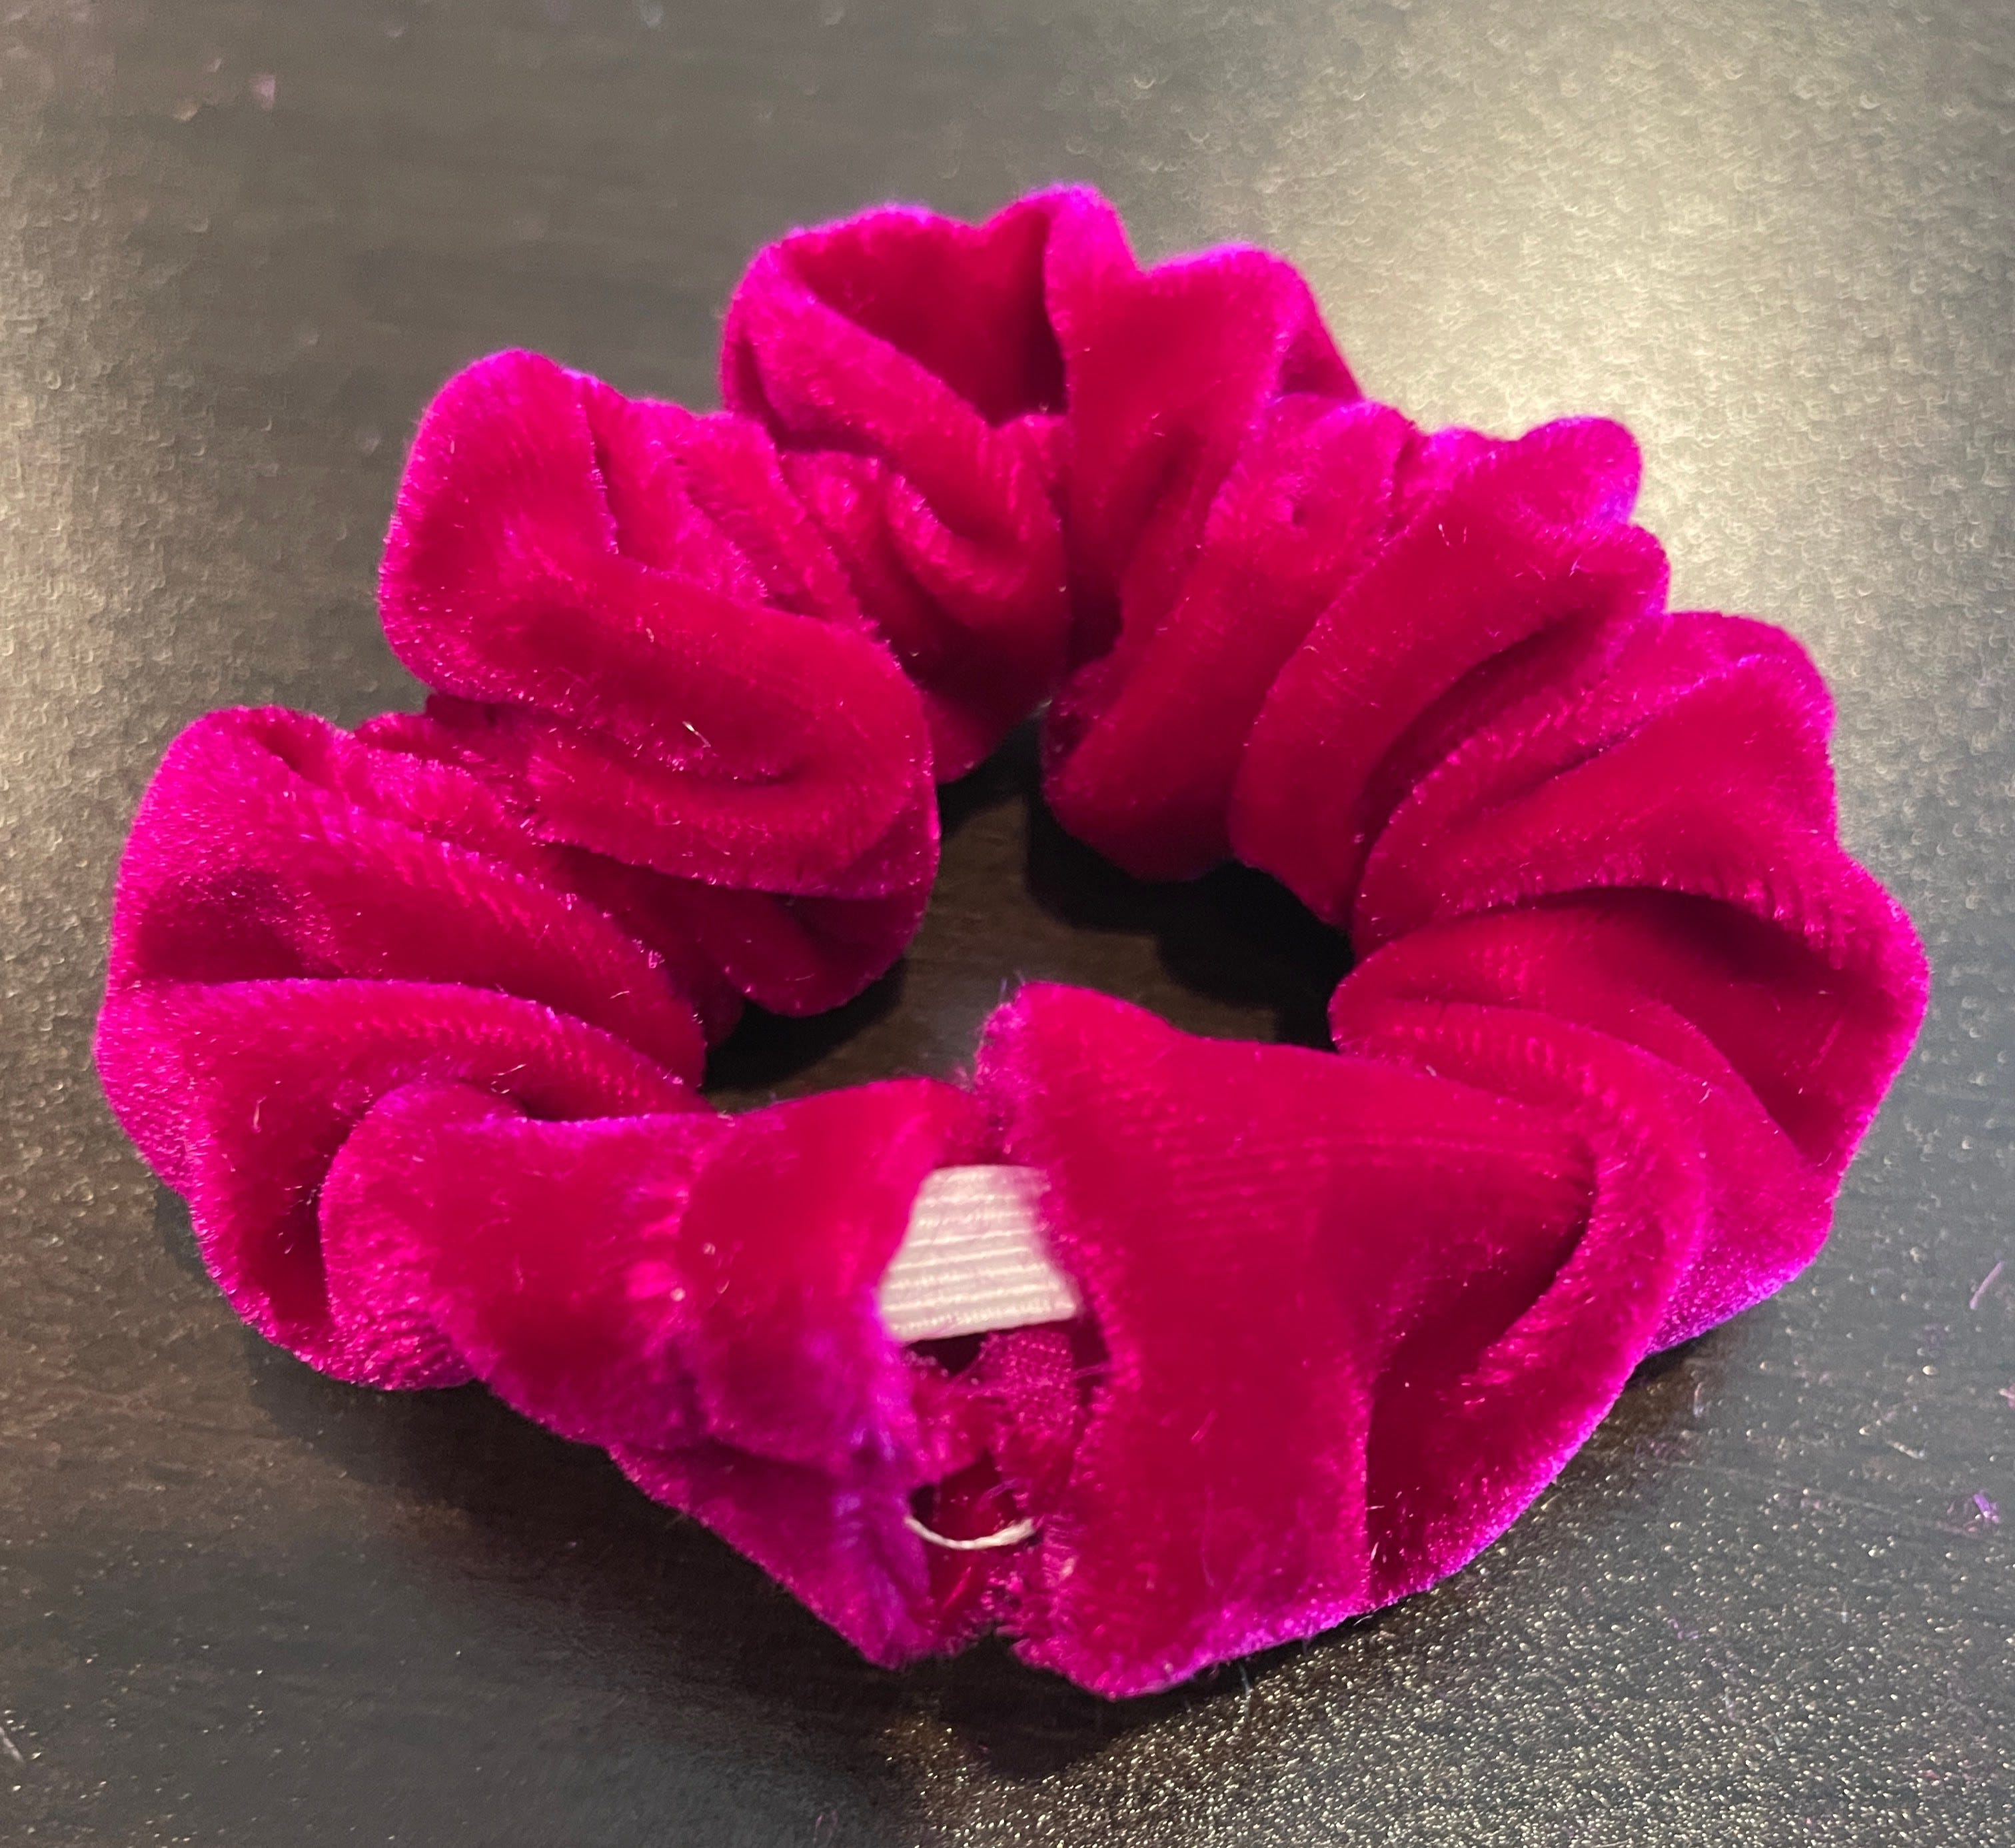
7. Pin and stitch across all of the layers.
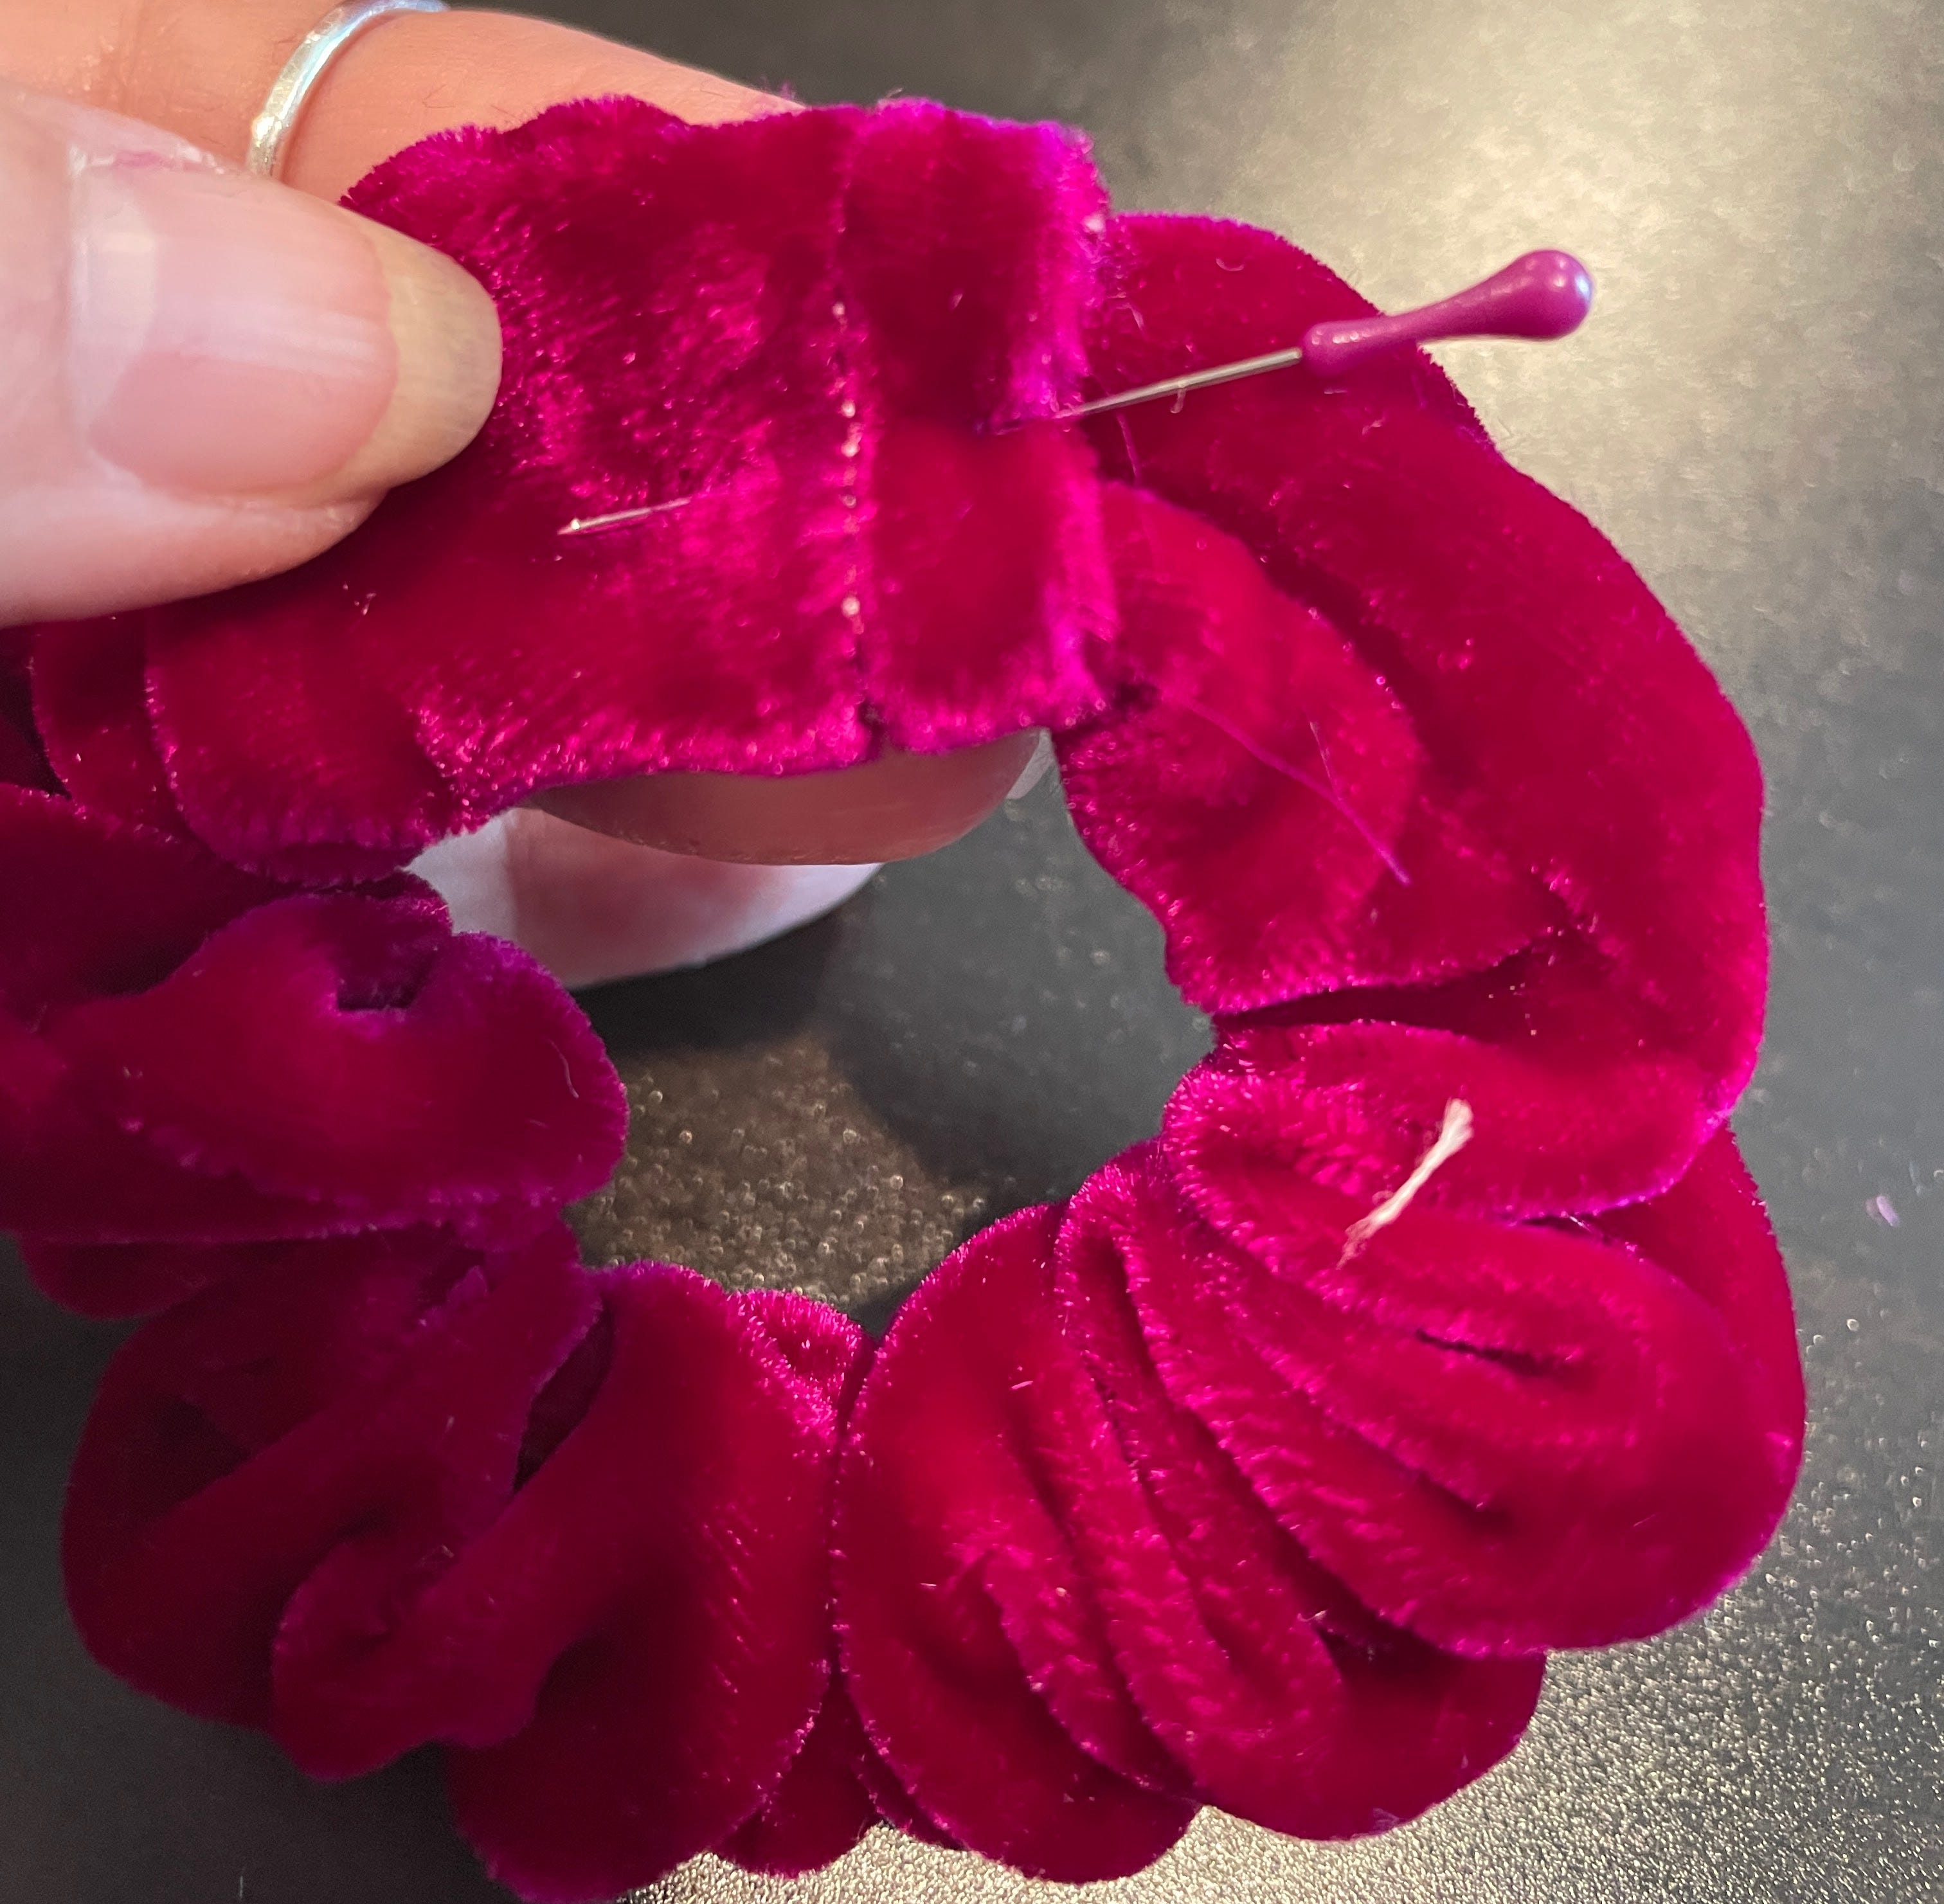

8. Snip the threads and admire your work!
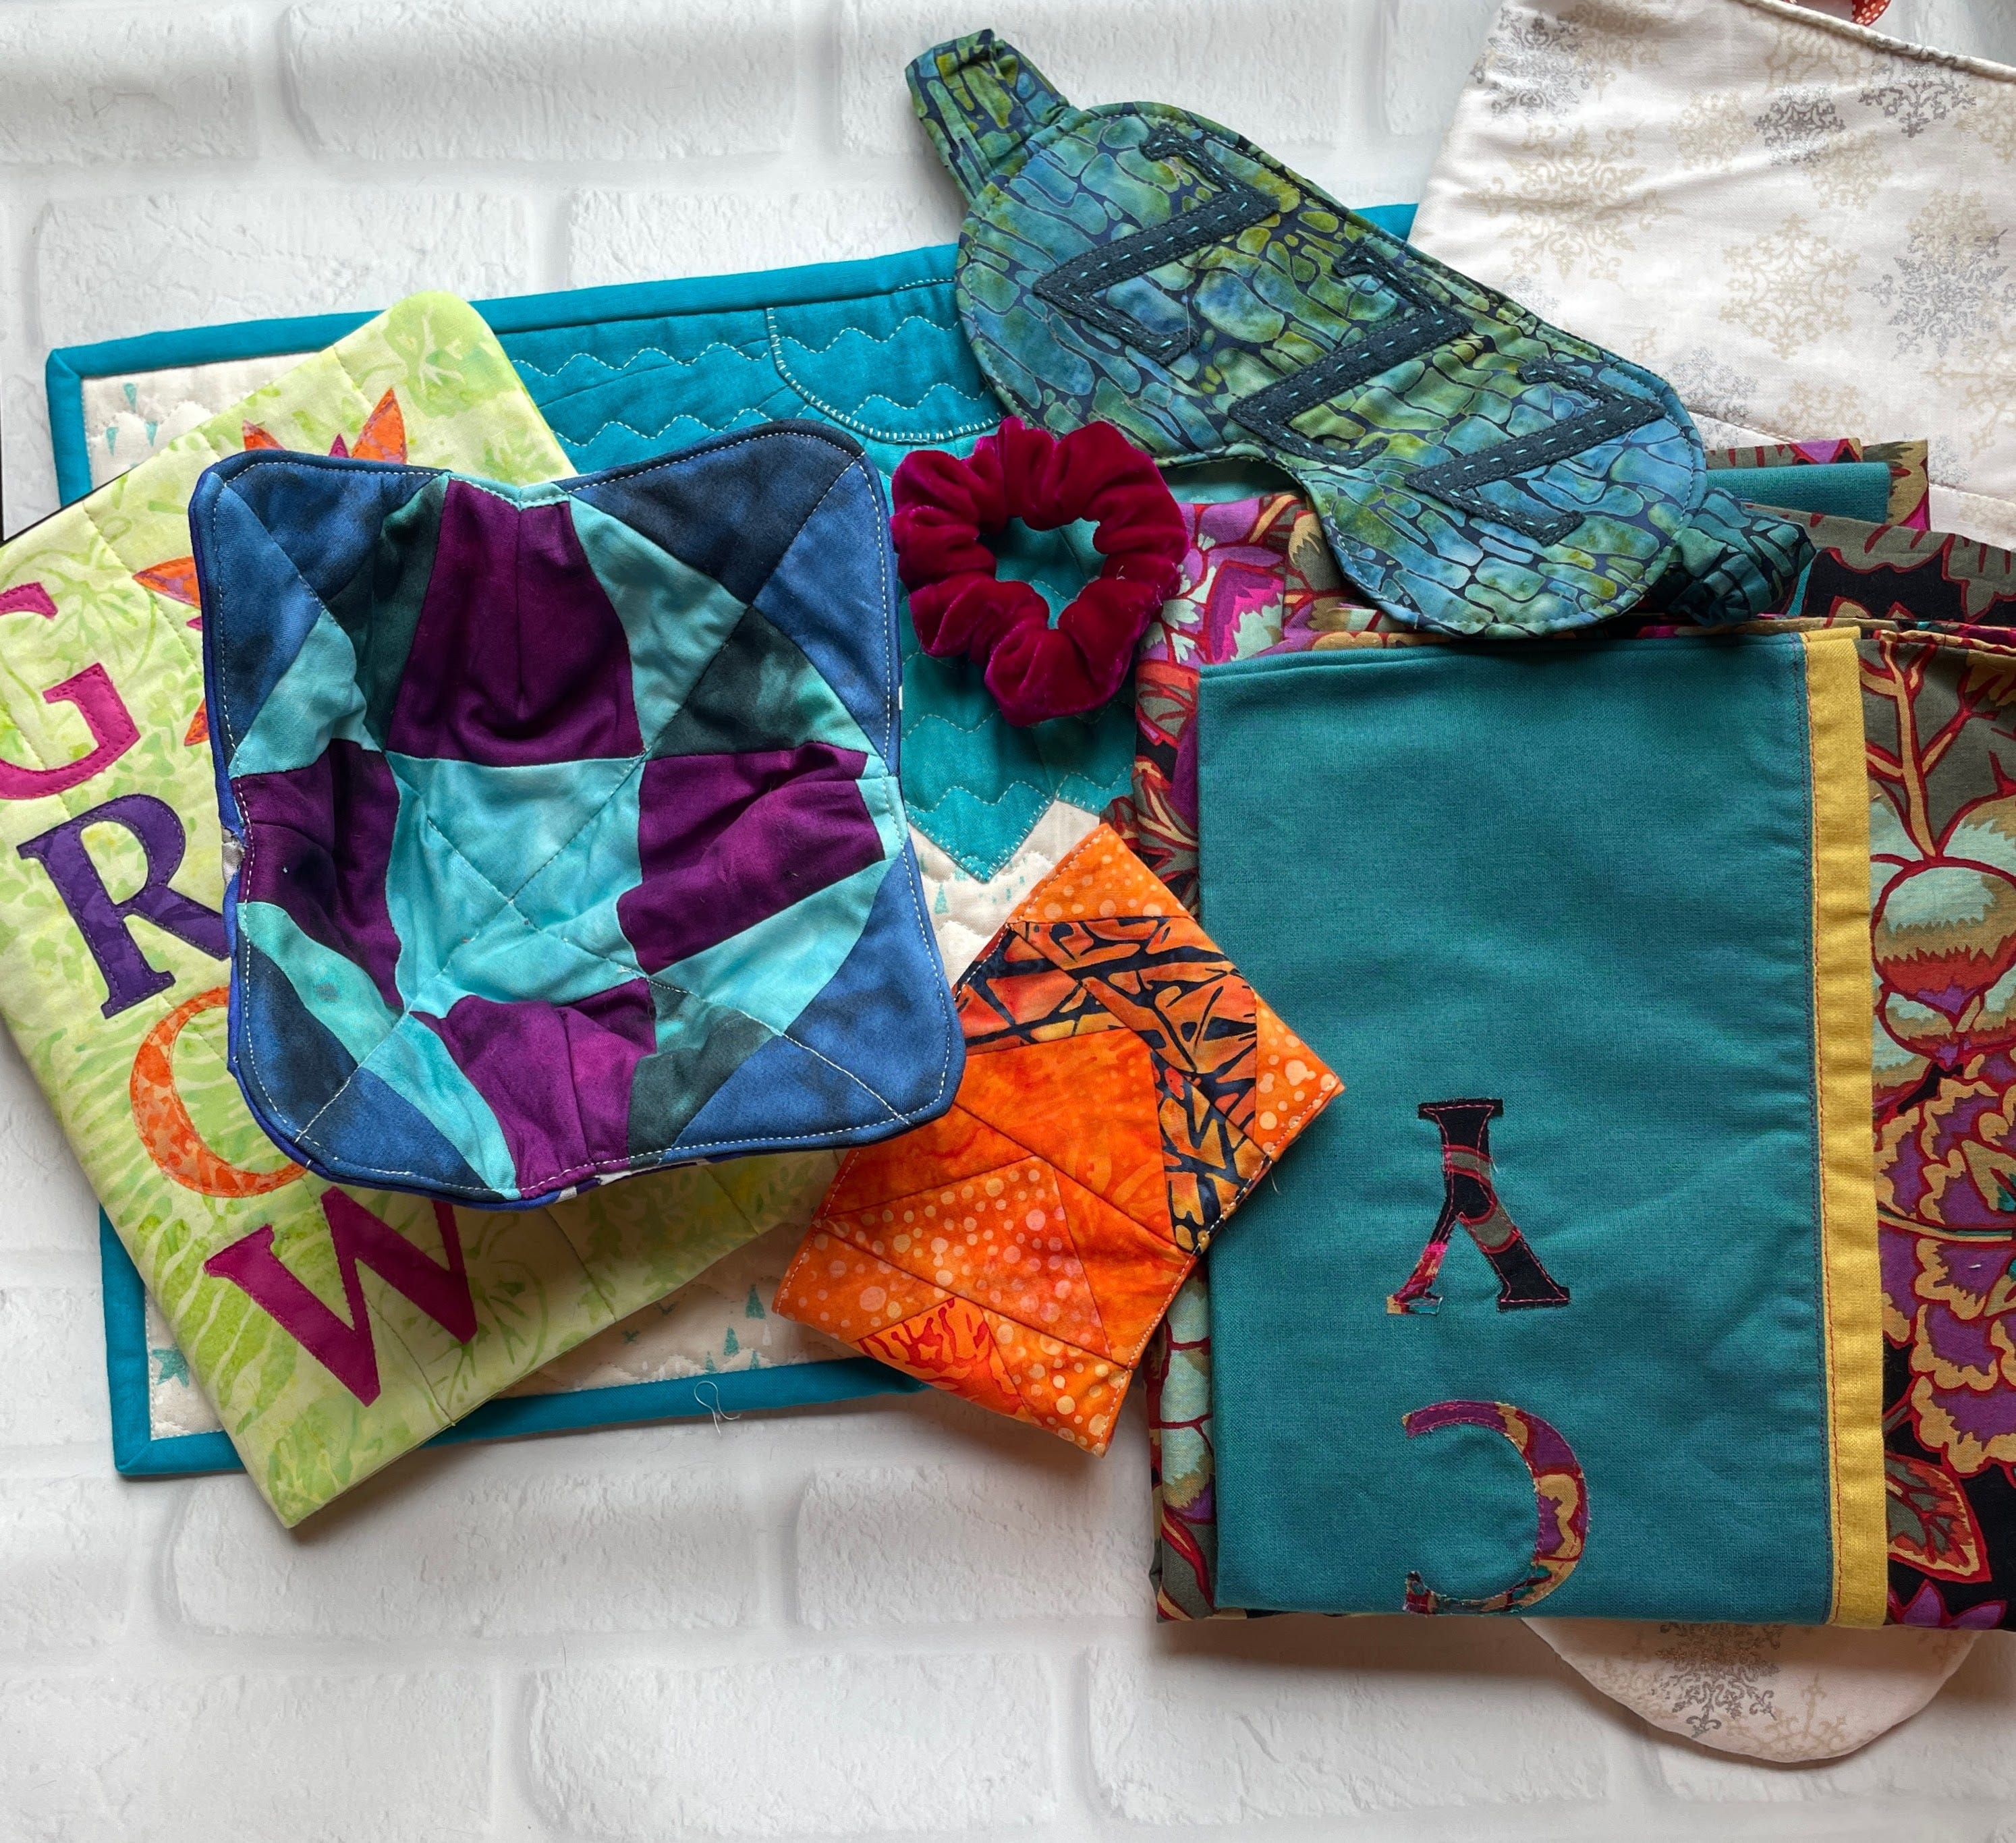
9. Stash the scrunchies in your completed Santa Stocking and relax.
Only four months until the holidays!