
The log cabin block...isn’t that the quintessential quilt pattern? It traces its use in history back to ancient Egyptian pharaohs, and is still as new as yesterday! Katy here from KatyQuilts and I have a new way to use this popular Block on Board (BOB) Die to share with you today.
An Innovative Project Using the GO! Log Cabin Die
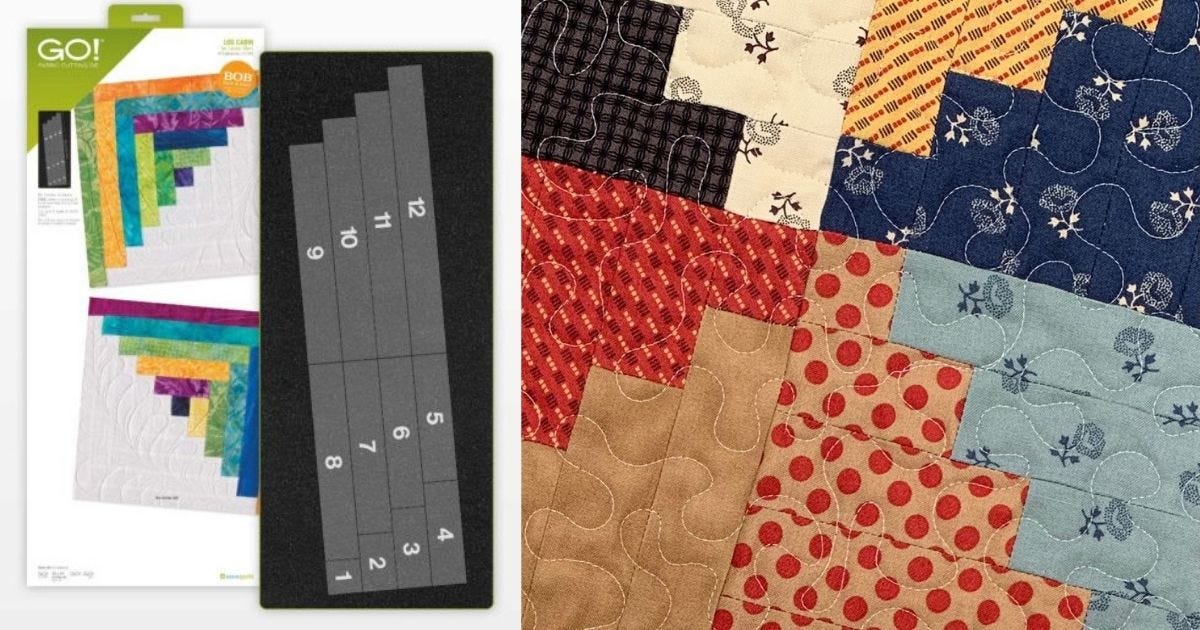
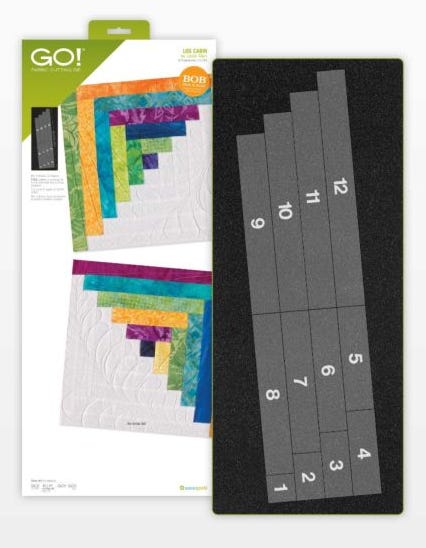
The GO! Log Cabin-12" Finished Square by Leslie Main Die was actually the very first BOB Die I purchased. It has so many possibilities!
Items Needed
- GO! Log Cabin-12" Finished Square by Leslie Main Die
- GO! Strip Cutter-2 1/2” (2" Finished) 3 Strips Die
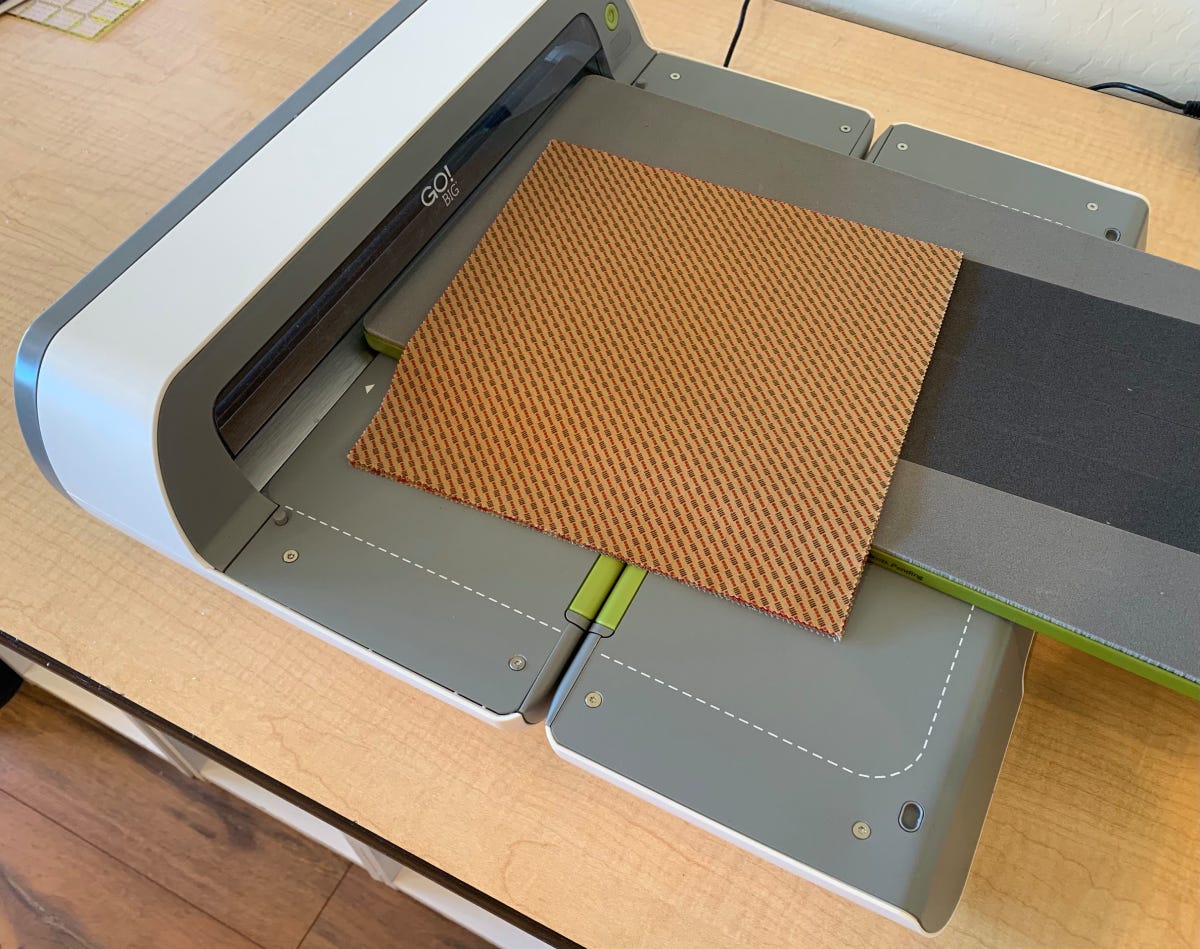
- GO! Fabric Cutter (I used the GO! Big Electric Fabric Cutter)
- 32 layer cake squares
- 1/3 yard of border fabric
- 1/3 yard of binding fabric
- 40” x 40” of batting
- 1 1/4 yards of backing fabric
- Sewing machine
Steps
1. Grab a layer cake. Layer cakes are stacks of 10" squares, all from a single fabric line.
2. Layer up six squares and place them on the GO! Log Cabin Die, covering only the smaller pieces. The 10" squares fit perfectly, with a good chunk of usable fabric left over.
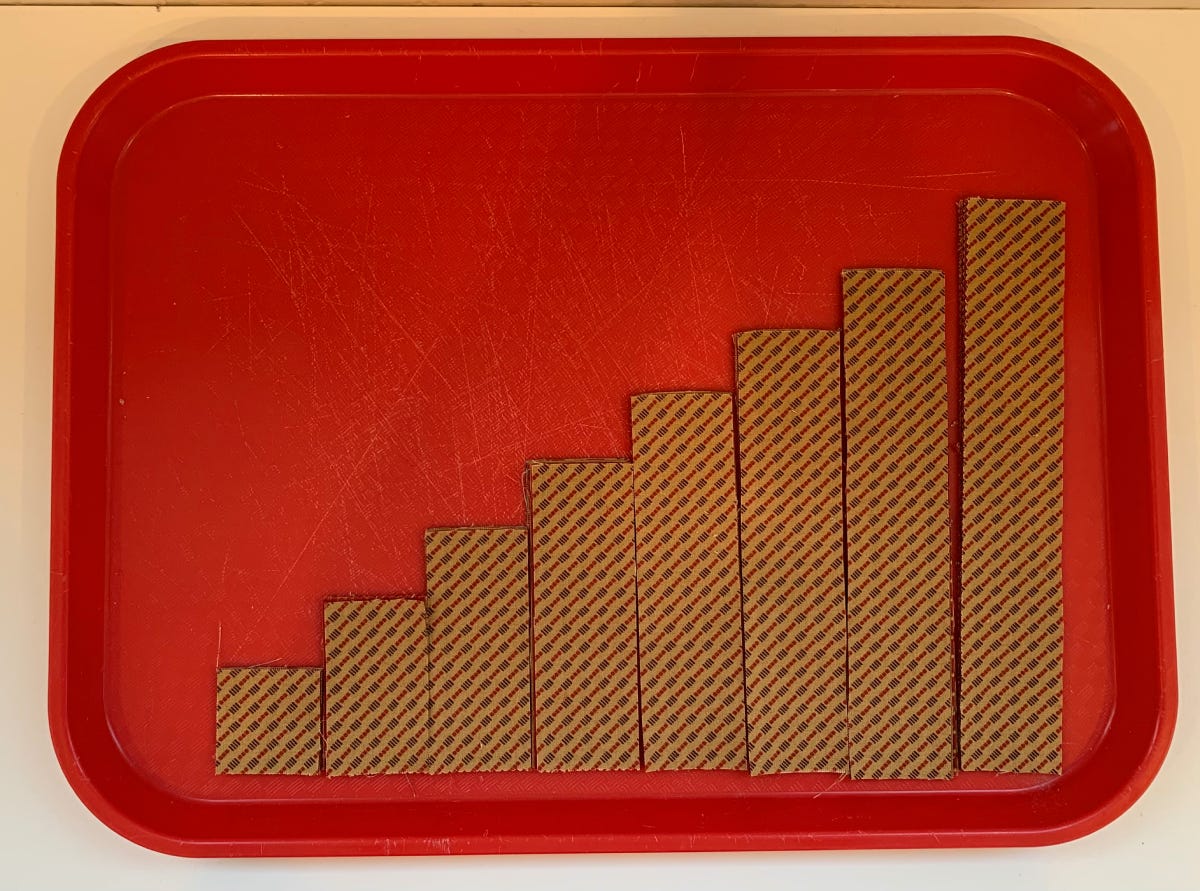
PRO TIP: After running the fabric on the die through my GO! Big Electric Fabric Cutter, I placed the cut pieces on a cafeteria tray. I like using these for carrying my block pieces to my sewing machine.
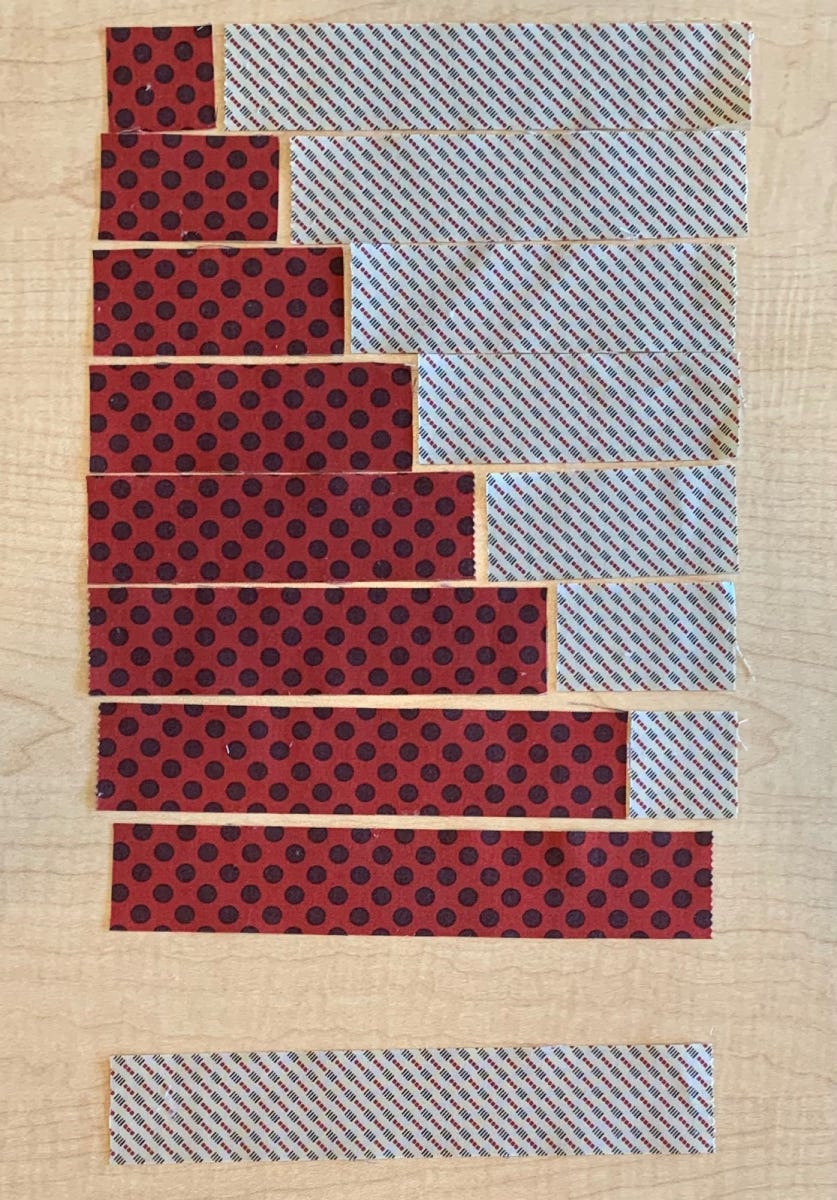
3. Grab the second-longest piece of dark fabric and pair it with the shortest piece of light fabric. Continue pairing up the pieces until they all equal the length of the longest piece when sewn.
You will add the longest light strip to half of your blocks like this:
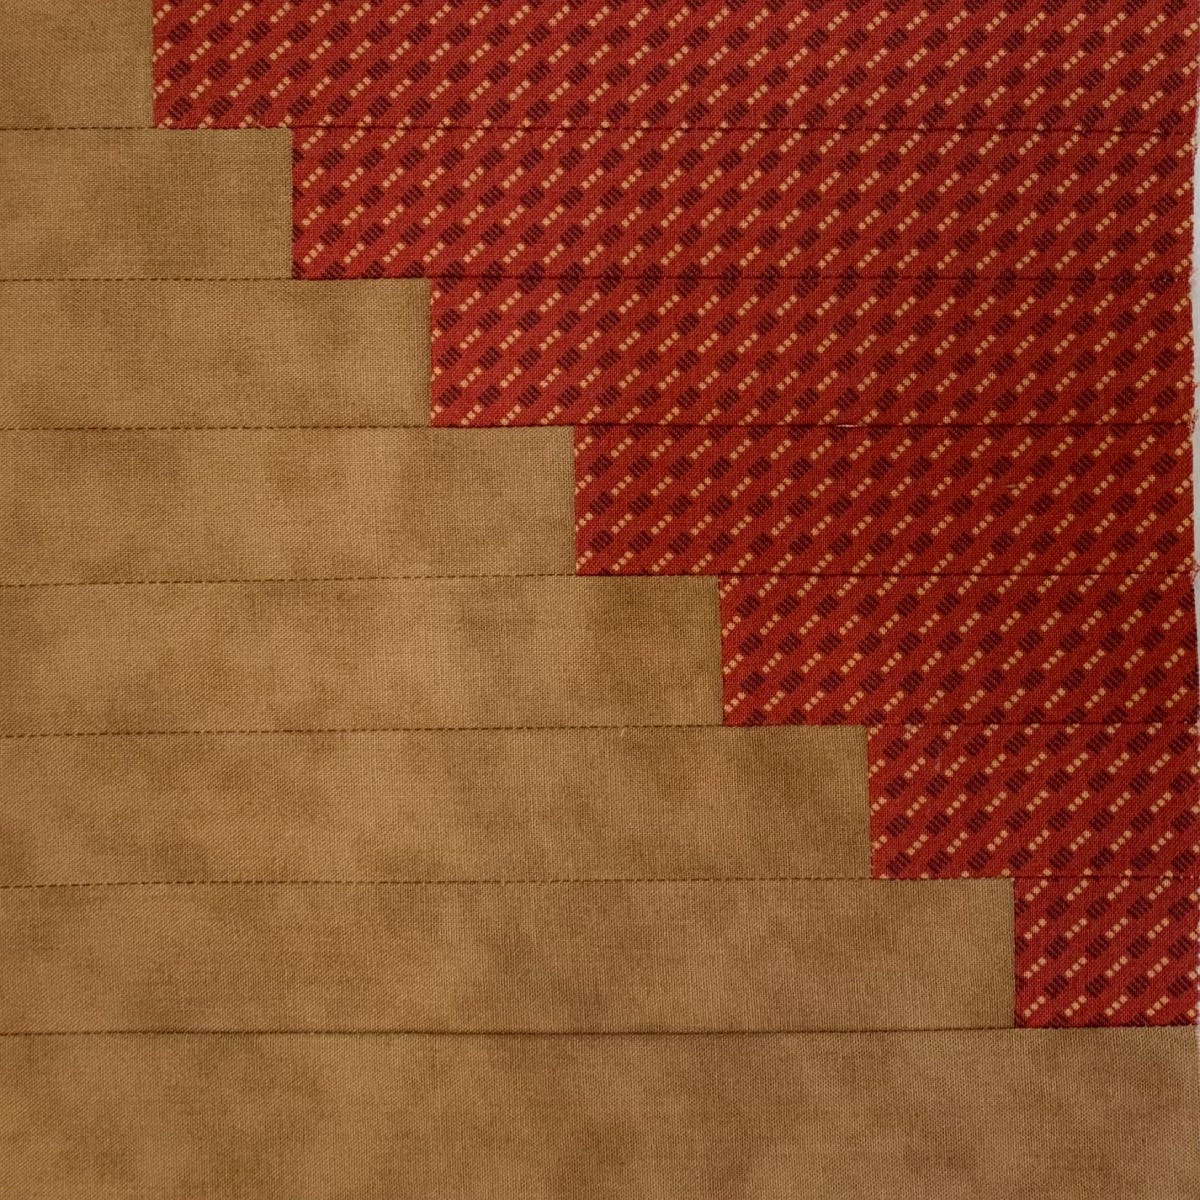
4. Sew the rows together to finish the block.
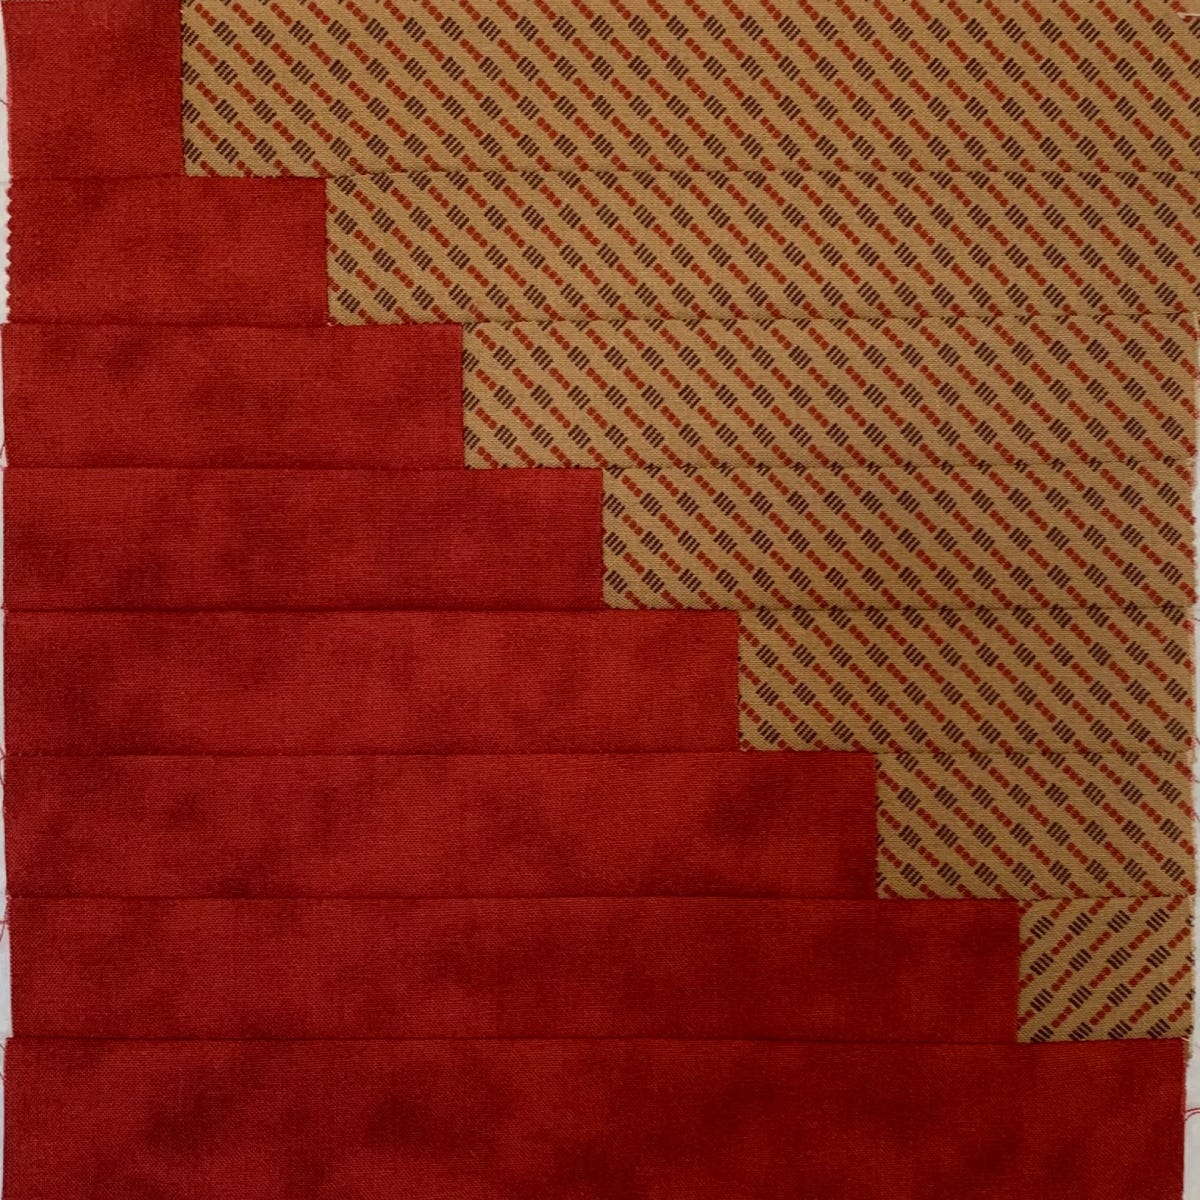
5. Add the longest dark strip to half of the blocks (pictured below). The blocks will finish at 8". There will be one light or dark strip leftover from each block set.
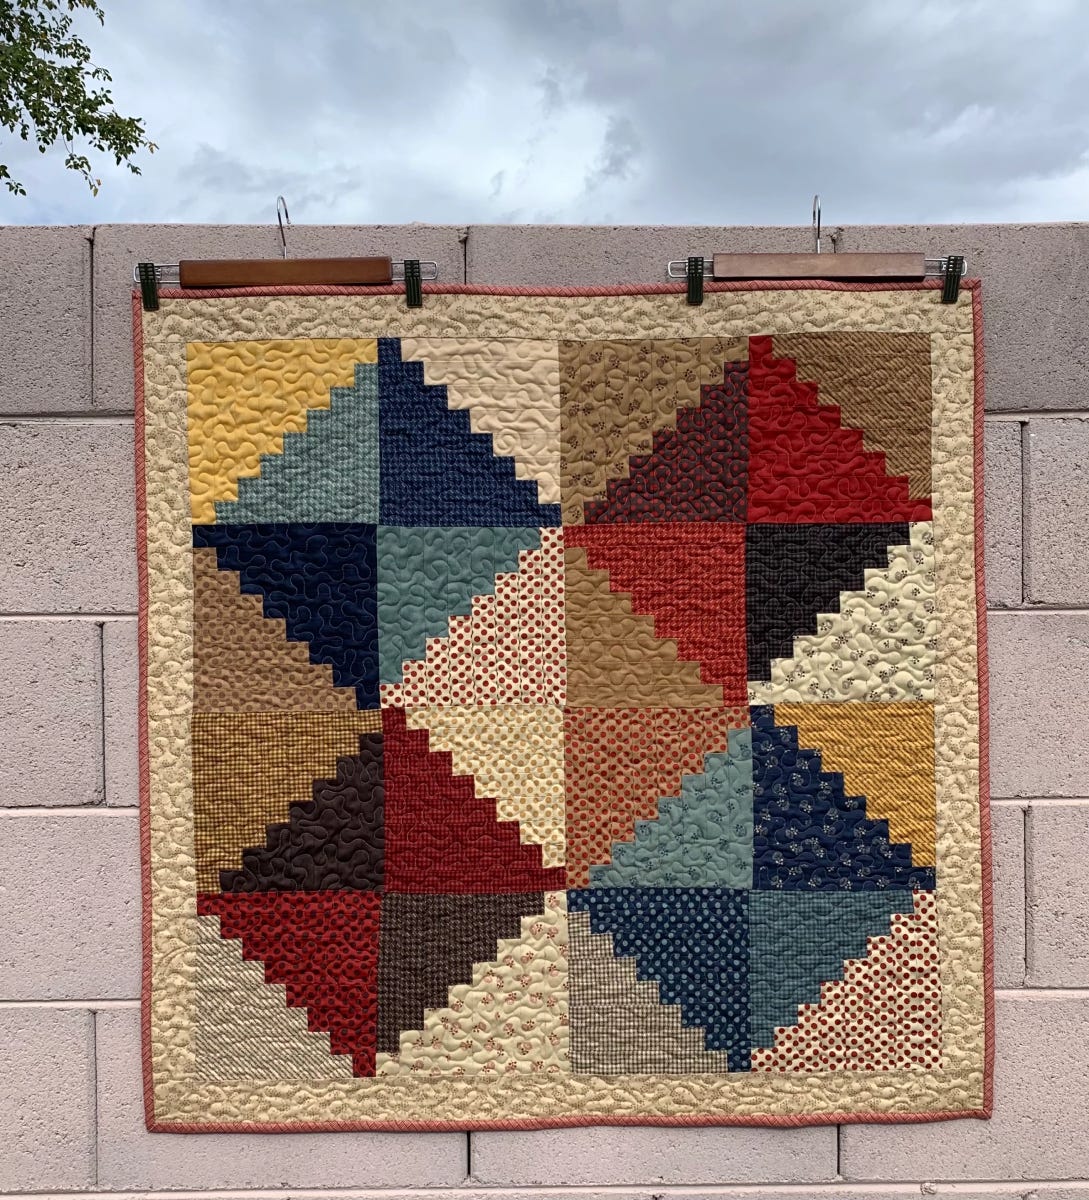
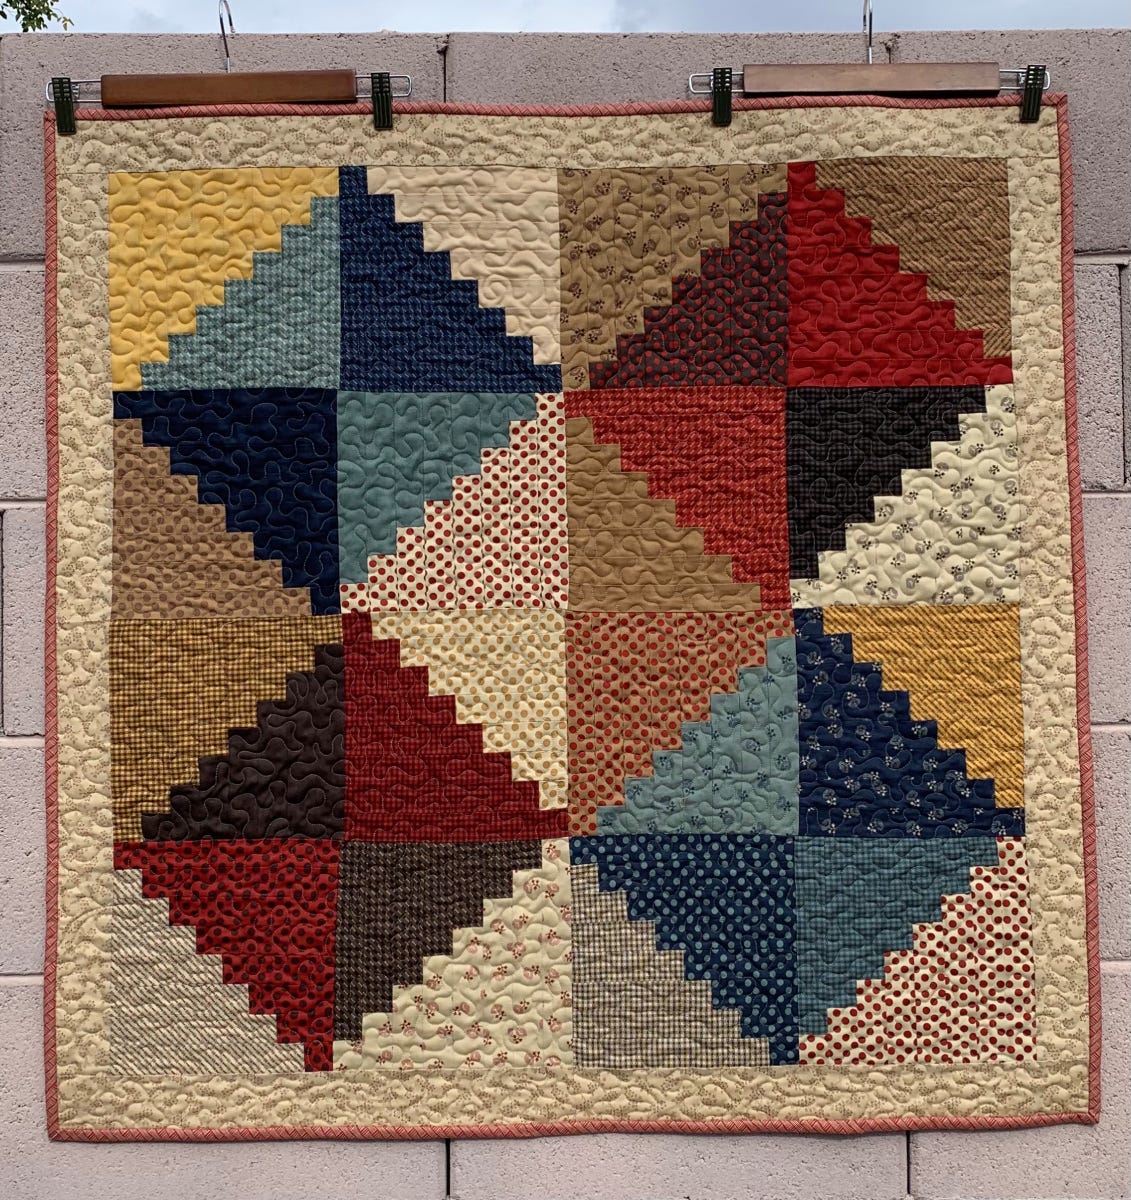
6. Lay out your blocks and sew them together.

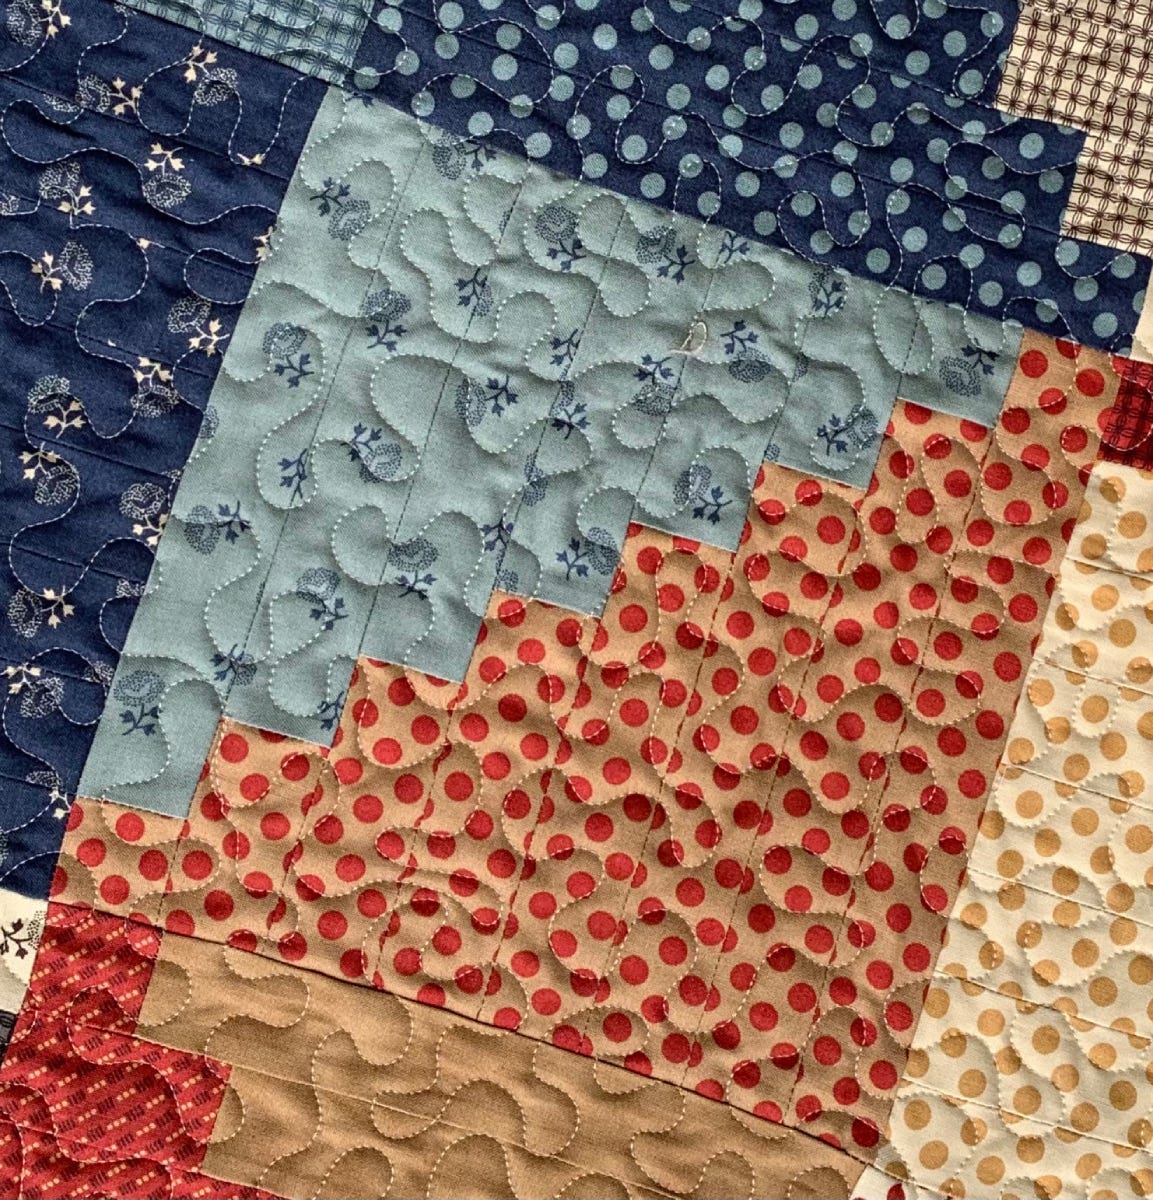
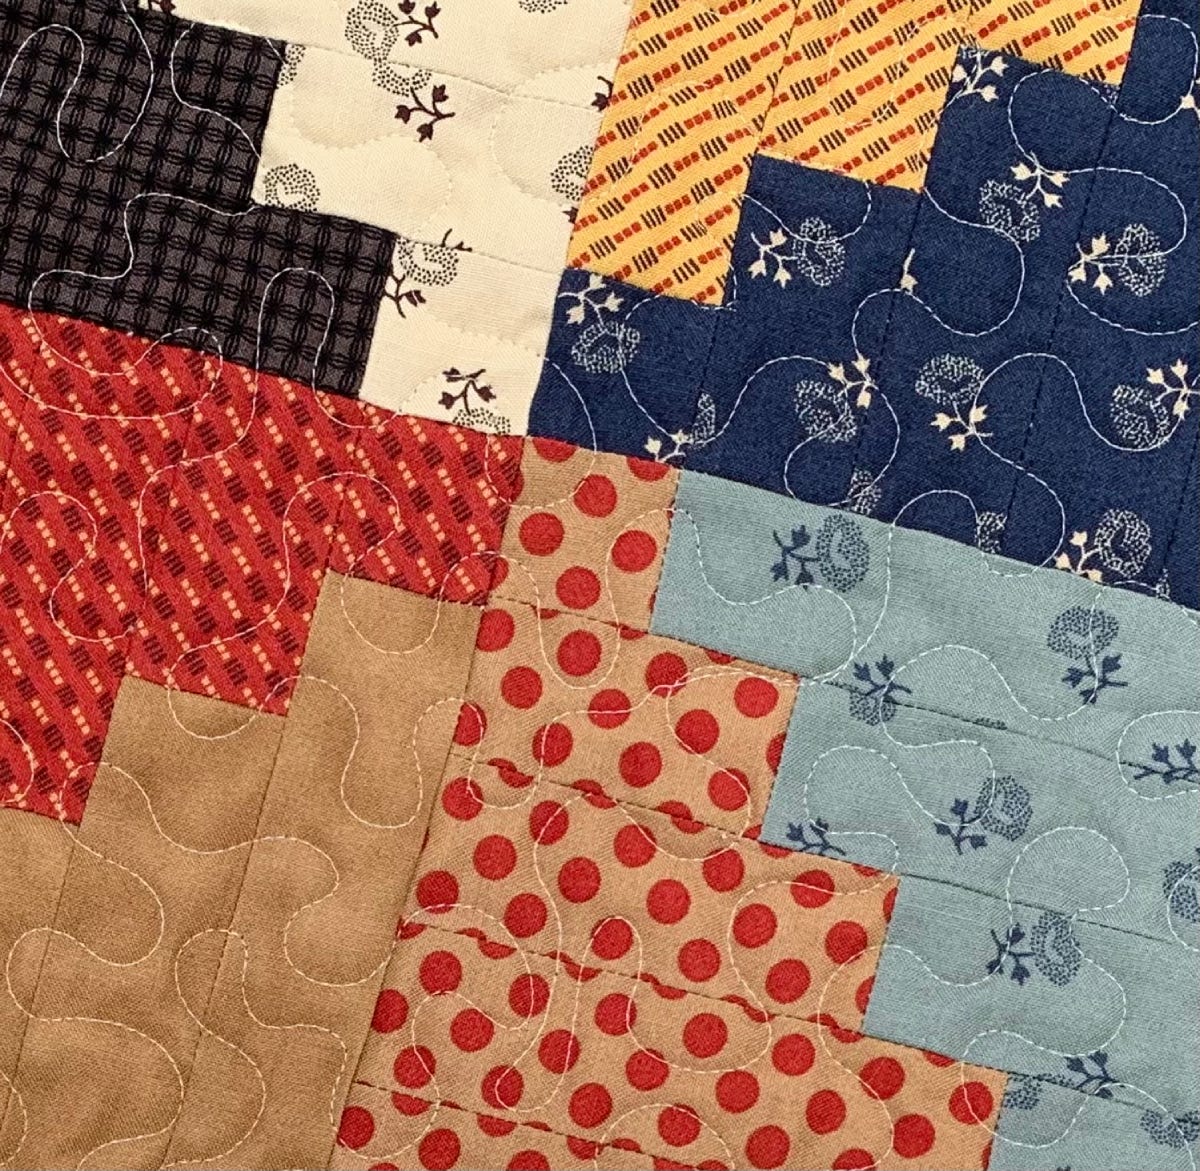
7. After sewing the blocks together, you can add a bit of separation between the blocks and binding using the GO! Strip Cutter-2 1/2" (2" Finished) 3 Strips Die. I cut light-colored borders and used a bit of simple stipple quilting and binding to complete it.
Project Thoughts
I love how making the blocks this way creates little four-patches where the blocks come together.
I think the chain piecing for this goes so much faster than it does with traditionally pieced log cabin quilts.
GO! Think Outside the Log Cabin Block
I hope you enjoy this new way of using the GO! Log Cabin-8" Finished Square by Leslie Main Die! Whenever I get a new GO! Die, I always think about the different projects I can make with it, and the shapes on GO! BOB Dies and GO! Applique Dies allow for a lot of creative freedom.
If you make something with this tutorial, please share a photo on social media using the hashtag #AccuQuiltBuilt, and don't forget to tag @katyquilts and @AccuQuilt so that we can see your fun creation!


