


Hello everyone! I am Diana Ray and I craft over at Ray's Sew Crafty. I am very excited to be here to show you how to make this Easter Tote bag in time for Easter! This tote bag is 17'' wide and 18'' tall. I made it using four "Baskets" blocks as the center piece.
I have been using my AccuQuilt GO! cutter for about three years now and I just crave ways to incorporate my dies into every project. One of my favorite projects to make are little pouches and tote bags. They are so useful and make great gifts for family and friends!
For this tote, I used the GO! Qube 6'' set of dies. AccuQuilt makes the GO! Qube sets in several different sizes including 6”, 8”, 9”, 12” and when you combine shapes, you can make 72 block designs! You can find the booklet for the 6'' for free on AccuQuilt's website here.
Supplies:
-AccuQuilt fabric cutter
-GO! Qube 6" set
-4 fat eights of color for baskets
-1/2 yard of white for basket background and borders
-1/4 yard of green for grass and handles
- two pieces of fusible fleece 18"x19"
-two squares of fabric for tote lining 17"x18"
-80wt Deco-Bob Wonderfil Thread
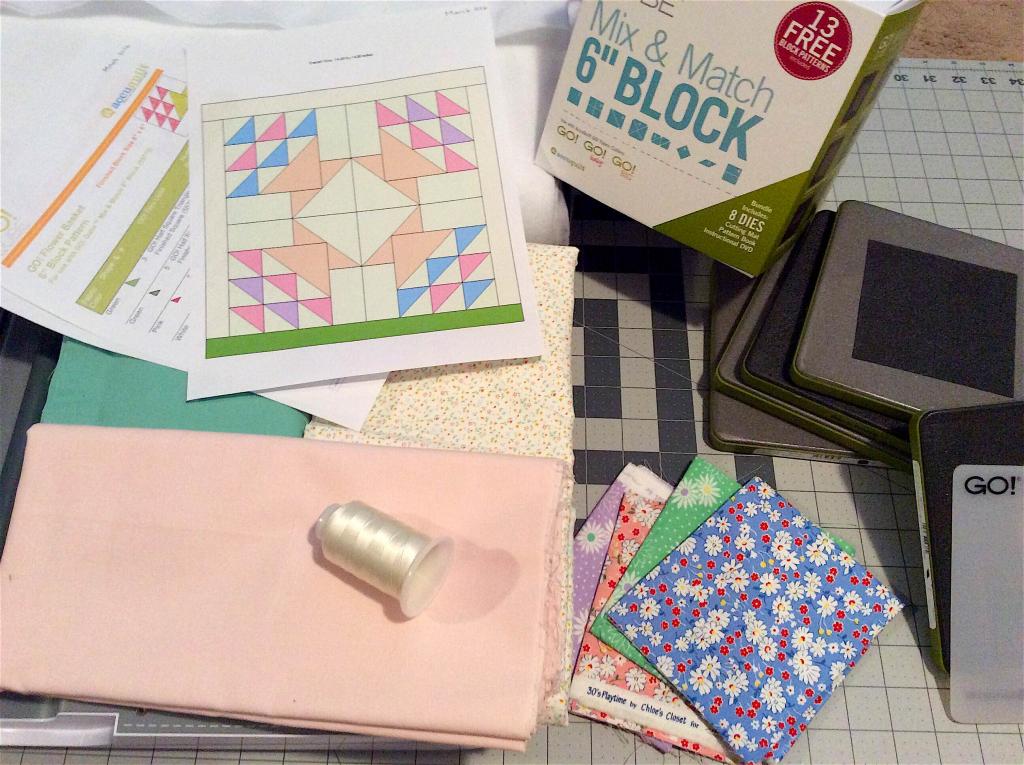
Whenever I think of Easter, I think of pastels and 30's fabrics. Do you think the same way? haha
I love using my EQ7 MAC computer software to sketch and play with my project layout before I get started. I found a nice color layout for my baskets tote and pulled my fabrics and supplies.
I love the way that AccuQuilt engineers their dies, especially the corners on the half- square triangles! When I press the HST's, I don't have to trim the "doggy ears" that stick out ... I just love that! I was able to cut out my pieces in minutes and was ready for the fun part: sewing!
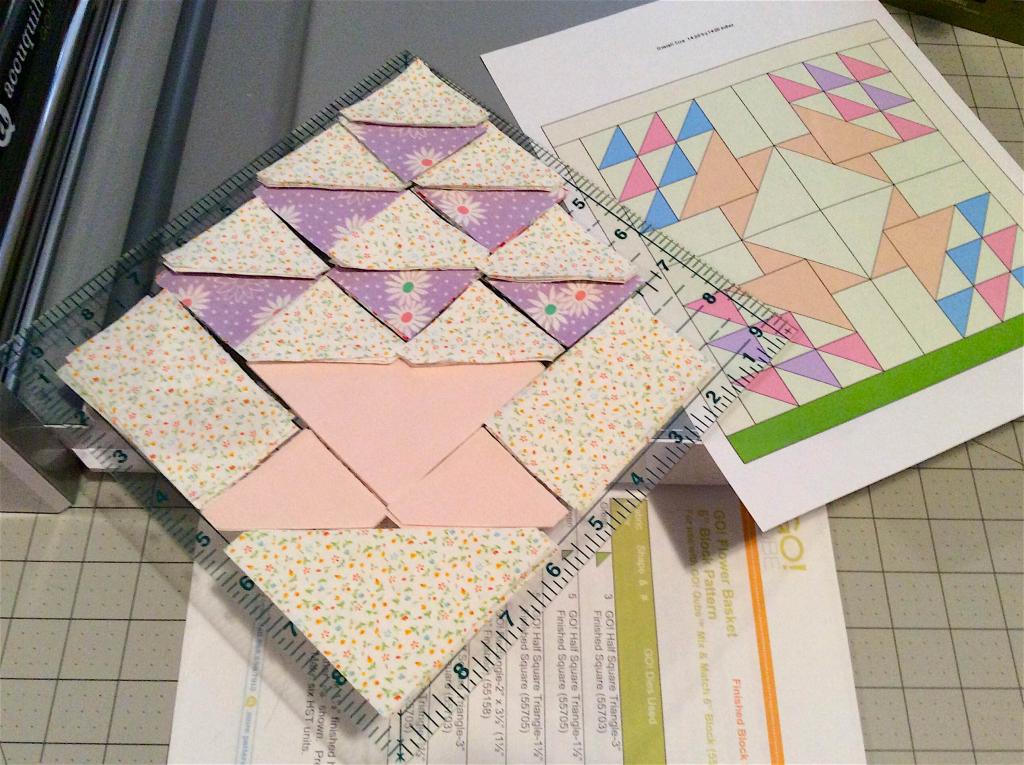
The Qube sets come with 8 dies as well as many block pattern sheets and an instructional booklet and DVD to help you get started. You can also download the pattern booklet that I mentioned in the beginning of this post, and print off patterns for your projects. After printing the "GO! Flower Basket" block pattern, I constructed my blocks according to AccuQuilt's instructions. The baskets came together so quickly! I love to assembly line sew the HST's and they are sewn in a breeze!
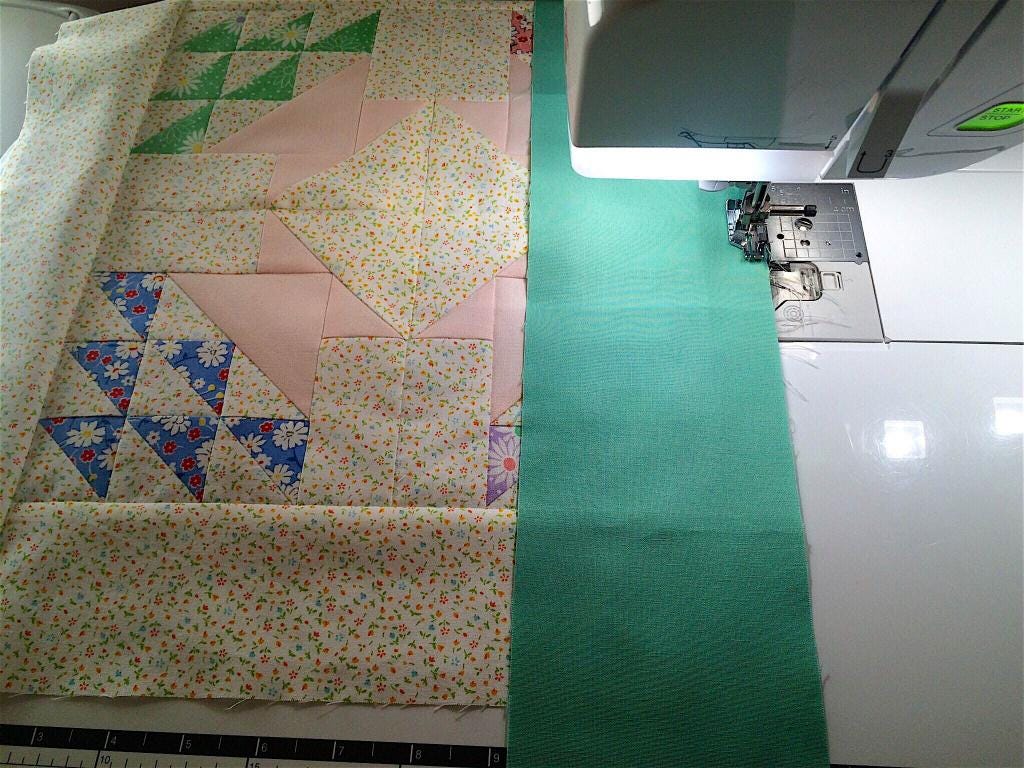
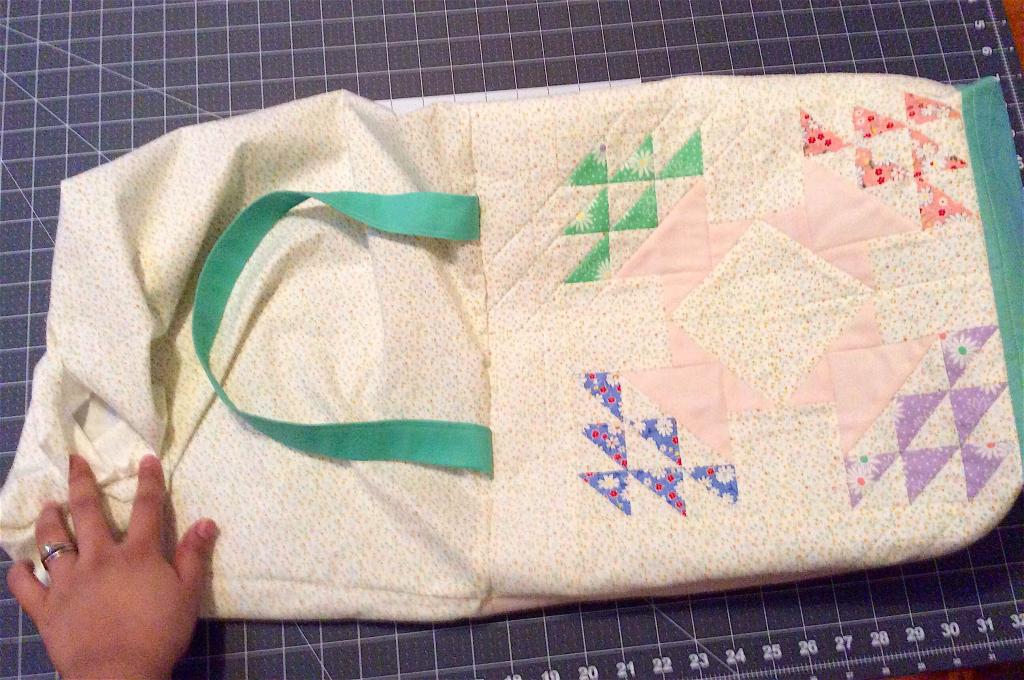
After the center basket blocks are sewn, it will measure roughly 12-1/2" squared. To make this a good sized bag, I added strips around the center. I cut one strip of the background fabric at 3'' wide (selvage to selvage) and then subcut that into three strips for the sides and top. For the bottom strip of green, I cut a 4" x 18" strip and added that to the bottom of my baskets center piece as grass. After sewing the strips onto the center piece, I trim off any excess fabric and then press towards the strips.
For the handles, I cut a 5" strip (selvage to selvage) and then cut that strip in half, leaving me with two strips at 5" x 21". I pressed each strip in half, opened it up and pressed each half in half again. I then have a 5" strip pressed into quarters that I stitch the edge down on the opening side. You can stitch down both sides and down the middle with a decorative stitch to add some flair to it. :)
When the tote front piece is done, I cut out my two piece of fusible fleece at 18"x19" to fuse onto the front and back of my tote. For the lining (inside) and the back of my tote, I chose to use the same background fabric as my blocks. I cut out three pieces of the background fabric at 17"x 18", one of them will have fusible on it and become the back of my tote. And the other two will be sewn as the lining (inside of the tote).
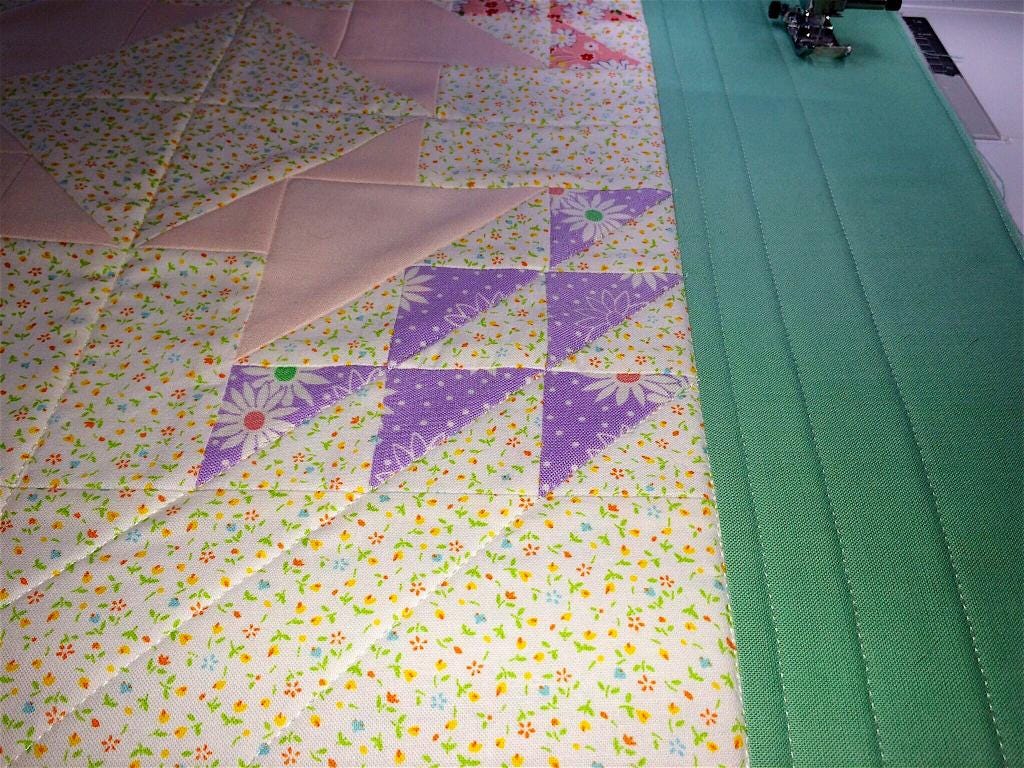
Each fusible fleece is different. Make sure that you read the directions on the packaging to fuse it appropriately. I am using Pellon 987F Fusible Fleece for my tote. I fused a piece of fusible onto the front piece of the tote, as well as onto a background piece. The fusible will only go onto the outside part of the tote. I quilted my tote pieces using Wonderfil's 80wt Deco-Bob thread in white ... it is one of my favorite threads to piece and quilt my projects with! It is thin and light and has a nice sheen to it too! Wonderfil has such a variety of threads for all of my projects.

After quilting the outside of my tote, I am ready to put this bag together! To do that, (top left image) I place both of my linings (inside of tote) pieces right sides together and stitch 1/2'' away from the edge on three sides. It is VERY important that you do NOT stitch the opening/top of the tote! I also place the outside pieces of my tote right sides together and stitch 1/2" on three sides NOT INCLUDING THE TOP.
For this tote, I boxed my corners to add some depth to the bag and to be able to fill it with more things! We can all use a little more space in totes!
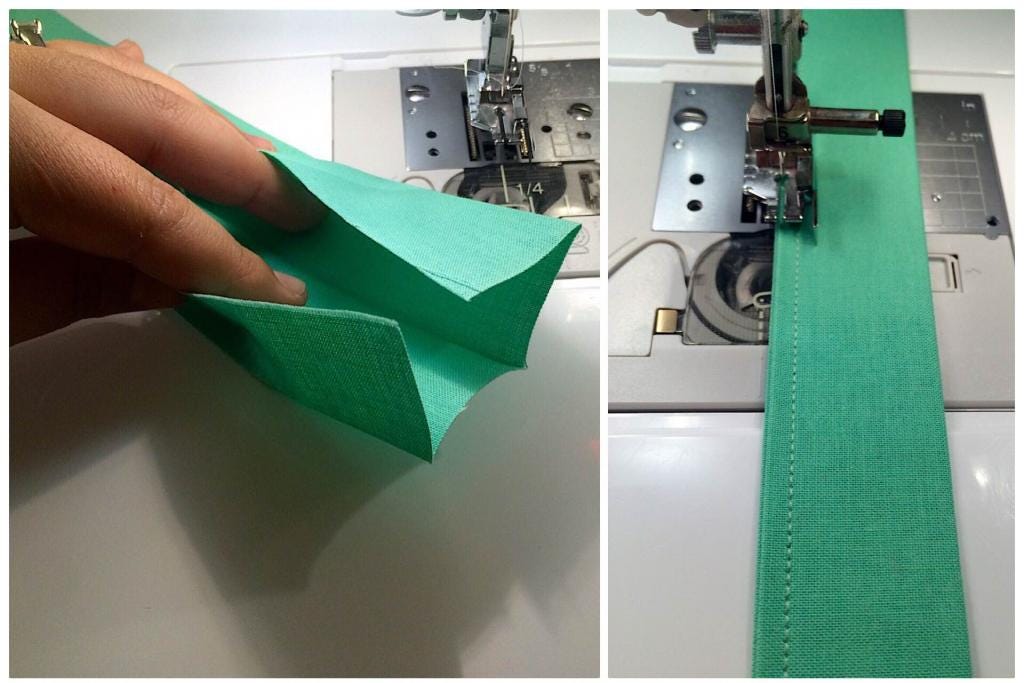
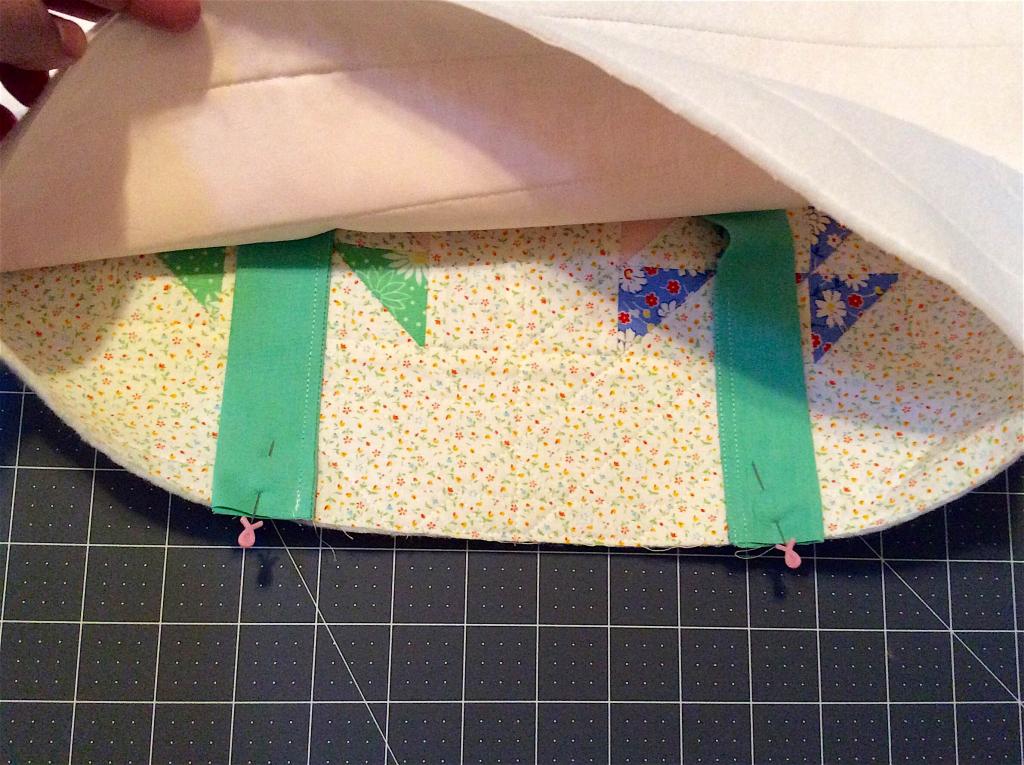
On the bottom left image, I opened my corners and nested the seams together to measure where I am going to make my cuts for the corners. After pinning the seams, I measure and mark a line at 4-1/2", edge to edge. On the lining, I marked my line with a Frixion pen and on the outside (with fusible) I marked my line with a blue water marker. I stitched on that line, making sure that I back stitched in the beginning and at the end of the line. I marked and stitched all of my corners, both the lining and the outside of the tote. I also cut the corners off about 1/4" away from the line I marked/stitched.
Before fixing the bag pieces to complete the bag, I ripped a 4"-6" opening on the bottom of the lining to be able to turn my bag after stitching it closed. This is VERY important, otherwise you will have no way to turn your bag right side out...I learned that the hard way. ha ha
I am very excited at this point because this tote is about to be completed and ready to use!
Leaving the outside part of the tote inside out, I pinned the handles on about 4" away from each edge. You can sew them on wider or narrower based on your likings.
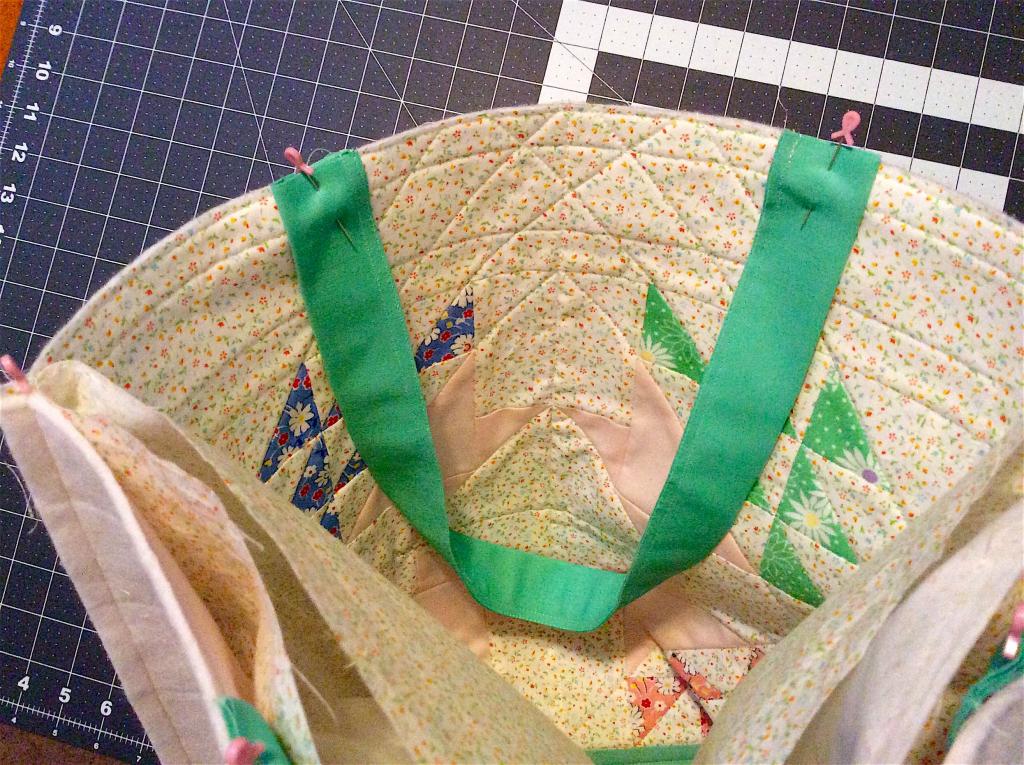
After pinning the handles, I turned the lining right side out and put it inside of the outside part of the tote. I place pins along the entire top edge and ensure that the handles haven't unpinned or moved from where I want them to be. I sewed 1/2'' around the top edge after pining, stitching over the handles twice to ensure long wear and tear.
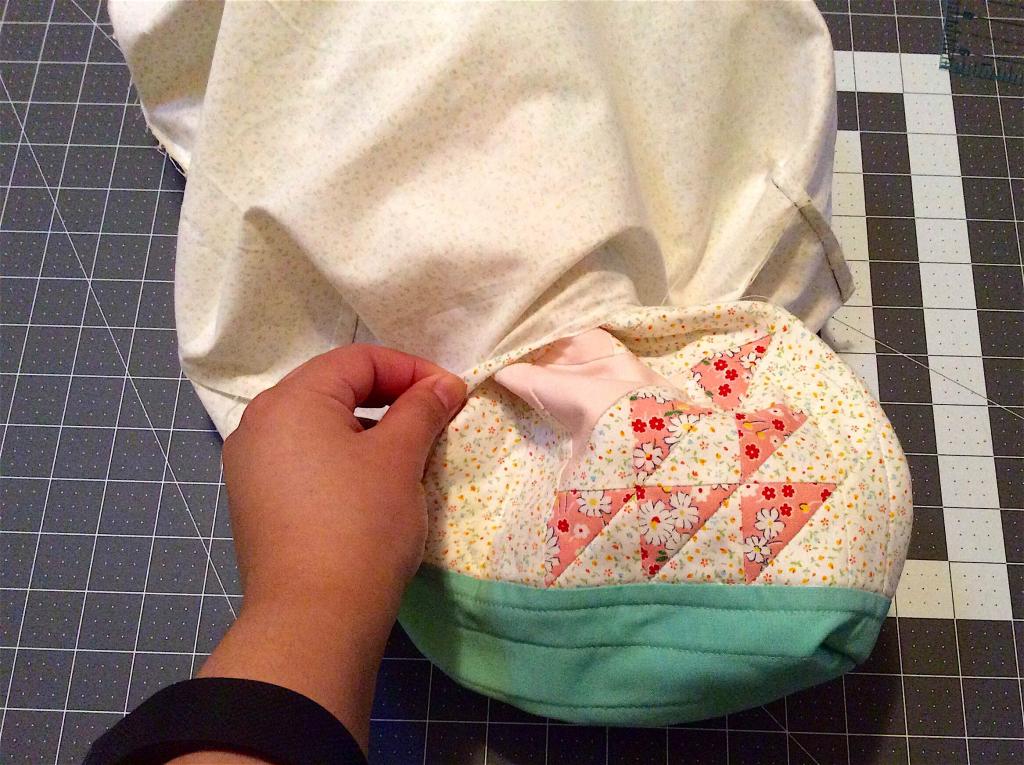
Remember that opening I left in my lining? I pull my tote right side out through that opening in the lining and I'm almost done!
After turning my bag right side out, I top stitch around the top edge to stitch together the outside and lining part of the tote. I also sew the opening in the lining shut and that is it!
The tote is done and ready for the Easter picnic!
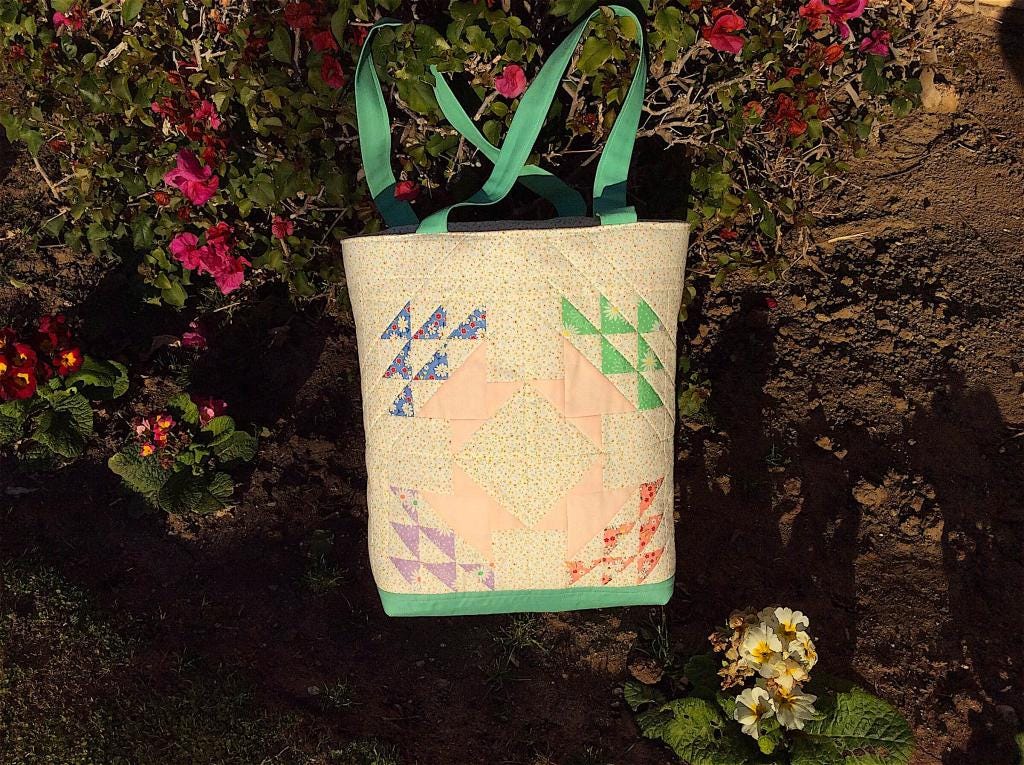
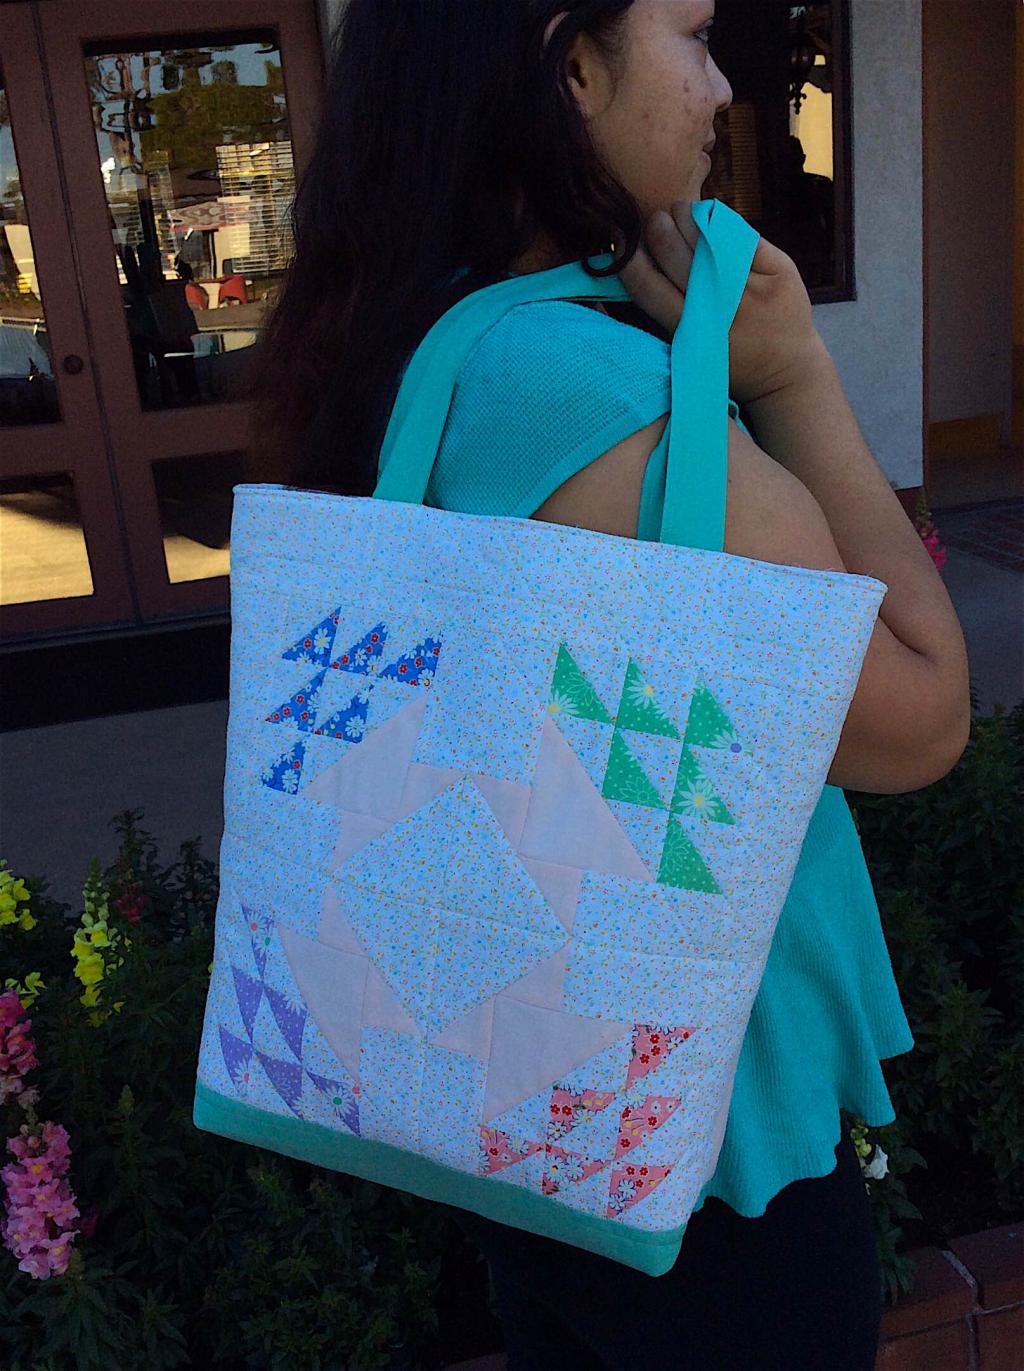
I really enjoyed making this tote. I especially love the baskets on the front of the tote! AccuQuilt's GO! Qube dies are really helpful in making projects with so many versatile blocks and looks!
Thank you all so much for following along with me on this tutorial ... I hope that you enjoyed it!
I will be posting a few more projects on my blog at Ray's Sew Crafty and on my Instagram @RaysSewCrafty. I'd love to connect with you and see what you're making with your AccuQuilt dies!


