


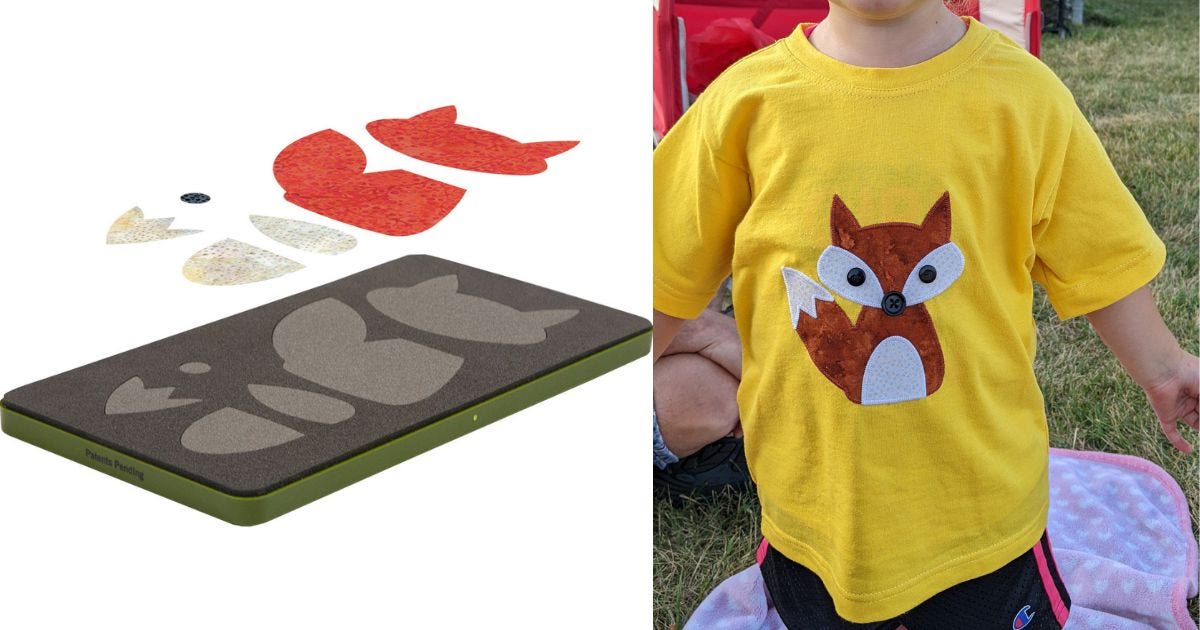
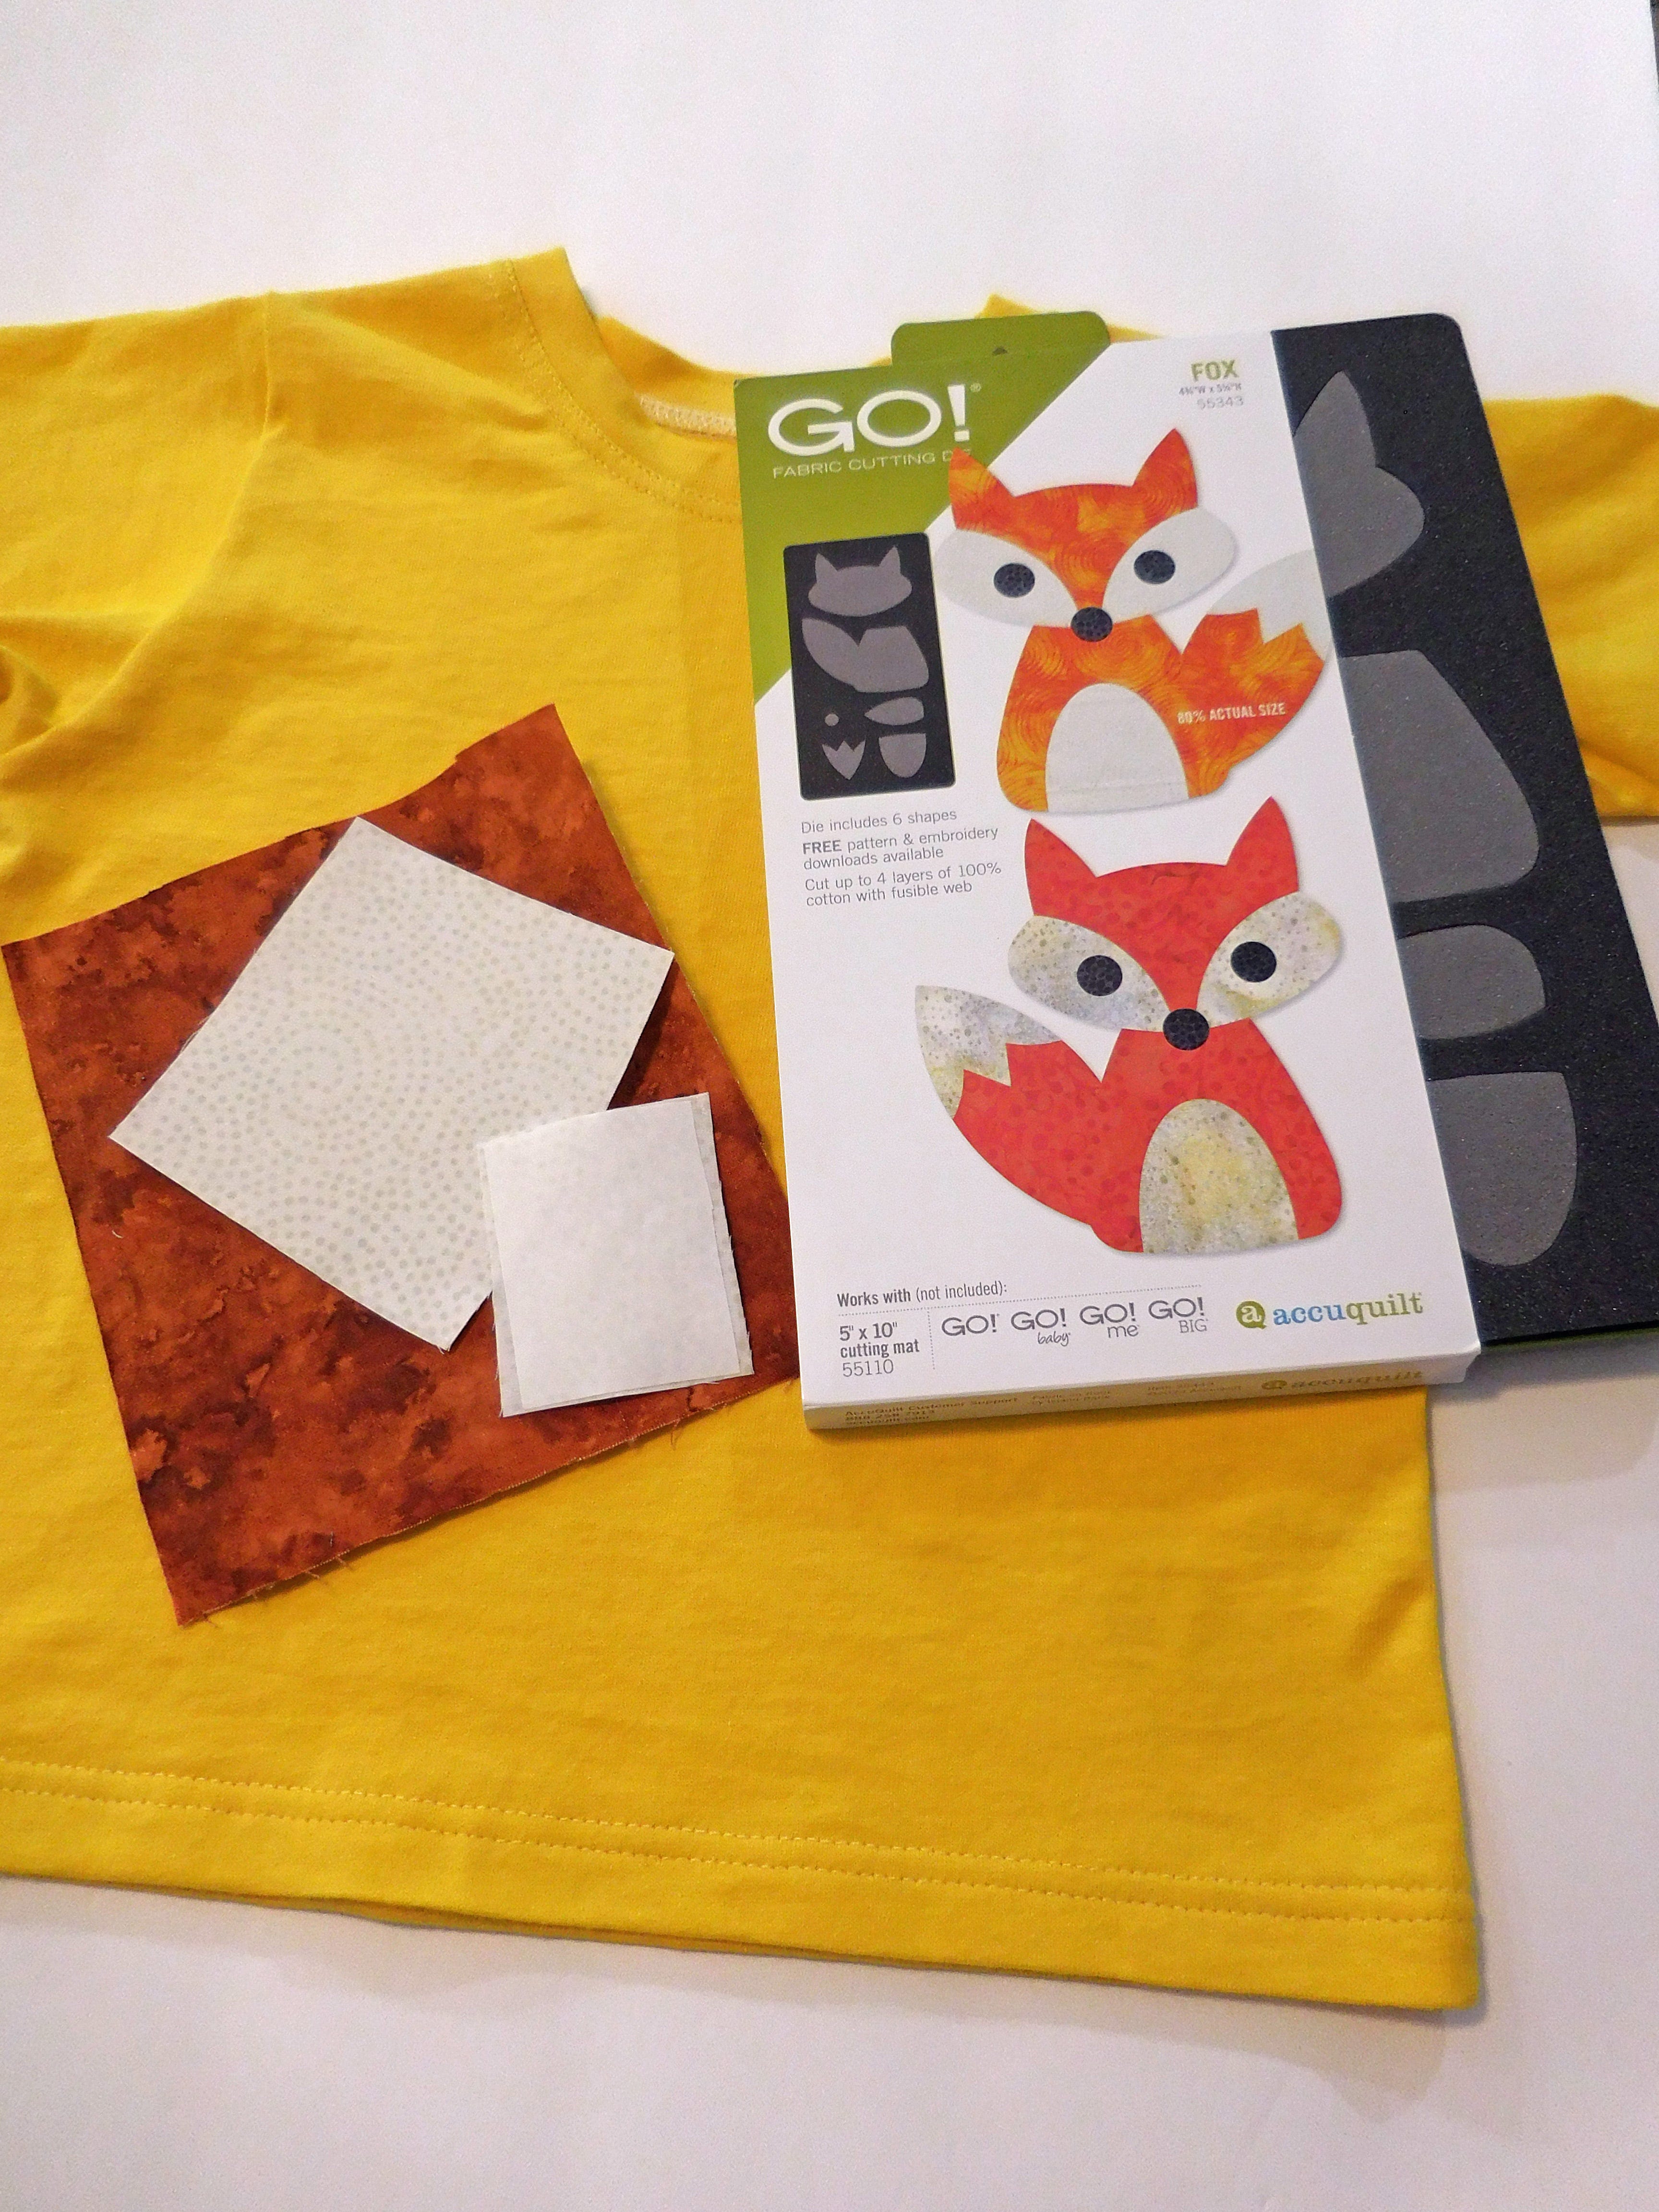
Supplies Needed
- GO! Fox Die
-
T-shirt (pre-washed)
-
Scrap of brown fabric
-
Scrap of white fabric
-
Scrap of black fabric or three buttons
-
Thread to match fabrics
Cutting & Assembly Instructions
1. Using the fusible web of your choice, follow manufacturer's instructions to apply it to the wrong side of the brown and white fabrics.
2. Place the pre-fused fabrics on the die. If you want the fox to face a certain way, pay attention to how you lay the fabric - right side up or right side down.
3. Cut one body and one face from the brown fabric.
4. Cut one tail and one tummy from the white fabric.
5. Cut two cheeks from the white fabric (this will need to be one face up and one face down to get the mirror image).
6. Cut two eyes and one nose (if you choose to applique these).
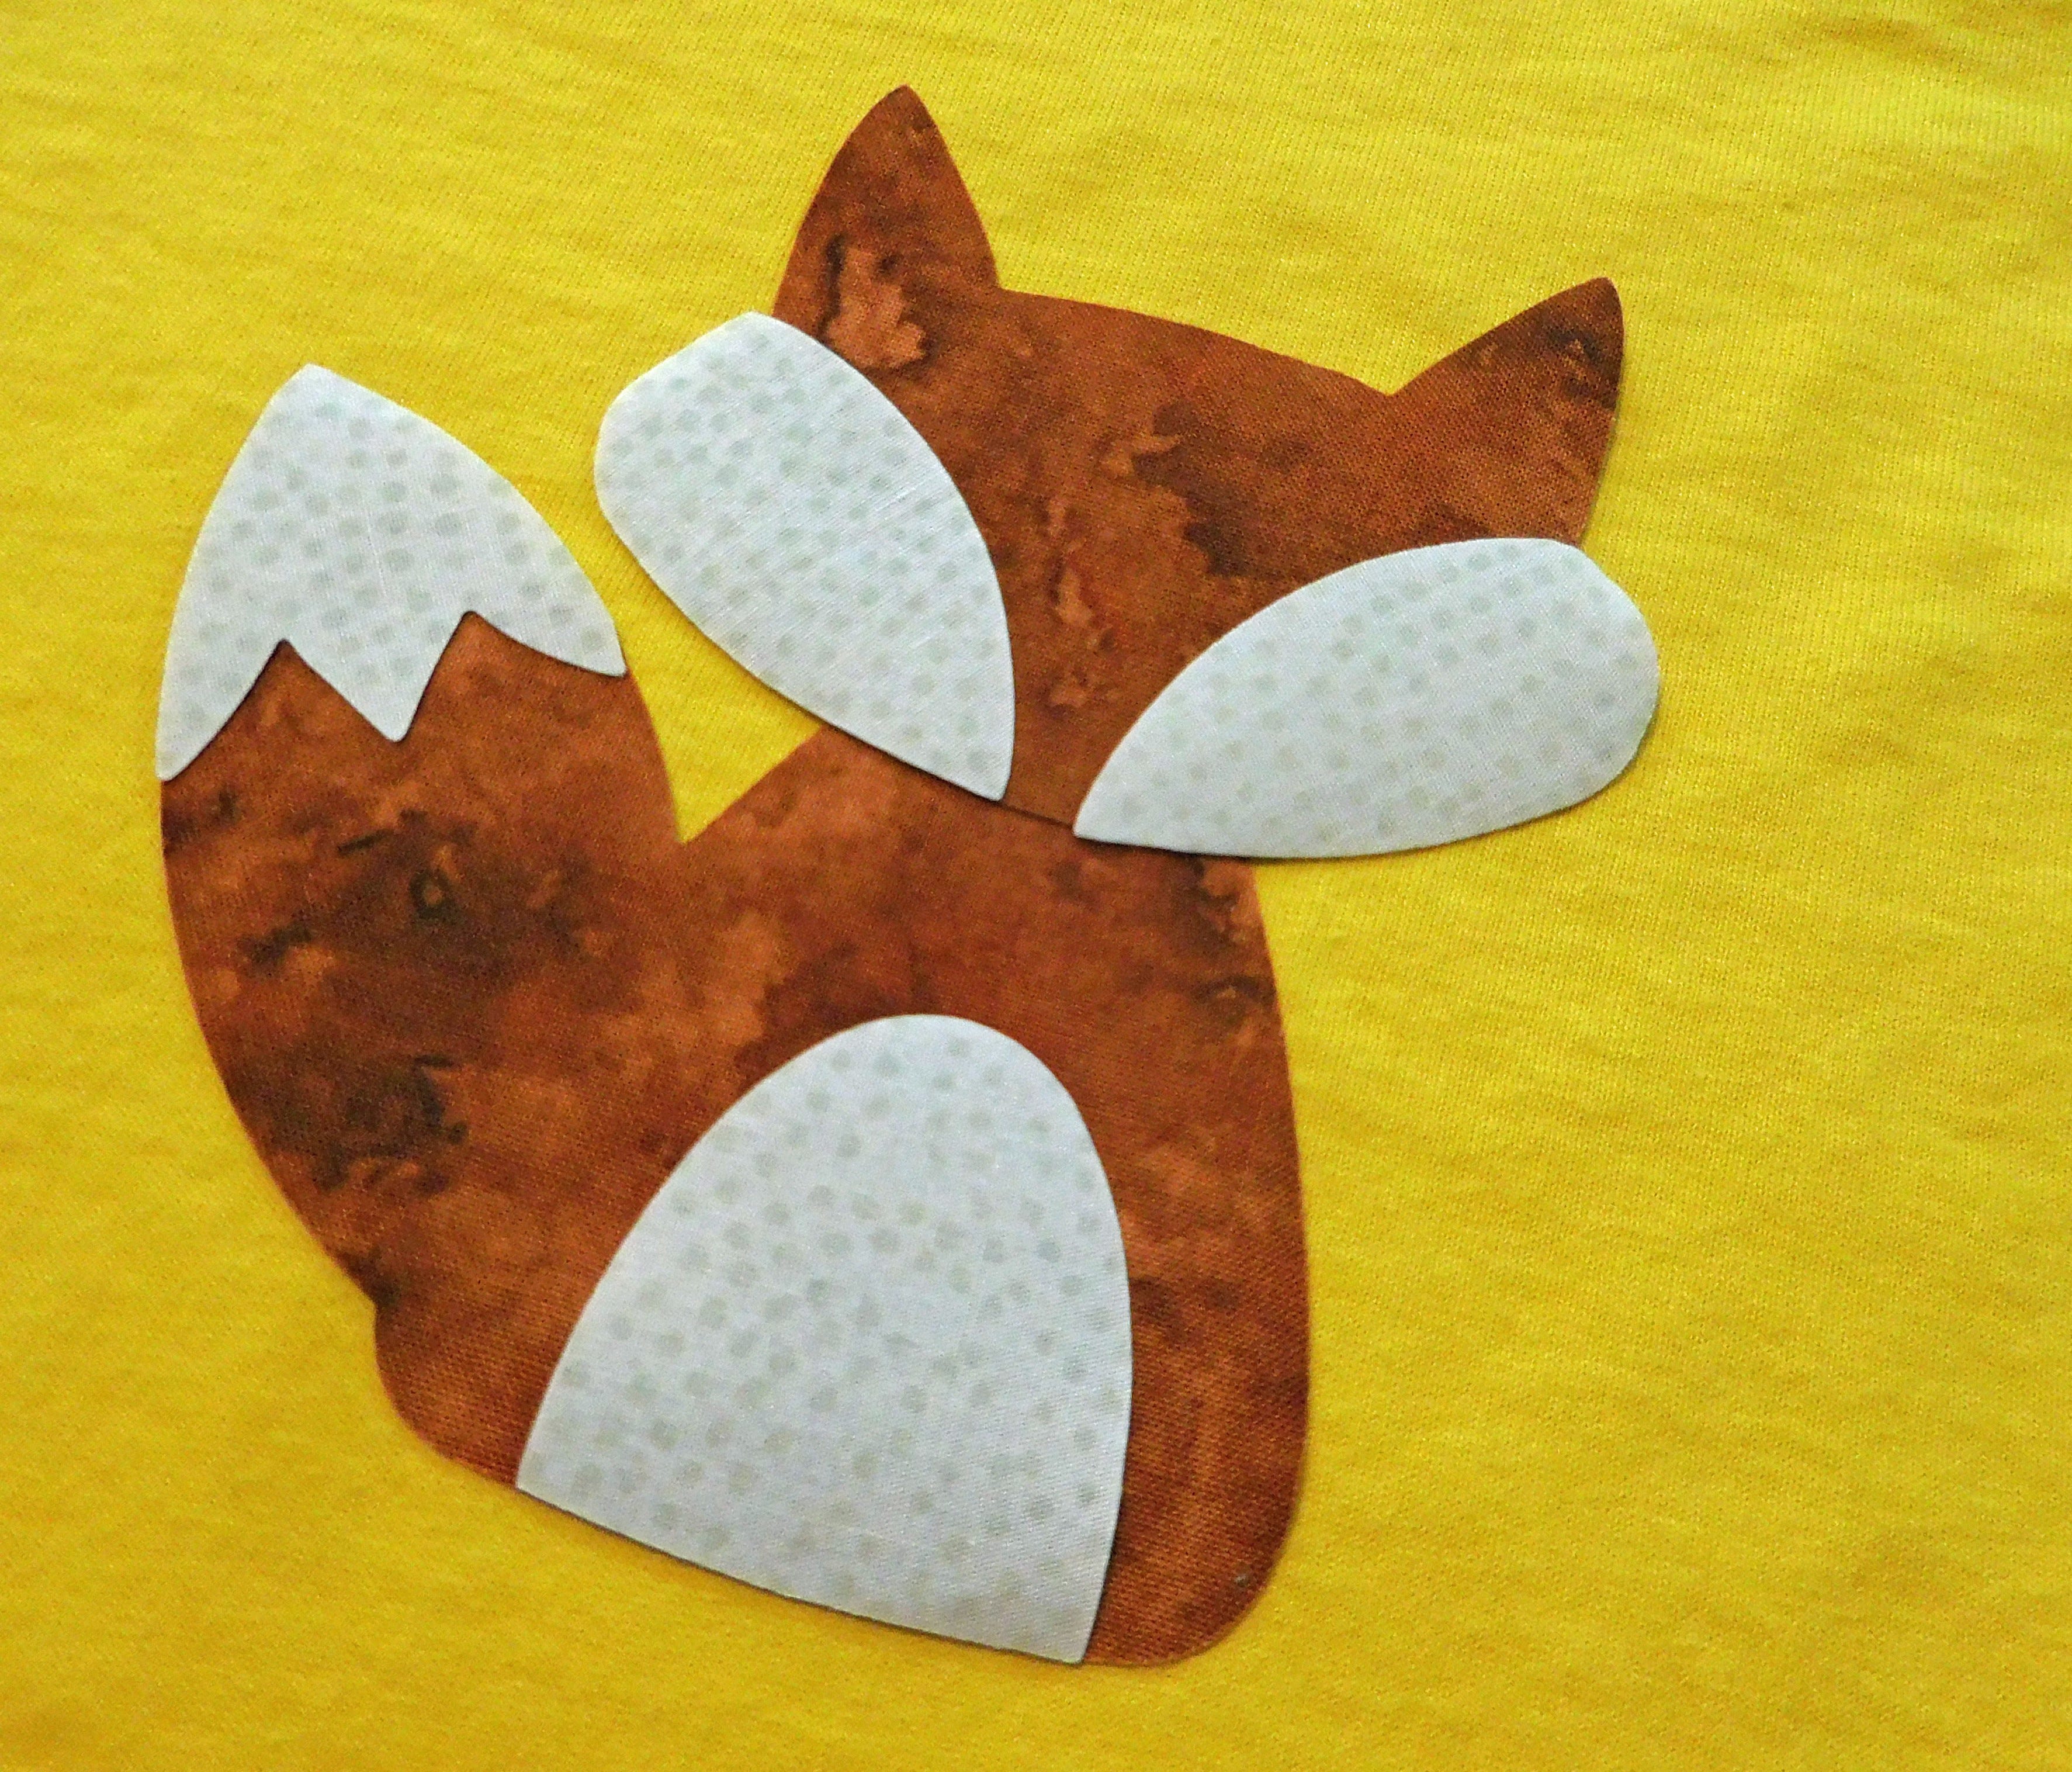
7. Choose your favorite way to applique - machine or by hand. AccuQuilt has free downloads for machine embroidery designs - including ones for the GO! Fox Die - and even more available for purchase. I do not have access to an embroidery machine, so I use a zig zag on my domestic sewing machine. I prefer to do all the brown thread zig zag first, so I fused only the brown parts to the shirt first.
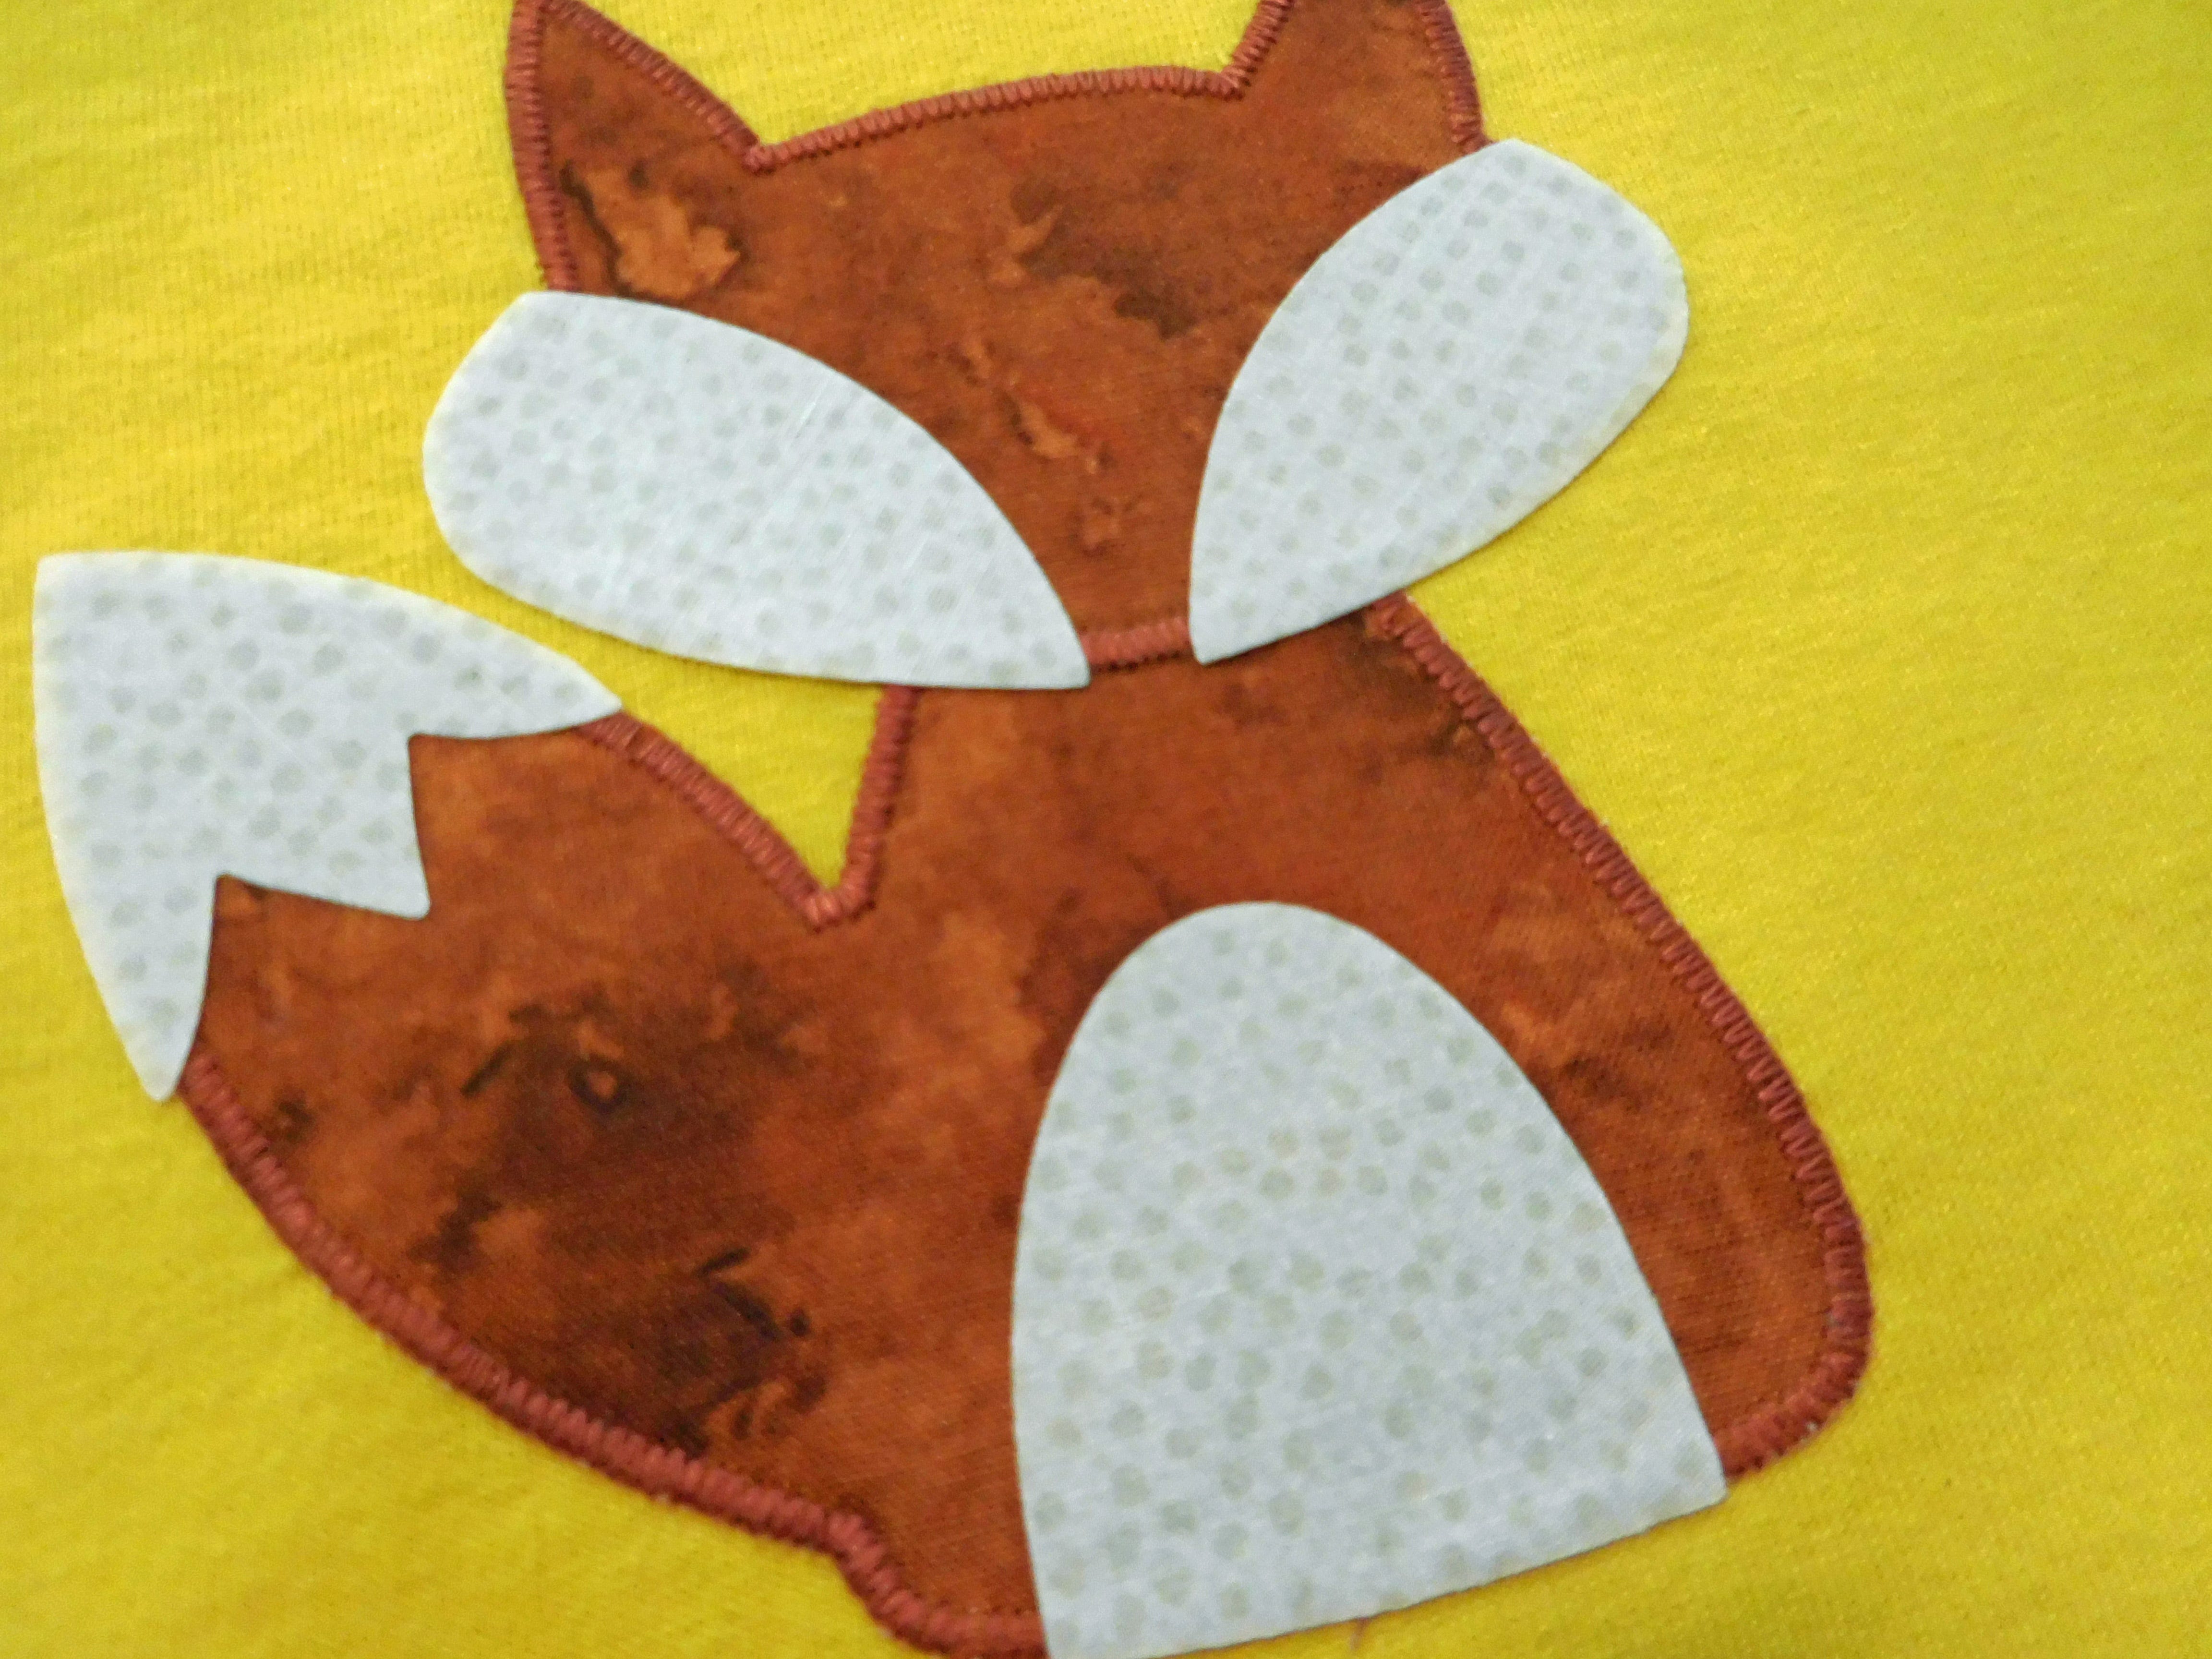
Then, I fuse the white parts and zig zag those.
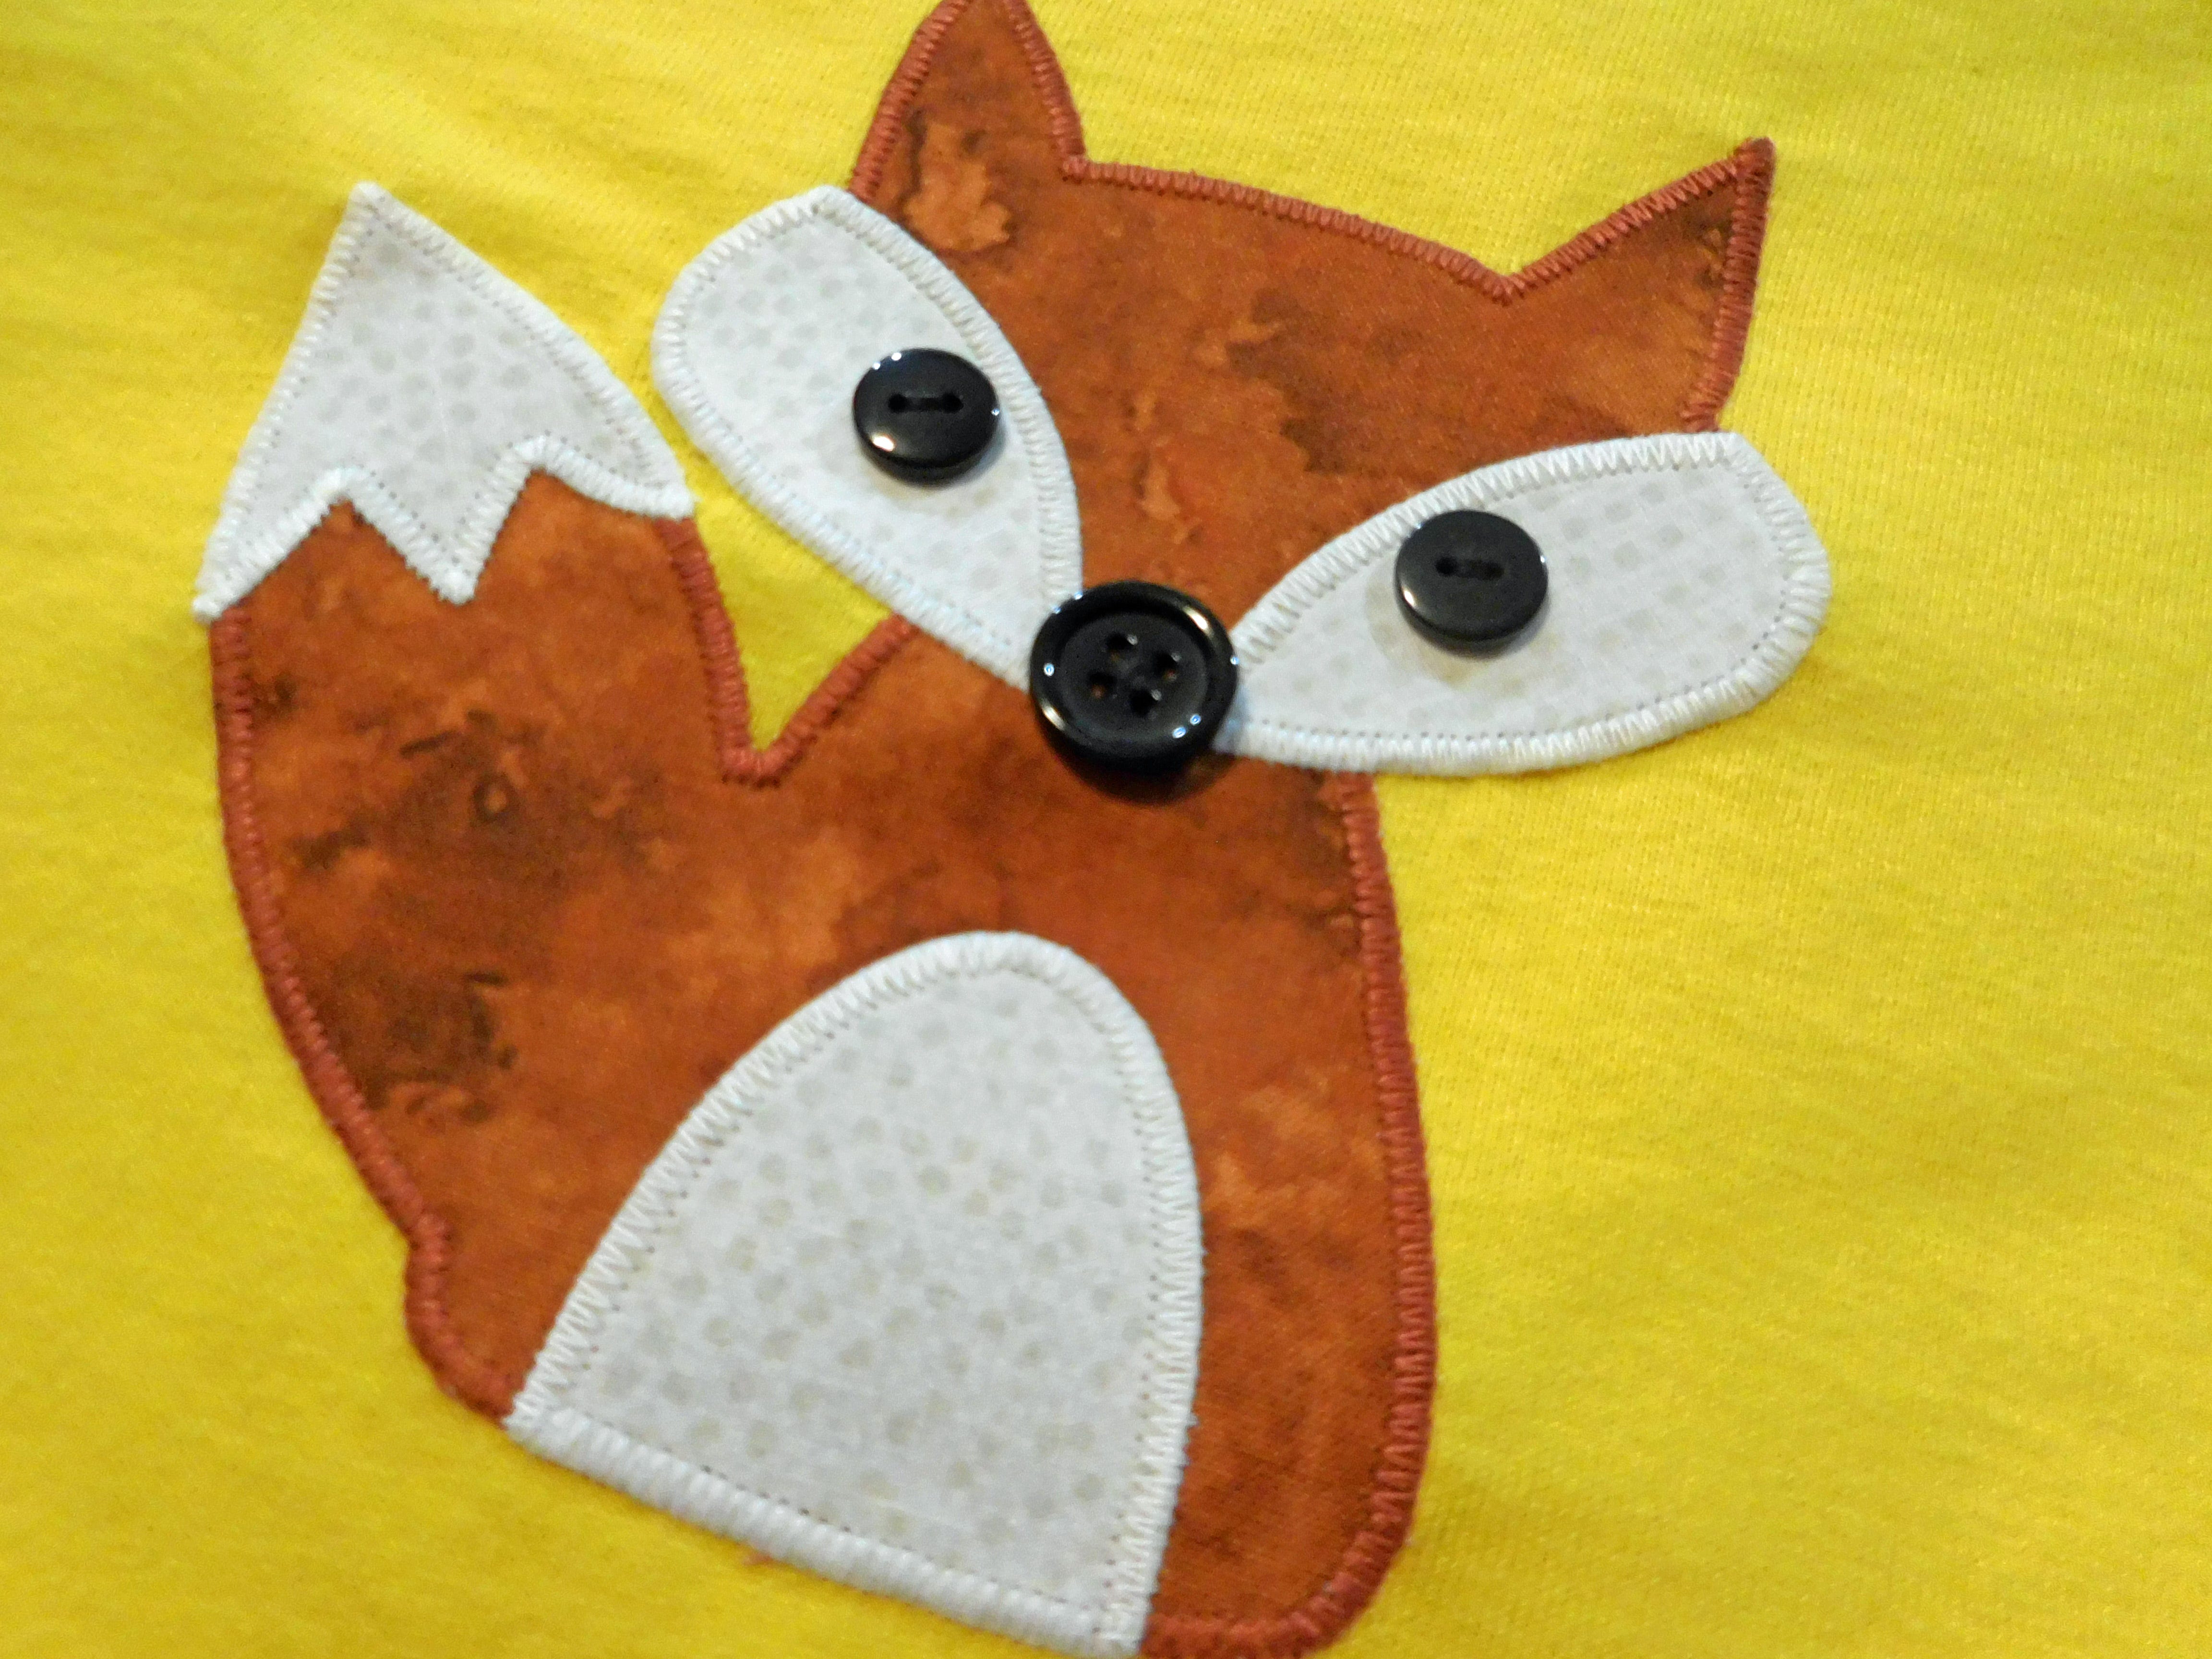
You may applique the black circles for the eyes and nose at this time. As you can see, I chose to use black buttons instead of appliqueing them.
Now, wasn’t that quick and easy? Have fun making your foxy t-shirt!
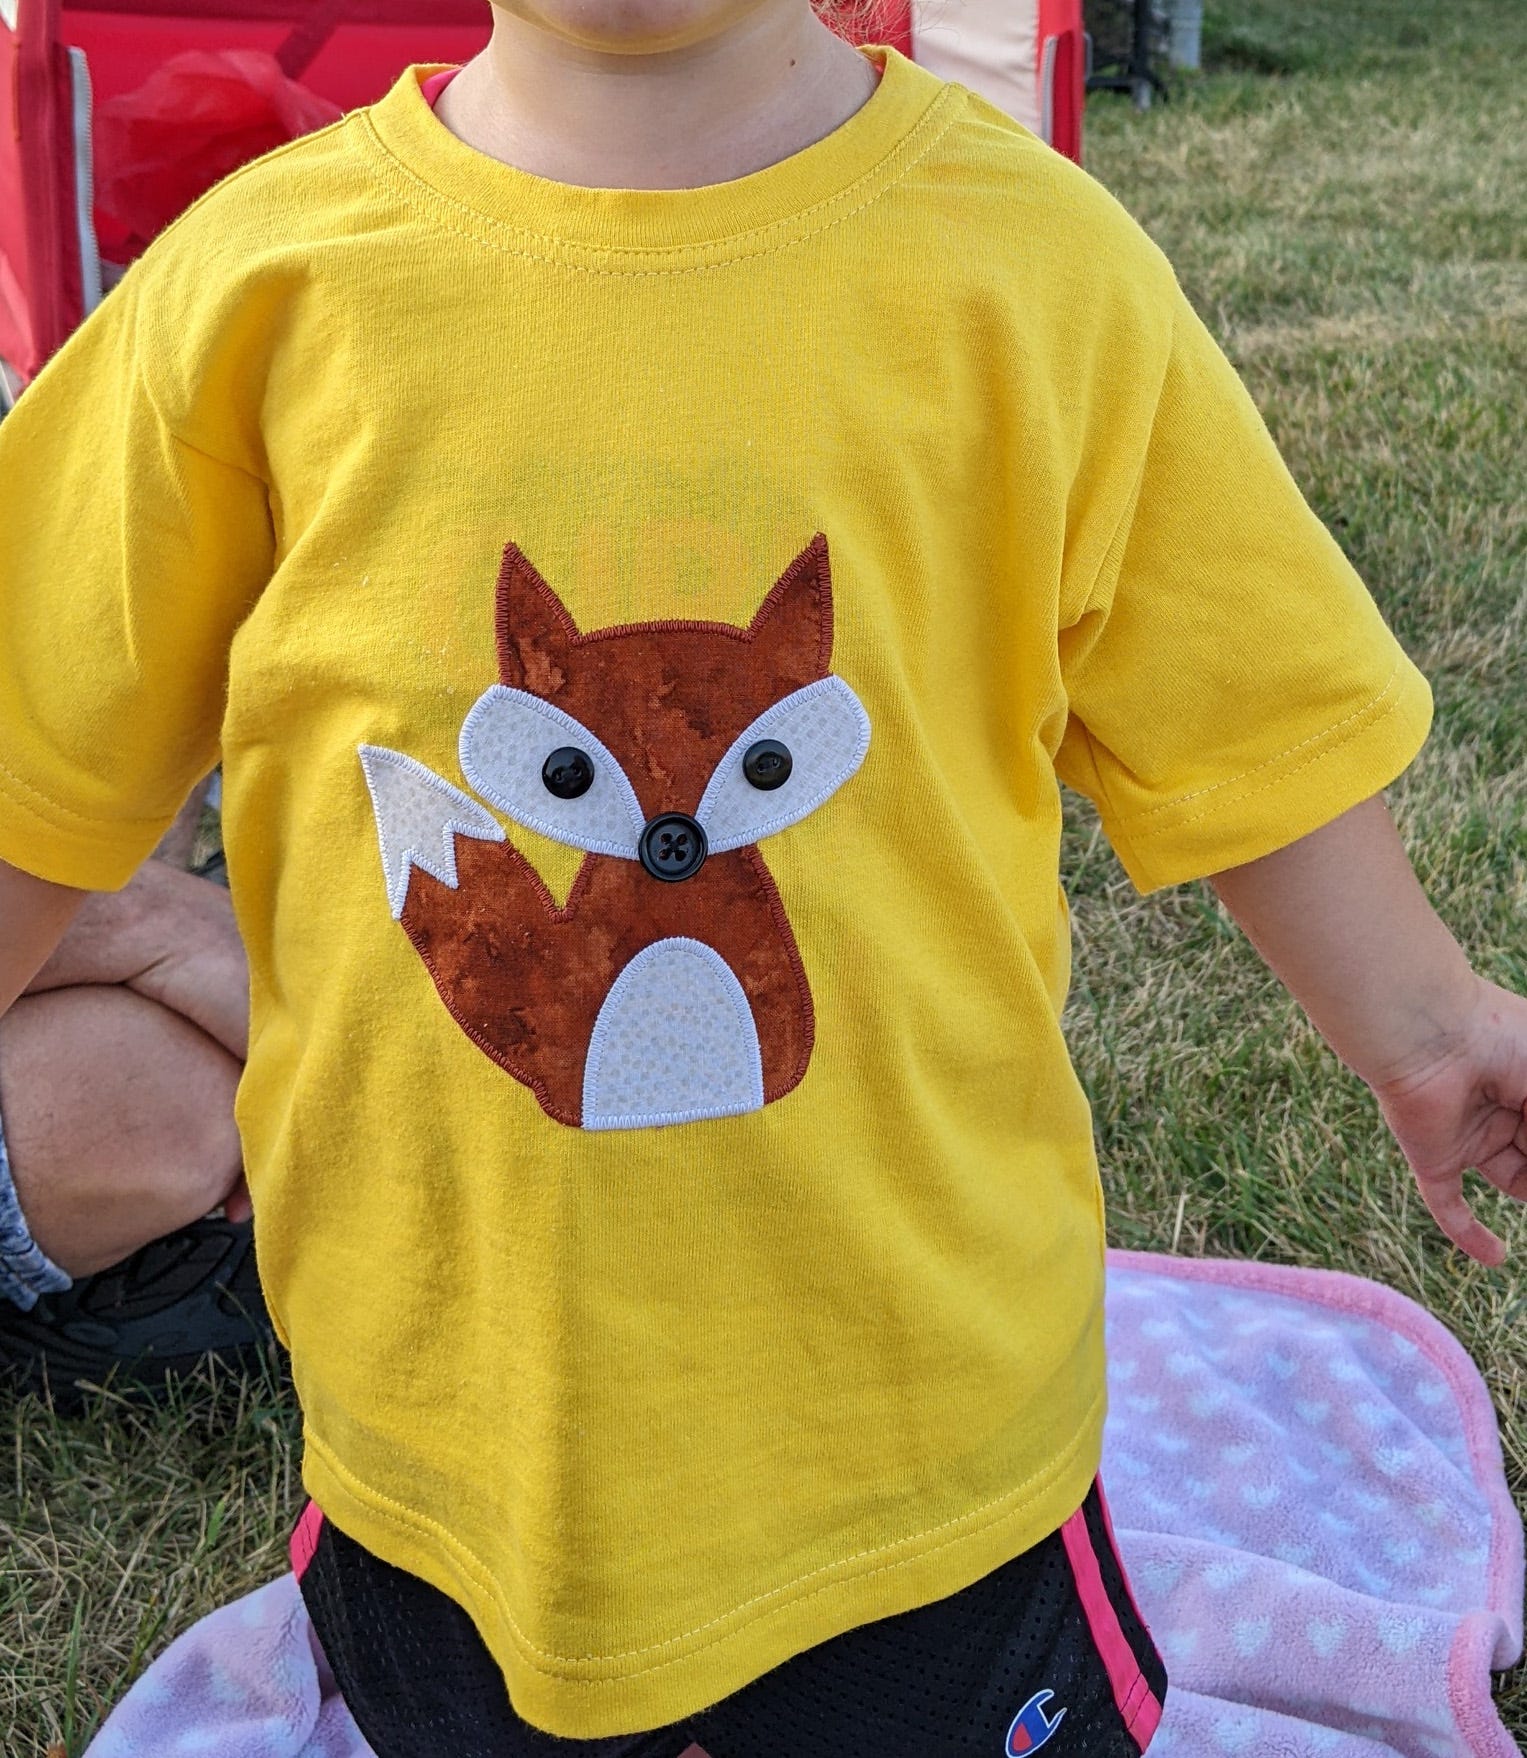
I hope you will give this foxy project a try. If you do, please share the photo on social media using the hashtag #AccuQuiltBuilt. Don't forget to tag @Vickiscraftsandquilting and @AccuQuilt so that we can see how yours turned out!


