
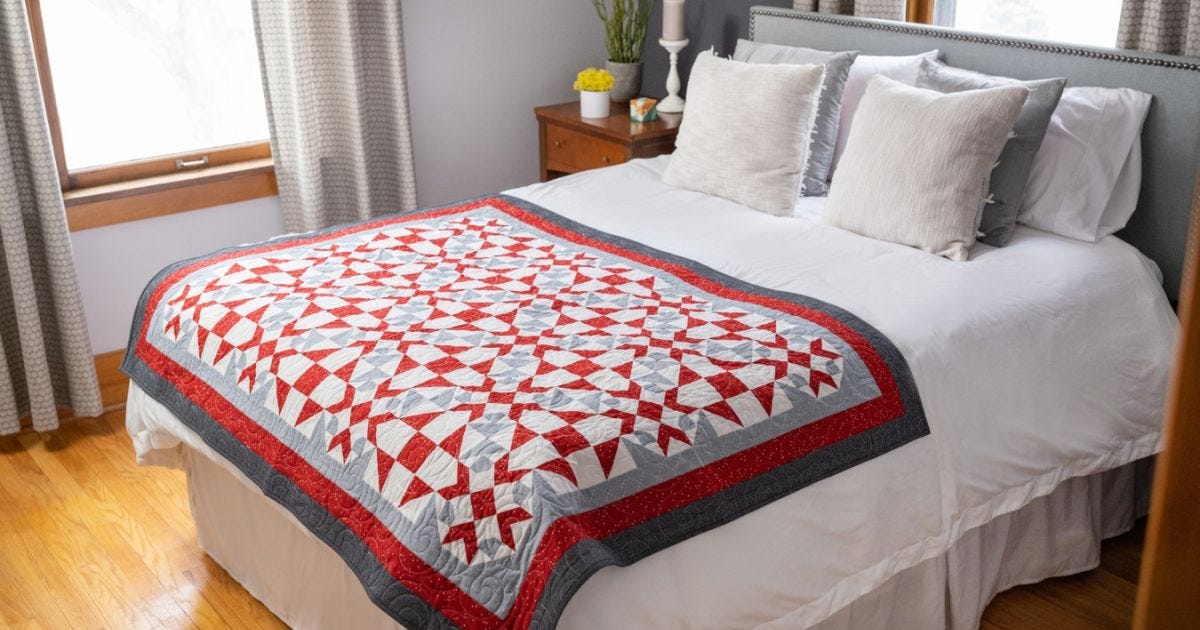
We kicked this project off with an introduction as part of our July 19 AccuQuilt Live show and in blog posts that day by us and AQS. On August 2, we got started by cutting and organizing our pieces and last week, we went over how to sew the Spin blocks for this project.
Pam and I are using the original pattern using the GO! Qube Mix & Match 5” Block and Companion Set-Corners. If you’re just joining us, it’s never too late to get started on this fun project.
The introduction blogs include traditional rotary cutting directions and links to download versions of the pattern using the 4”, 6”, 8” and 9” GO! Qube sizes. You can find the videos from each show on our website, Facebook page and YouTube channel - and it’s helpful to watch these shows in order!
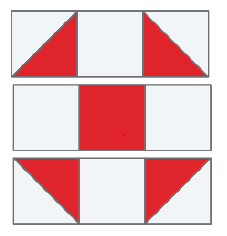
Shoo Fly Time
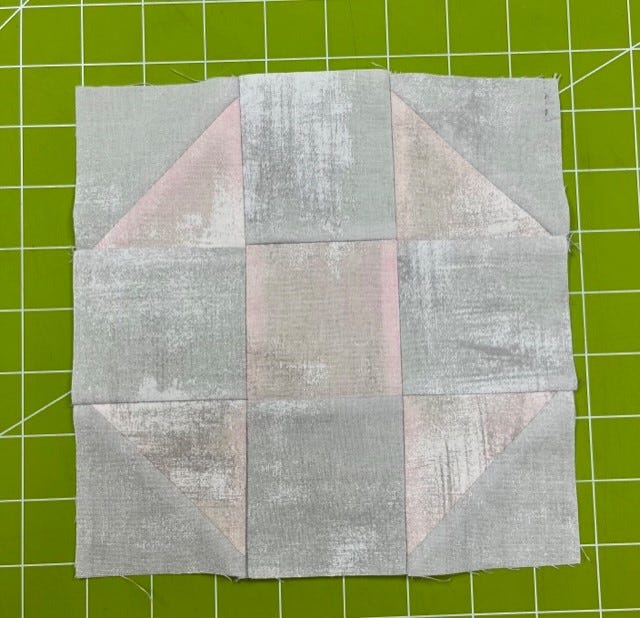
The Shoo Fly block is a classic, 9-patch quilt block. Since this block is laid out in a 3 x 3 grid, that means that our block made with the 5” GO! Qube will be finishing to 7 1/2”. This is a great example of just how versatile the GO! Qube system really is.
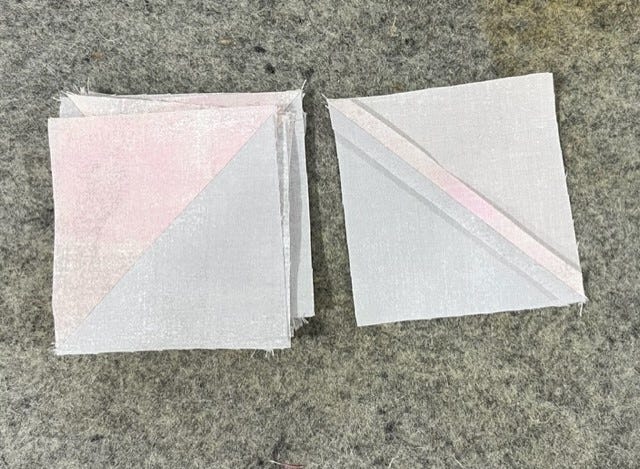
For this block, we’ll be using just two die shapes from the GO! Qube Mix & Match 5” Block – Shape 1 and Shape 3. Just as we did with the Spin block, I suggest chain-piecing (and pressing) those Shape 3 half square triangles first.
Speaking of pressing, I suggest pressing those half square triangle unit seams all open.
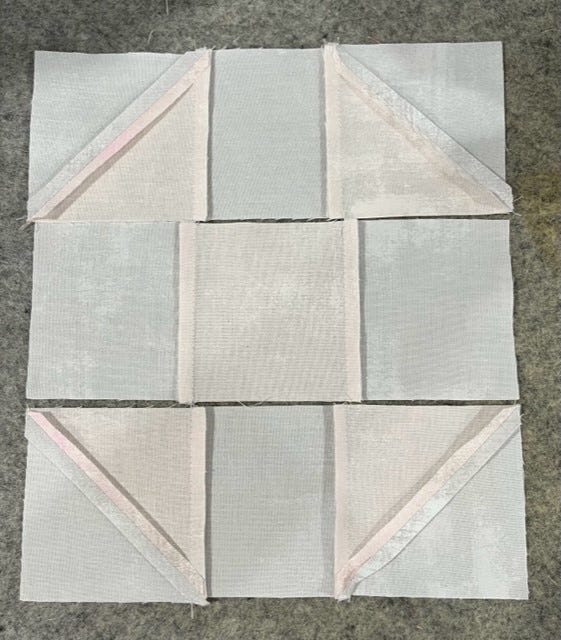
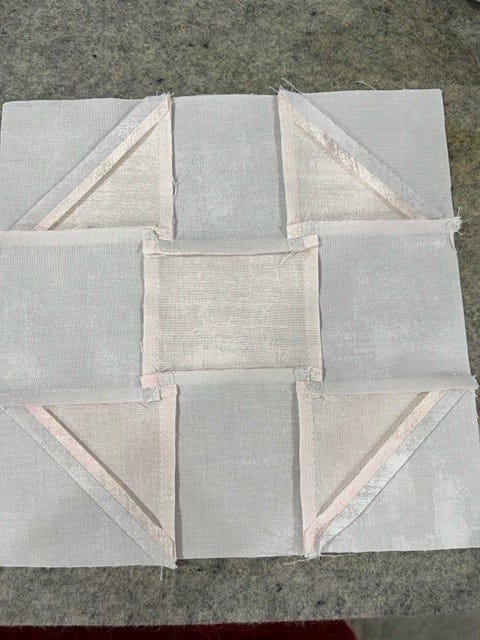
Now, let’s lay out the block. I like to lay out a few blocks at a time, so I can keep my chain-piecing going as I sew those units into three rows of three.

Next up, you’ll sew those rows together, but instead of pressing these seams open, you will want to press them, so they will nest together.
With my fabric colors, I’m going to press the seams towards the gray Shape 1 squares, but in the original pattern, the squares are white. This will allow you to easily nest/line up those seams for perfect points.
Nest your seams? When you press seams to opposite directions, you'll find that they will almost "lock" together, like you see in the pictures. This keeps those seams together and points perfect - no pins needed!
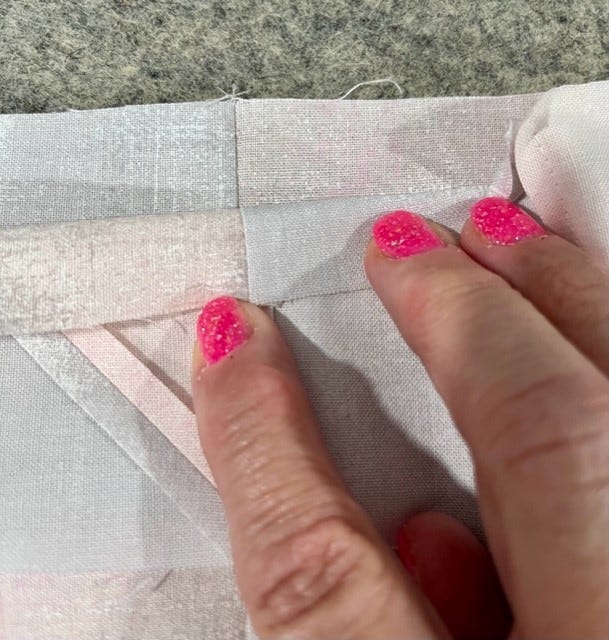
Once your squares are all sewn, you’ll want to give them all a really good press. You may chose to open up or spin those seams, like you see here.
This looks fancy and complicated, but it's actually a simple process of pressing seams opposite directions. When you finger-press this open, those first few stitches will ususally come "unsewn," so they will open flat. You can also help them open with your favorite seam ripper or stilletto.
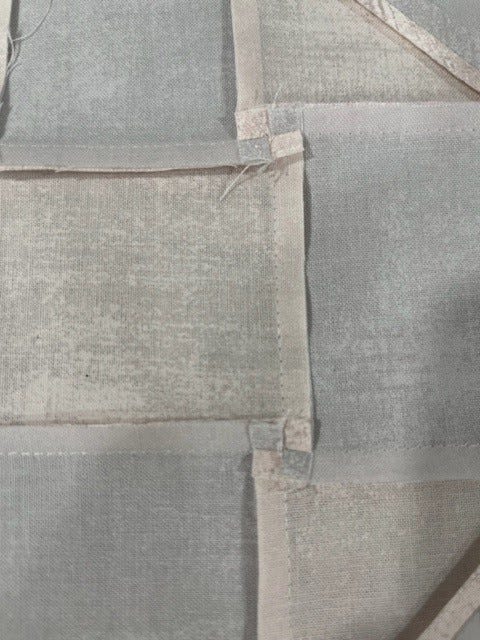
To evenly distribute the bulk, I actually have decided to press those row seams open, like this. This is totally your choice here - there's really no right or wrong way. Just give it a good press!
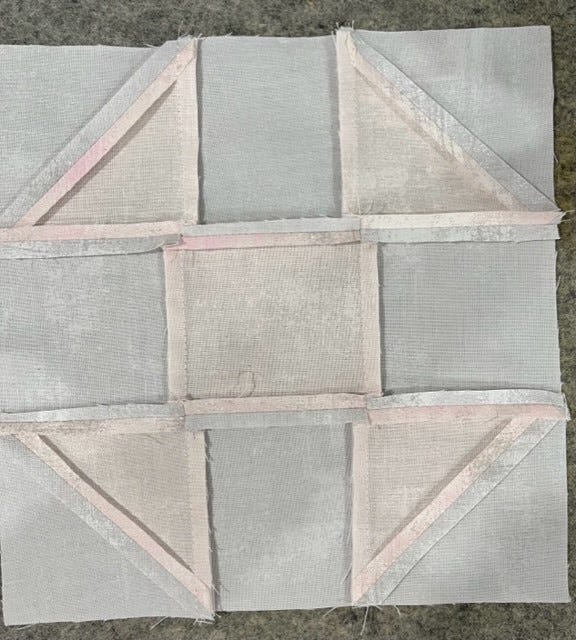
You’ll only need to create 17 of these blocks, and you’ll have them put together in no time at all. This will leave you time this week to keep working on your Spin blocks from last week if you’re like me and not done yet. Remember: quilt-alongs are for fun, so don’t stress over getting your blocks all done in a week. Just do what works for you.
Be sure to post pictures of your progress on the AQS Quilting Project Parade Facebook page using the hashtag #AQSews in your description, so we can all share with each other. AccuQuilt Cutting Expert Pam Heller and I are loving getting to know so many of you through this page and being inspired by all your pictures. It’s also a great place to ask questions, so this talented community can come together to help as well as inspire each other.
Next week, we’ll be putting our rows together, adding borders and talking about quilting and binding. Be sure to join us then!


