Hi, Jen from DizzyQuilter.com here and I want to share my favorite system for laying out patterns. My Ready. Set. GO! came with an GO! Qube 8" Mix & Match Block, which includes lovely pattern cards, a booklet, and a book by Eleanor Burns with more patterns. However, I like to go my own way, which means I think outside the box when it comes to using my AccuQuilt products. I haven’t memorized what pieces I have yet, and how they fit together. I’m sure there are resources to help me with all of this, but I came up with a simple, more playful solution.
Did you ever play with Tangrams as a child? I went to a Montessori style elementary school, so I played with all kinds of brainy toys. Basically, you take the Tangram shapes and build new shapes with them by moving them around. See where I’m going? I made my own set of shapes to use when designing with my AccuQuilt system. And I’ll show you how I did it.
Supplies
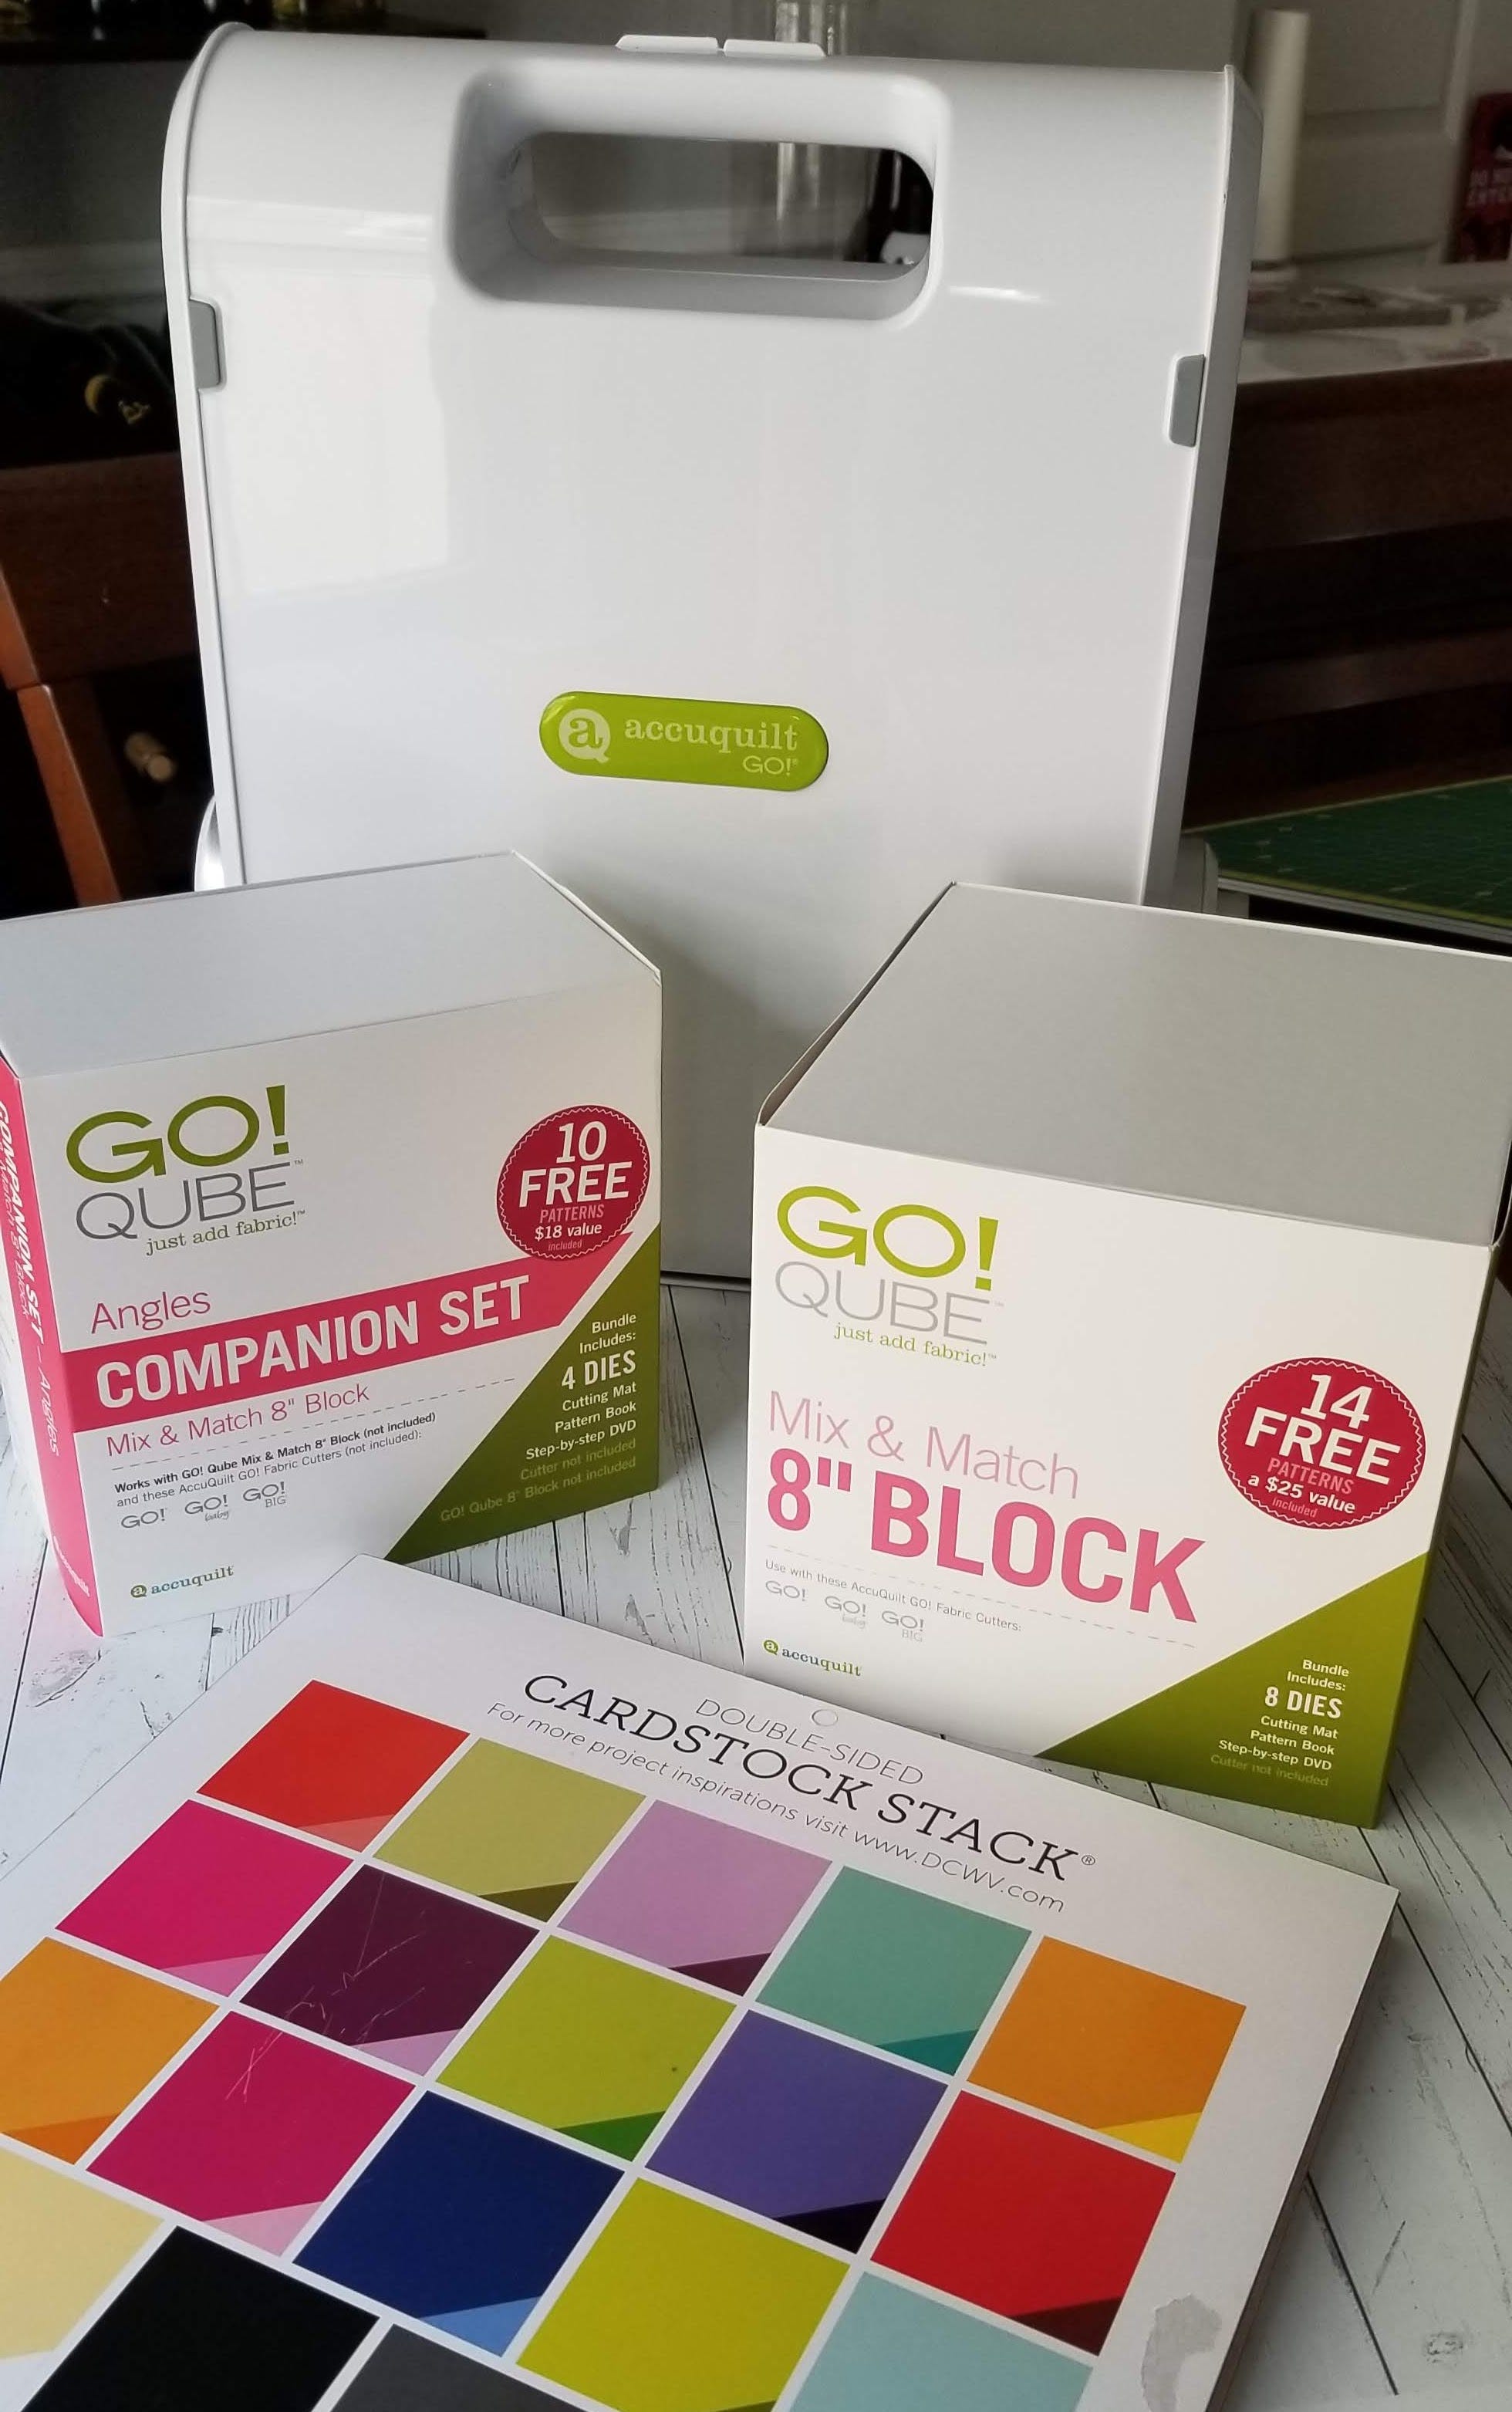
- GO! Qube 8" Mix & Match Block (55776)
- GO! Qube 8" Companion Set-Angles (55789)
- Paper - I chose scrapbook paper with different colors on each side
- Acrylic ruler
- Pencil
- Rotary cutter or paper scissors - I use a worn rotary cutter blade that I don't want to use on my fabric anymore
Creating Your Paper Shapes
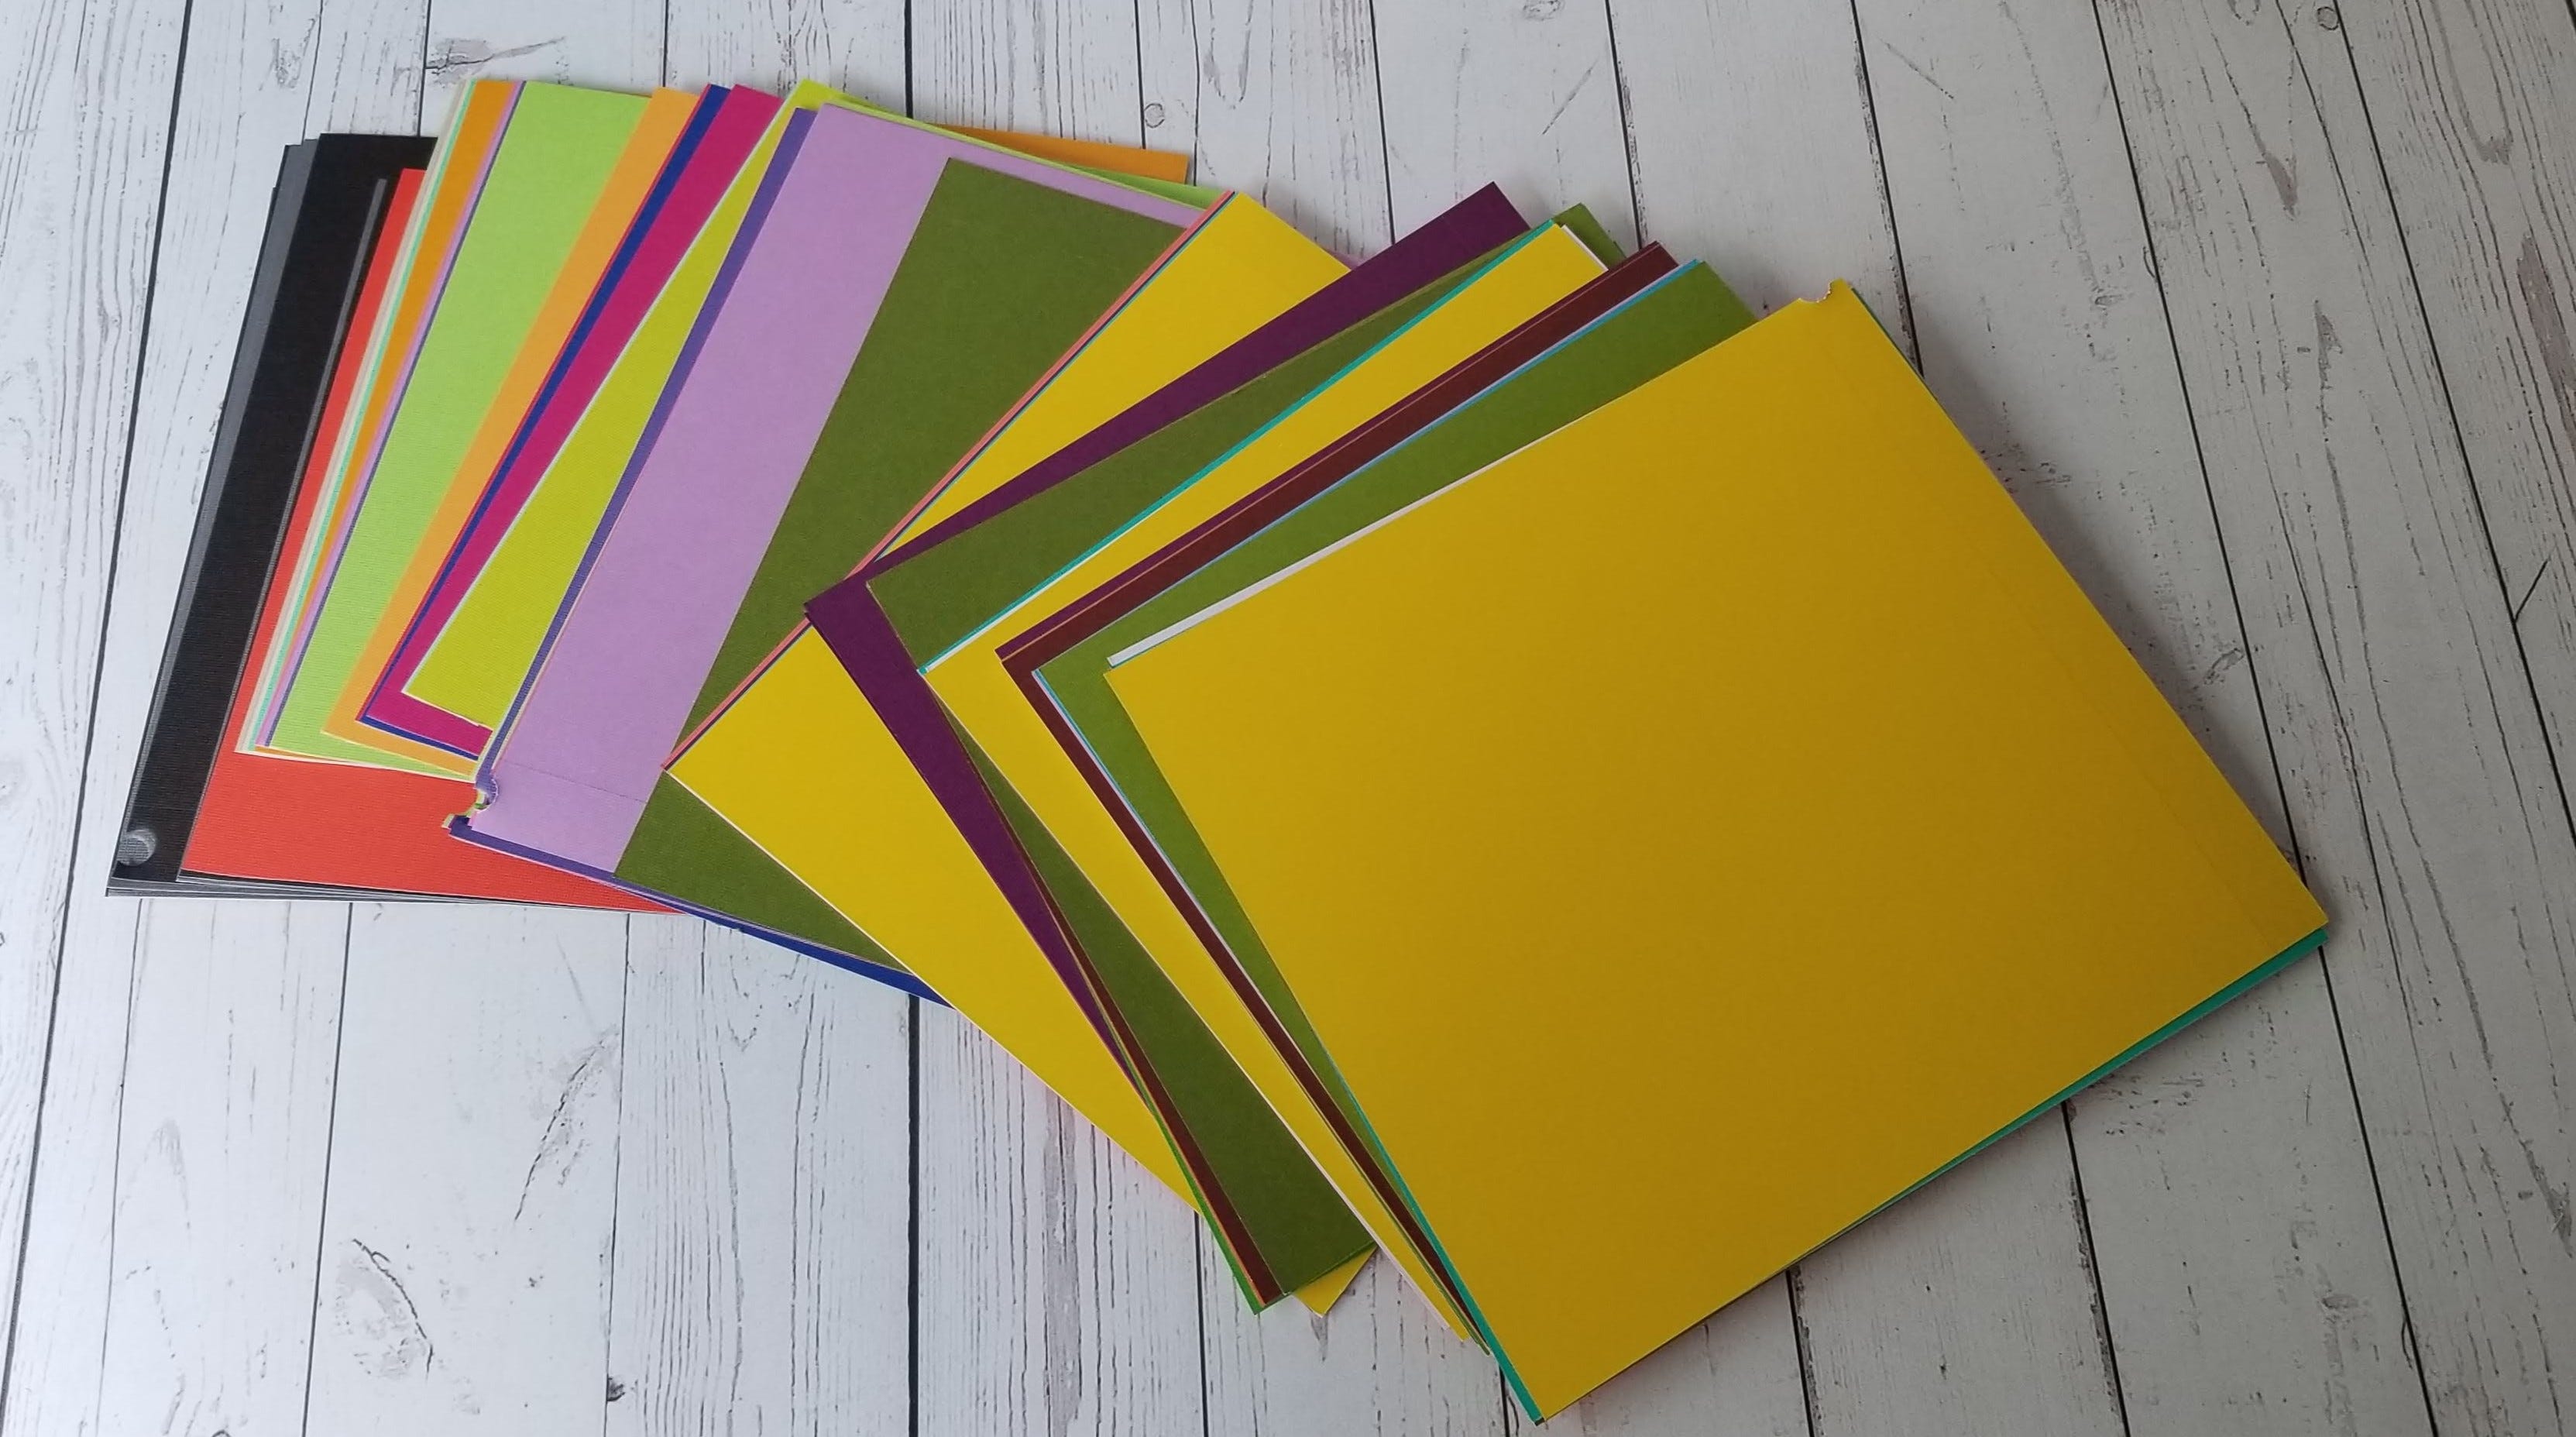
The paper I have is big sheets of scrapbooking paper. I cut them down a bit to make it easier to use in the die cutter. Six inch squares are perfect with the GO! Qube 8" block.
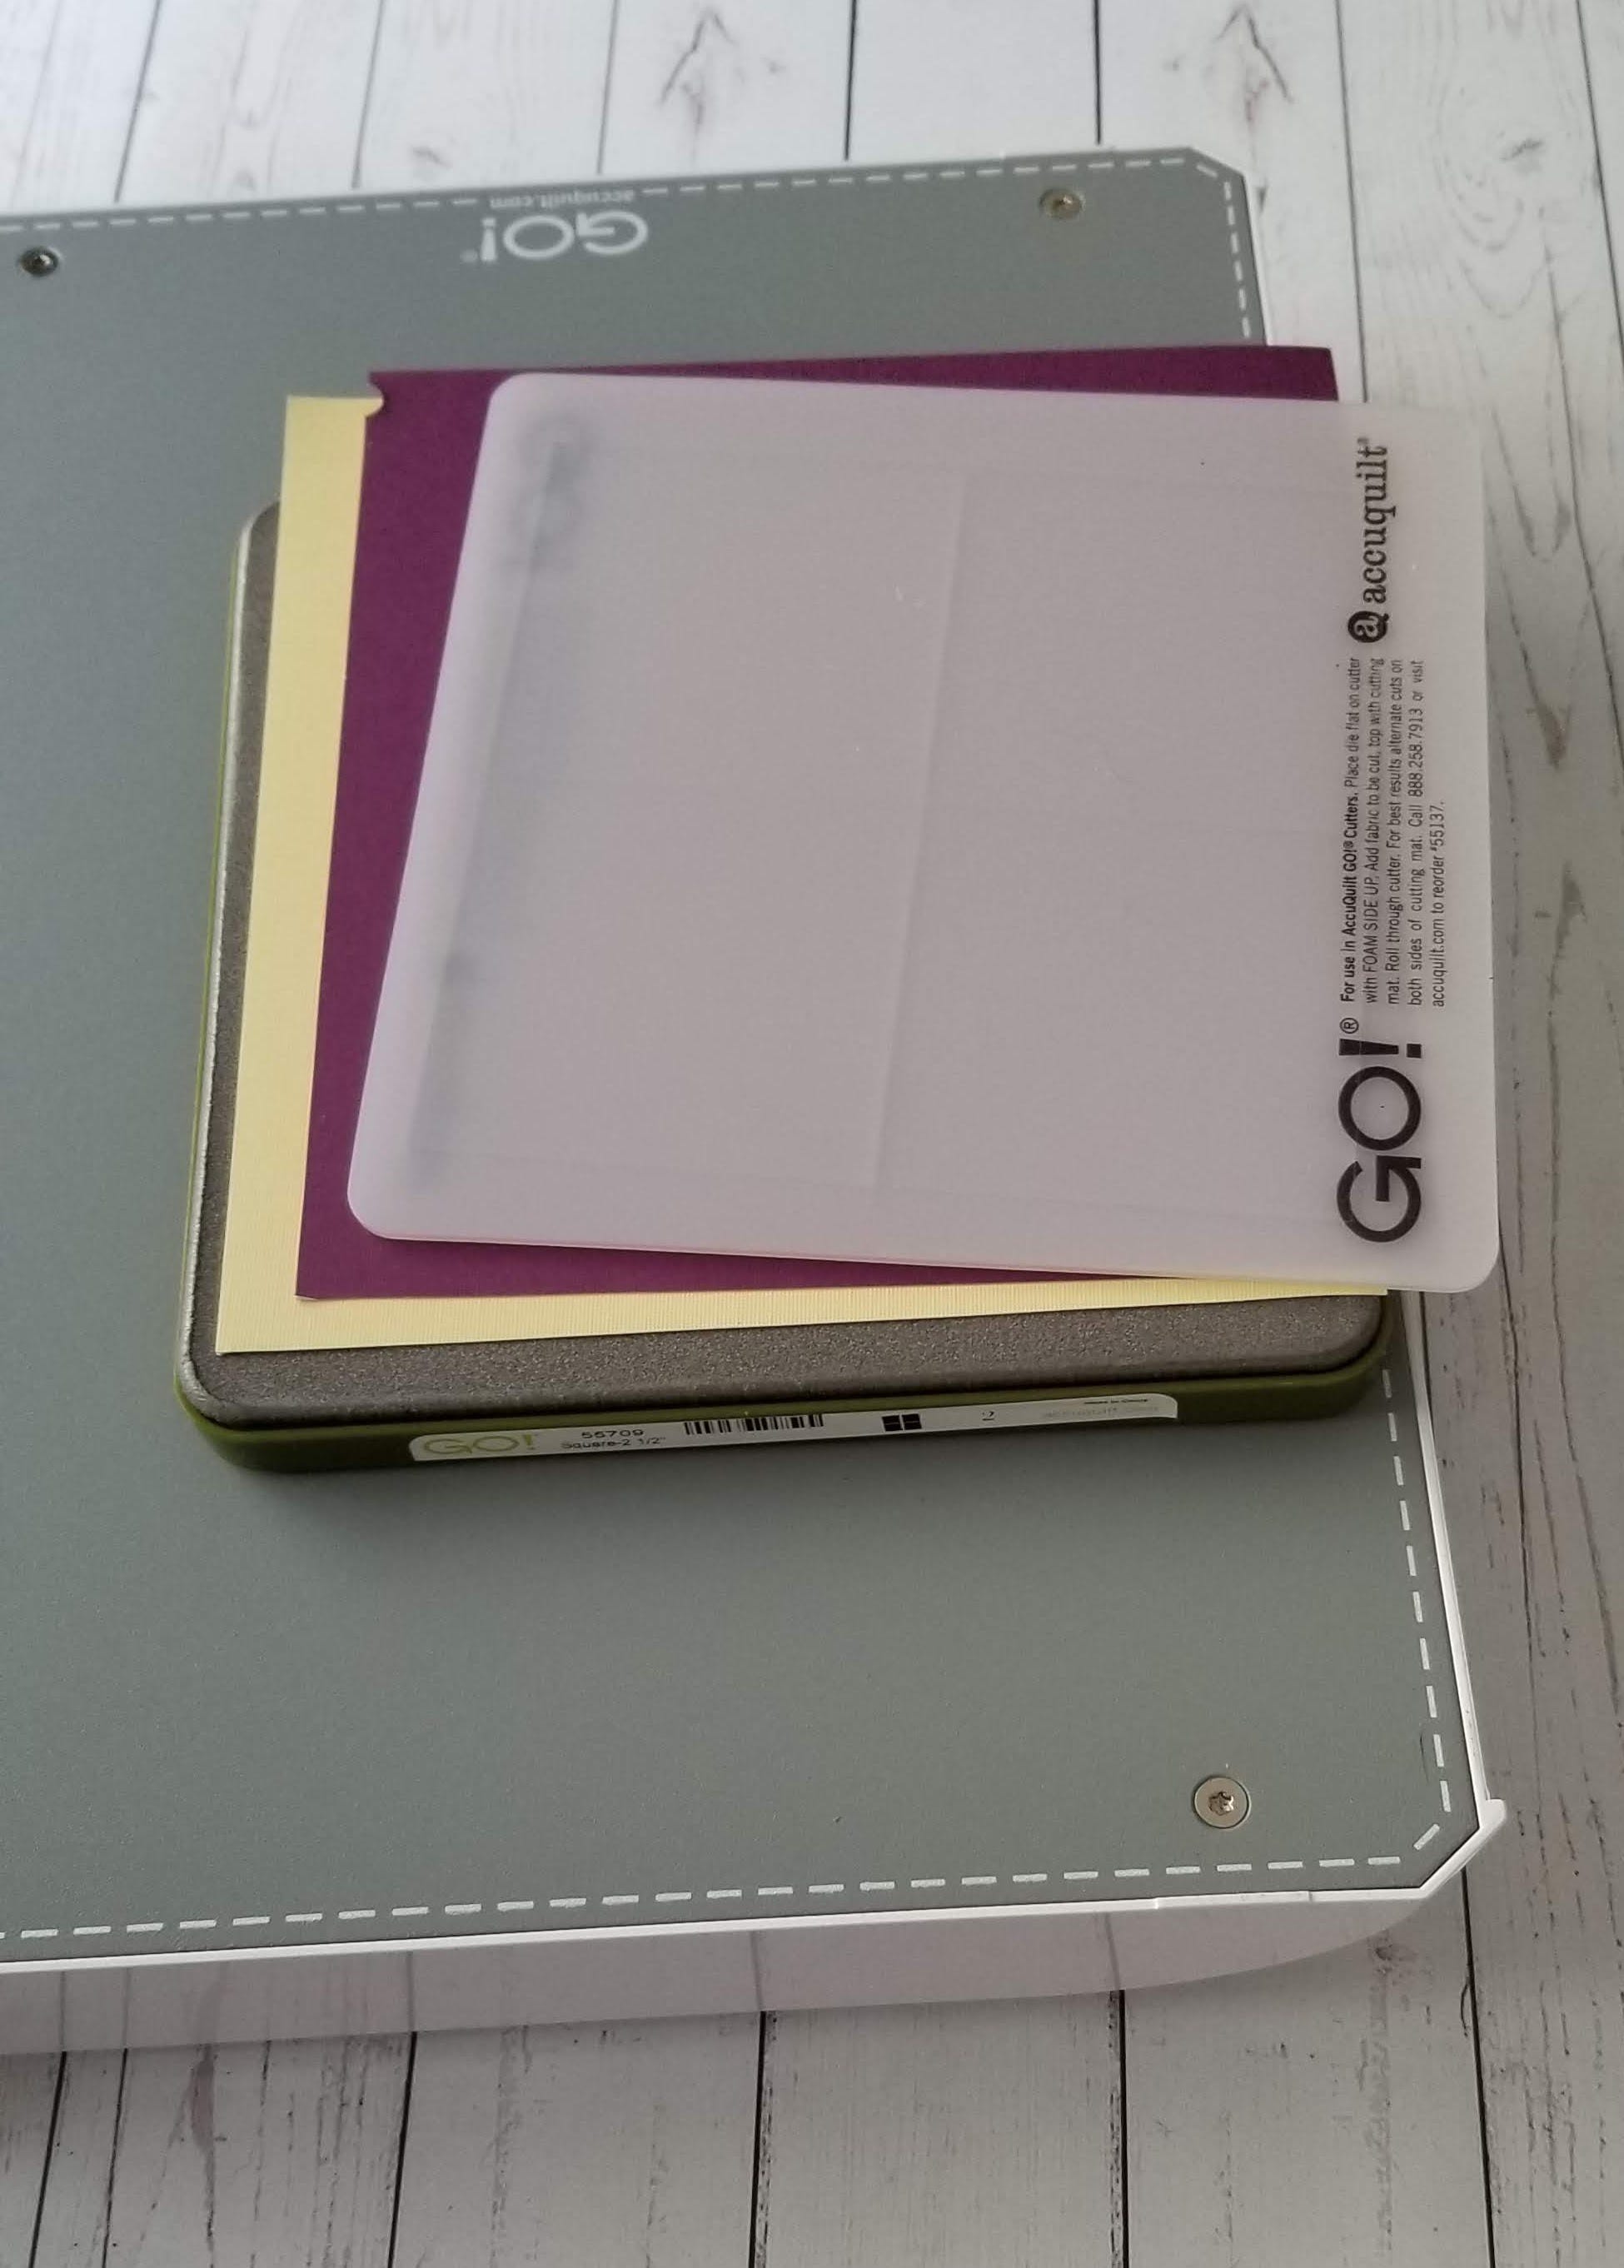
Take out your dies. Layer two pieces of paper on each, and run through the cutter. While it's not a good idea to cut paper on an AccuQuilt regularly, a few times won't dull the blades.
For dies like shape 2, the GO! Square-2½” (2" finished), where you can get four of each piece, two sheets is probably enough. For others, you might want an extra set or two. Two sheets of this paper per cut were enough. I accidentally did three on one pass, and it was too much.
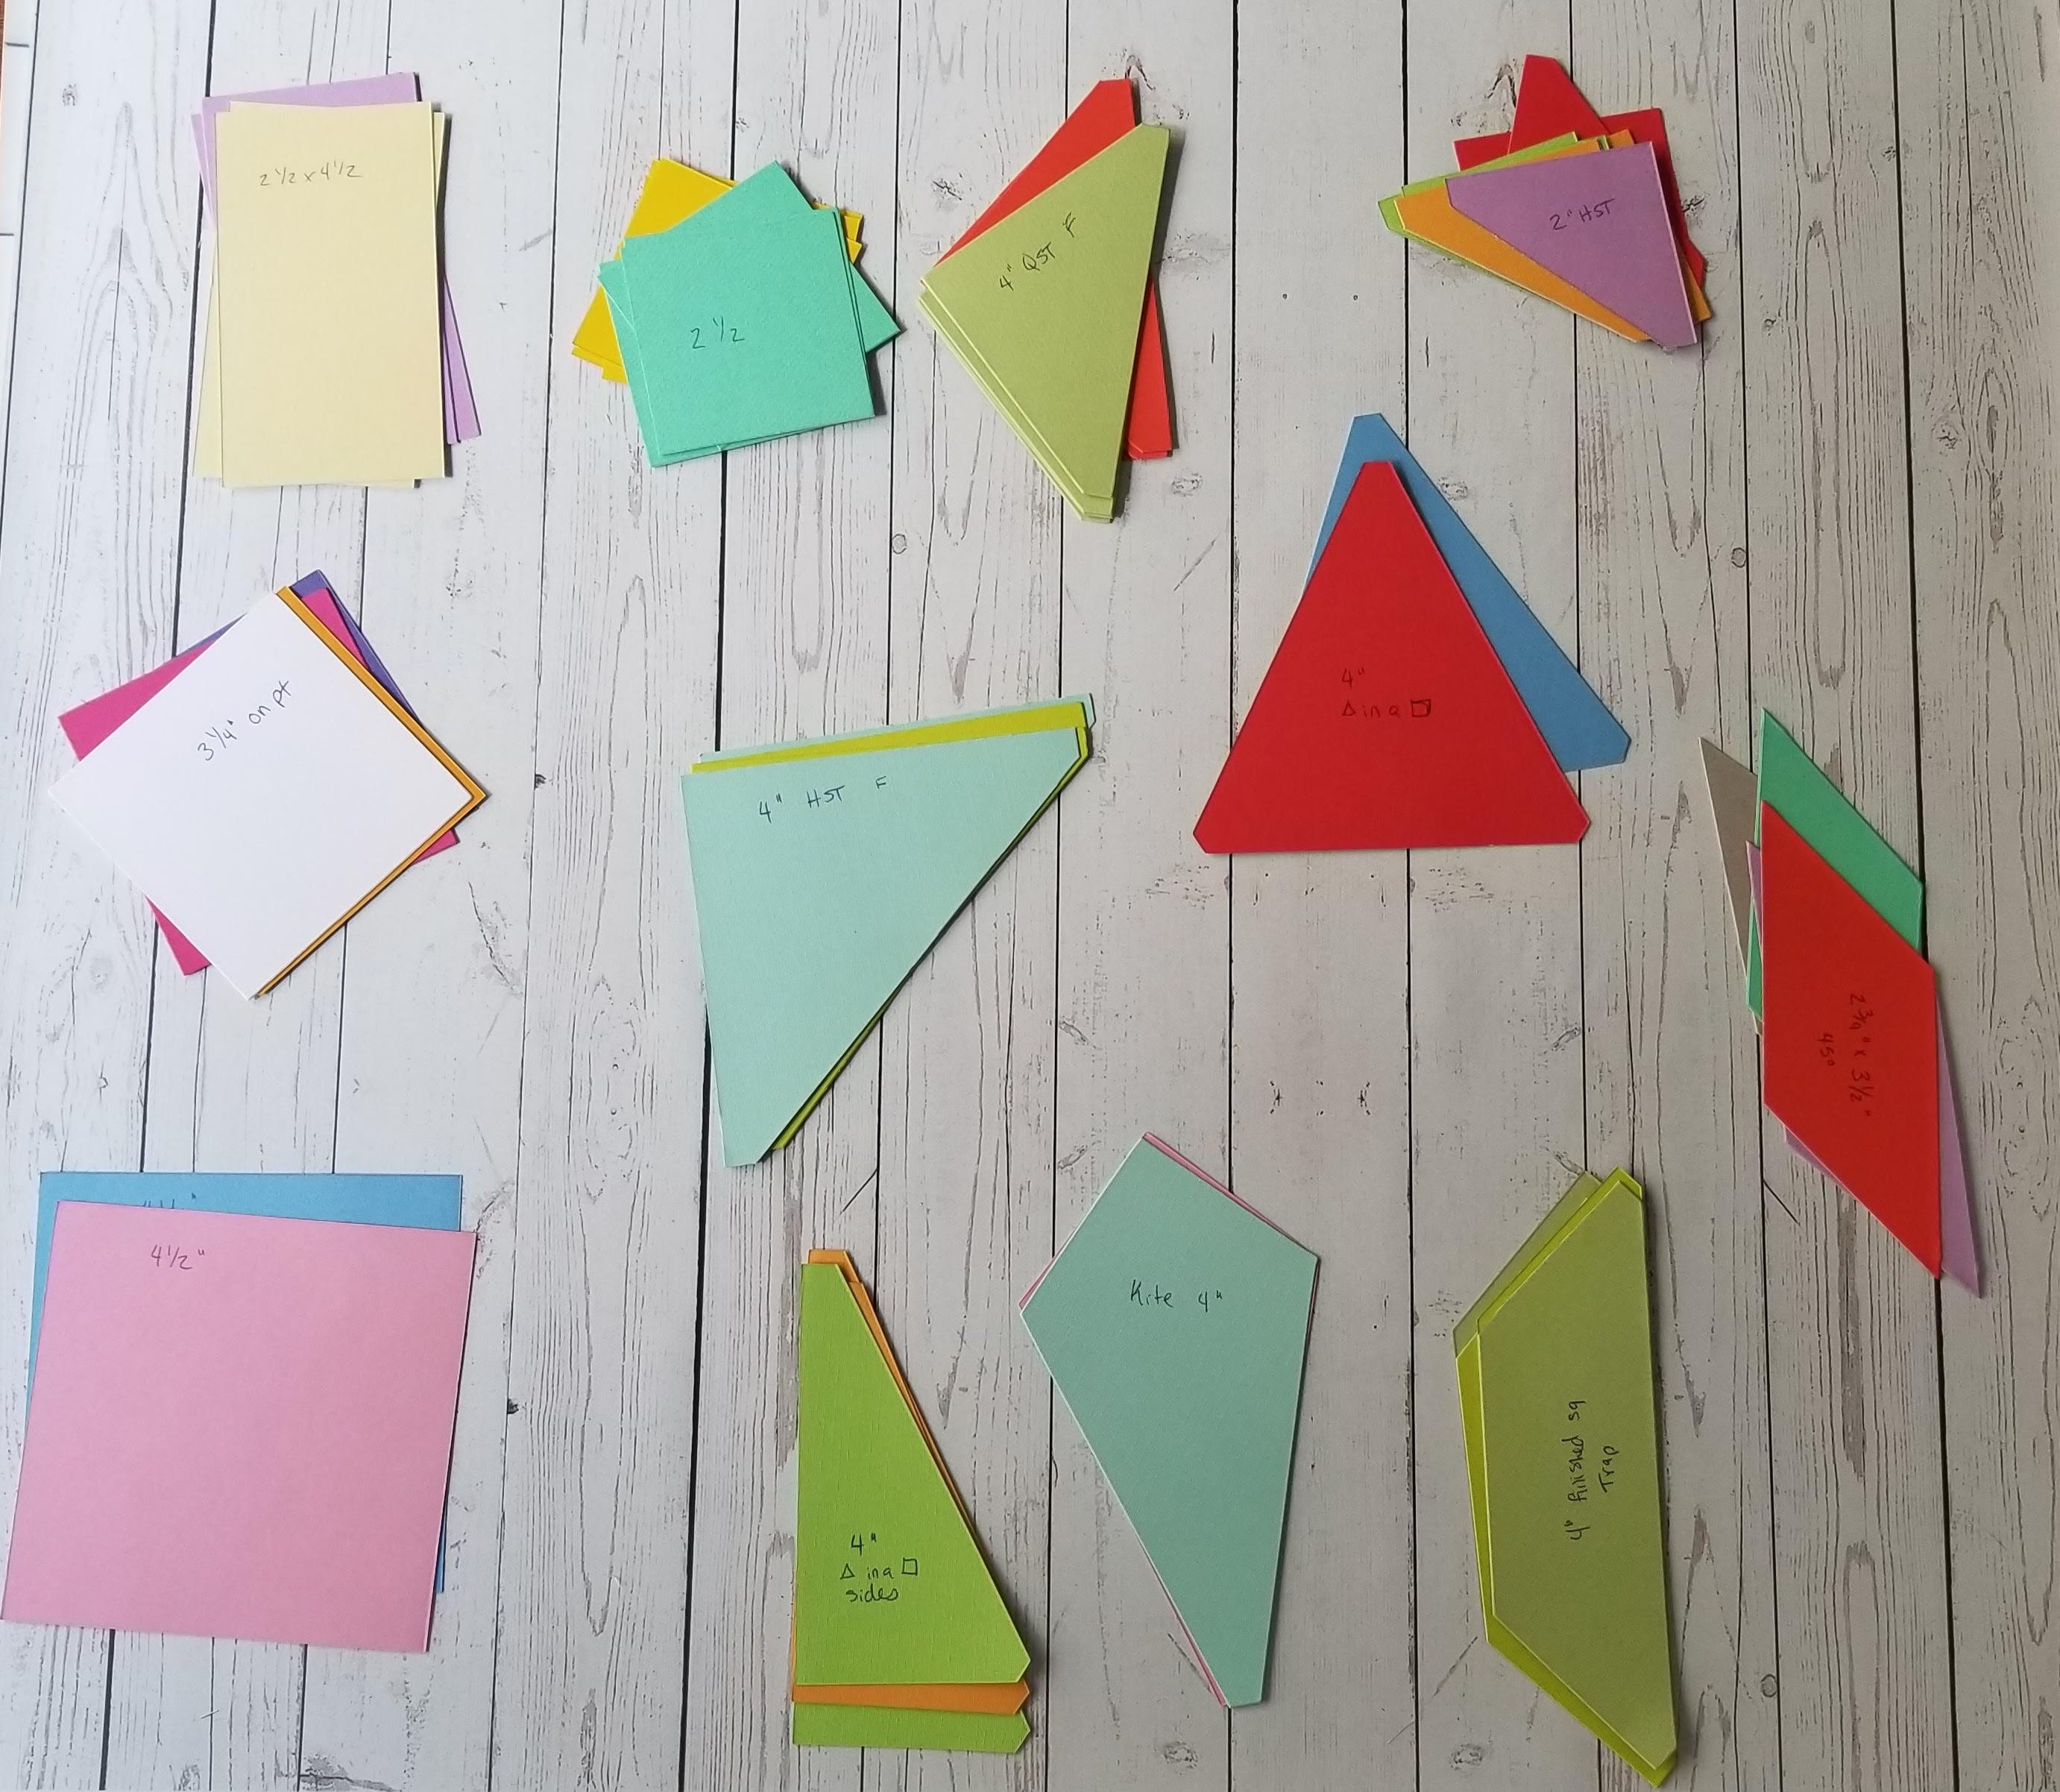
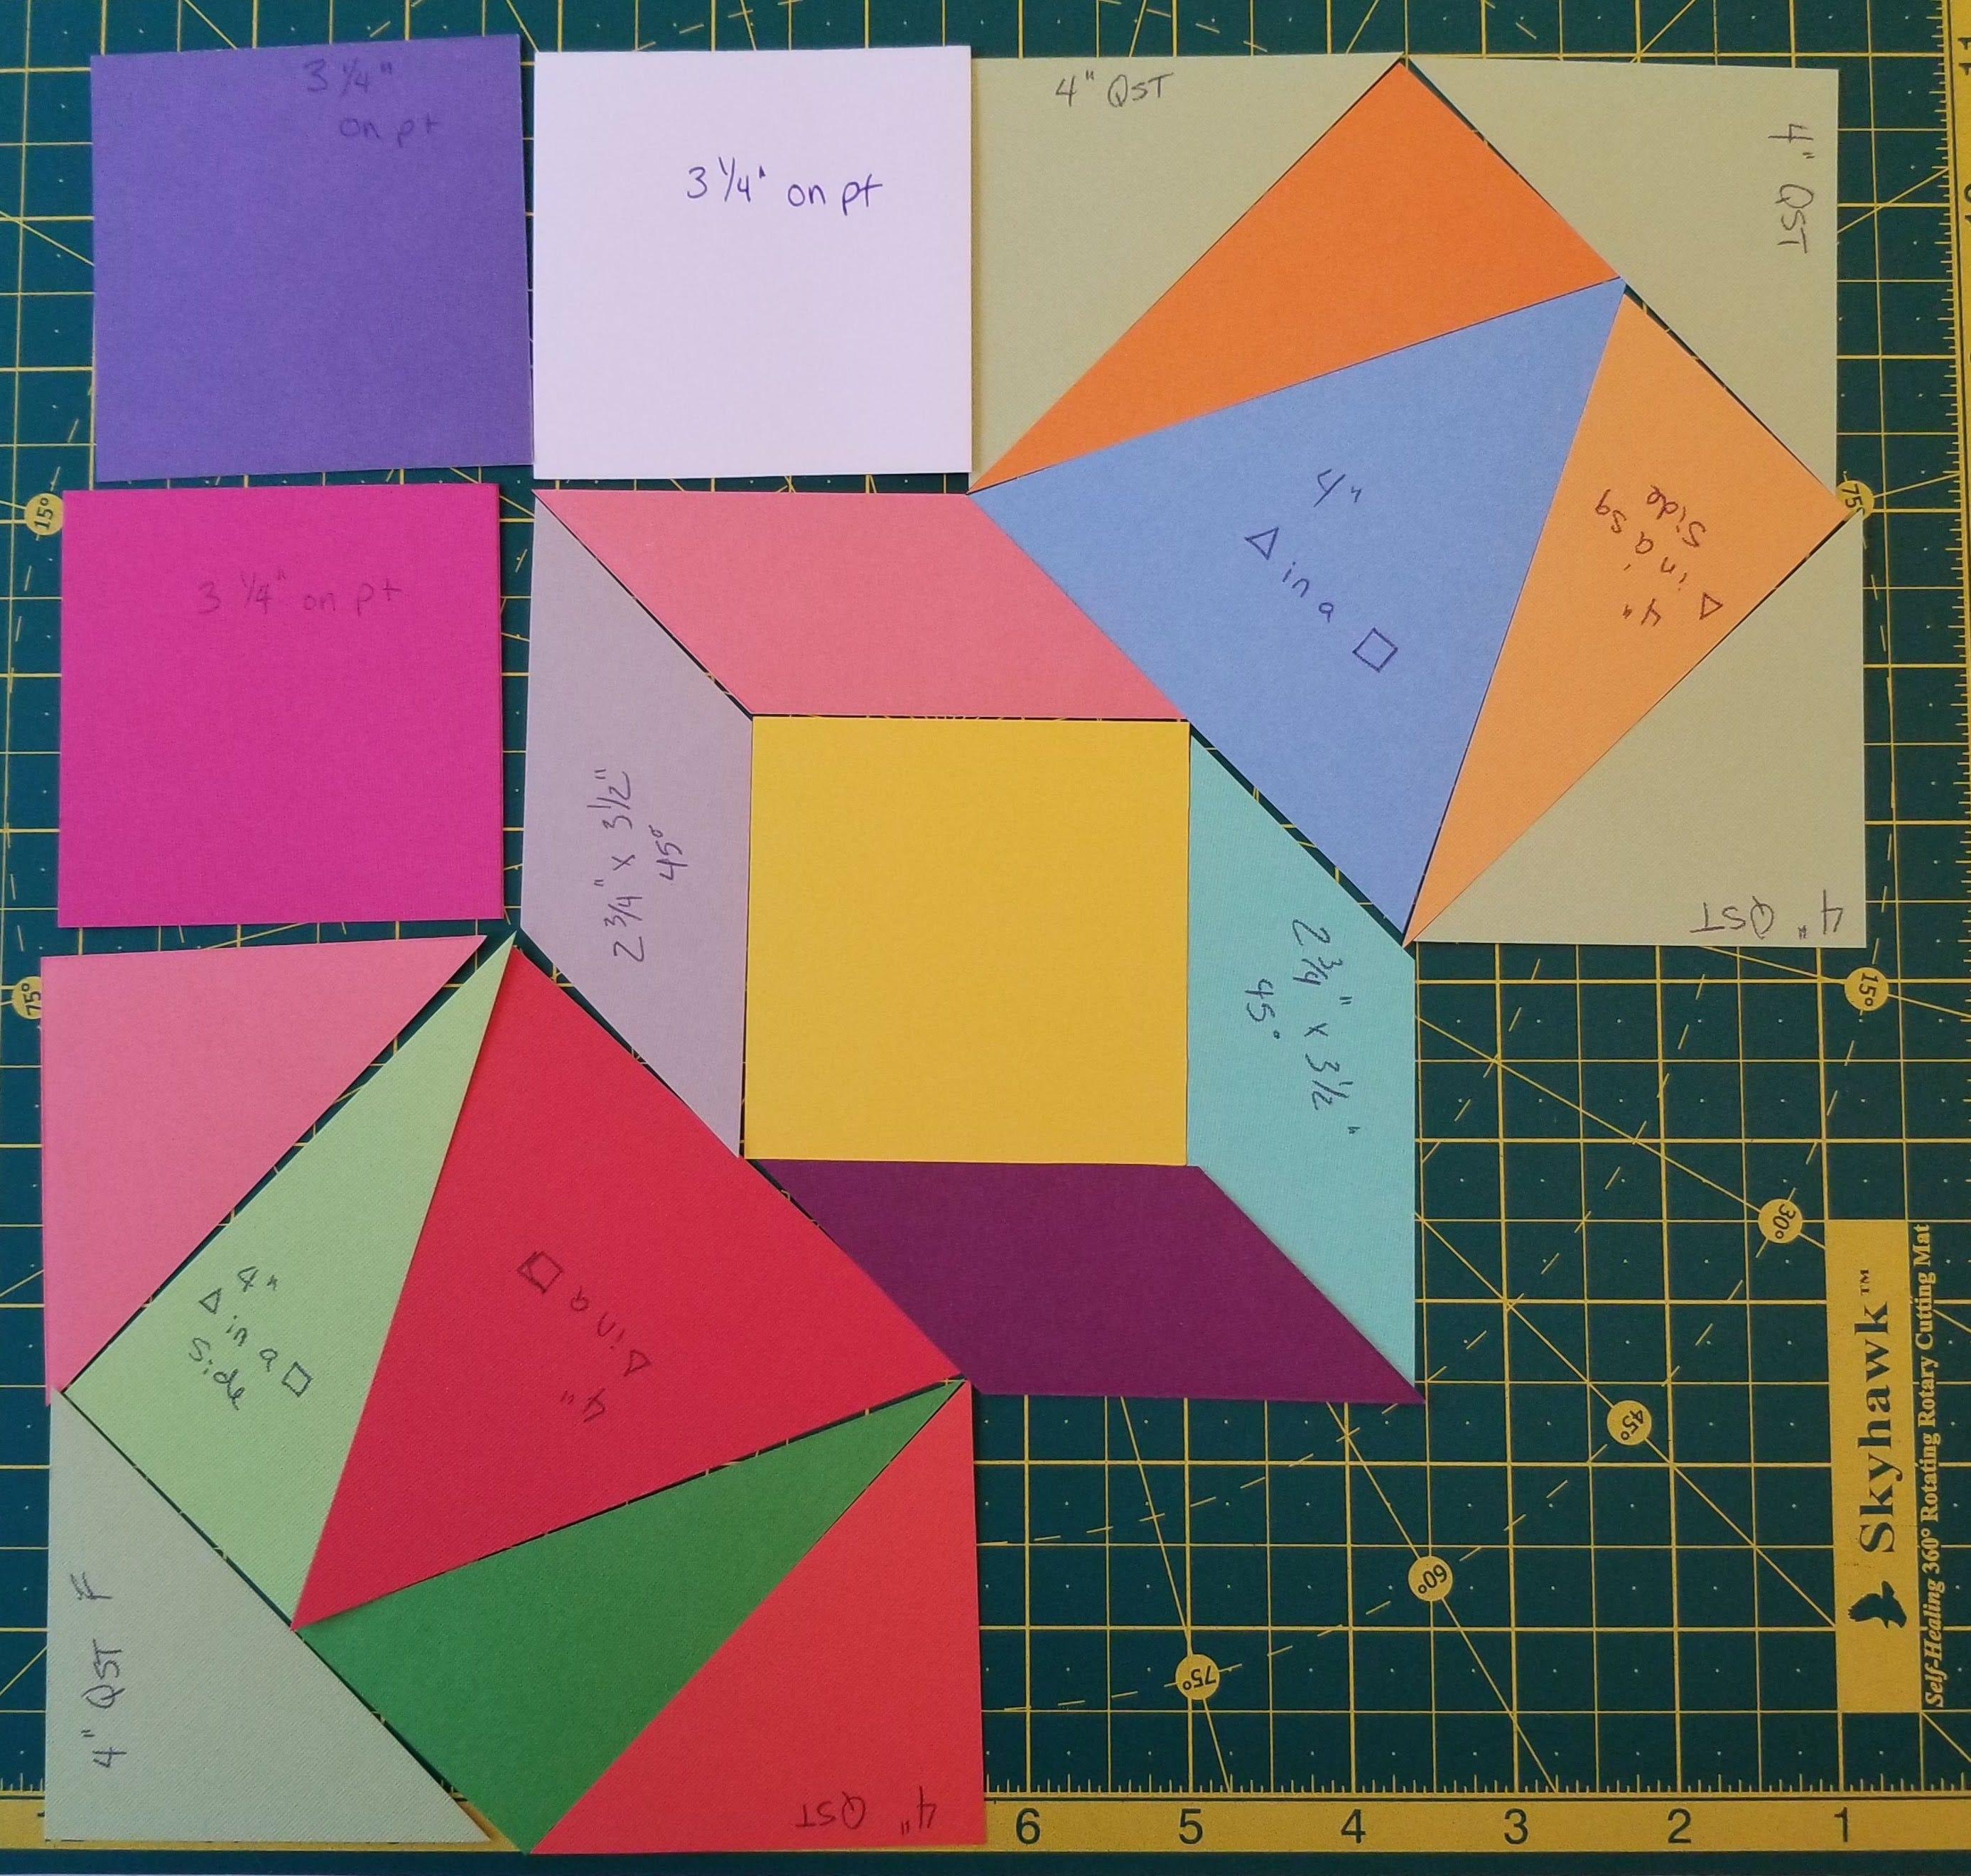
On each cut shape, write the size of the die, after you cut each one out. Keep the label towards the middle, as you are going to trim them up. Note that sometimes the die is named by the cut shape, sometimes by the finished shape, so the labels may not make sense on the finished shapes. They are just to match up with the dies.
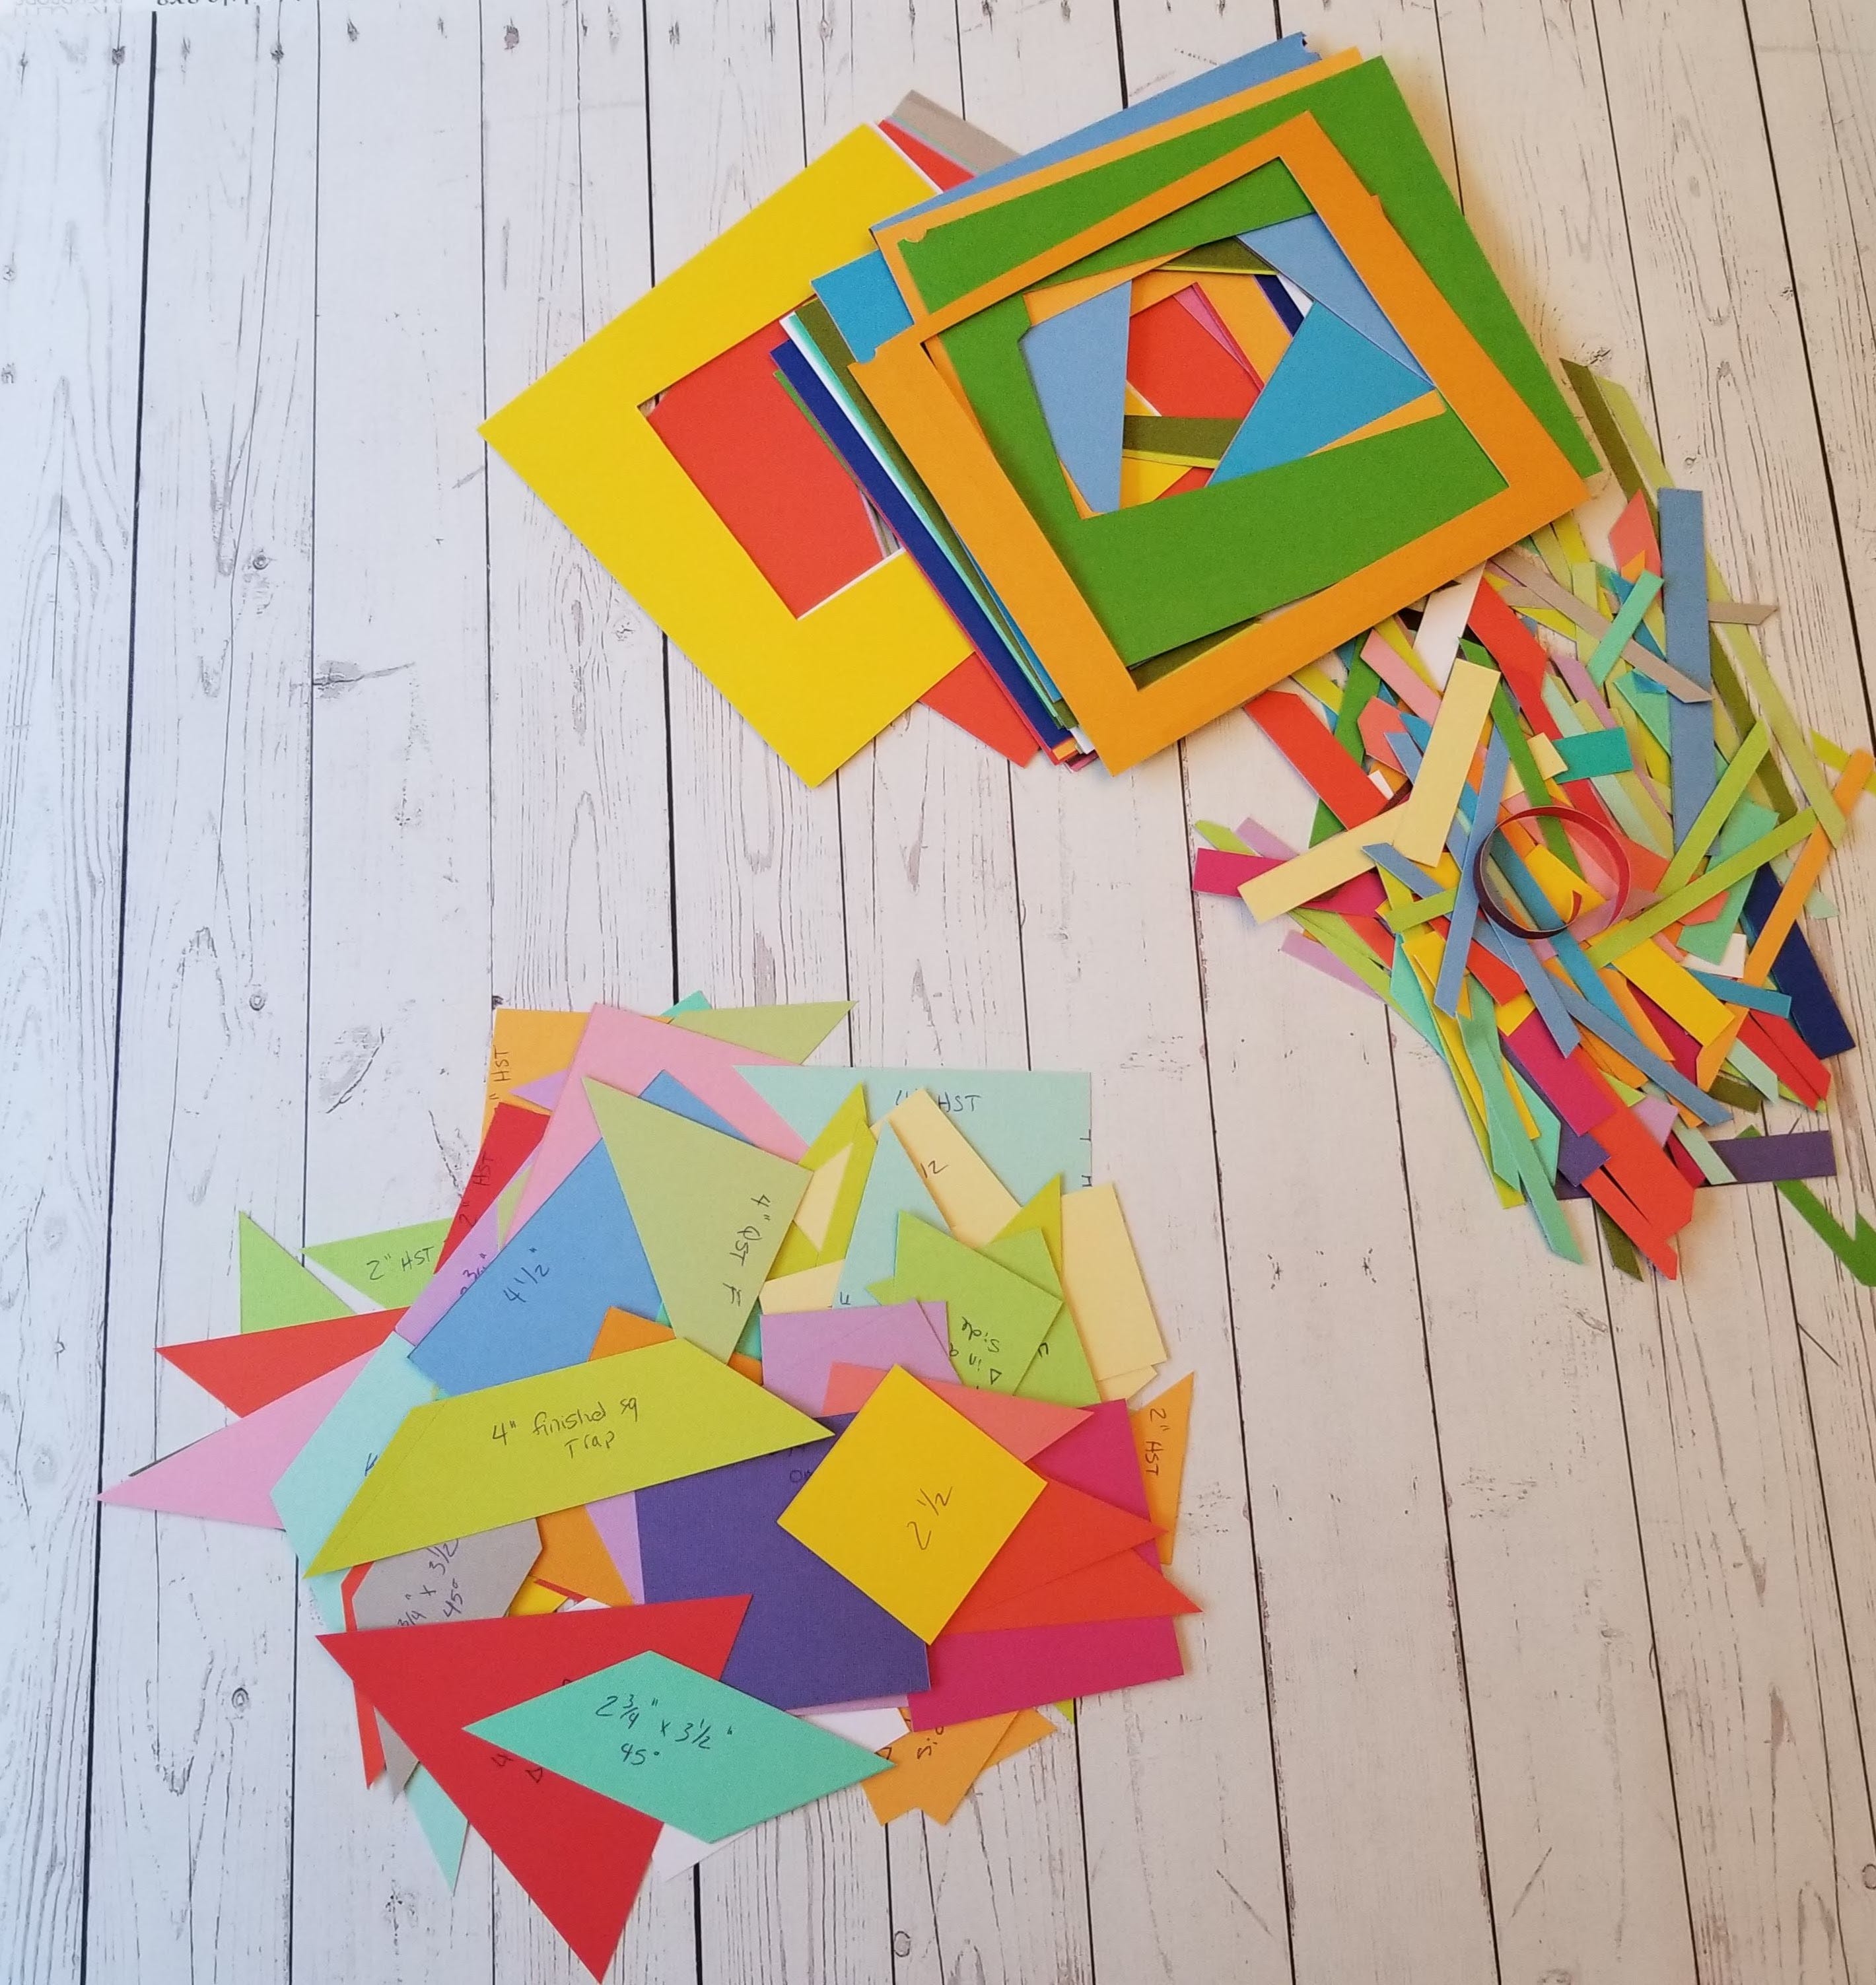
Once you have pieces from each die, trim off ¼” all the way around. This removes the seam allowances, and gives you a finished shape. I used a dull rotary cutter for this. If you don’t want to use a rotary cutter, you can mark the line and cut it with scissors.
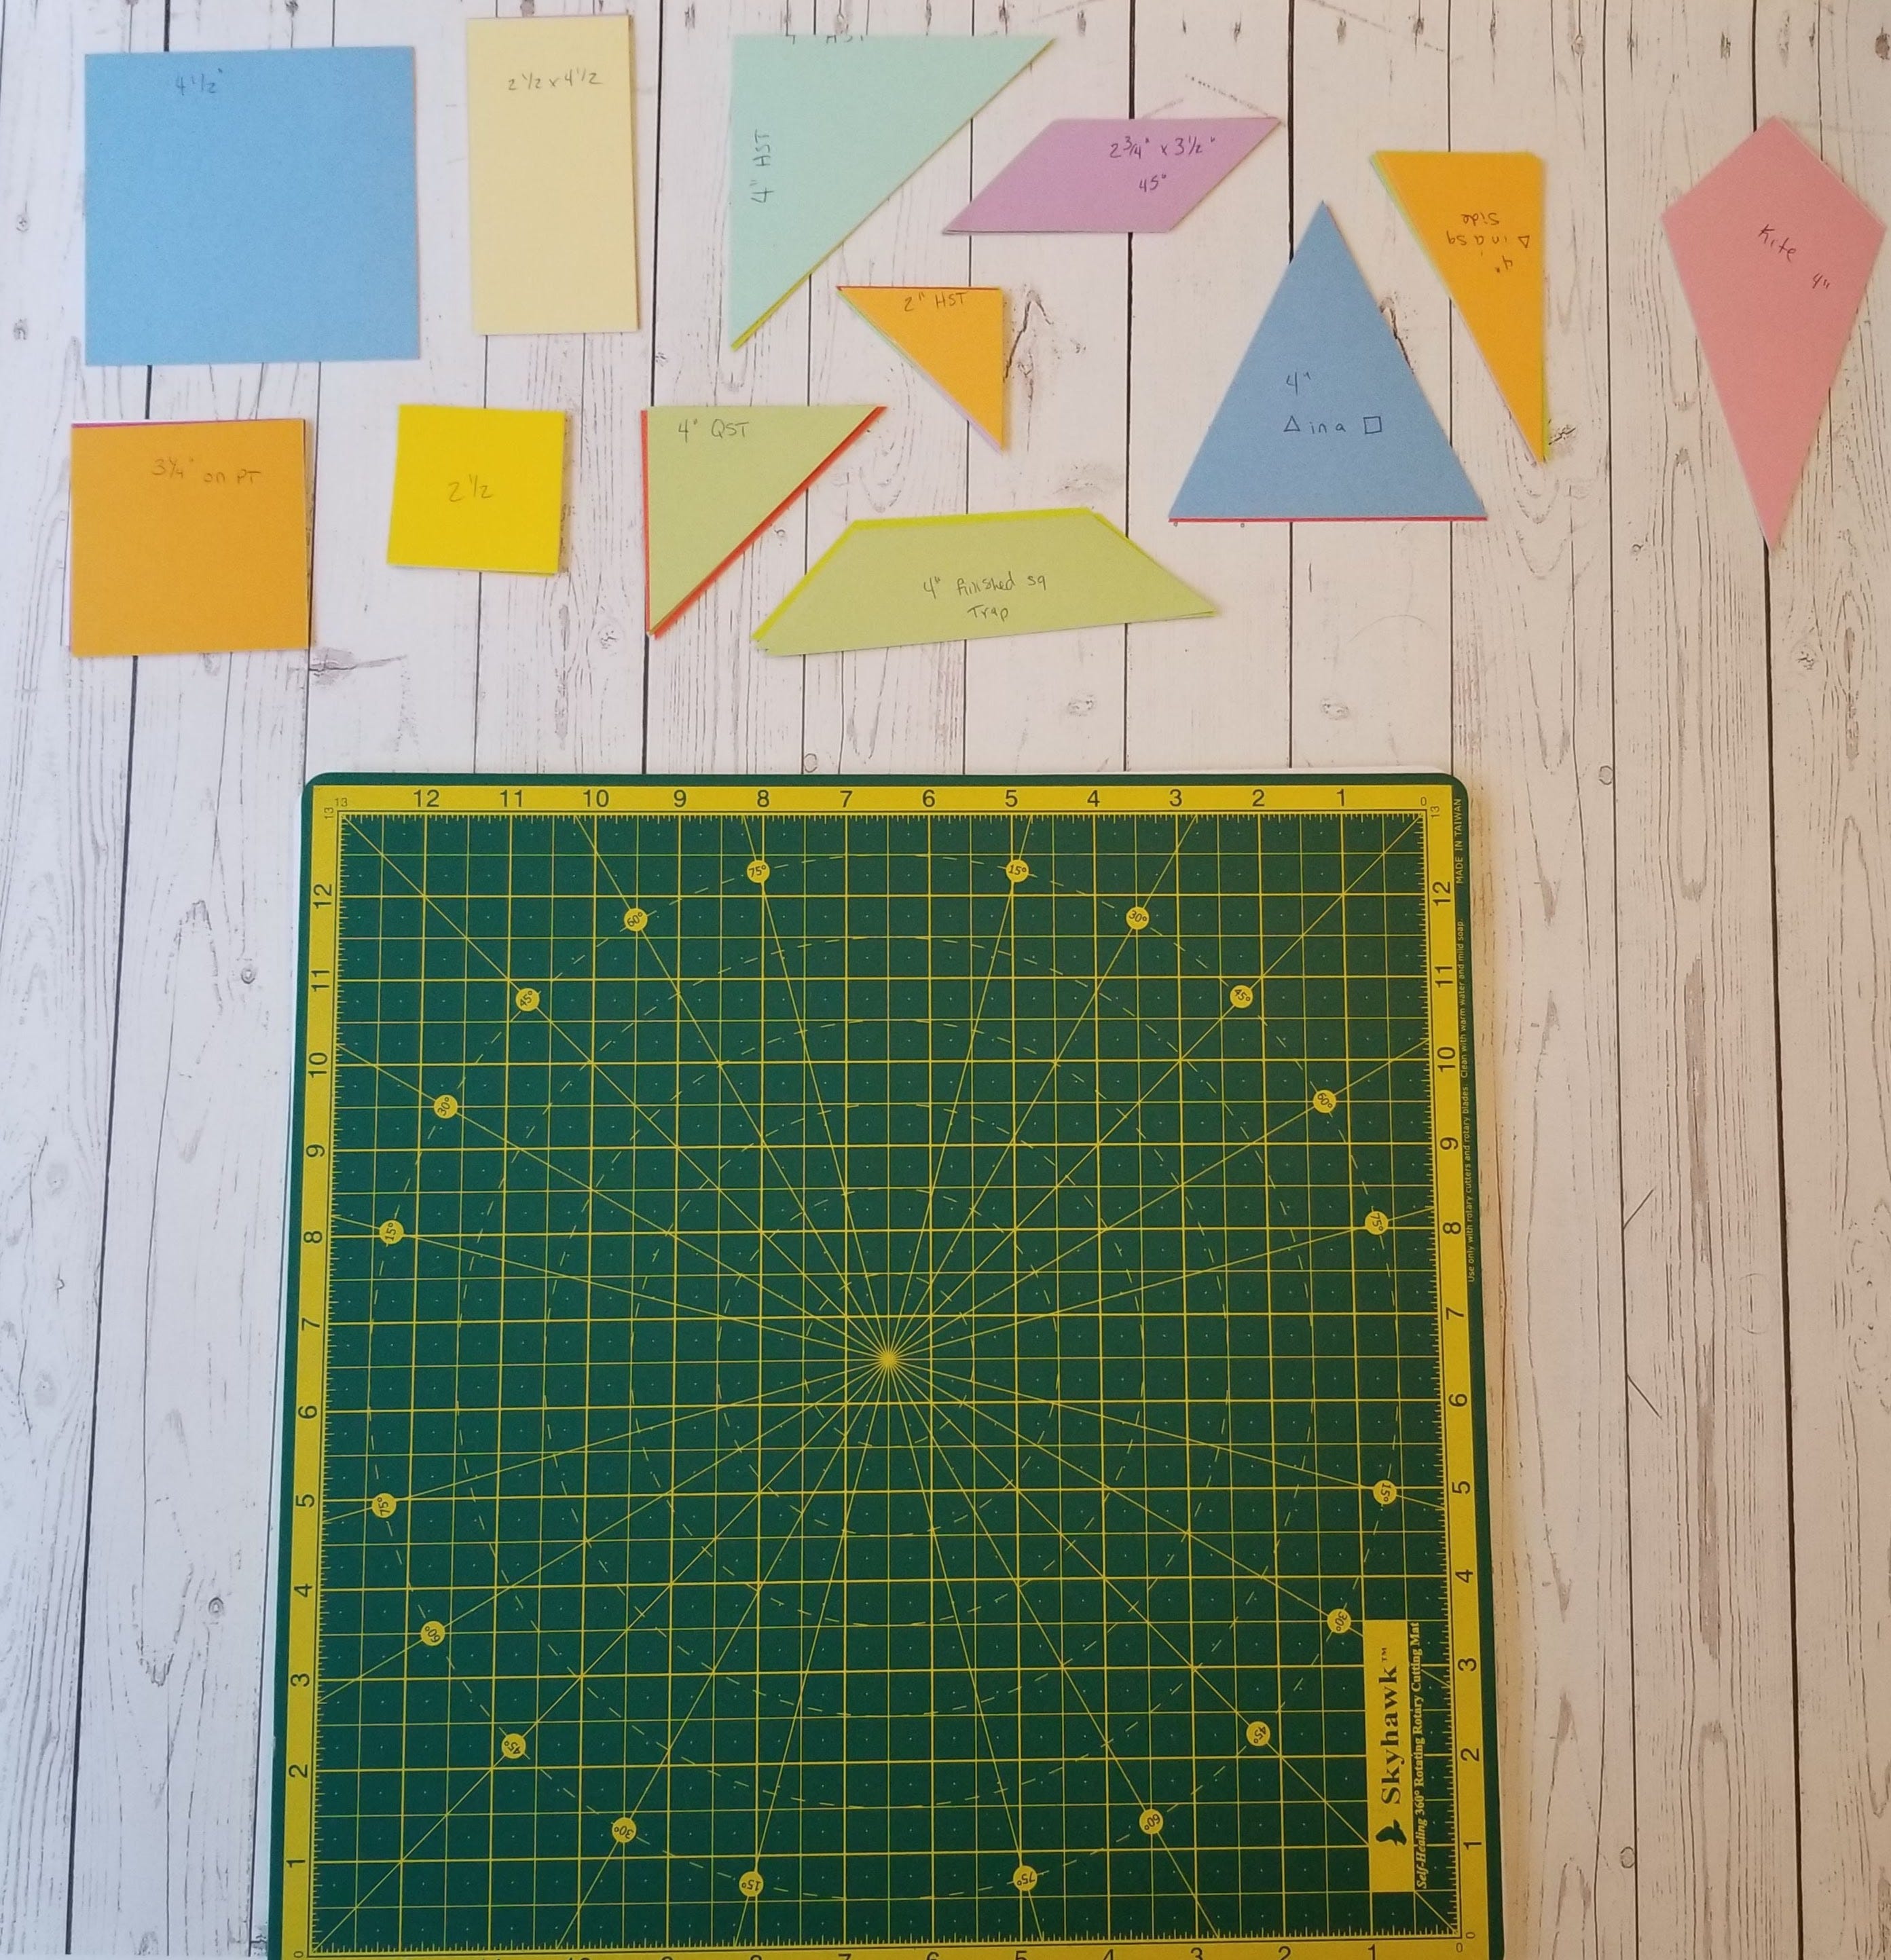
Now it’s time to play.
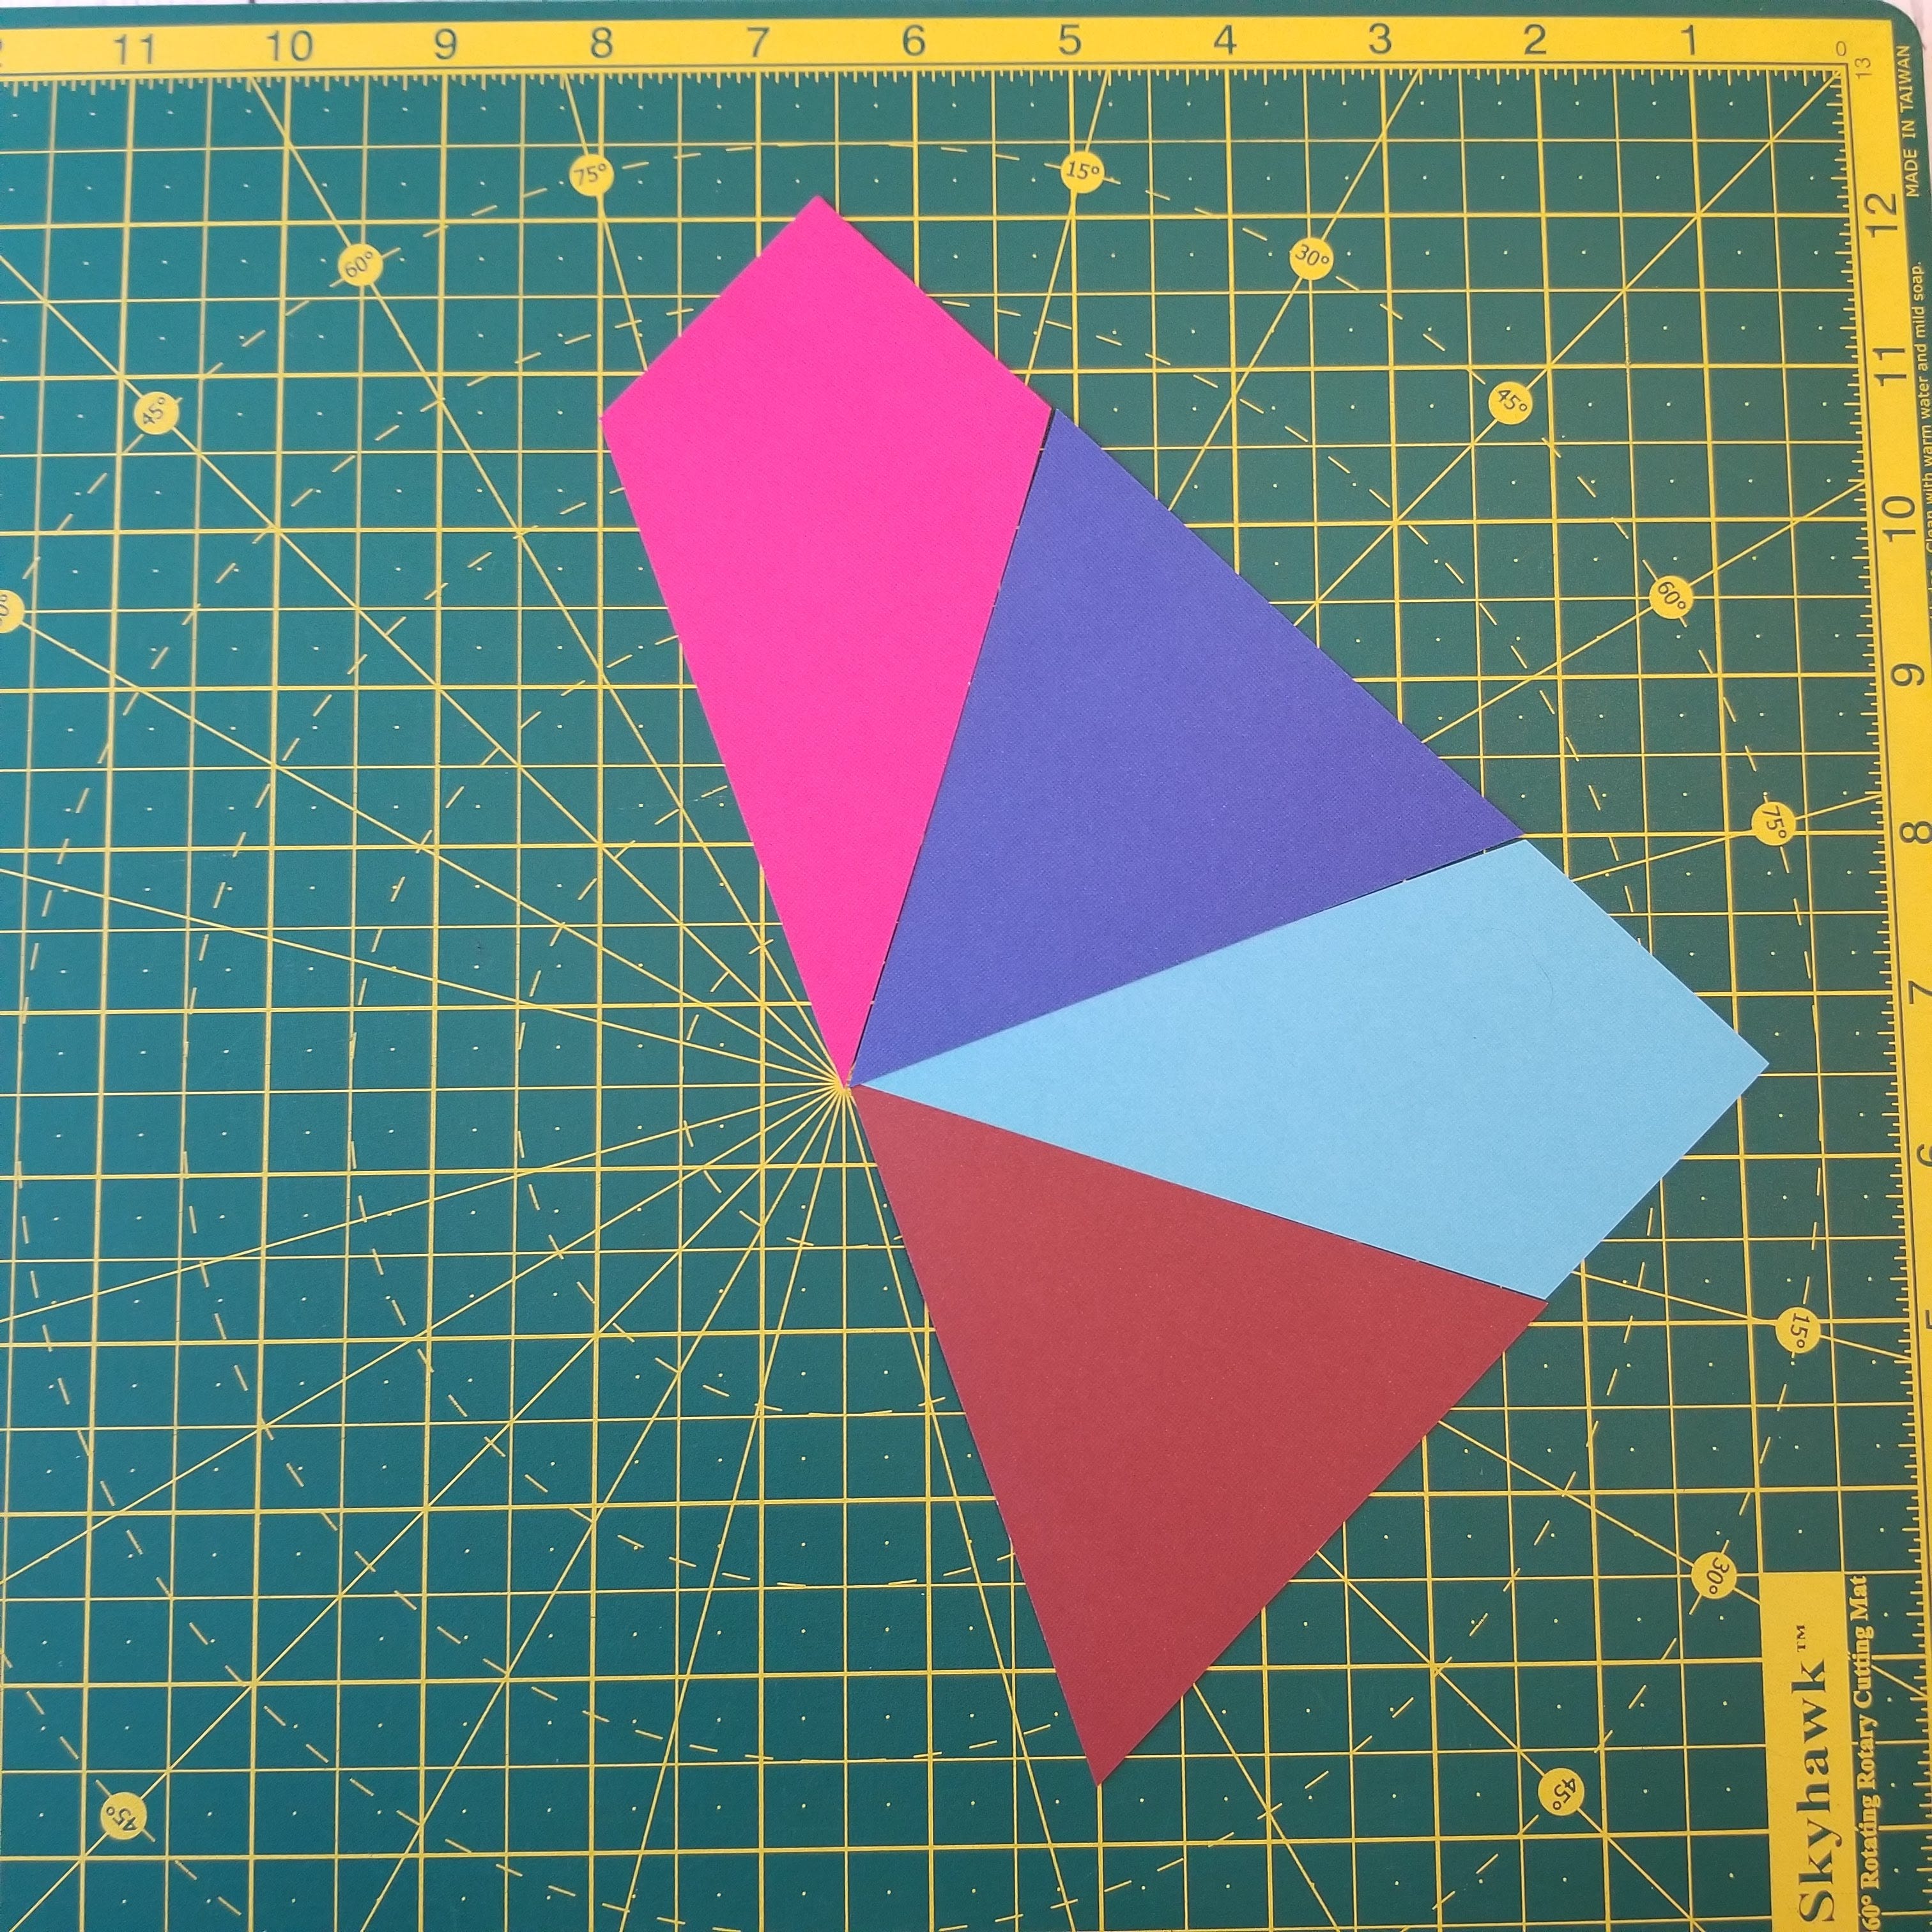
These are from the GO! Qube Companion Set-Angles. It is interesting that the kite and the triangle can be used to make a block on their own.
What I like best about this is that I can see how the triangles and other angles will match up, without having to think too hard. Sometimes thinking in geometry is just too challenging for me, especially with triangles and other non-square shapes. This way I can see what the block will physically look when it's complete.
Only you can decide how many pieces of each shape you need. I wouldn’t recommend cutting endless amounts of paper - you don’t want to dull your blades.
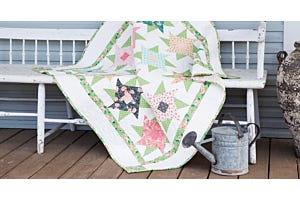
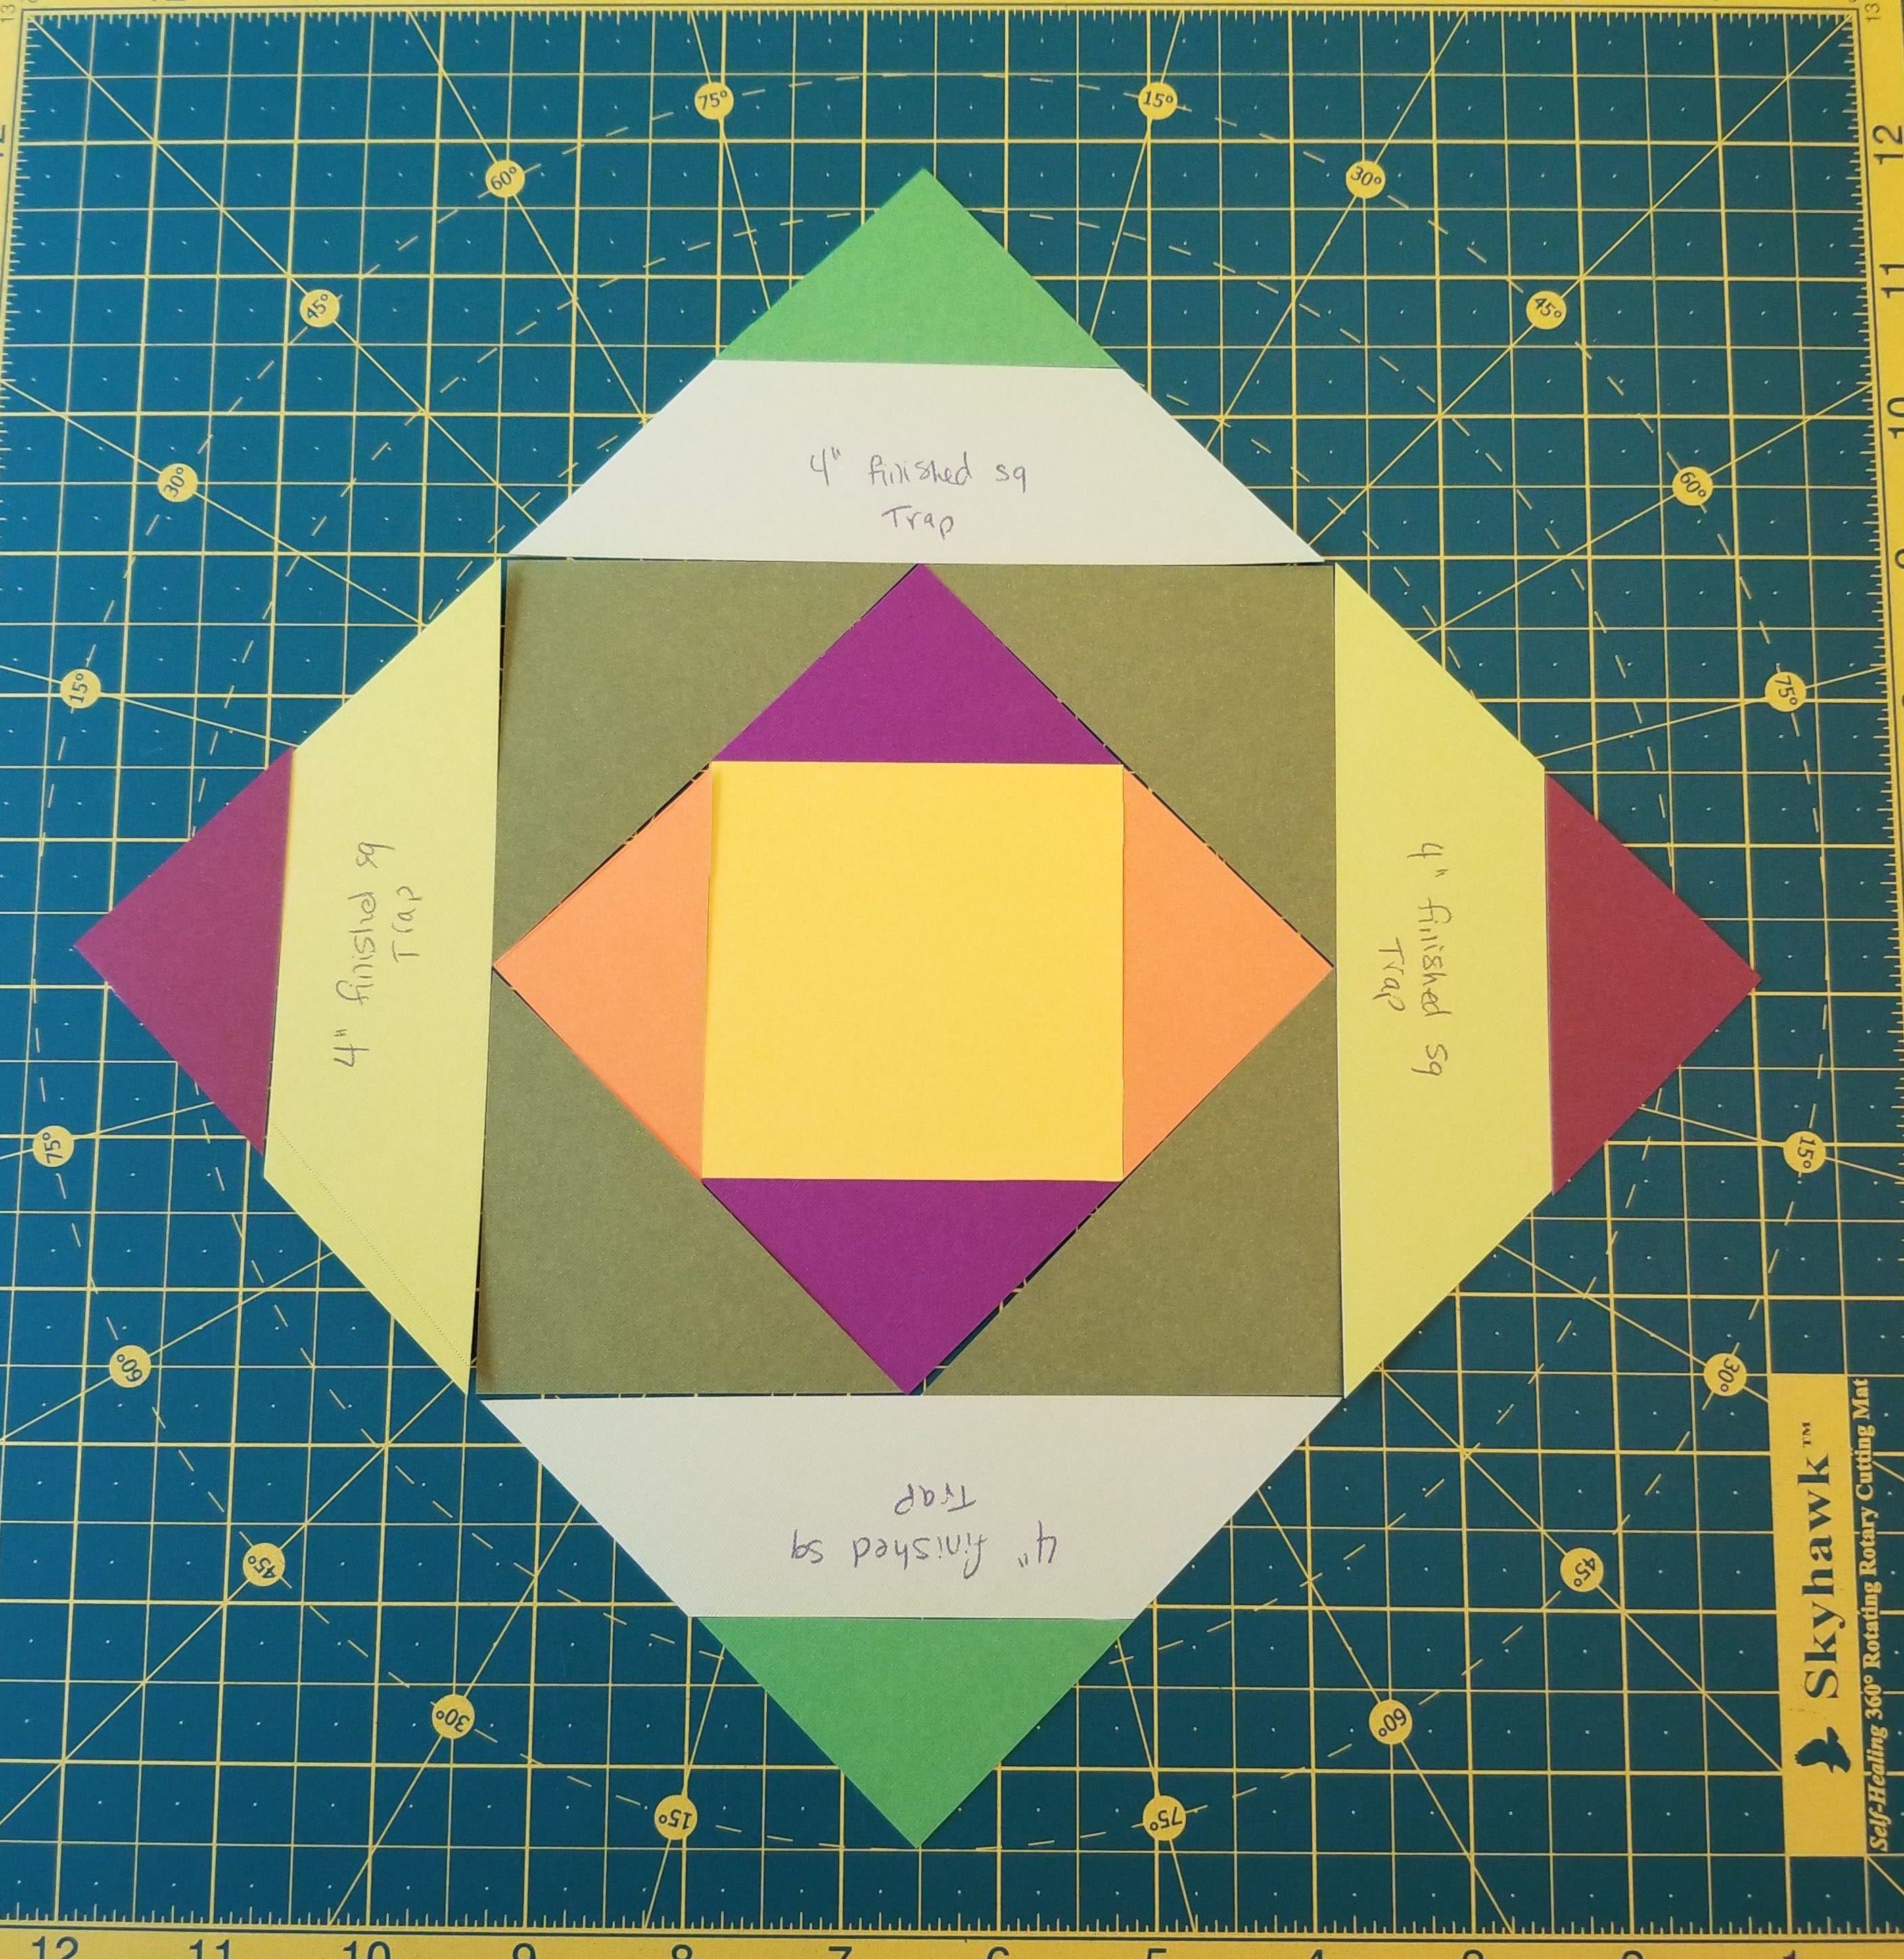
Another great benefit to this is that you can more easily get creative. Just because you're working with the eight inch GO! Qube doesn't mean you can only create eight inch blocks. Look at the beginning of the block below. It is far larger than eight inches and is too intricate for me to have imagined, cut and sewn together. The paper shapes have helped me imagine something completely new and different without fabric waste and expensive quilt design software.
Having these shapes has given me more freedom to play with my AccuQuilt system, and playing is fun. Will you try my method? If so, be sure to share with us what blocks your create or projects you complete on Facebook and Instagram. Tag @AccuQuilt and @jenstrauser, and add the #AccuQuilt hashtag so we see your work!