
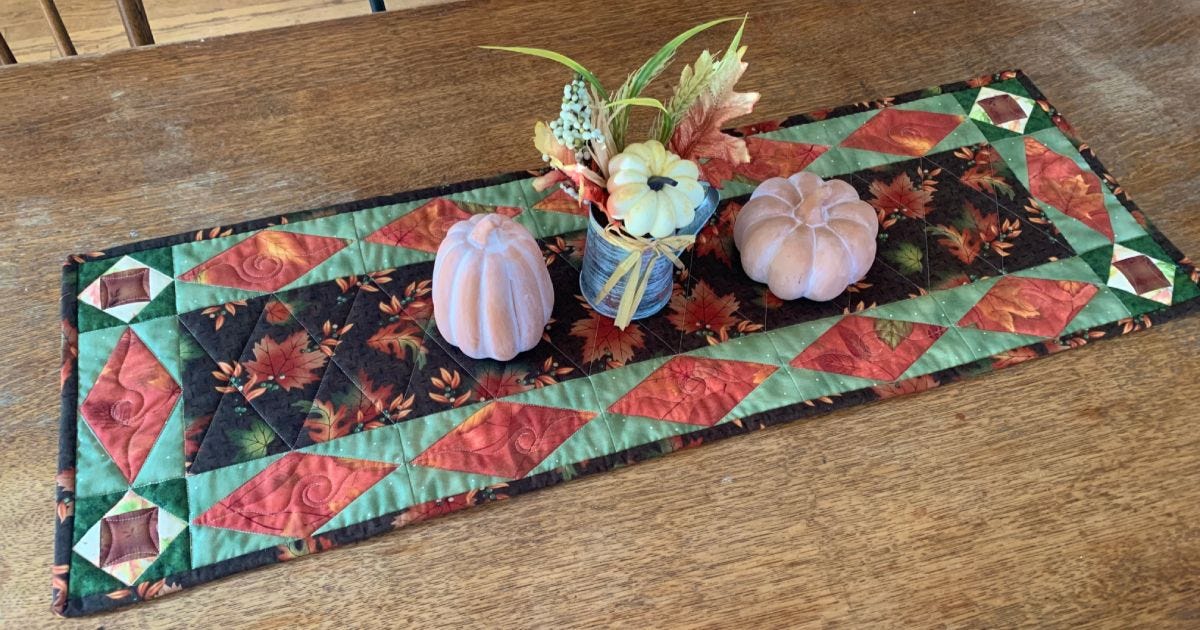
Happy fall, y’all! Katy from KatyQuilts here to share a quick and easy table runner idea using the GO! Storm at Sea Die!
My first thought when I saw the GO! Storm at Sea Die was not a Storm at Sea quilt, but instead, borders! My favorite part of this die is the diamond sashing. It can be used to create a border that looks difficult, but is decidedly not.
Create Your Own Storm at Sea Fall Table Runner
Ready to make your own? This is what you will need:
- GO! Storm at Sea Die
- GO! Strip Cutter Die-2 1/2" (2" Finished) 3 Strips Die
- 1/2 yard of a "focus" fabric (the centerpiece of the table runner)
- 1/3 yard of fabric for the background
- 1/3 yard of fabric for the diamond shapes
- 1/2 yard of backing fabric
- 1/4 yard of binding fabric
- Scraps for corner blocks
Cutting Instructions
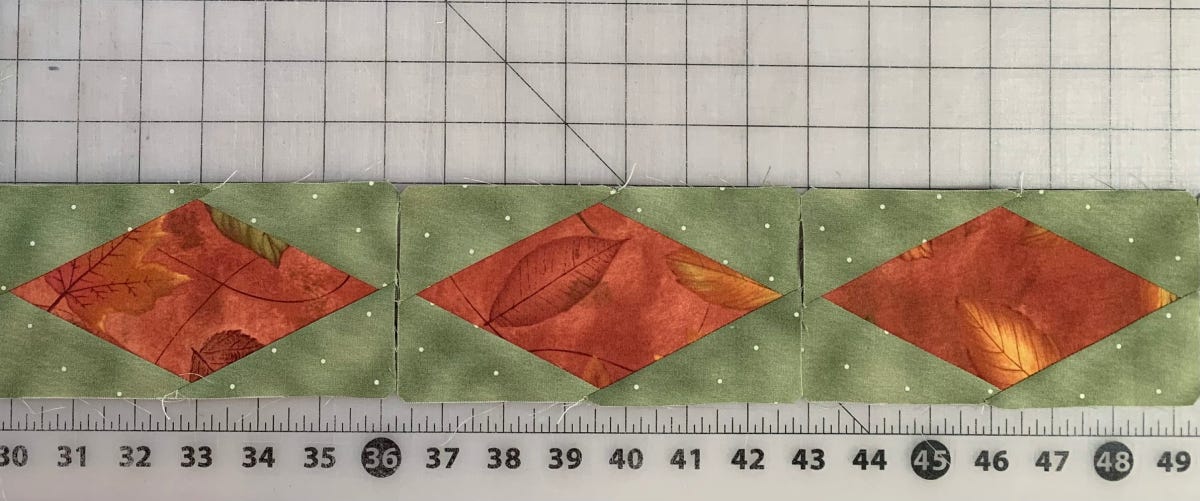
1. Precut 7 1/2” x width of fabric (WOF) strips. Using the GO! Storm at Sea Die, fan fold the strips and cut 12 diamond pieces (Shape A).
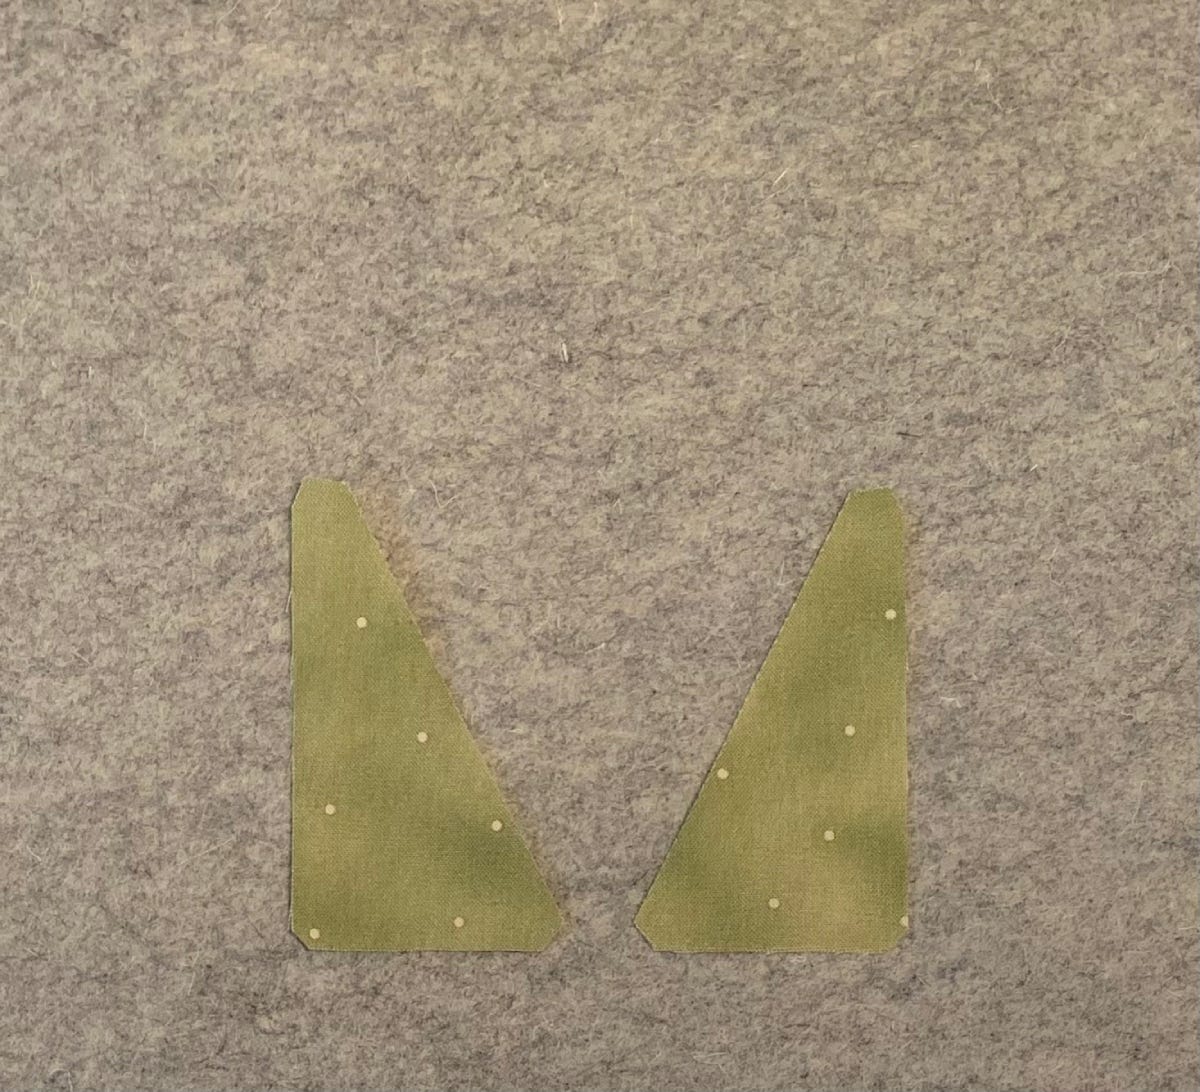
2. Precut two 4 1/2” x WOF strips for the background. Fan fold and cut a total of 48 half square triangles on the GO! Storm at Sea Die (both of the Shape B's). It is important that you fanfold here. This shape is directional and you will need 24 of one and 24 of the other (as shown below).
3. Use scraps to cut four of Shape C, 16 of Shape D, and 16 of Shape E from the GO! Storm at Sea Die.
4. Cut the focus fabric into a rectangle that measures 6 1/2” x 30 1/2”.
5. With the GO! Strip Cutter-2 1/2" (2" Finished) 3 Strips Die, cut two 2 1/2” strips for binding.
Assembly Instructions
We are ready to sew!
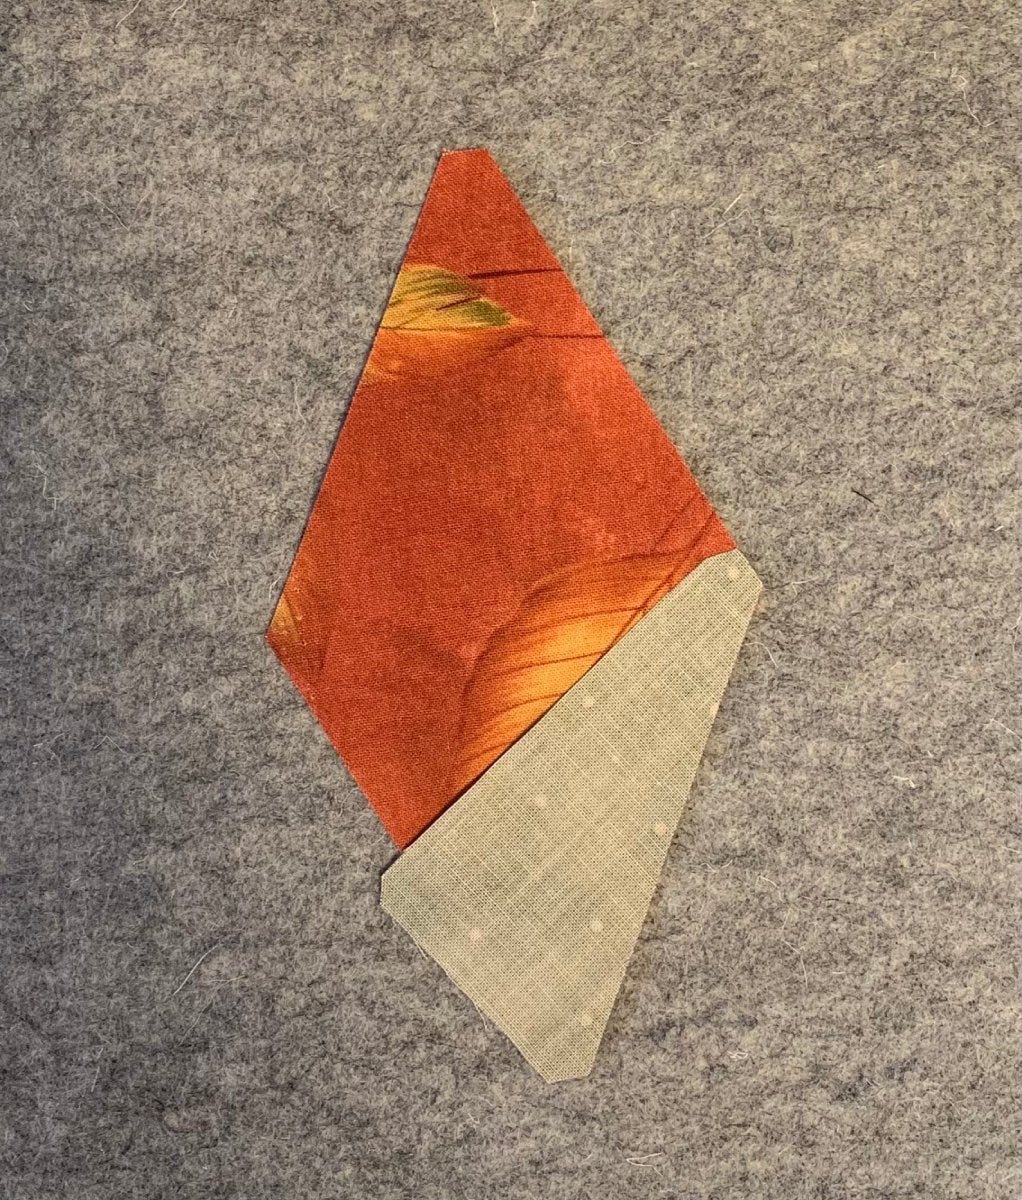
1. Place one Shape A with one Shape B with the right sides together and sew together.
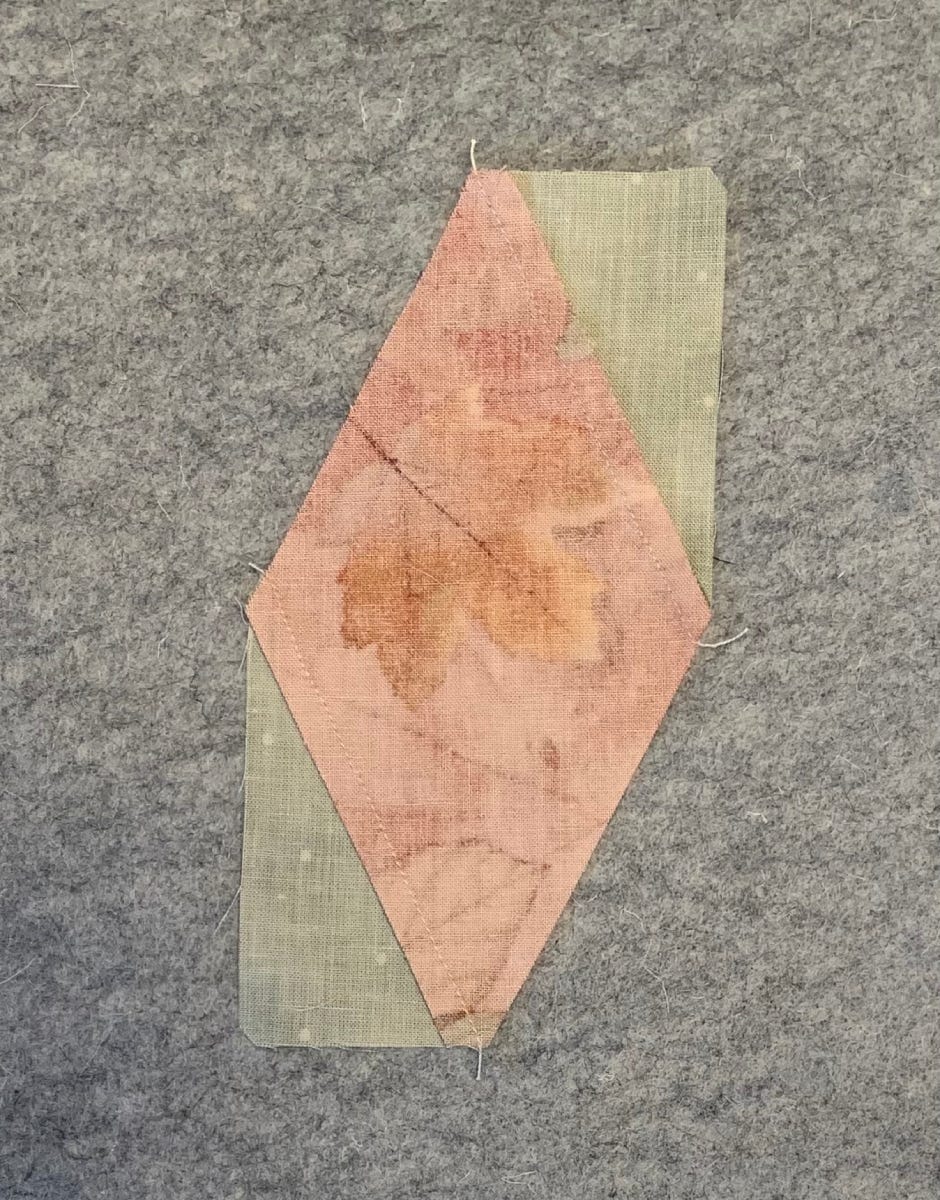
2. Add another Shape B to the opposite corner of each diamond and sew. Press the seams away from the diamond.
3. Now, add the opposite two background pieces and press away from the diamond.
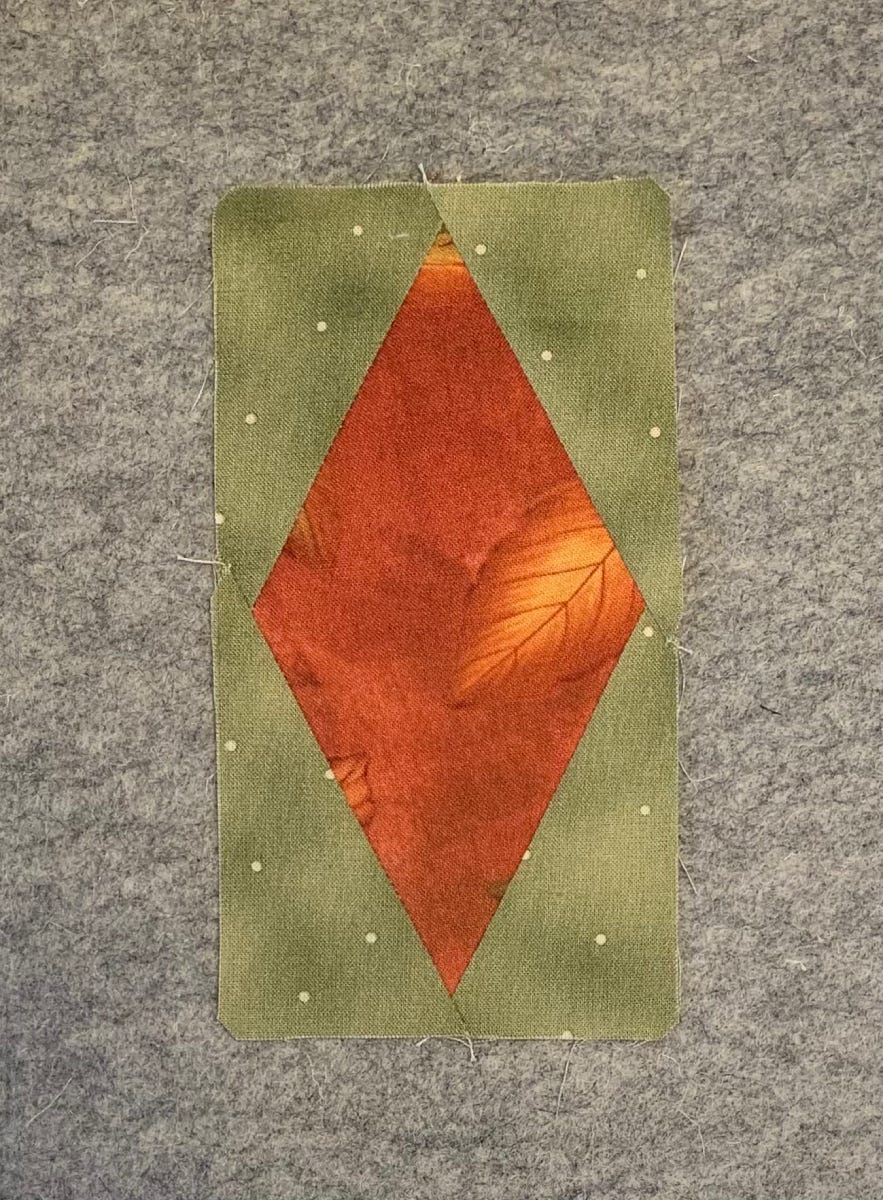
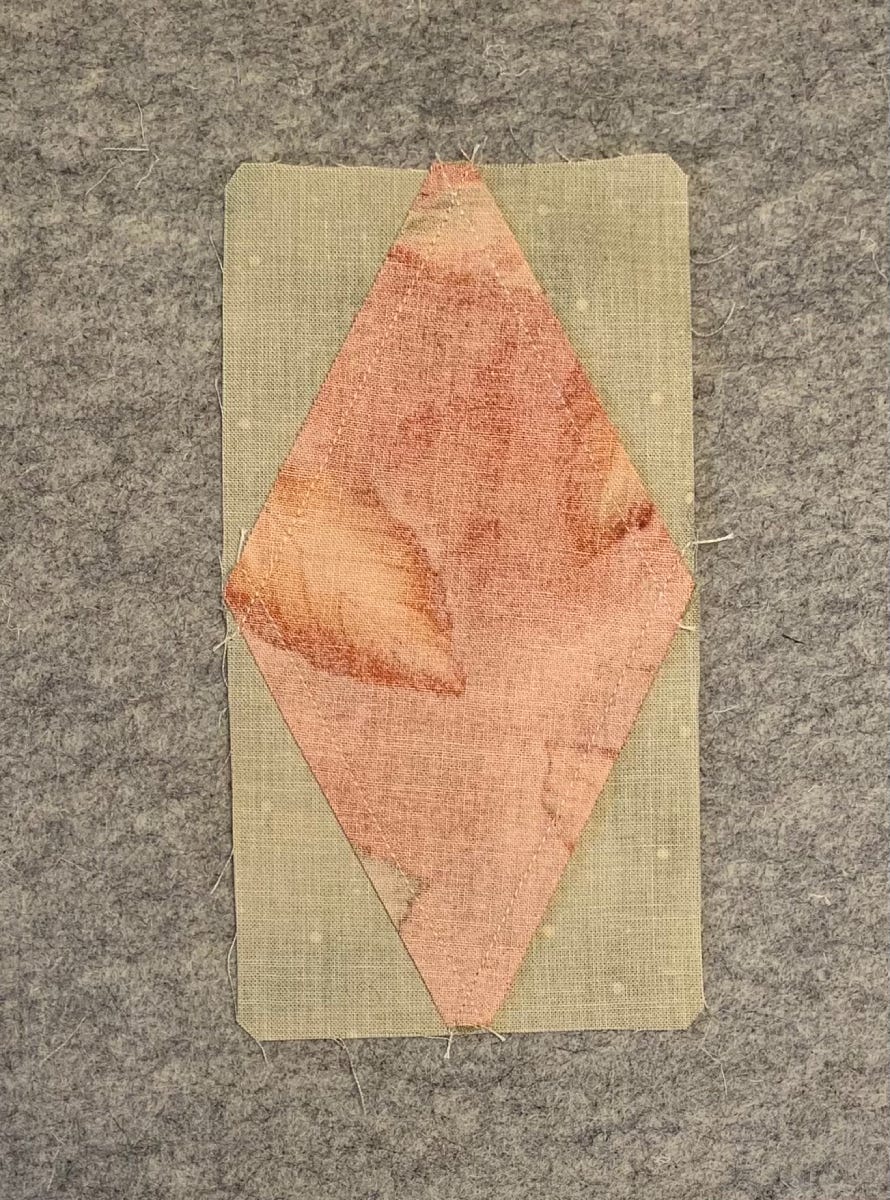
4. Repeat the above steps for all the diamond shapes. The hardest part is all done and it wasn’t hard at all!
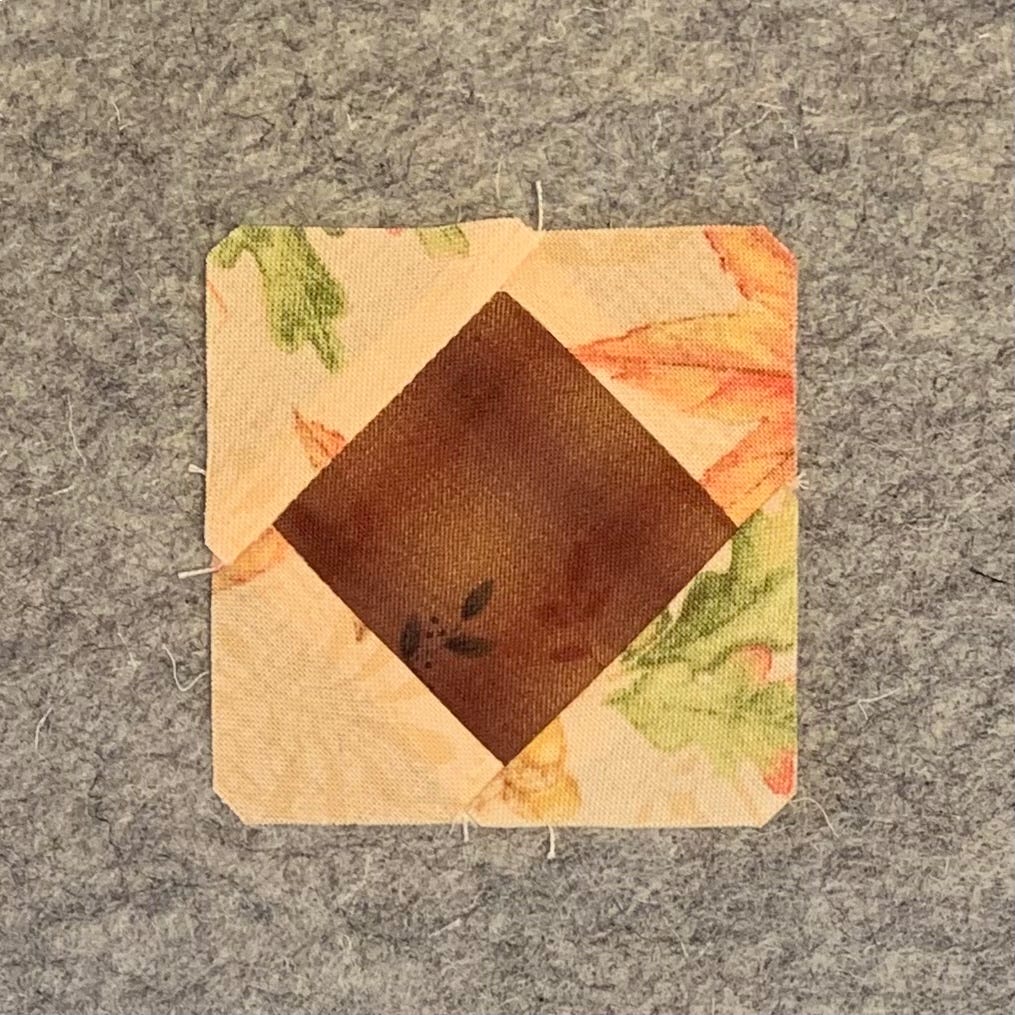
5. To make the four corner blocks, take the center squares (Shape C) and add Shape D to each side. Press away from the center. The built-in dog-eared corners make this a breeze!
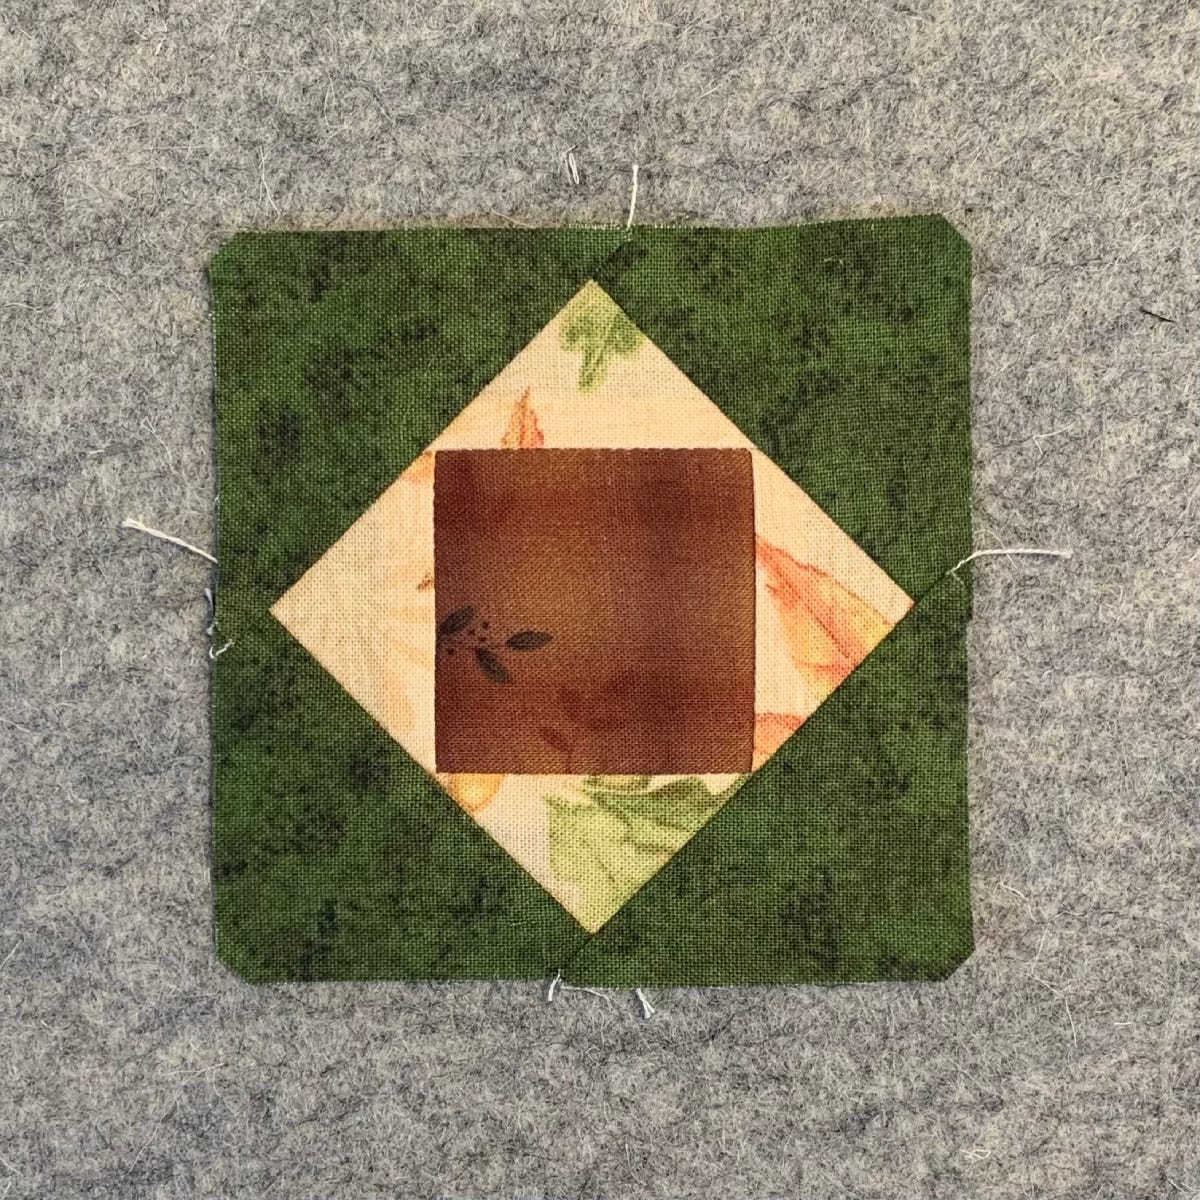
6. Add the final four triangles (Shape E) and press away from the center.
7. To put this all together, sew five diamond shapes end to end to create the side borders. Sew a corner block on either end of the last two diamond blocks.
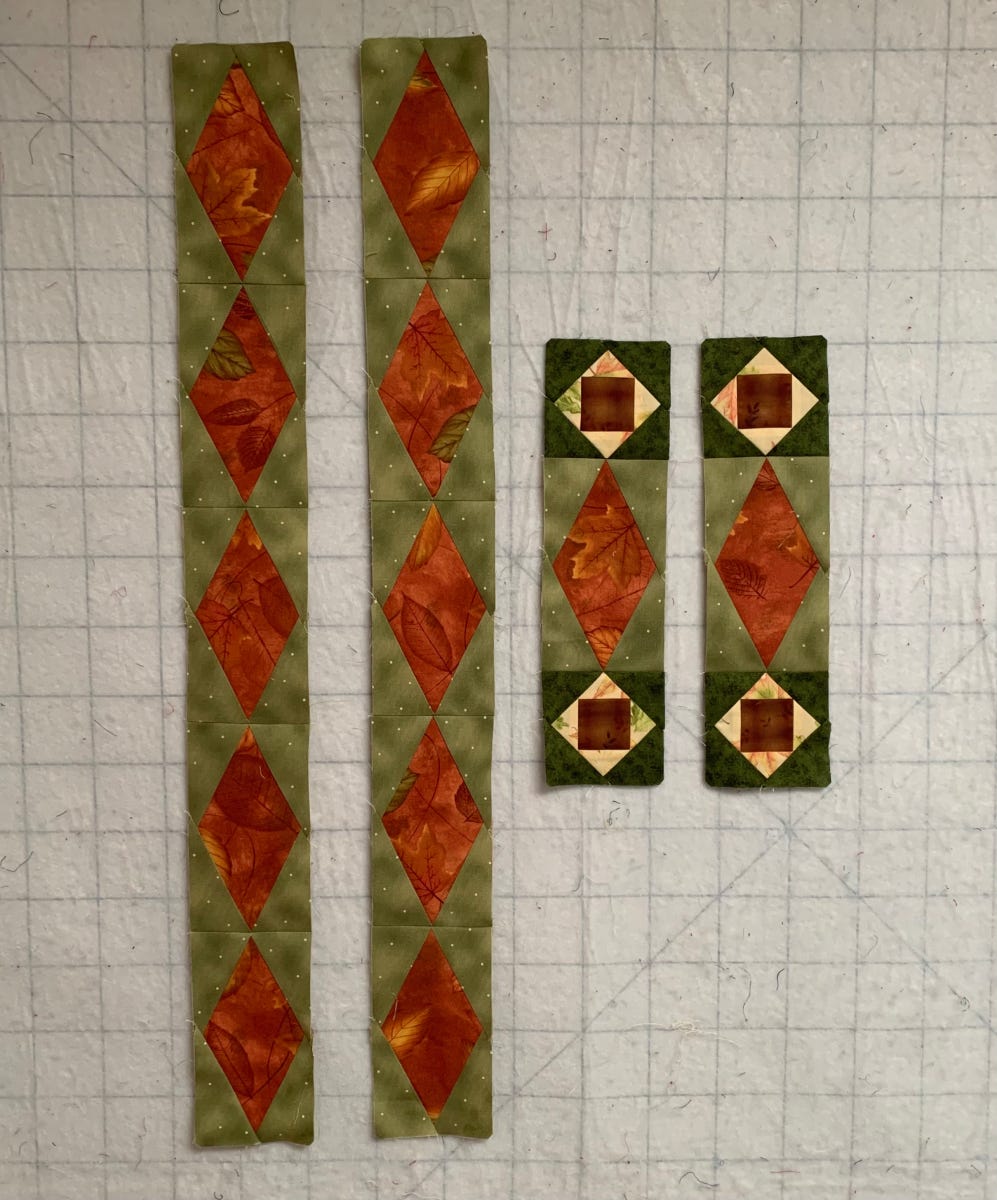
8. Sew the side borders to the long sides of the focus fabric and sew the small borders to each end.
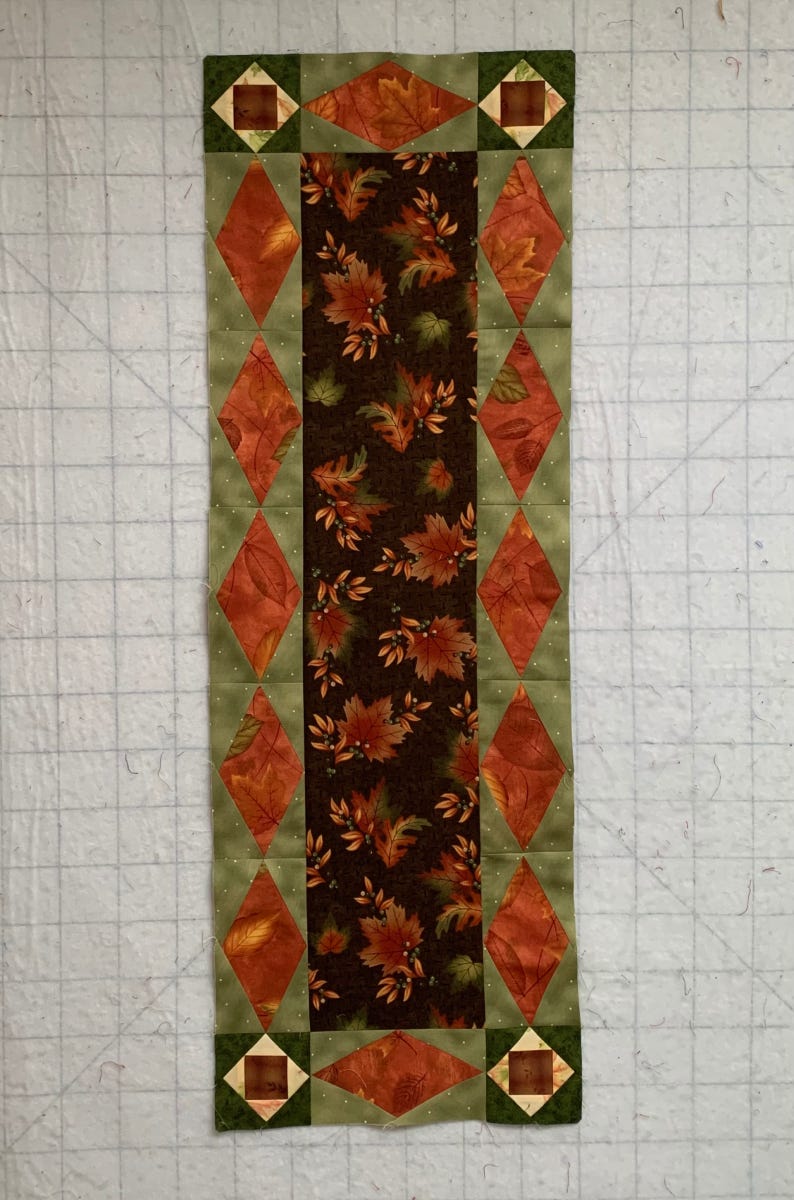
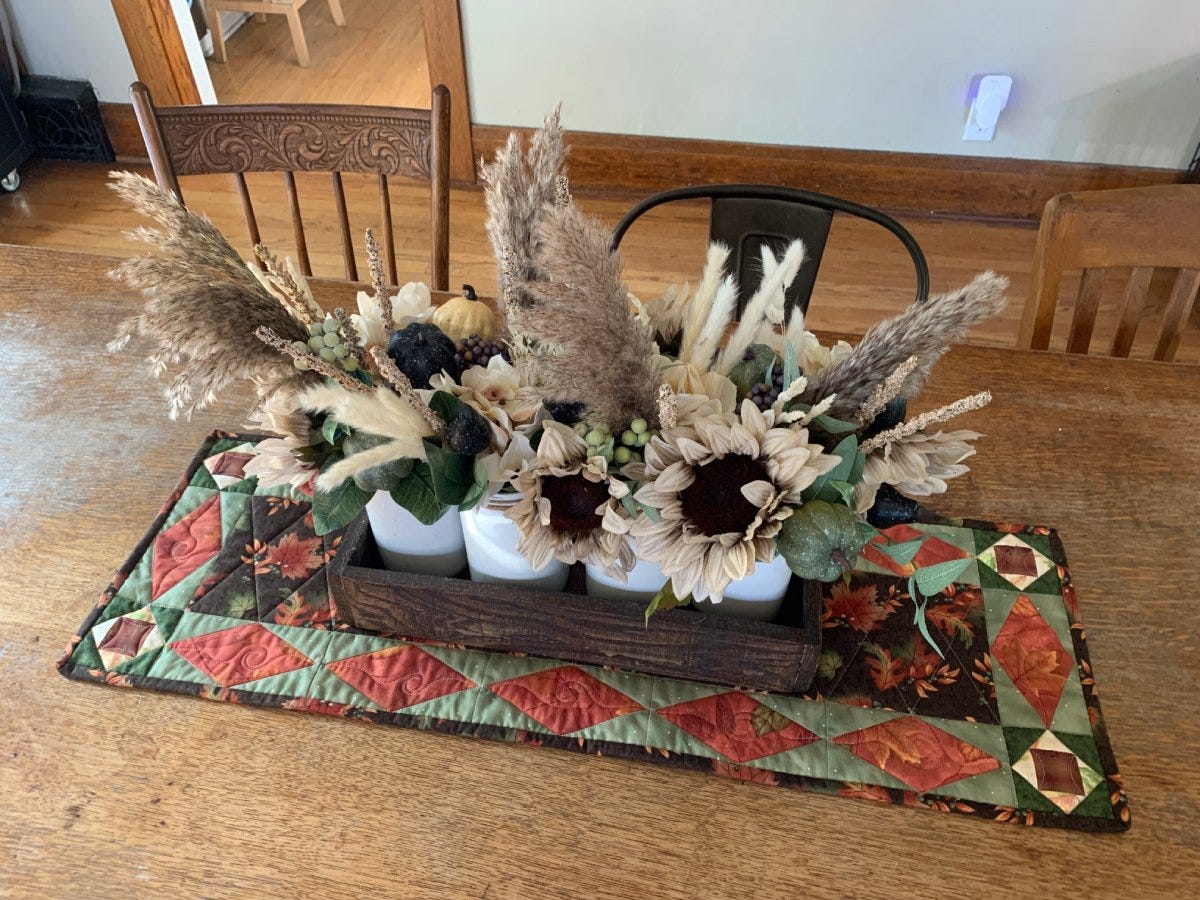
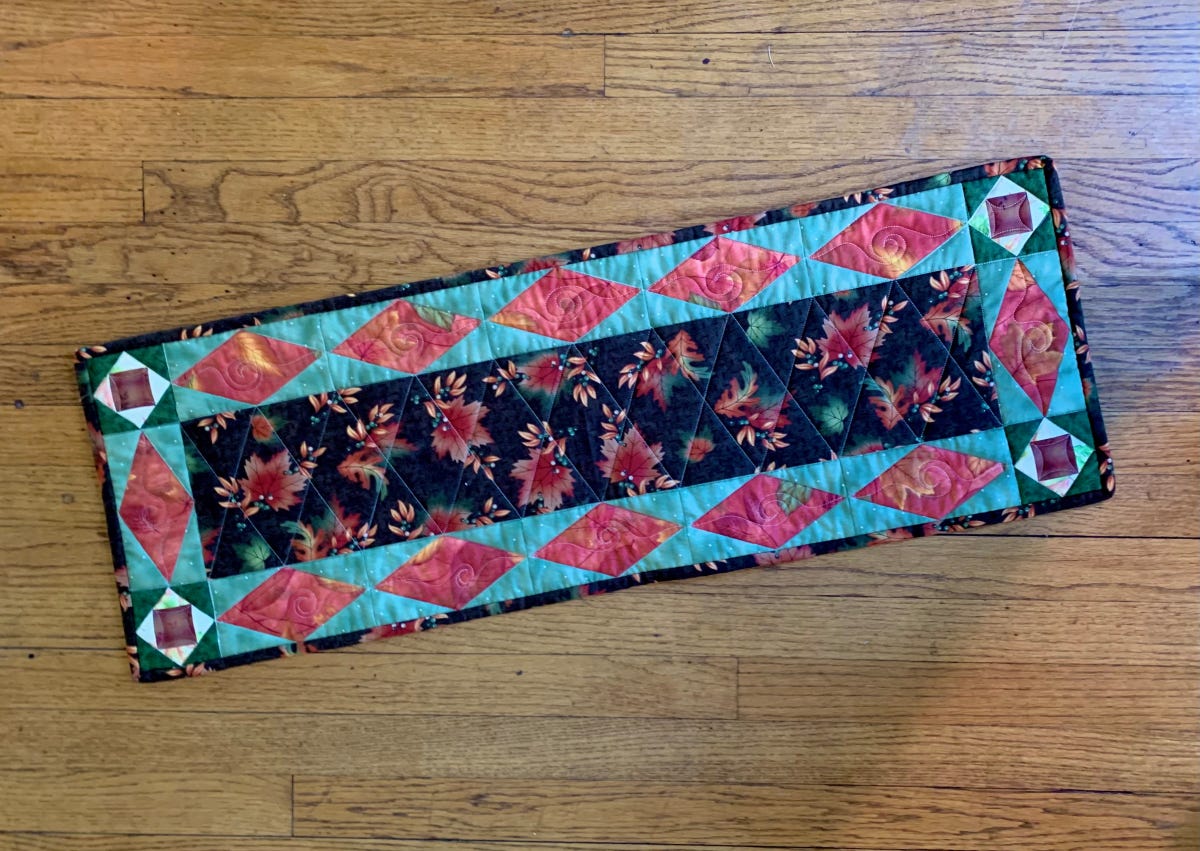
9. Quilt, bind, and set your table! By using a focus fabric for the center, the middle is open for a centerpiece.
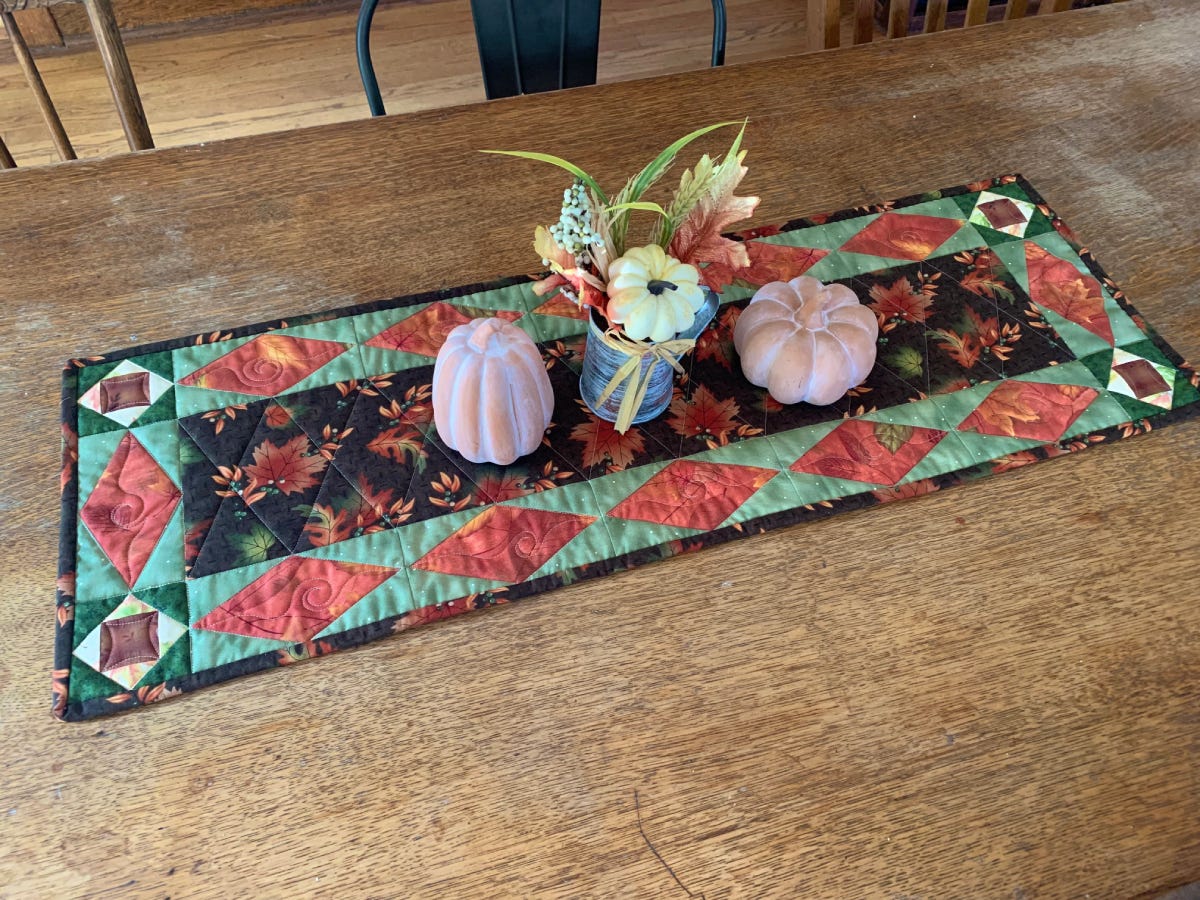
Did You Fall in Love with This Fall Runner?
I hope you enjoyed making this quick and easy table runner with me! Please share yours with us on social media using the hashtag #AccuQuiltBuilt and tag us, @katyquilts and @AccuQuilt, so we can see your creation!


