Quilters, how many times have you seen a quilt or a pattern and wondered how to figure out which dies to use? Once I got started using the AccuQuilt system, I immediately was hooked and wanted to cut each and every project I made with GO! Dies for those fast and accurate cuts. Here’s a look at some “translation tips” for turning your existing pattern cutting directions into GO! Qube-friendly directions.

Getting Started
There are a few supplies and reference tools that I find really helpful when I start translating a pattern into GO! Dies and the first is having some paper and a pencil handy. Yes, it’s old school, but it helps me visualize things to write them down. Often, I will draw out a block or unit to help me break it down.
The next is the GO! Fabric Reference Chart found in the “Learn” section on the AccuQuilt website. This is a free download that’s incredibly helpful. It lists the finished sizes of each shape in each GO! Qube, the size to rough cut your fabric, how to place it on the die, how many shapes you will get from a width of fabric (WOF) strip, and more.
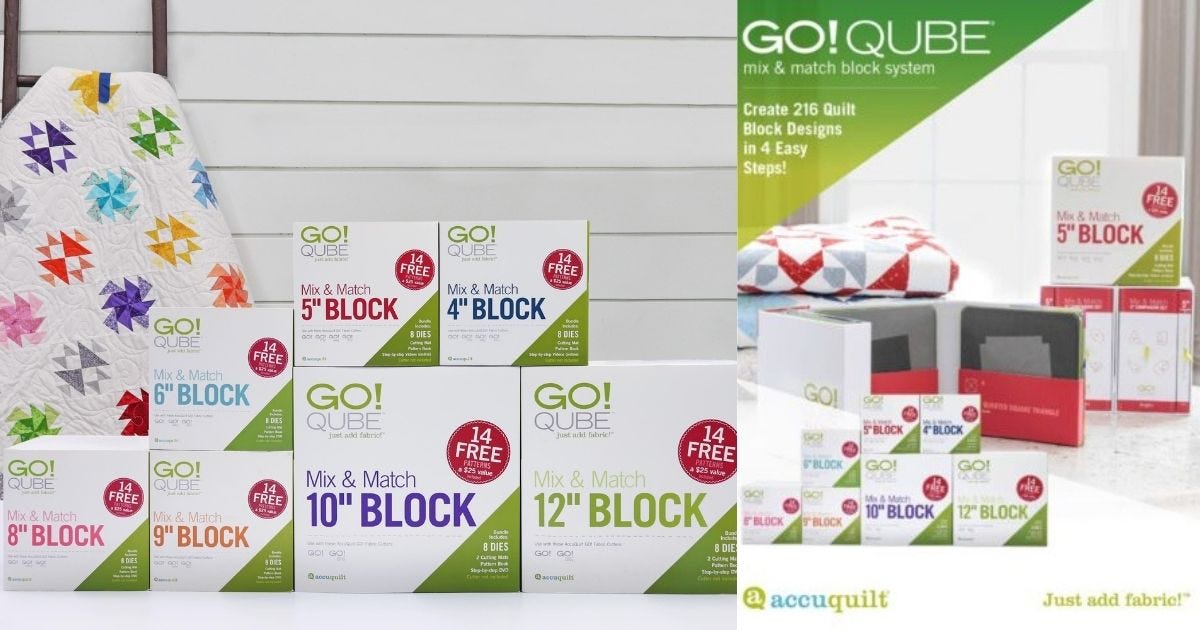
The other must-have reference tool is the GO! Mix & Match 216 Quilt Blocks Pattern Booklet, also available as a free download. This not only gives you both the cut and finished sizes of each die in the GO! Qube system, but also the visual aid of those 216 different blocks! When I find myself stumped on a translation, I turn those pictured blocks to look for matching units to see the dies used. It’s definitely your GO!-to cheat sheet for translations.

Read Your Pattern
I’ll be the first to admit that I often skim over patterns and just dive in. More than once, my method has gotten me in trouble, so take the time to focus and read the full pattern. This helps you get the big picture set in your mind before you start breaking it down.
Measurements
GO! Dies will all have two measurements for you to use: a cut size and a finished size. Cut size will include the 1/4” seam allowances while the finished size refers to the size once it is sewn into your project.
For example, if the pattern says to cut a 2 1/2” WOF strip, then to cut it down into 2 1/2” squares, you will need a die to cut a 2 1/2” square. That square will finish in your block at 2”.
Once you have those two numbers in mind, head to your GO! Mix & Match 216 Blocks Pattern Booklet and look at the chart. You’ll find that a 2 1/2” (2” finished) square is Shape 1 in the GO! Qube Mix & Match 4" Block and Shape 2 in the GO! Qube Mix & Match 8" Block!
The Grid System
The GO! Qube system is based on a 4-patch layout, also known as a 2 x 2 grid – two units across by two units down, with all the shapes relating back to Shape 1. Keep in mind that four of the Shape 1 large squares in each GO! Mix & Match Qube will make a 4-patch that finishes to the Qube’s size. For example, four pieces of Shape 1 from the 8” Qube will make an 8” finished square (8 1/2” before it is sewn into your project).
For more details on Qube basics, watch "Mix & Match Magic with GO! Qubes", taught by AccuQuilt Cutting Expert Pam Heller.
Not all quilt blocks are built on a 2 x 2 grid. Some are a 9-patch or a 3 x 3 grid, like a churn dash block. Some blocks might be a 4 x 4 grid, or a 5 x 5 grid. Be sure to watch Pam's class, "Mastering GO! Qubes Using the Grid System" to learn more about the grid system.
Look for Clues

As you work on your actual pattern to die translation, you’ll be going back and forth between the cutting directions and the sewing directions looking for clues. Often, pattern directions will have you cut shapes larger than they need to be, then direct you to trim them down for accuracy - a step that you can totally skip when you’re die cutting!
These clues will help you discover the size of your shapes. Look for key phrases, such as:
- Trim to x”
- Block should now measure x”
You can also find clues by looking at how shapes relate to each other. For example, if the pattern doesn’t specify the size of a block, but the sashing between the blocks is 8 1/2” long, providing that block is square, it’s going to measure at 8 1/2” x 8 1/2” before it’s sewn into your project.
Magic Math for Half Square Triangles
Here’s the real secret! Think about how patterns normally direct you to make half square triangles – putting two squares right sides together, marking the diagonal from one corner to the opposite, sewing a seam 1/4” on either side of that line, cutting along the line, pressing it open, and trimming the dog ears. Well, GO! Dies are here to save you from that! The key number to remember is that with this method, the squares you are working will be 7/8” larger than the finished size of the finished half square triangle unit.
So, if your directions have you cutting two squares at 4 7/8”, and, using the method described above to make two half square triangle units, you would use the 4 1/2” cut, 4” finished half square triangle die. Checking your Mix & Match chart will tell you that you can use Shape 3 from the 8” Mix & Match Qube.
Not only will the basic cutting be faster, but you won’t have to spend time marking your pieces, and with the dog ears already removed, there’s no trimming – just cut, sew, press, and move on!

PRO TIP: Since 7/8” is an awkward measurement, many patterns will direct you to cut a larger square, then trim it down to the correct size. Using the example above, that could be a 5” square or even a 5 1/2” square that will be trimmed to 4 1/2”. Remember to read the directions for the “trim to” clue!
Magic Math for Quarter Square Triangles
Ready for more numbers? Well, how about quarter square triangles? Here, you would be directed to put squares right sides together and mark from corner to corner, forming an X. Once you sew 1/4” on either side of both lines, you would cut along both lines and press open, making four units of two quarter square triangles. You also might be directed to simply cut along the lines to form quarter square shapes.
For quarter square pieces, the square will be 1 1/4” larger than the finished square unit size. So, if the pattern tells you to cut squares at 5 1/4”, mark an X from corner to corner and cut them apart - that would be the same as a 4” finished quarter square triangle or Shape 4 from the 8” Mix & Match Qube.
PRO TIP: Remember: the directions may have you cutting the squares larger than needed and trimming them down to the correct size. Using that example above, that might be 5 1/2” or more. Look for those clues!
Identify Your Flying Geese
Flying Geese units are one of the most common and the most confusing in patterns! While there are many ways to make these units, using GO! Dies is both the fastest and most accurate.

Let’s look at some basics:
- The larger center shape in the unit will be made with a quarter square triangle - Shape 4 in every GO! Mix & Match Qube is a quarter square triangle.
- The sides, or wings, will be made with the small half square triangle - Shape 5 in every GO! Mix & Match Qube.
- Flying Geese units will be half as tall as they are wide.
- Flying Geese units made with Shapes 4 and 5 will always be the same size as the Shape 8 rectangle in that GO! Mix & Match Qube.

What if your pattern has you using squares to build these units? How can you tell the correct die sizes to use? Remember to check other measurements, like adjoining shapes to get the correct sizes.

Practice, Practice, Practice
Just like learning any new skill or language, it will take time, practice, and yes, probably some trial and error. This is the time to dig out the fabric you don’t love and make practice blocks. You know what they say, practice makes perfect!
AccuQuilt has hundreds of videos available on our website, Facebook, and YouTube that can help you on your learning journey, plus, dynamic live programming every Tuesday and Wednesday at noon CST. Check the Events page for more information.
Love learning in-person? Be sure to check classes and clubs at your local AccuQuilt retailer. To find a retailer near you, visit our Store Locator!


