


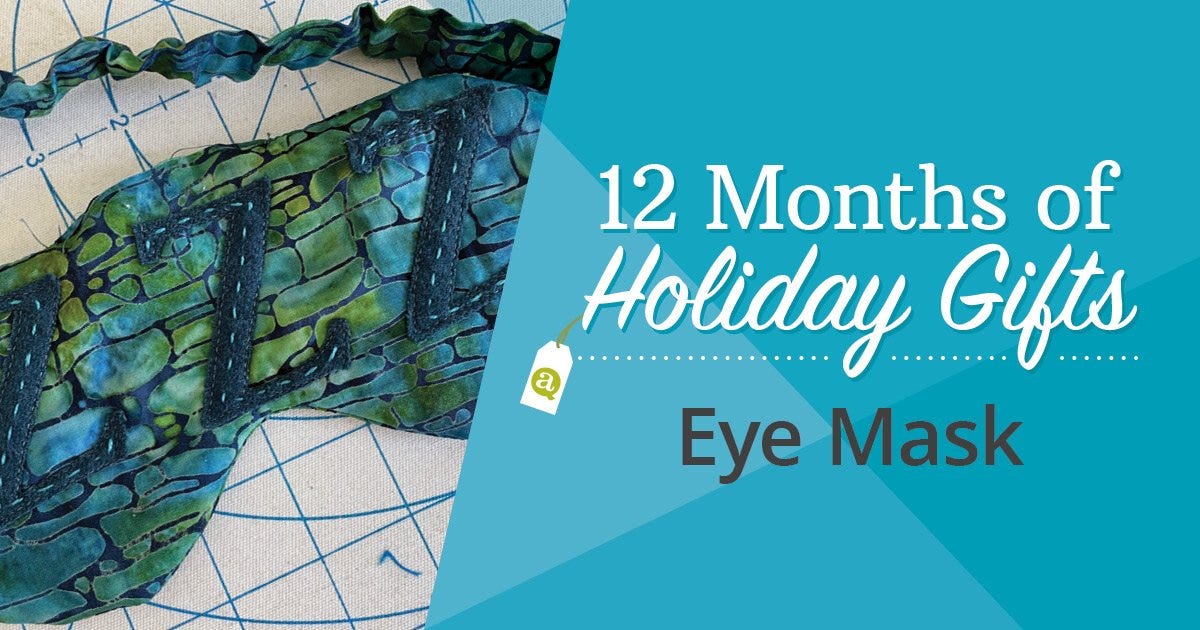
Hi, quilters! It’s Jen Strauser from Dizzy Quilter, back for another project in my 12 Months of Holiday Gifts series. I’m working on a small project every month, with the goal of having a Santa Stocking full of small gifts this year.
This month I am making an eye mask using the AccuQuilt GO! Eye Mask Die. I’m embellishing mine with some wool applique using the GO! Classic Alphabet 2" Alphabet Uppercase Set Die, but you can do any applique technique you like, or just find a festive fabric. I personally love wool applique and can’t get enough of it, especially when I just use a little bit on a small project.
You can follow the instructions I have below or the instructions for any of these free, downloadable GO! Eye Mask patterns. Also, if you don't want to have the "ZZZ" like I have, you can personalize your GO! Eye Mask by adding any other letters, such as the gift recipient's initials.

GO! Dies Needed
- GO! Eye Mask Die
- GO! Strip Cutter-2 1/2" (2" Finished) 3 Strips Die
- GO! Classic Alphabet 2” Uppercase Set Die
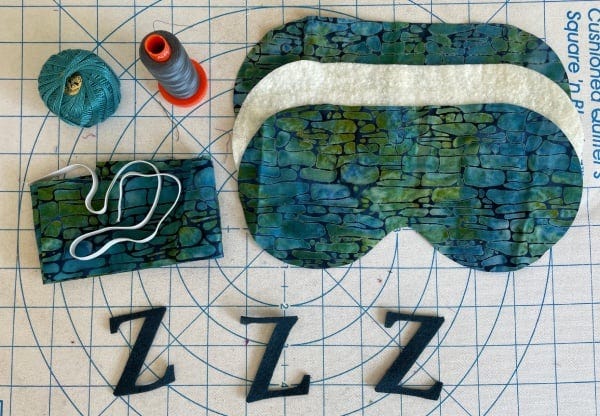
Materials Needed
- Two 6” x 10” rectangles of fabric for the front and back of the eye mask
- One 3” x 18” rectangle of fabric for the strap
- One 6” x 10” of rectangle batting
- 16” elastic (I used 1/4” foldable elastic)
- Three 3” squares wool felt
- Machine thread to match
- Perle cotton thread to contrast
Cutting Instructions
1. Layer the fabric and batting 6” x 10” rectangles over the blades of the GO! Eye Mask Die.
2. Cut two Eye Mask shapes from fabric and one from batting.
3. Fold the 3” x 18” rectangle lengthwise and place over the blades of the GO! Strip Cutter-2 1/2" (2" Finished) 3 Strips Die so that you will get a single long strip.
4. Cut the long strip.
5. Layer the 3” squares of wool felt over the "Z" on the GO! Classic 2" Alphabet Uppercase Set Die.
6. Cut three letter "Z" shapes.
Assembly Instructions
1. Fold the 2 1/2" x 18” rectangle in half width wise, right sides together, and stitch, making a long tube.
2. Turn the tube and press, keeping the seam line in the center of the tube.
3. Using a safety pin or bodkin, thread the elastic into the tube.
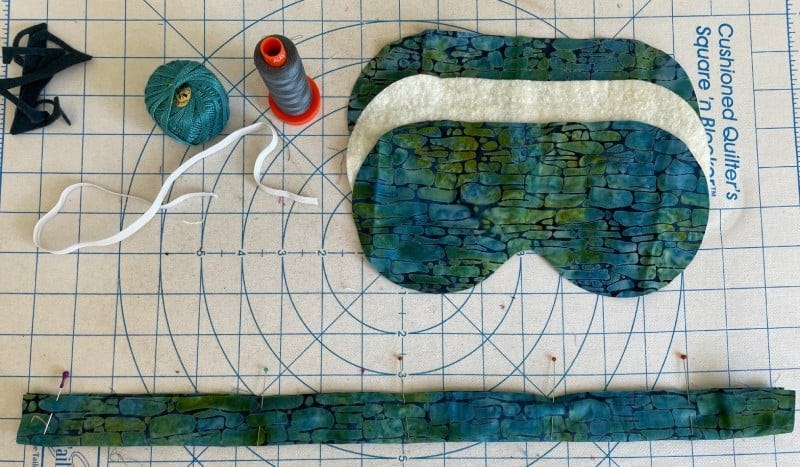
4. Secure the elastic at one end by stitching the tube shut, with the elastic catching in the stitches.

5. Set aside.

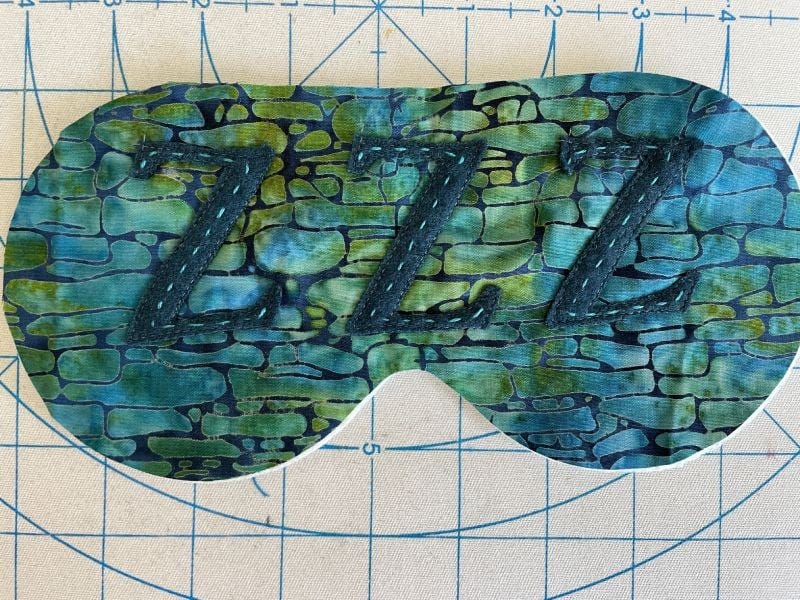
6. Layer one Eye Mask shape over the batting, position the letters of your choosing and pin in place.

7. Using your sewing machine, stitch just inside the edge of the wool, fastening the letters in place. This step can also be done by hand if you prefer.

8. Using your Perle cotton and an embroidery needle, stitch a row of running stitches inside each letter.
9. Pin the ends of the strap in position. Be careful to gather the strap in the middle of the Eye Mask to keep it safely away from the seam allowance.

10. Layer the Eye Mask back on top of this, right side down.

11. Stitch around the perimeter of the mask, leaving a 2” opening to turn the Eye Mask. I use purple pins to indicate start and stop positions.
12. Turn the Eye Mask right side out.

13. Gently use a chopstick or pointed tool to press the seams out fully.
13. Press with a hot iron.
14. Turn the edges of the opening in and pin everything in place.
15. Top stitch all the way around, securing the opening shut.

Now that it's completed, you can stash your Eye Mask in your completed Santa Stocking and relax. Ten more months until the holidays!

If you make your own version of the GO! Eye Mask, please share the photo on social media using the hashtag #AccuQuiltBuilt and don't forget to tag @jenstrauser and @AccuQuilt so that we can see your fun creation!


