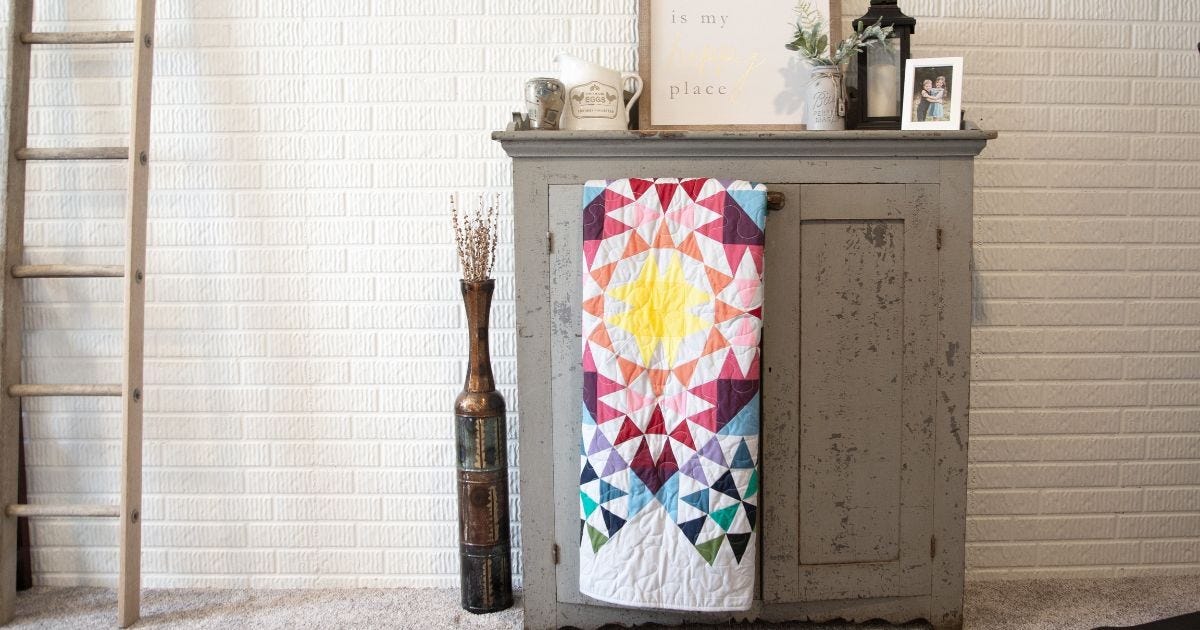
If you’re just joining in, you can go back to the blog posts on May 24 and June 7 for details, both rotary and die cutting instructions and more. You can also catch our previous shows from those same dates on AccuQuilt’s website, Facebook page and YouTube channel. AQS also has a blog post listing all the details, and checking these out before you get started will be very helpful!
We’re also using the AQS Quilting Project Parade Facebook group as a way to connect with all the quilters around the world participating in this project with us, so be sure to join that group and use #AQSews for all your posts! AccuQuilt Cutting Expert Pam Heller and I will both be popping on to post pictures of our progress and help answer questions. This is a wonderful community of quilters that you’re sure to enjoy.
Last week’s blog and show covered getting organizing and cutting you pieces for this project. Whether you’re using lots of different fabrics (like me) or just a few (like Pam), organization is the key to success with all stages of this project! Those coloring pages we created for cutting out the quilt last week? Hang onto them to keep you on track once you start sewing!


Cool Blocks
We’re going to be starting with what the pattern calls the “cool blocks,” but feel free to think of that more as a title than a description. This project is made up of 12 blocks, set on point. The four inner squares are called “warm” and the eight outer ones are called “cool,” matching the color scheme of the original project. Whether you’ve rotary cut or die cut your pieces, be sure to have the pattern handy .


Building Triangles from Triangles
Here’s the list of tools I’m using to help me with this project:
- Small design boards
- Wool pressing mat
- Small iron
- Wooden clapper
You can find most of these items available on our website or from your local quilt shop. I made my own (very simple) design boards years ago, and I’m still using them. As you can see, they’re nothing fancy and they’re covered with threads, but they get the job done. Here’s how you can make some!


First, you’ll need a sheet of foam core board from your local craft or dollar-type store. They normally measure 24” x 36”, so you can make six 12” x 12” boards from one sheet. I suggest using a ruler and pencil to mark your lines, and then use your ruler along with an exacto knife or box cutter to cut your board.
Next, I rough-cut leftover batting into squares approximately 14” x 14” to cover each square. You can use any basic white glue or even hot glue to glue the edges to the back of the board.


If you’re feeling really fancy, you can cover the edges with fabric using glue or even hot glue. You can also purchase these already made. They’re not essential, but convenient and they will last you a long, long time. I’ve also seen quilters use trays or old cookie sheets with magnets to hold the fabric in place – or just the table next to your machine!


You’ll get your best results if you press your seams open for this project with two exceptions that I’ll point out later. This is why you will want to keep an iron handy!


Once you have your triangles sewn into the eight triangles needed for the block, refer to the pattern and block assembly directions to see how to sew them together into pairs. Press this seam open also.
The next step is sewing the half square triangle onto each of your units. I press this seam towards the corner of the block to reduce the bulk, but you can press them open if you prefer.
Following the diagram and directions, sew the units into groups of two. Basically, these blocks are 4-patches, just not square ones! I like pressing these seams to opposite sides, so the seams will nest and help me get that picture-perfect point in the center of the block.


That’s it! These blocks are easy to sew when you organize your pieces and follow your pattern and coloring pages. Next week, we’ll keep making blocks and work on setting triangles.
Be sure to share pictures of your progress on social media, including the AQS Quilting Project Parade Facebook group, using the hashtag #AQSews so that we can keep each other inspired as we make our beautiful quilts!


