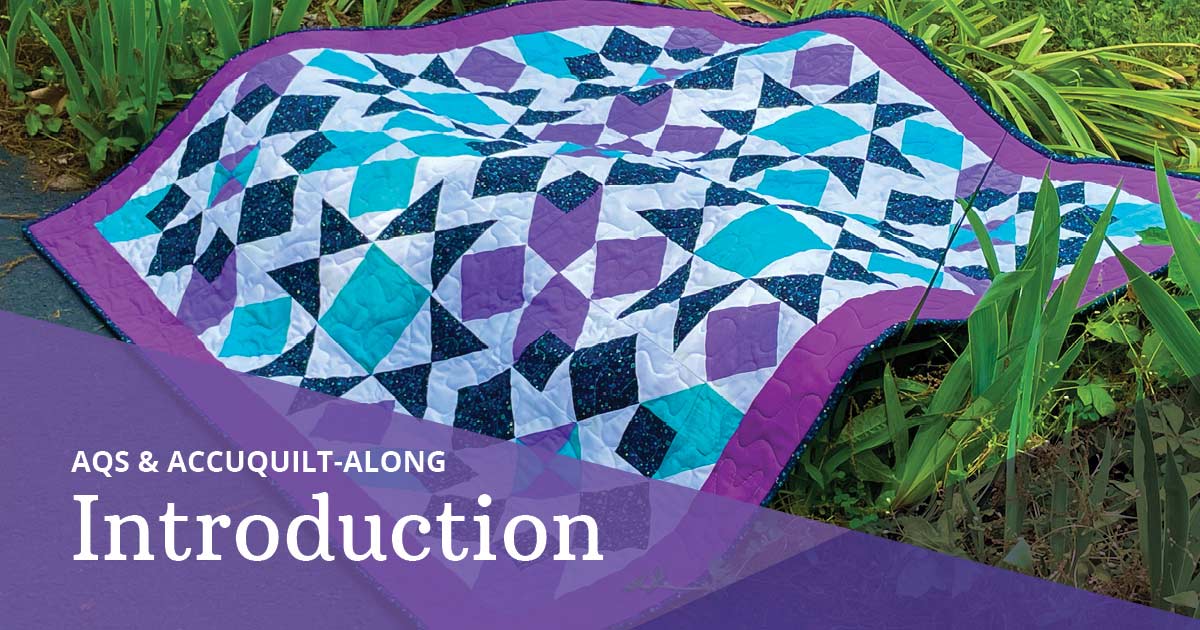
Here’s the scoop on our latest quilt-along starting April 10 – from fabrics to cutting methods, this is what you’ll need to join in on this exciting project. What’s even better? The pattern and participation are 100% free!
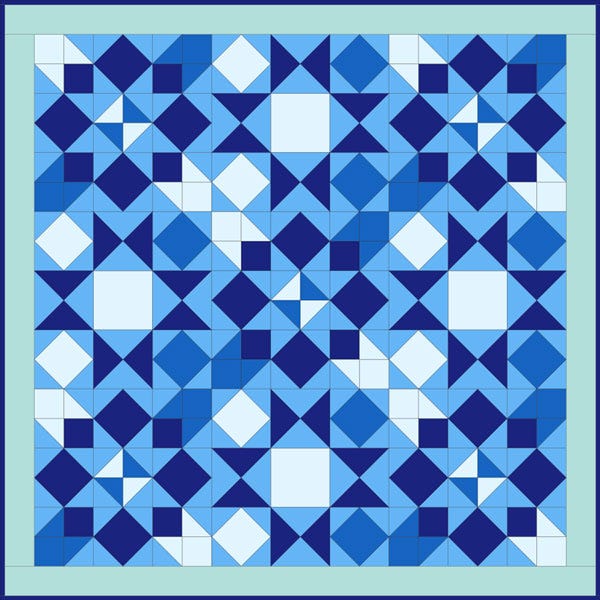
Are you ready to jump into our next AQS & AccuQuilt-Along? Let me introduce you to the GO! Simply Qubed Throw Quilt! This stunning project will finish to 50” x 50” as written, but can easily be expanded as well.
-
 GO! Simply Qubed Throw Quilt PatternSpecial Price $0.00 Regular Price
$4.99You Save $4.99
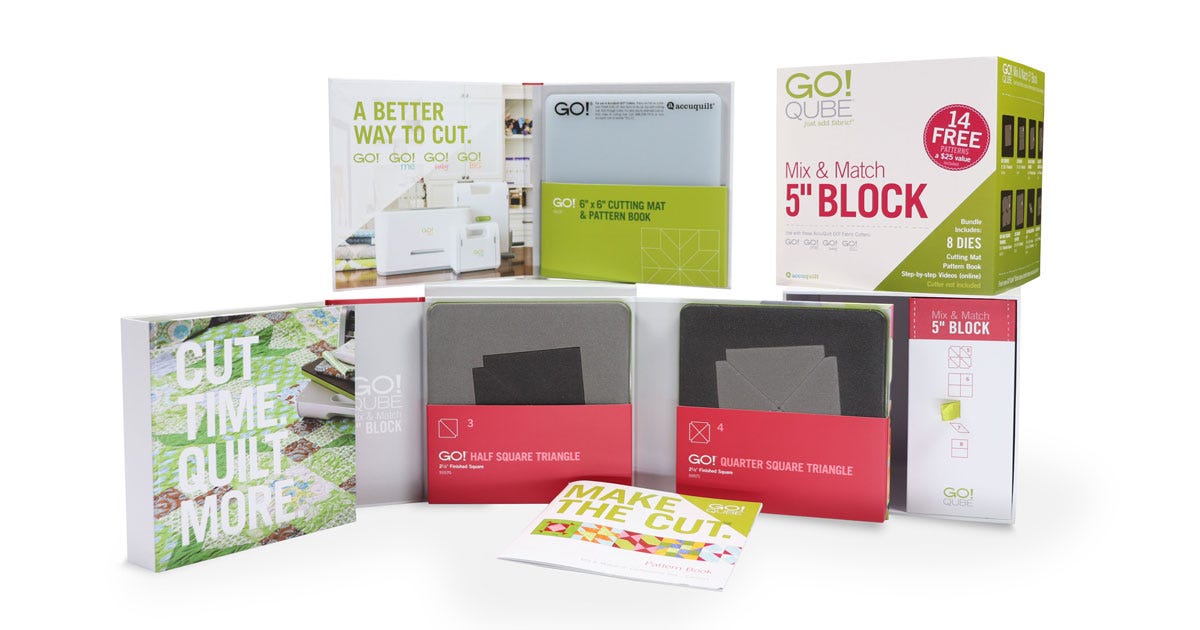
This project is made with the GO! Qube Mix & Match 10” Finished Block, which is becoming one of my favorite sizes. You can also find some of the shapes in the GO! Qube Mix & Match 5” Finished Block, or you can follow the traditional rotary cutting directions provided below by our partners at AQS.
-
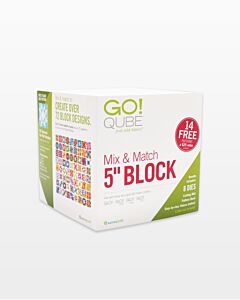 GO! Qube Mix & Match 5" BlockSpecial Price $249.99 Regular Price
$368.90You Save $118.91 -
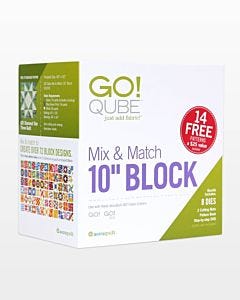 GO! Qube Mix & Match 10" BlockSpecial Price $309.99 Regular Price
$472.89You Save $162.90
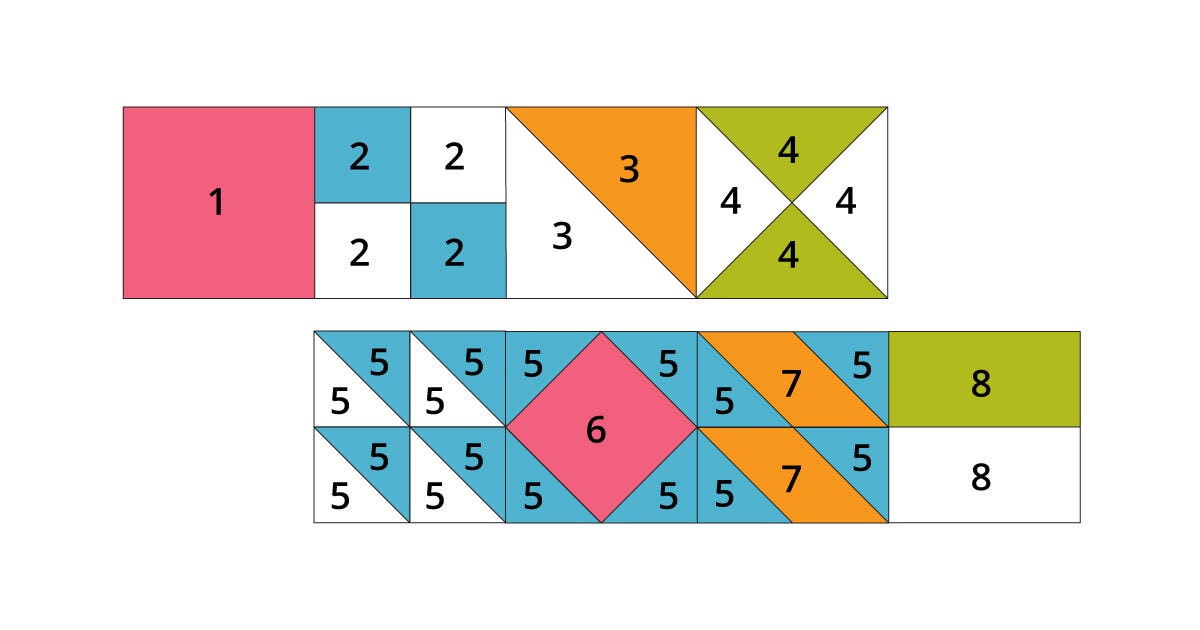
If you’re not familiar with the GO! Qube System, let me take a minute to explain the basics! The GO! Qube Mix & Matched block contains 8 dies with 8 basic quilt piecing shapes that will all work together to make over 72 different quilt blocks! Since we will be working with the 10” size, let’s take a look at the pieces and sizes from the 10” version:
- Shape 1 is your “base”, the large Square in the set. The cut size is 5½” x 5½” and it will finish to 5” x 5”. Four of Shape 1 will make a 10” finished block.
- Shape 2 is the small Square in the set. Four of Shape 2 sewn together will equal one of Shape 1.
- Shape 3 is a large Half Square Triangle. Two of Shape 3 sewn together will equal one of Shape 1.
- Shape 4 is a Quarter Square Triangle. Four of Shape 4 sewn together will equal one of Shape 1.
- Shape 5 is the small Half Square Triangle. Eight of Shape 5 sewn together will equal one of Shape 1, but it will also work with other shapes to help turn them into completed units.
- Shape 6 is a Square on Point, designed to be set on its corner. When Shape 5 is sewn onto each of the 4 sides, the unit will equal Shape 1, creating a Square in a Square.
- Shape 7 is a Parallelogram. When Shape 5 is sewn onto the long sides, it will become a rectangle, and two of those rectangles sewn together will equal Shape 1.
- Shape 8 is a Rectangle. Two of these sewn together will equal Shape 1.
GO! Qubes come in 7 different finished block sizes – 4”, 5”, 6”, 8”, 9” 10” and 12”.
This project is a great way to become more familiar with the basic GO! Qube shapes, how to work with them and how they all work together. The blocks that we will be creating are going to take us beyond a basic 4-patch or 2 x 2 grid to a 9-patch or 3 x 3 grid. What does that mean? Well, we are going to be making 15” finished blocks using our 10” Qube!
Make a Plan
Before heading off to your local quilt shop for fabric, or even off to shop your stash, I suggest printing a copy of the pattern from our website. This is a free pattern, but you will need to set up a free account to download and print it. Even if you’re planning to rotary cut your project with the AQS directions below, you will still need a copy of the pattern for assembly instructions.
Next up, think about this quilt’s final destination. Is it going to stay with you or be a gift? Are you thinking seasonal or maybe planning to match the décor of a specific room or area in your home? Maybe you have a fabric or two already that would be perfect.
My final suggestion is that you visit GO! Quilt, a free design tool offered by AccuQuilt. GO! Quilt allows you to change-up the colors in any AccuQuilt pattern. You’ll find it located in the upper right corner of our website and I think it’s a fantastic resource. You can even take pictures of your fabric and load it into the program to see how it will look before you make your first cut! This program is simple, easy to use and frankly, a whole lot of fun!
Fabric Choices
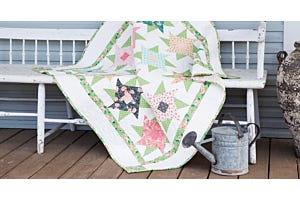
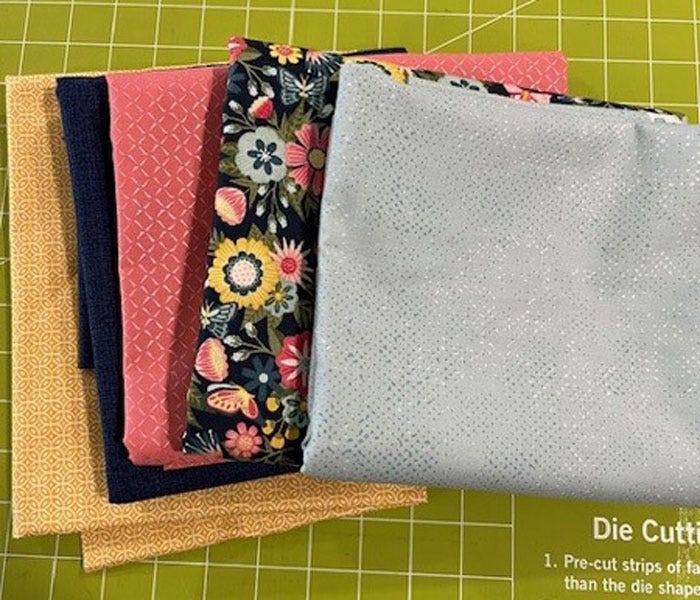
I quilt because I love fabric and design, so selecting fabric for a project is one of my favorite parts of the process, but it can also be pretty stressful for many quilters! This pattern is written for 5 different fabrics. I started by selecting a print for what the pattern calls a dark coordinated patterned fabric.
I chose a mid-size floral print called Vintage Flora by Kimberbell for Maywood Studio, then I selected my other fabrics to work with this print. You can see that this fabric has a dark navy background with lots of light blue, peachy-pinks, olive greens and yellow gold colors. With my focus fabric selected, I wandered around the quilt shop looking for blenders to work with that. I tend to use more “blenders” that have some tone-on-tone or subtle print to them then solids, and this project is no exception.
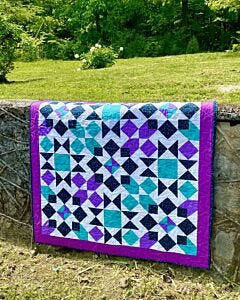
Instead of white for my background, I’m softening my look by using a misty light blue Spotted Zen Chic print by Moda, a yellow/gold print called Whimsey by Hang Tight Studio for P&B Textiles in place of the light purple and a tone-on-tone pink in place of the teal. In place of the dark purple border, I’ll be using a navy blender print called Thatched by Robin Pickens for Moda.
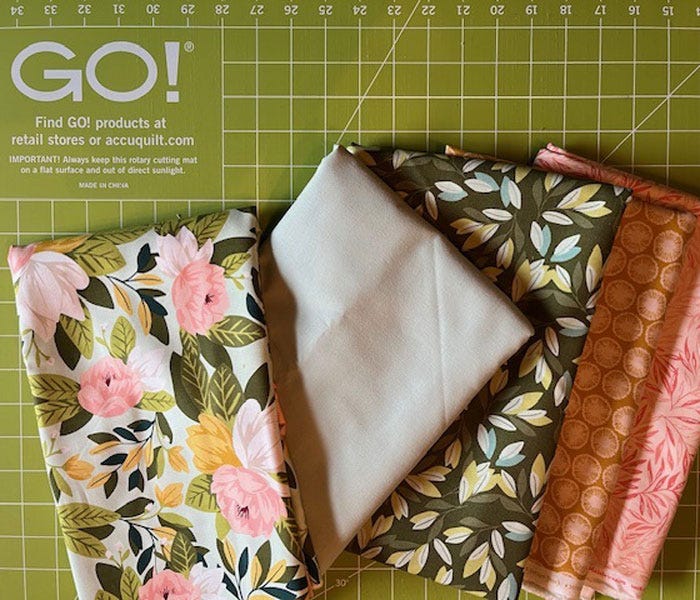
If you find yourself overwhelmed trying to make your fabric selections, here are some suggestions that may help!
- Start with a focus fabric you love.
- With your focus fabric in hand, see if there are other fabrics in the same line that you might like to pull into your design. If they are from the same fabric line, you know the colors are designed to work together.
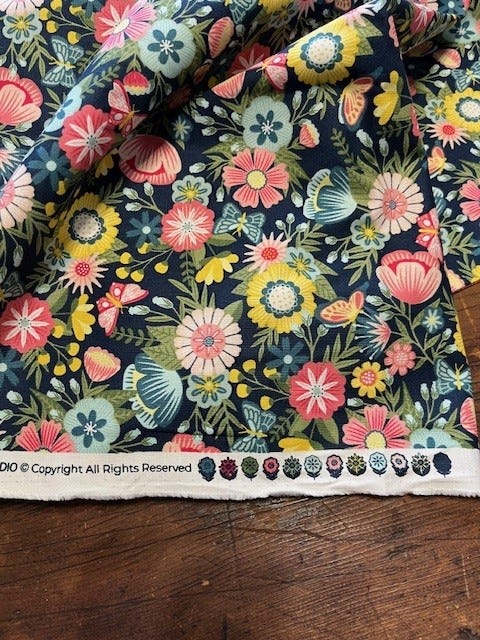
- Check the selvedge edge of your focus fabric for the registration marks – these will show each color printed in that fabric. These may just be dots of color, but designers are having fun with their selvedges these days, see how cute mine is?
- Use these color spots to look for coordinating colors and fabrics.
- Don’t be afraid to pull out different bolts of fabric to get a better look.
- Take a picture of the fabrics together and then look at the picture.
- Ask the staff for help. Really, it’s okay to ask for help! They know the stock in the store and may think of something you walked right by. Fellow quilters have been known to jump in and help, too!
AQS Cutting Directions
Fabric Requirements:
- White – 1⅔ yds
- Light Purple – ⅔ yds
- Dark Purple – ¾ yd
- Teal – ⅞ yd
- Dark Coordinated Patterned Fabric – 1⅓ yd
- Backing Fabric 1¾ yds (wide backing) or 3½ yds standard width fabric
Cutting Directions:
From the White:
- 8 squares 6¼" x 6¼"; cut each square diagonally twice to make 32 triangles (Shape 4)
- 102 squares 3⅜" x 3⅜"; cut each square diagonally once to make 204 triangles (Shape 3)
From the Light Purple:
- 8 squares 4 1/16" x 4 1/16" (Shape 6)
- 15 squares 3⅜" x 3⅜"; cut each square diagonally once to make 30 triangles (Shape 3)
- 10 squares 3" x 3" (Shape 1)
From the Dark Purple:
- 6 strips 3" x WOF (Borders)
From the Teal:
- 4 squares 5½" x 5½" (10" Qube, Shape 1)
- 8 squares 4 1/16" x 4 1/16" (Shape 6)
- 15 squares 3⅜" x 3⅜"; cut each square diagonally once to make 30 triangles (Shape 3)
- 10 squares 3" x 3" (Shape 1)
From the Dark Coordinated Patterned Fabric:
- 6 strips 2½" x WOF (Binding)
- 8 squares 6¼" x 6¼"; cut each square diagonally twice to make 32 triangles (Shape 4)
- 20 squares 4 1/16" x 4 1/16" (Shape 6)
- 20 squares 3" x 3" (Shape 1)
Quilt Along Schedule
Each Wednesday during the Quilt-Along, AccuQuilt Cutting Expert Pam Heller and I will work on the project right alongside you on AccuQuilt Live at 12 Noon CT, During the show, Pam and I will be available to answer your questions while we demonstrate the steps for the day. There will also be a blog post on Wednesdays going over the day’s instructions.
We’re starting off on April 10 and will finish up with our Show & Tell show on May 8. Be sure to join the AQS Quilting Project Parade Facebook page to post your pictures and follow along with everyone. Be sure to use #AQSews with your pictures as well.
I don’t know about you, but I can’t wait to get started!