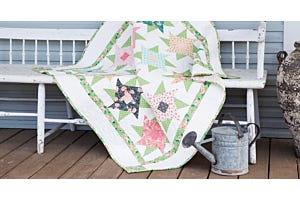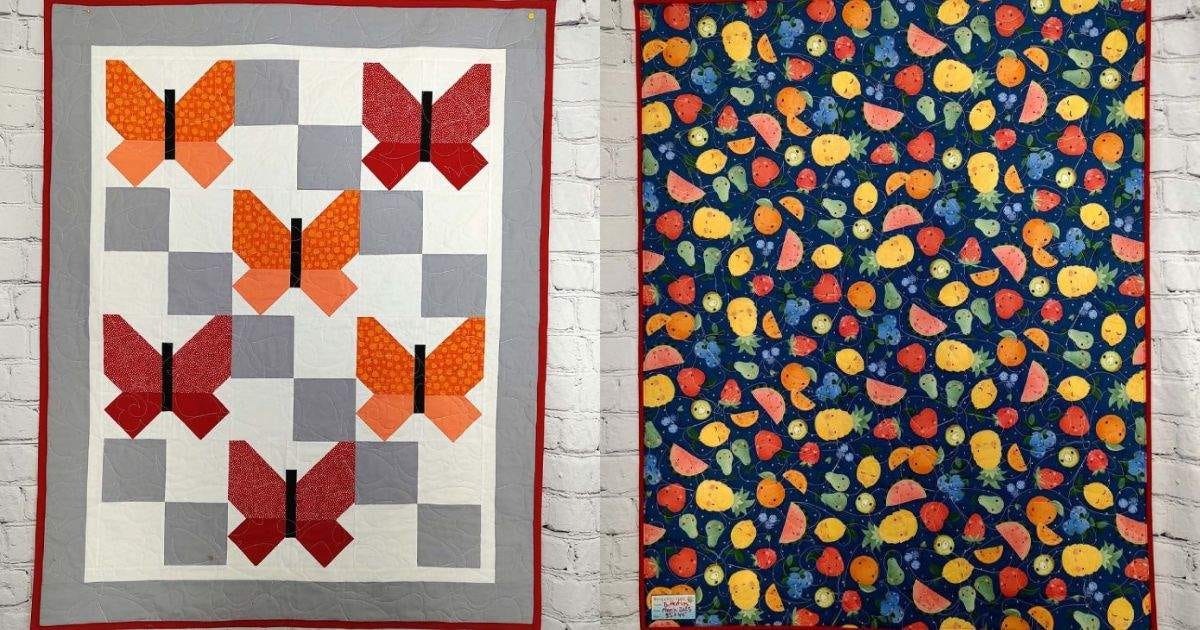
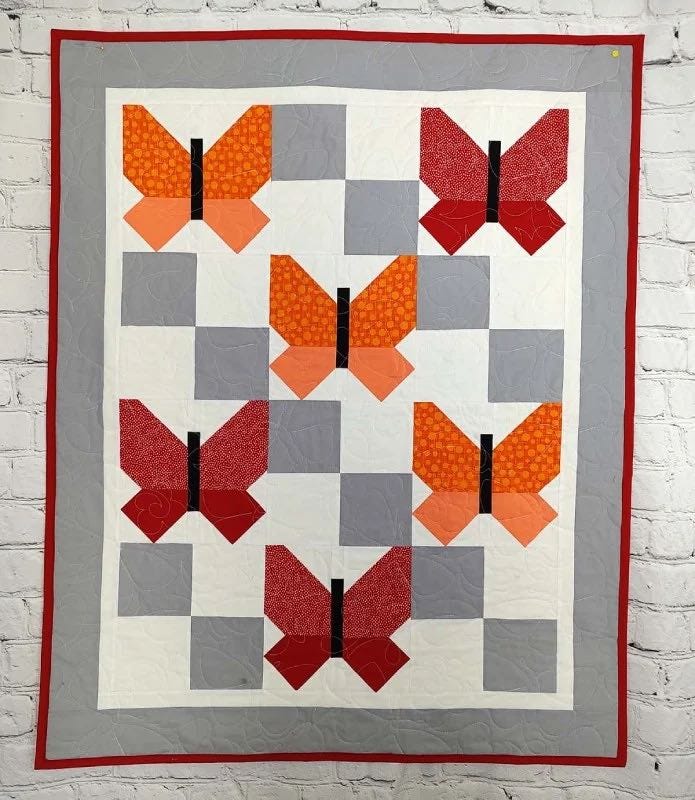
Hi, quilters! it's Bea Lee from Beaquilter. I'm back to show you how to make this fun, easy and cute butterfly baby quilt that finishes to 35" x 44".
Supplies Needed
- GO! Butterfly-Pieced-9" Finished Die
- GO! Qube Mix & Match 9" Block – Shape 1
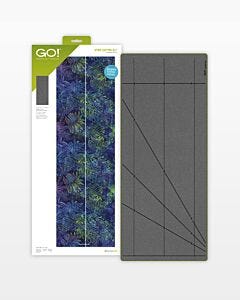
- GO! Strip Cutter-3 1/2" (3" Finished) 2 Strips with Angled Guidelines Die
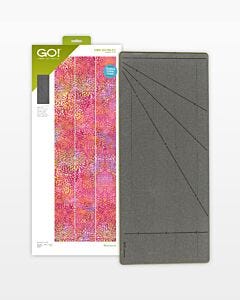
- GO! Strip Cutter-1 1/2" (1" Finished) 5 Strips Die
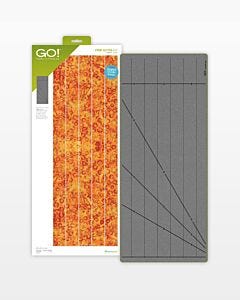
- GO! Strip Cutter-2 1/2" (2" Finished) 3 Strips Die
for binding - 1 yard of white fabric
- 3/4 yards of gray fabric
- About 1/4 yard of two different orange fabrics
I chose a print for the top part of the wings and solids for the bottom parts - About 1/4 yard of two different red fabrics
Again, I chose a print for the top part of the wings and solids for the bottom parts - Small scraps of solid black
- 1/2 yard of fabric for binding (I used red)
- Batting
- Backing fabric
I chose a fun print for mine. You can see it below! All my fabrics are from Michael Miller – if you were wondering!
 Quilt Design Software")
-
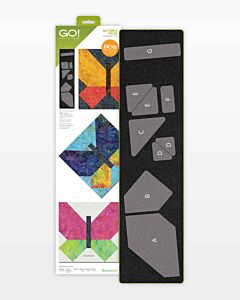 GO! Butterfly-Pieced-9" Finished DieSpecial Price $99.99 Regular Price
$119.99You Save $20.00 -
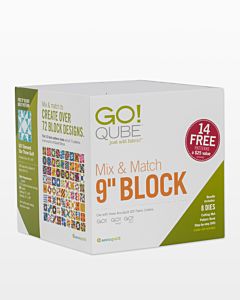 GO! Qube Mix & Match 9" BlockSpecial Price $249.99 Regular Price
$368.90You Save $118.91 -
 GO! Strip Cutter-3 1/2" (3" Finished) 2 Strips with Angled Guidelines DieSpecial Price $109.99 Regular Price
$119.99You Save $10.00Out of stock -
 GO! Strip Cutter 1 1/2" (1" Finished) 5 Strips DieSpecial Price $119.99 Regular Price
$139.99You Save $20.00 -
 GO! Strip Cutter 2 1/2" (2" Finished) 3 Strips DieSpecial Price $109.99 Regular Price
$129.99You Save $20.00
Cutting Instructions
With the gray fabric:
- Two 5 1/2" x Width of Fabric (WOF) strips
- 12 of Shape 1 from the GO! Qube Mix & Match 9" Block
- Four 3 1/2" strips with the GO! Strip Cutter-3 1/2" (3" Finished) 2 Strips with Angled Guidelines Die
With the white fabric:
- Two 8" x WOF strips
Fanfold these strips and, with the GO! Butterfly-Pieced-9" Finished Die, subcut:- 12 of Shape C
- 24 of shape D
- 24 of Shape E
- 24 of Shape F
- Two 5 1/2" x WOF strips
Use these strips to subcut 12 of Shape 1 from the GO! Qube Mix & Match 9" Block - Four 1 1/2" x WOF Strips with the GO! Strip Cutter-1 1/2" (1" Finished) 5 Strips Die
With the black scraps:
Six of Shape G from the GO! Butterfly-Pieced-9" Finished Die
With the orange and red prints on the GO! Butterfly-Pieced-9" Finished Die:
One 6 3/4" x WOF strip
Fanfold this strip and subcut six layers total of Shape A in each fabric print (so that half are reversed)
With the orange and red solids on the GO! Butterfly-Pieced-9" Finished Die:
One 4 1/2" x WOF strip
Fanfold this strip and subcut six of Shape B in each color
Assembly Instructions
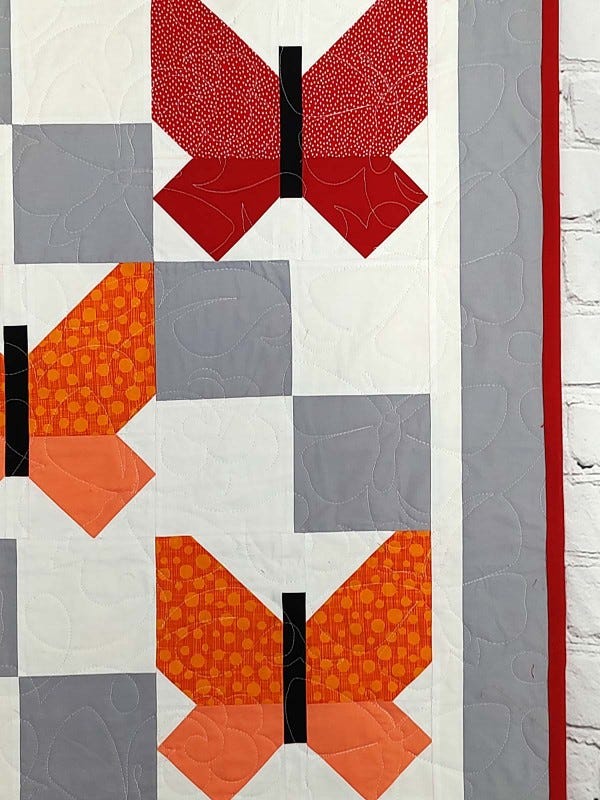
I was on a roll when I made this quilt and forgot to take pictures of the step-by-step directions, but the block assembly instructions for the Butterfly-Pieced block are on the product page and super easy to follow. The 4-Patch is easy to make, too!
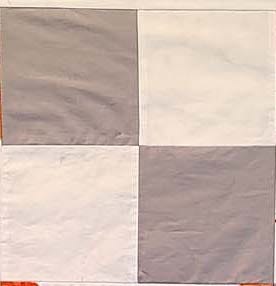
1. Make six 4-Patches in gray and white, like this:
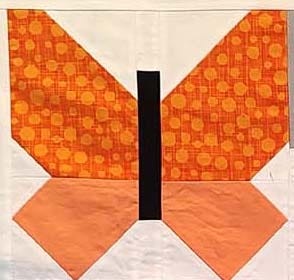
2. Make three orange Butterfly-Pieced blocks.
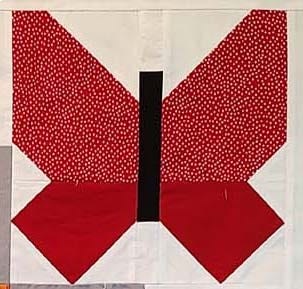
3. Make three red Butterfly-Pieced blocks.
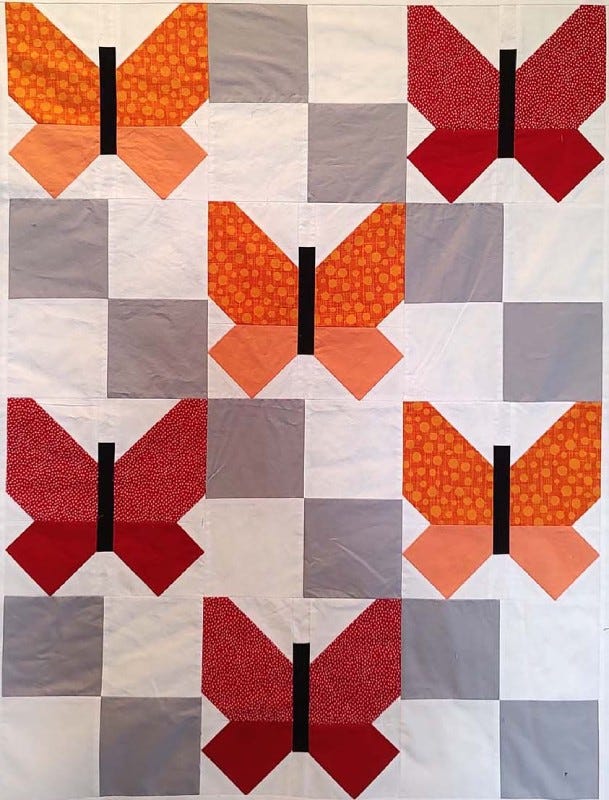
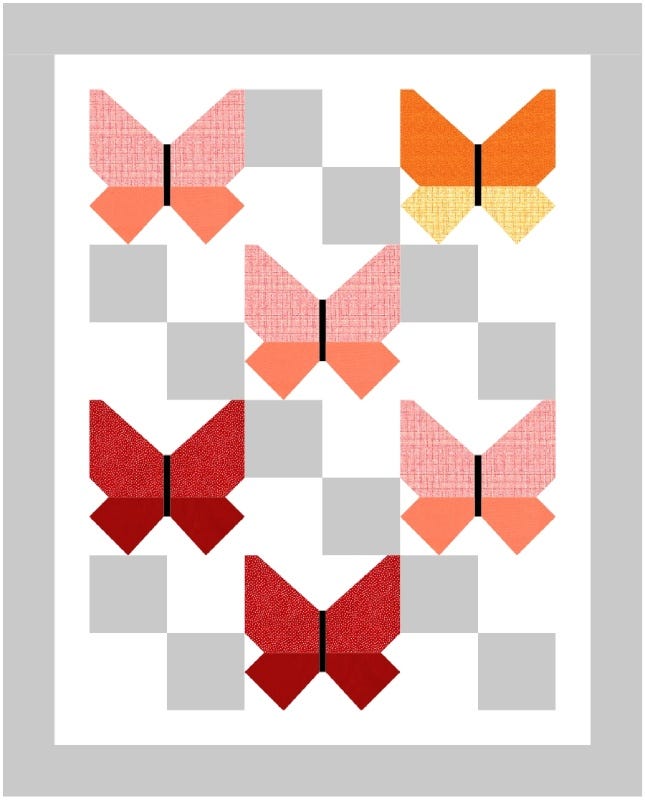
4. Sew the top together as pictured.
The orange Butterfly-Pieced blocks will be staggered diagonally starting in the top left corner.
The red Butterfly-Pieced blocks will appear in the top right corner, in the far left of the third row and centered in the last row.
The gray and white 4-Patches will be in between every Butterfly-Pieced block.
It’s Finishing Time!
- Trim two of the white border strips to 36 1/2" and sew to the sides of quilt.
- Then, trim the remaining two white border strips to 29 1/2" and sew to the top and bottom of the quilt.
- Trim two gray border strips to 38 1/2" and sew to the sides of the quilt.
- Next, trim the remaining two gray border strips to 35 1/2" and sew to the top and bottom of the quilt.
- Add batting and backing to quilt and bind the quilt as desired. I added red for a pop! I also quilted it in a cute butterfly design.
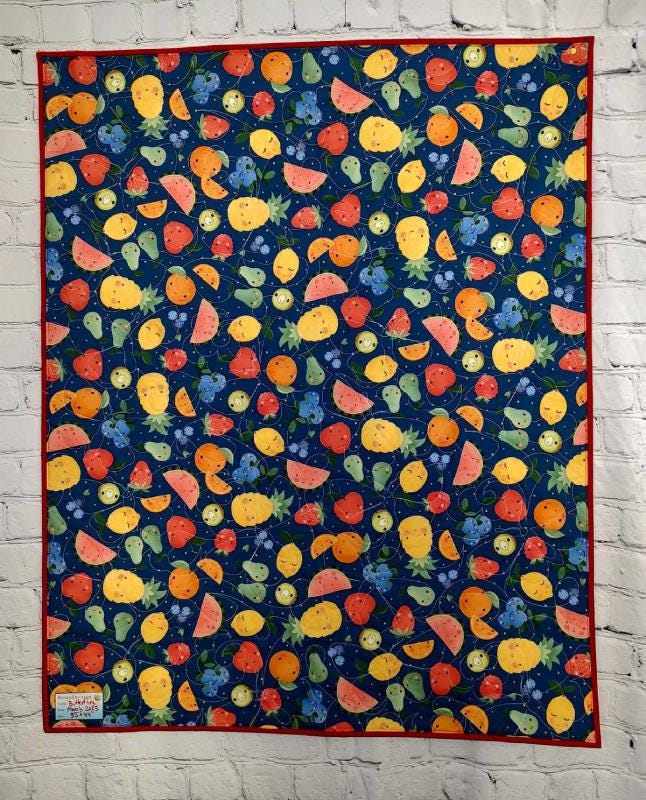
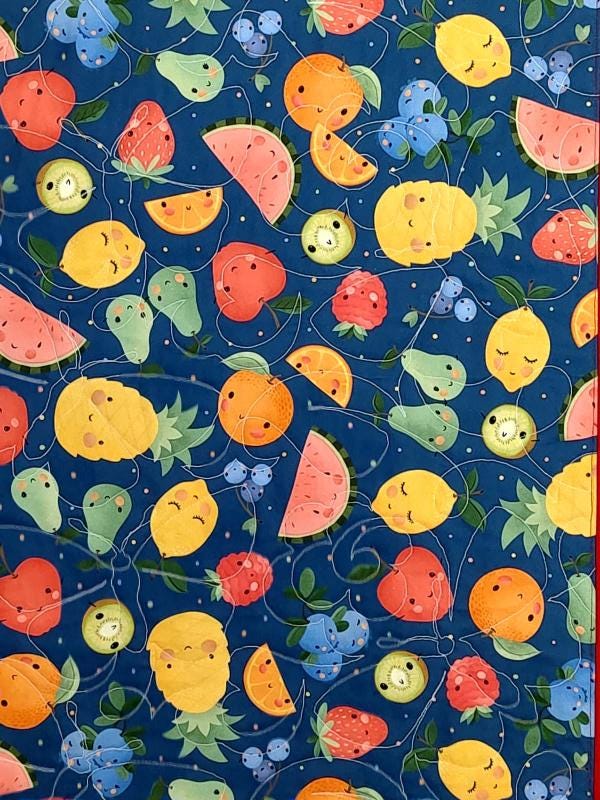
For the backing, I chose this fun fruit fabric.
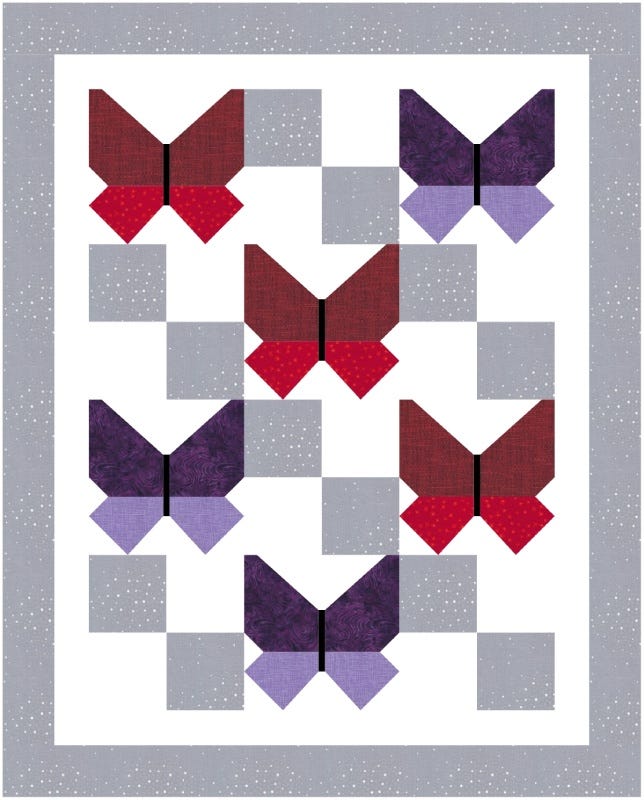
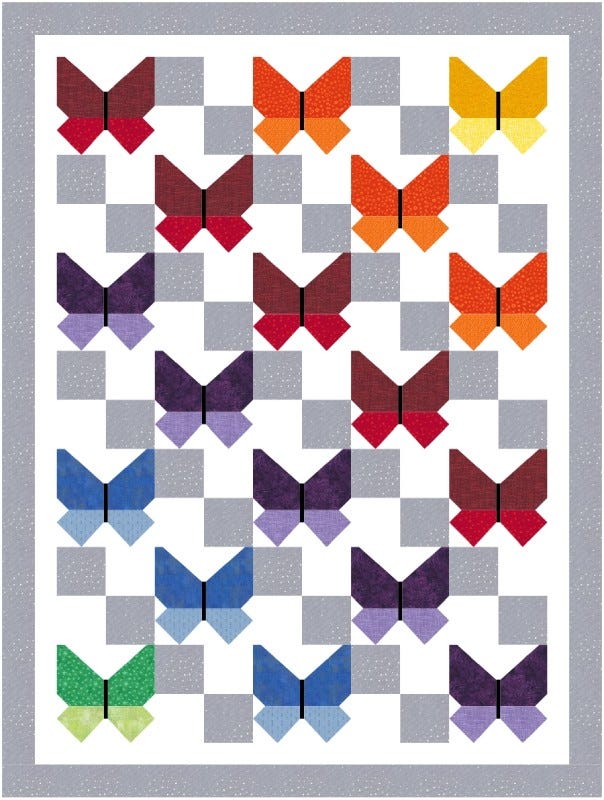
If you want a bit more color, here's a few more ideas I made in EQ8:
Butterflies for Days
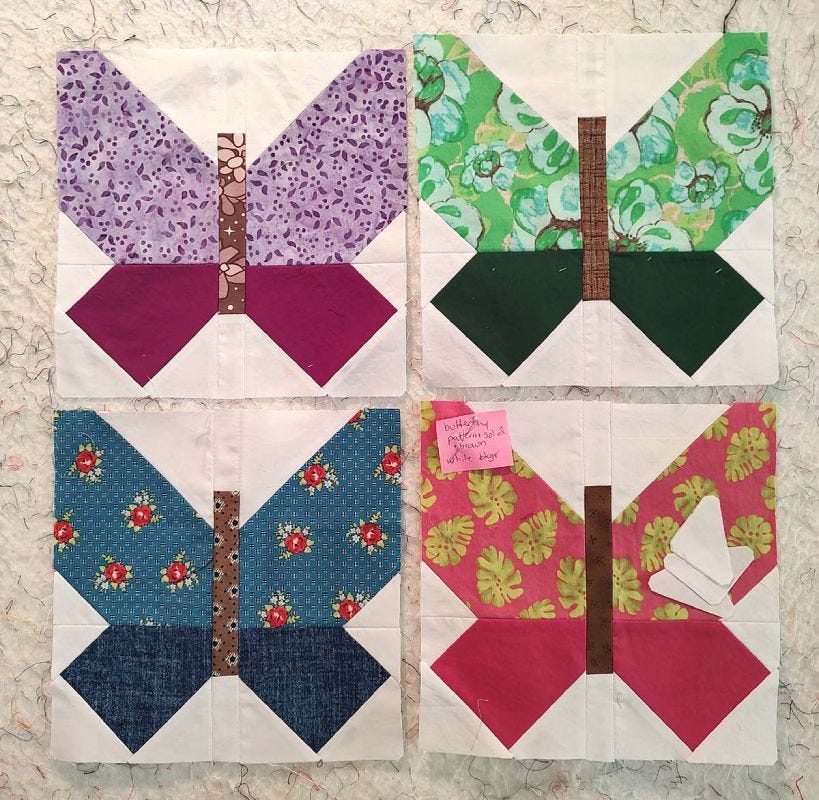
You can do a bunch with the GO! Butterfly-Pieced-9" Finished Die!
I'm working on a scrappy rainbow Butterfly-Pieced quilt. It's one new color per month, so I'll decide at the end of the year what to do with them. Maybe I'll do this layout:
If you make your own version of this tutorial, please tag @bealeequilter and @AccuQuilt on social media, and don't forget to use the hashtag #AccuQuiltBuilt so that we can see your butterfly baby quilt!