


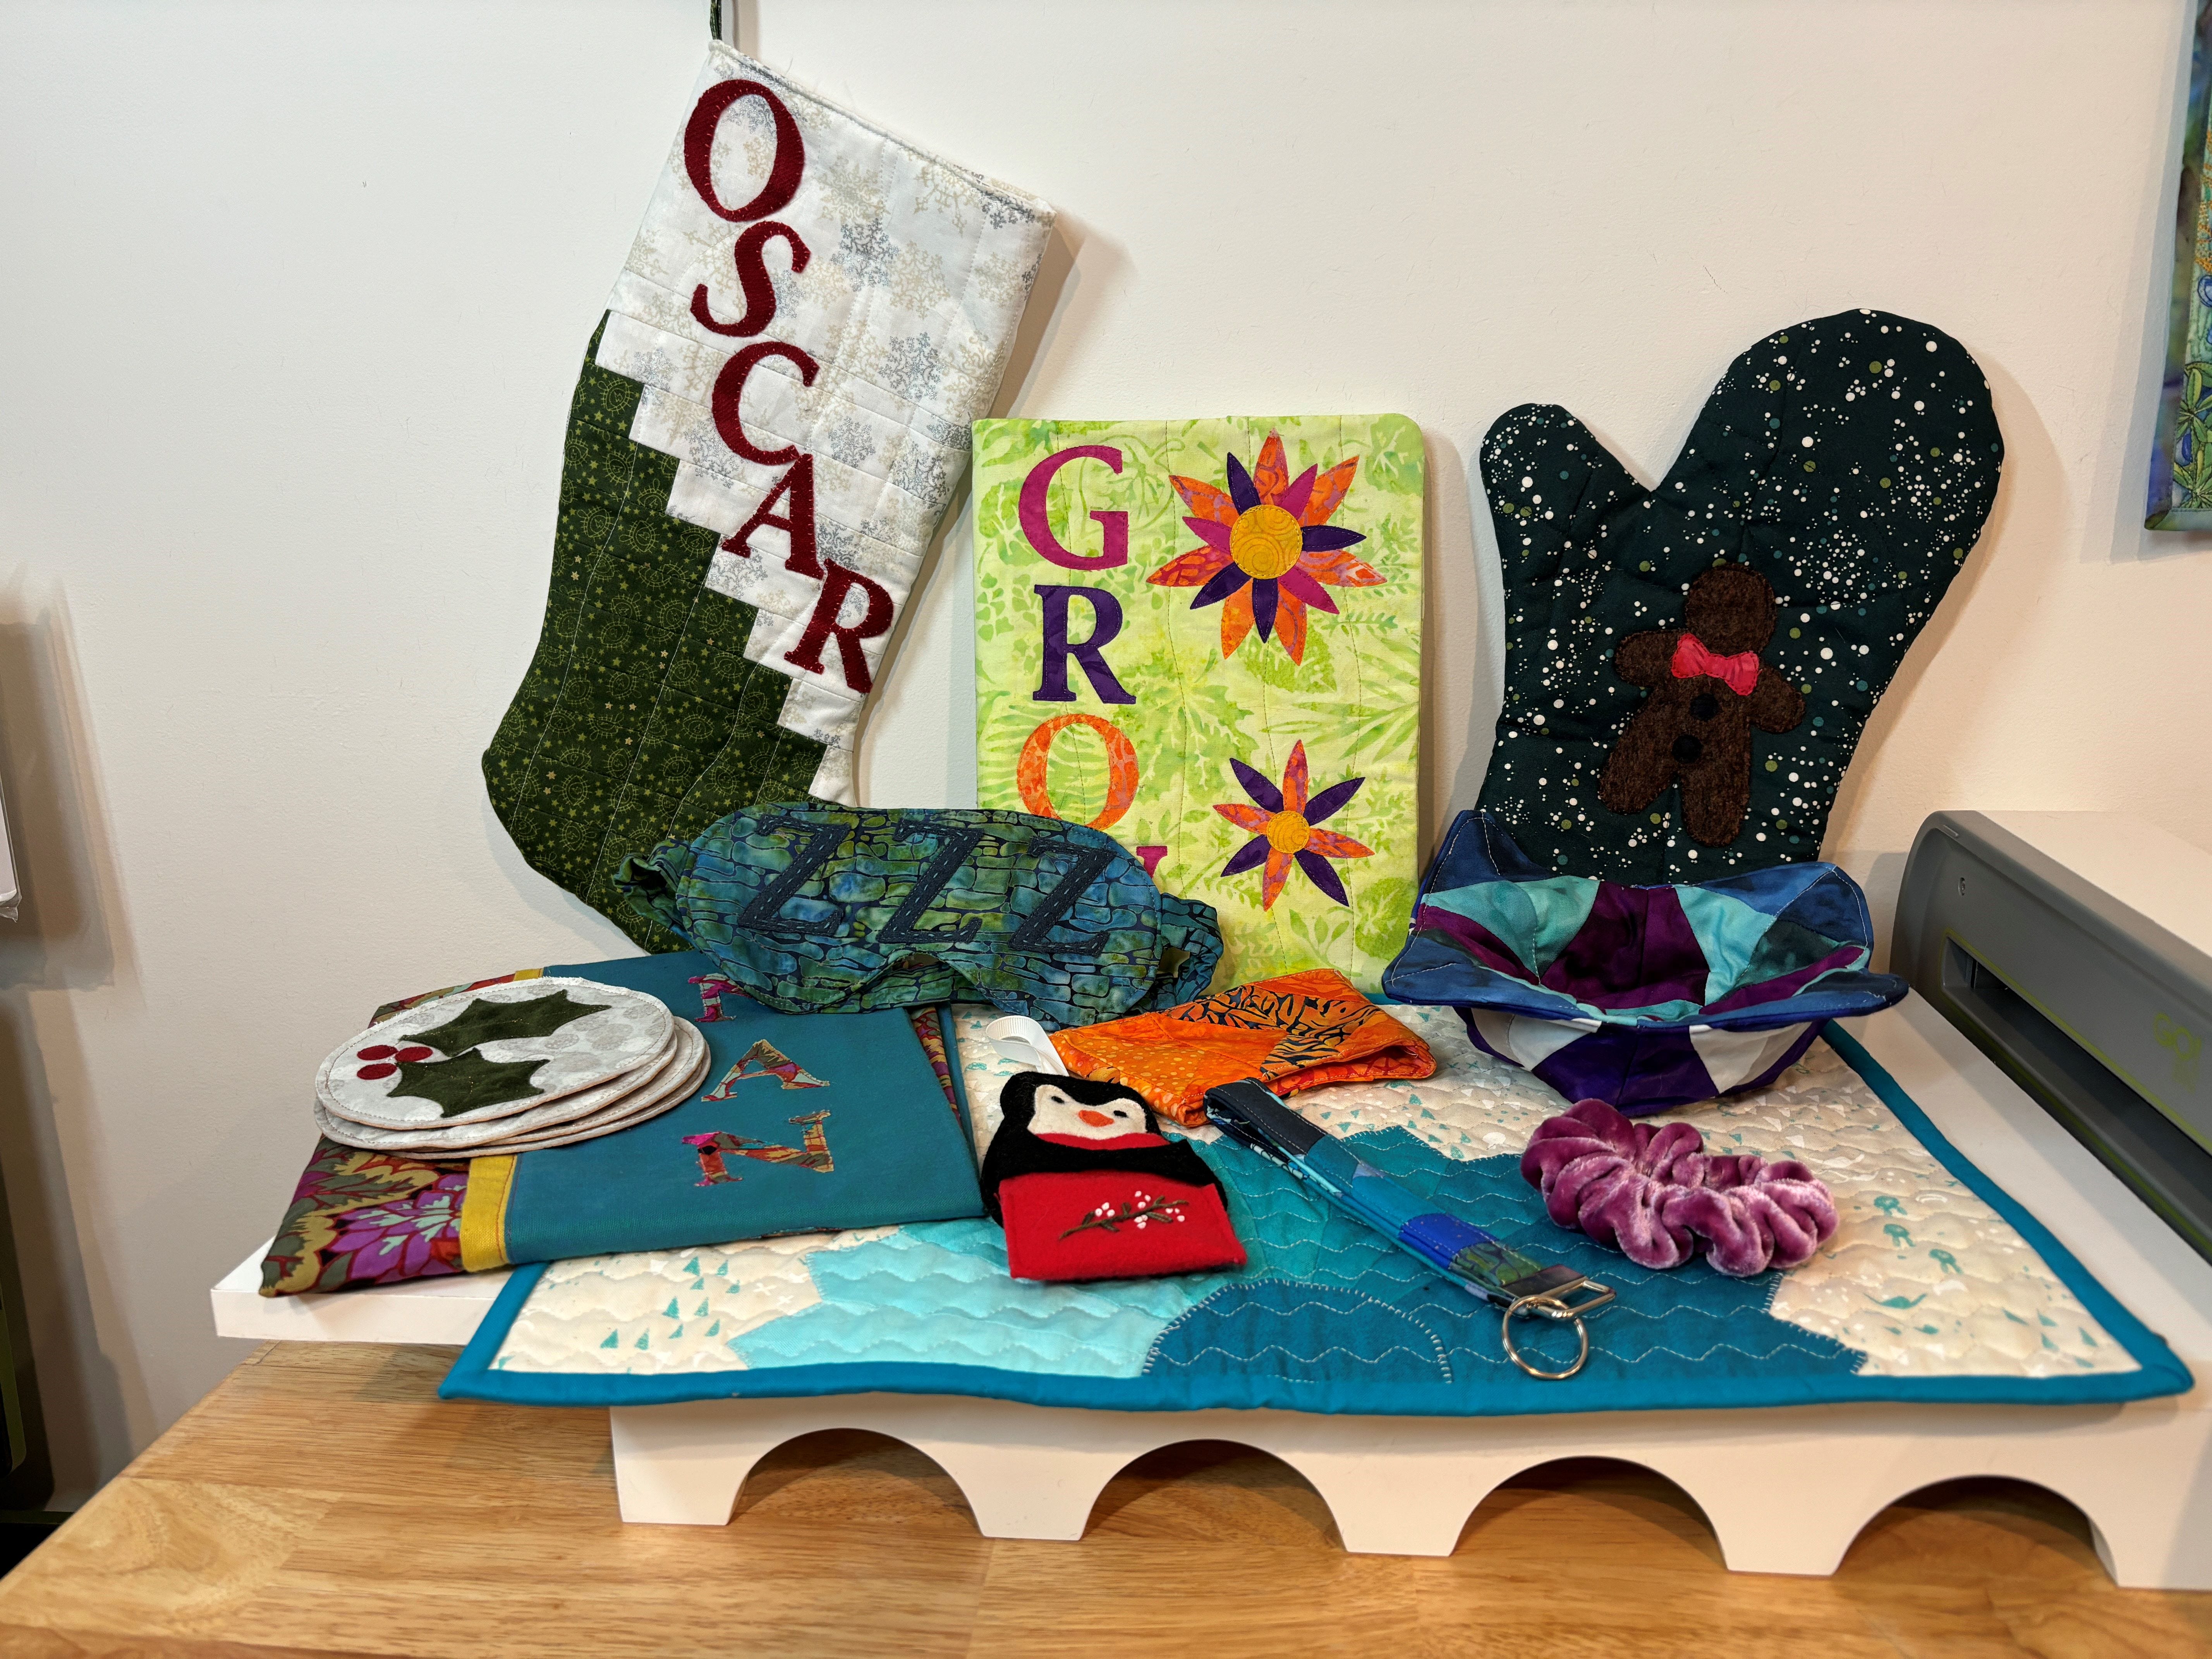
I’m so pleased with this project. This is the first time ever I have decided to do a little something every month and actually followed through. And look at how great this stack of gifts looks!
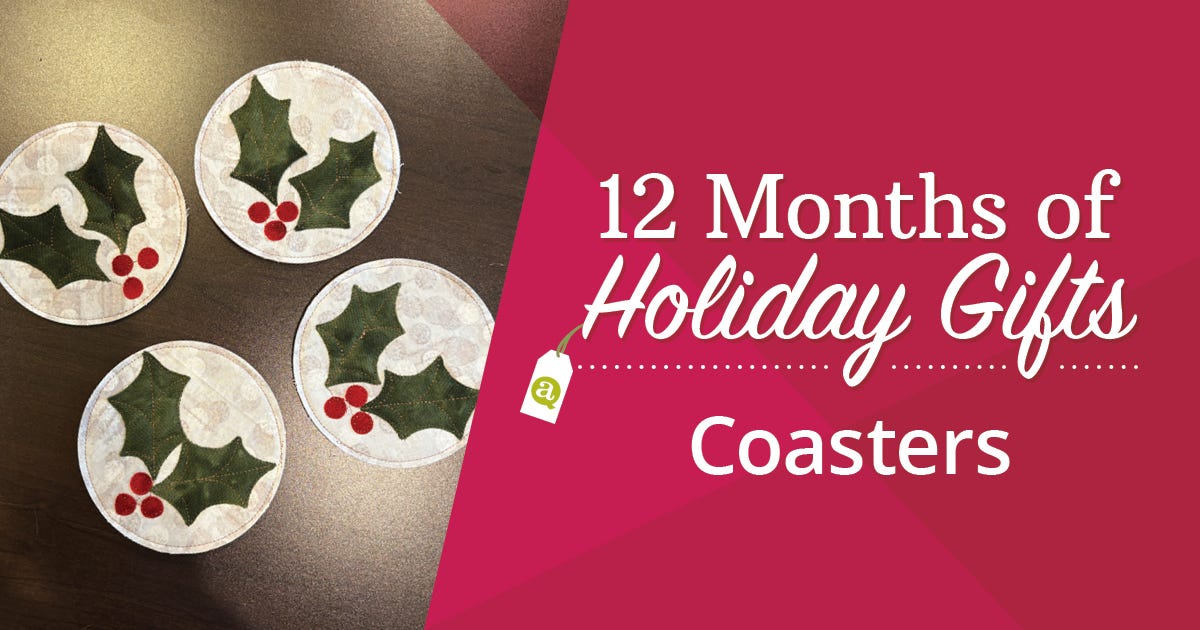
For December I have a very quick and easy project. I made a set of 4 coasters using dies and supplies I already have in my studio. My studio is remarkably well supplied, though.
Dies and Materials
Dies used:
Materials:
- 4 coasters
- Fabric - ¼ yard
- Cork - 6” x 24”
- Fusible fleece - 6” x 24”
- Fusible webbing - 6” x 24”
- Green felt - 10” square
- Red felt - 2” x 8”
- Glue stick for fastening wool

I work with a lot of wool felt in my studio, but I think craft felt will work just as well.
I backed my coaster with cork fabric, which has found its way into my studio and I don’t know why.
I stitched my coasters with some pretty copper metallic thread. I don’t use it often, because it is hard to work with, but it was lovely for these little pieces. I’m more likely to break out the fancy thread with small projects - it limits my frustration levels.
Getting Started
1. Start by prepping your fabric. Press it nice and flat, maybe with a spritz of spray statch like Starch Savvy.
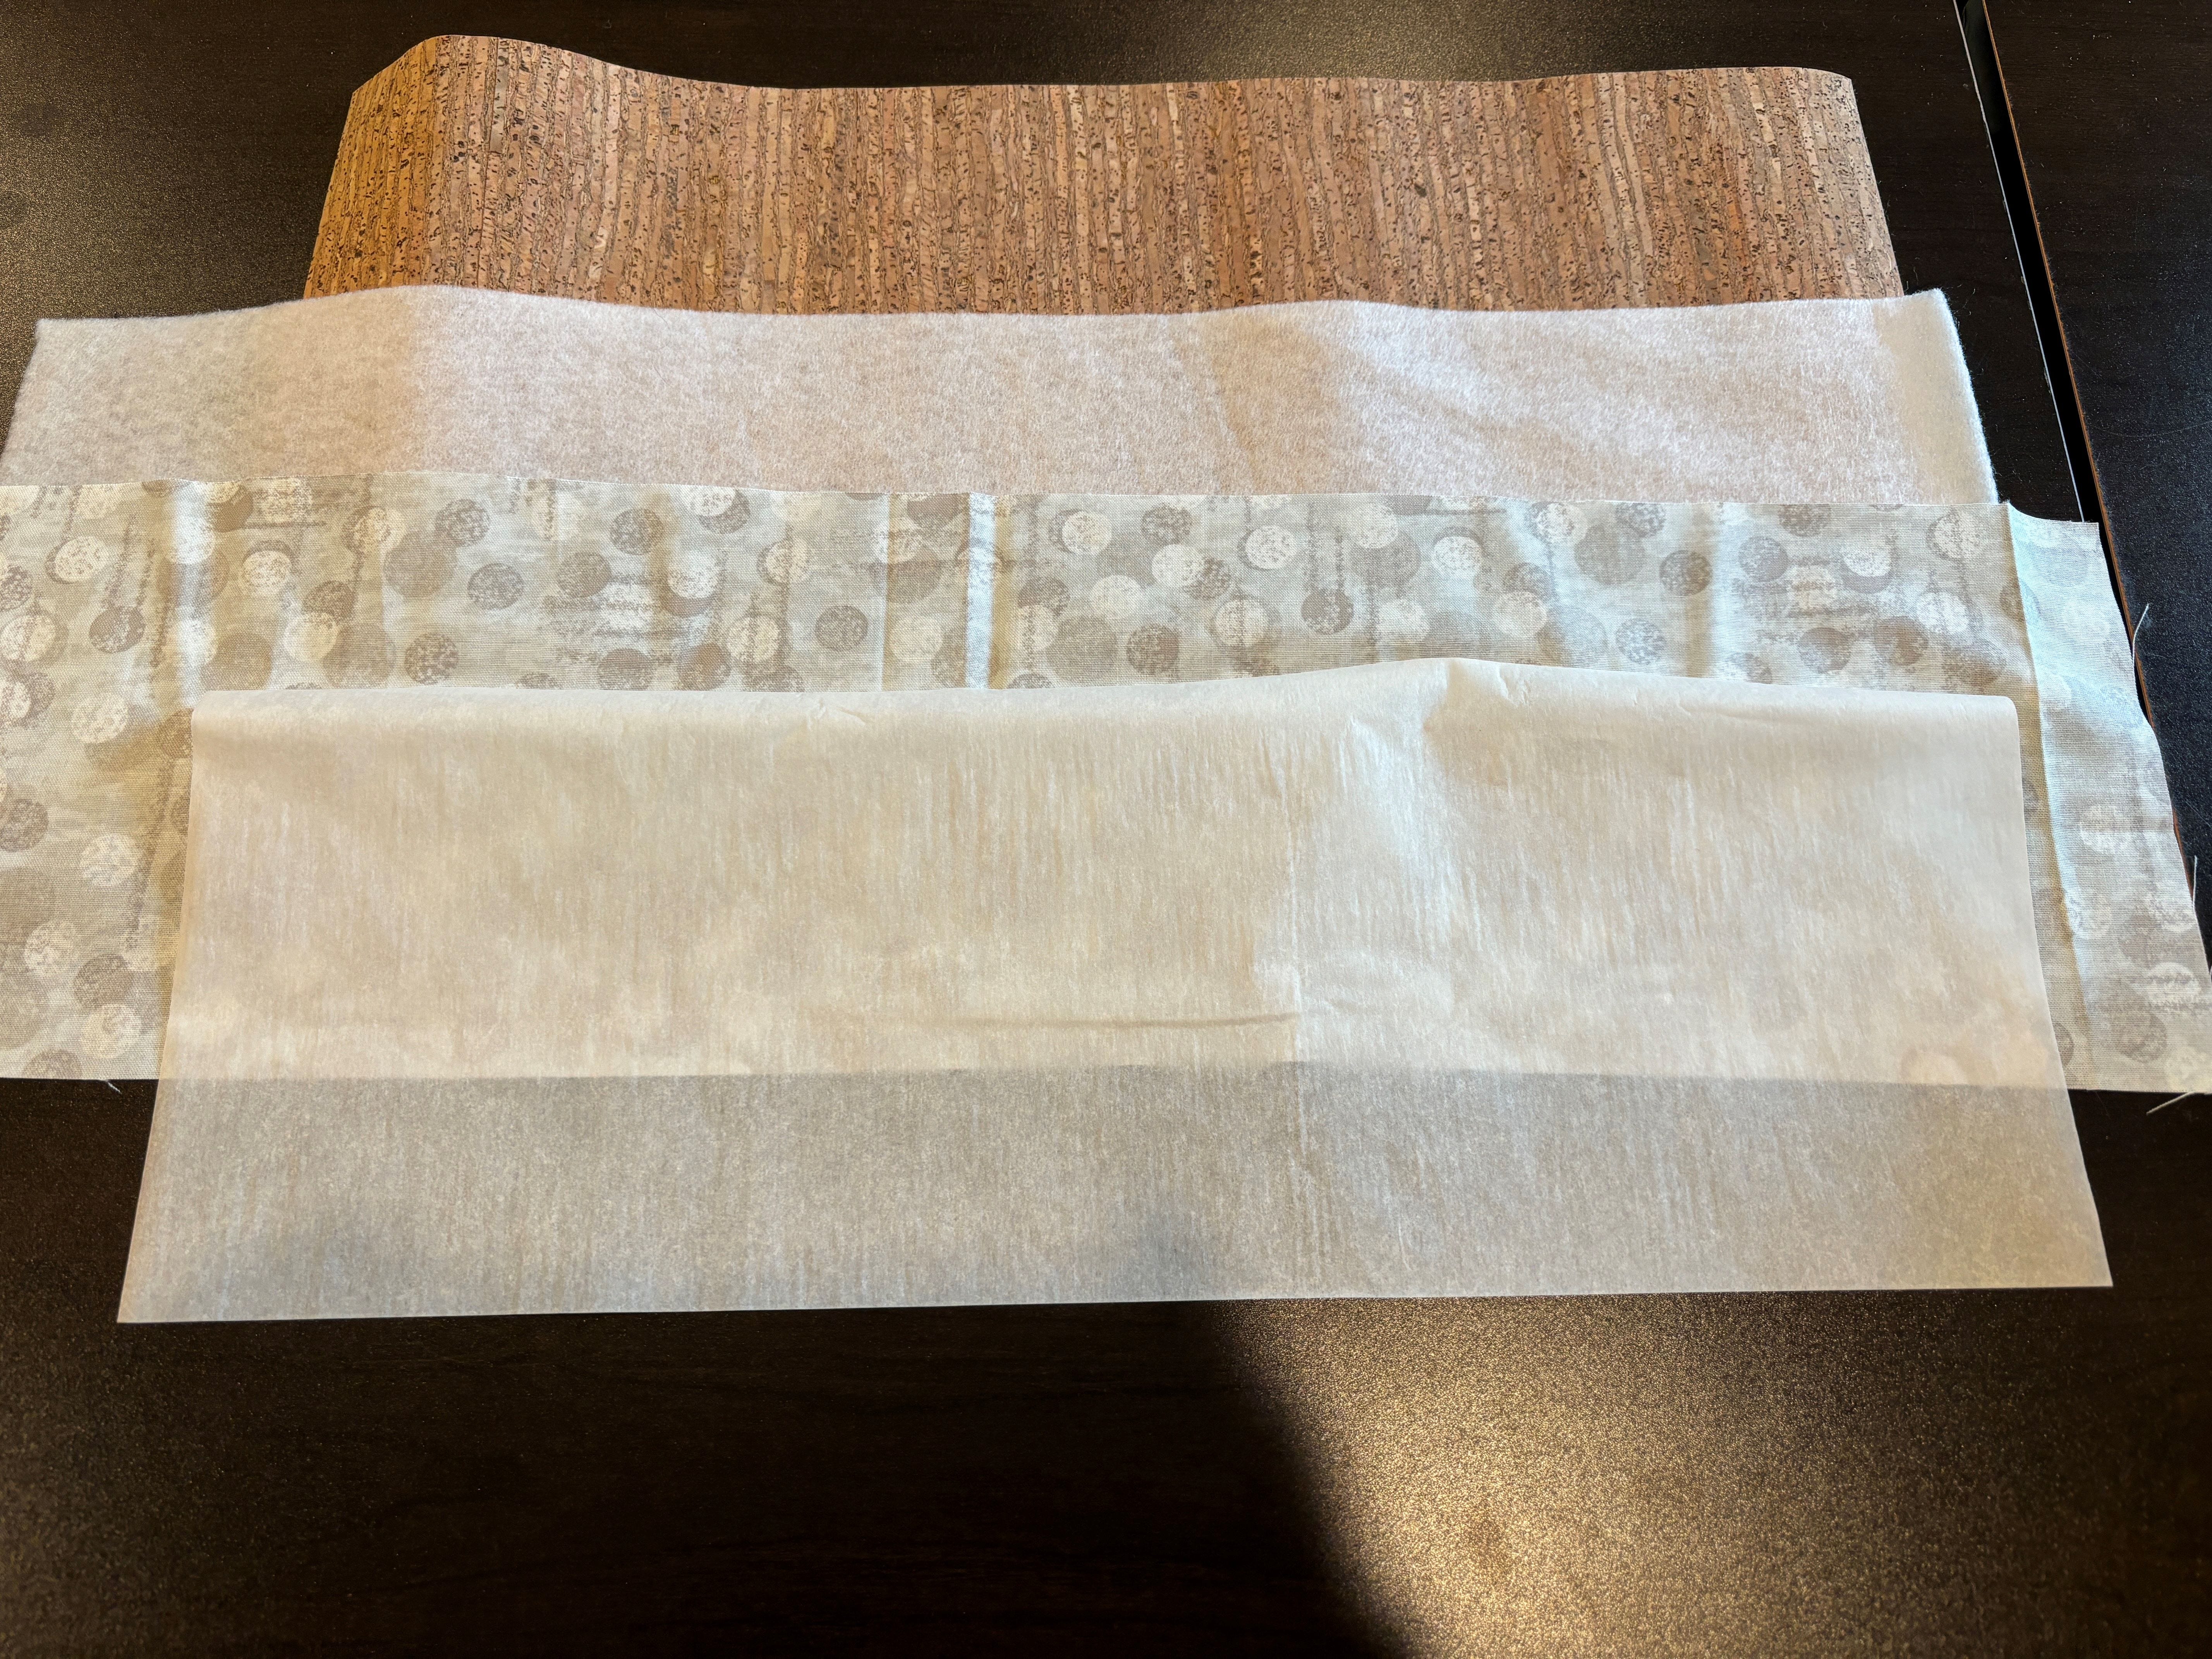
2. Cut a 6” x 24” strip of background fabric. Back it with fusible interfacing following manufacturer instructions.
3. Back your cork or backing fabric with fusible fleece, following manufacturer instructions. My cork shrinks a bit when ironed, so be gentle with the iron.
4. Attach the front fabric and cork/fleece combo together, fusing thoroughly.
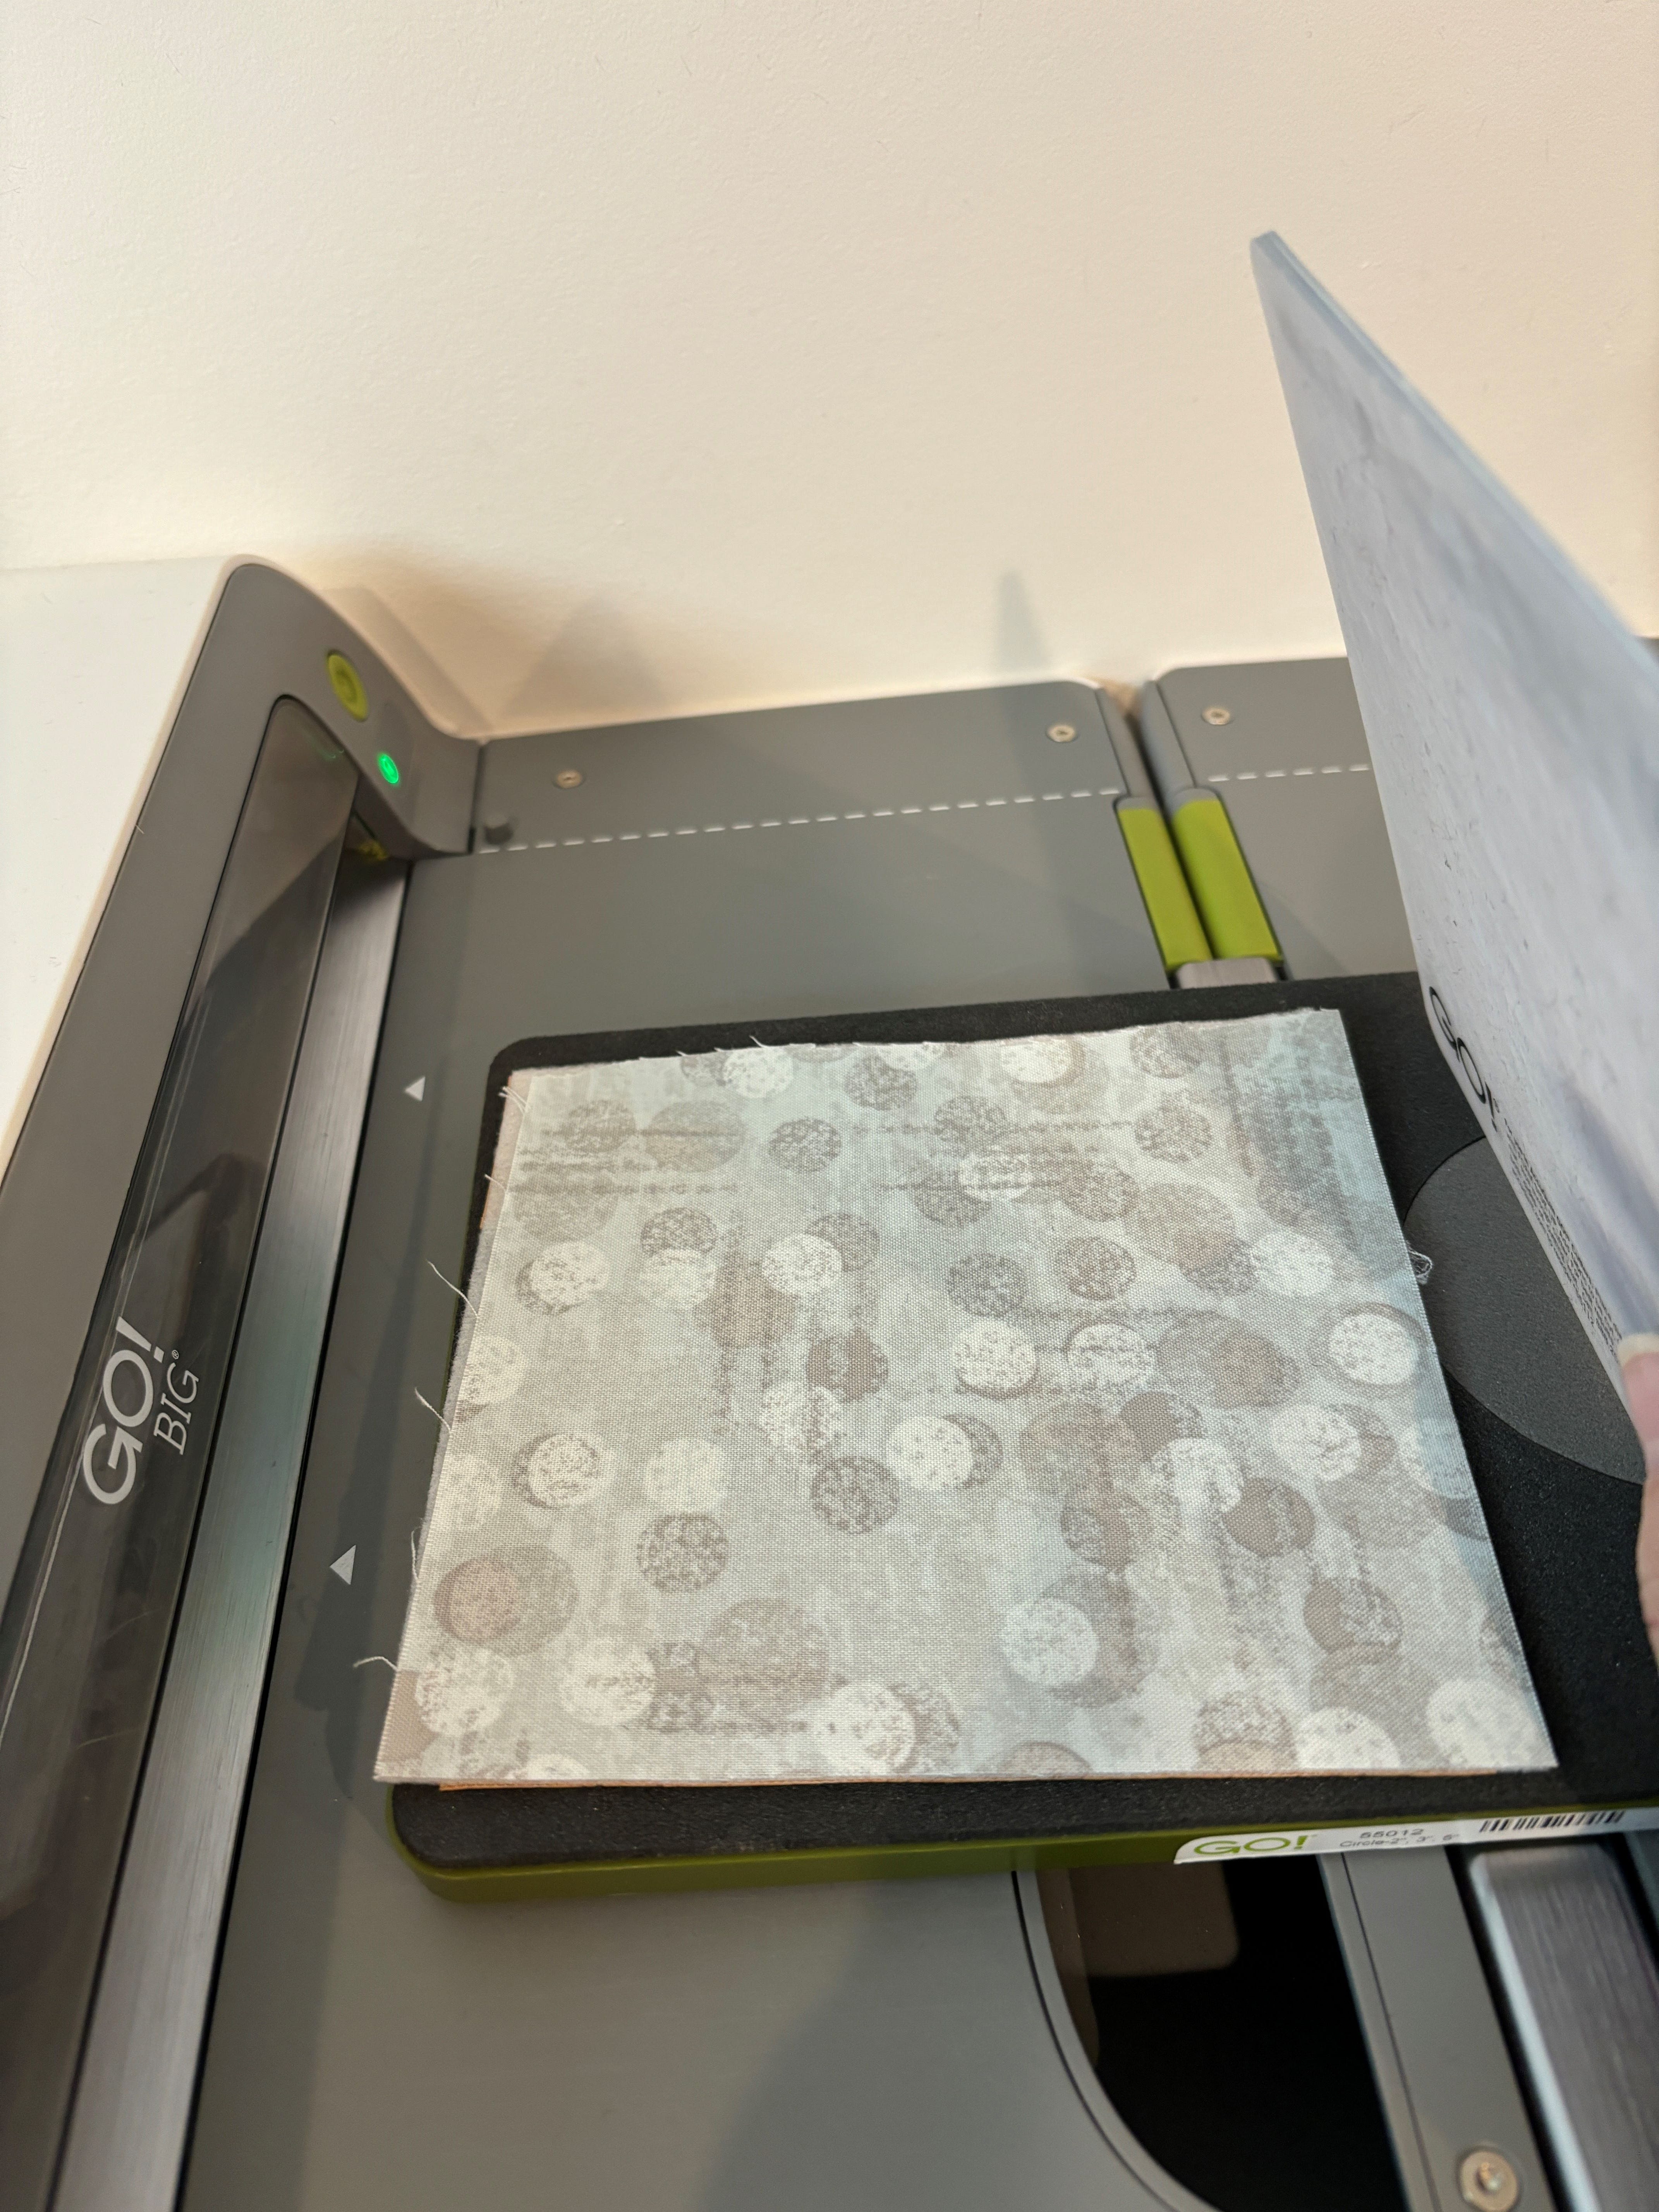
5. Rough cut your prepared fabric into 6" squares. Place squares onto the 5" circle on the GO! Circles-2", 3", 5" die. Cover with a mat and run through your cutter, cutting one circle at a time.
Prepare Your Appliqué Shapes
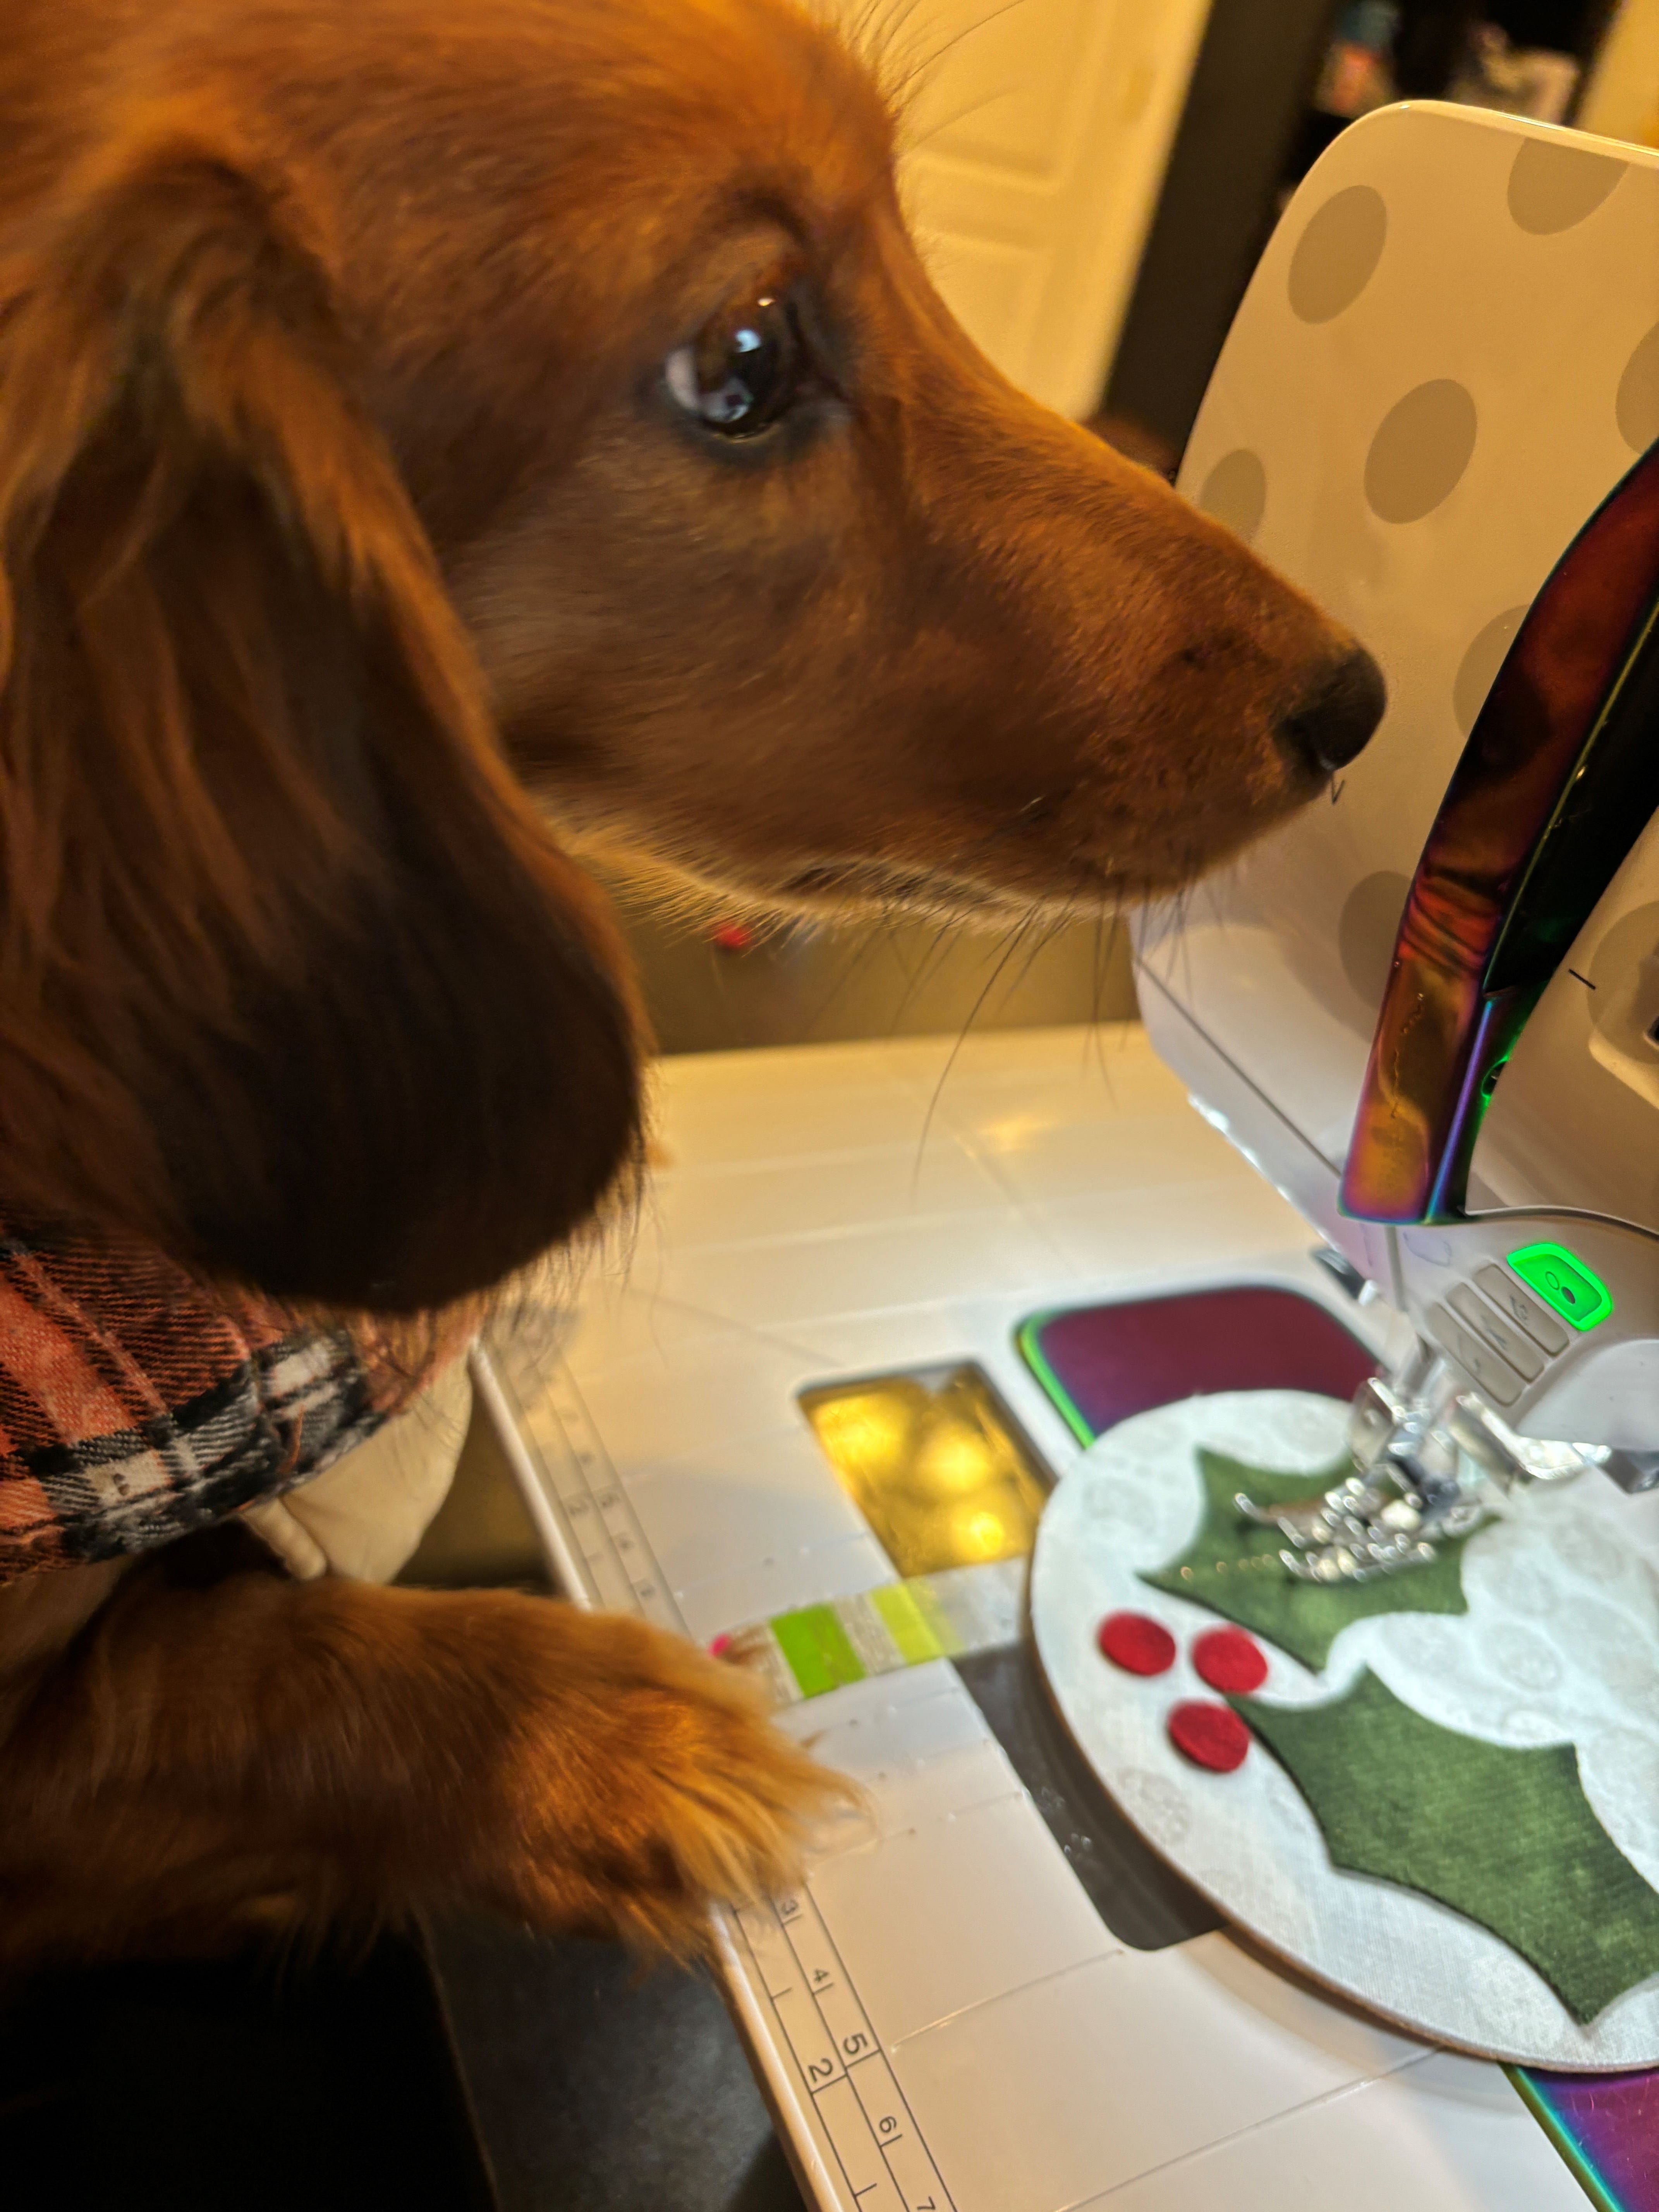
For this project, I used the holly leaves and berries on the GO! Holiday Medley die.
1. Cut 8 - 2 1/2" x 4" rectangles of green felt.
2. Cut 4 - 1" x 2" rectangles of red felt.
3. Place over the shapes on the die and cut 8 leaves and 12 berries.


Enjoy your holidays! I hope you enjoyed our little monthly projects, and if you followed along, please share a photo and tag me on social media! I’m @jenstrauser on Instagram and Dizzy Quilter on Facebook


