

Hi, quilters! It’s Jen Strauser from Dizzy Quilter again, back for my April installment of 12 Months of Holiday Gifts. I’m working on a small project every month, with the goal of having a Santa Stocking full of small gifts this year.
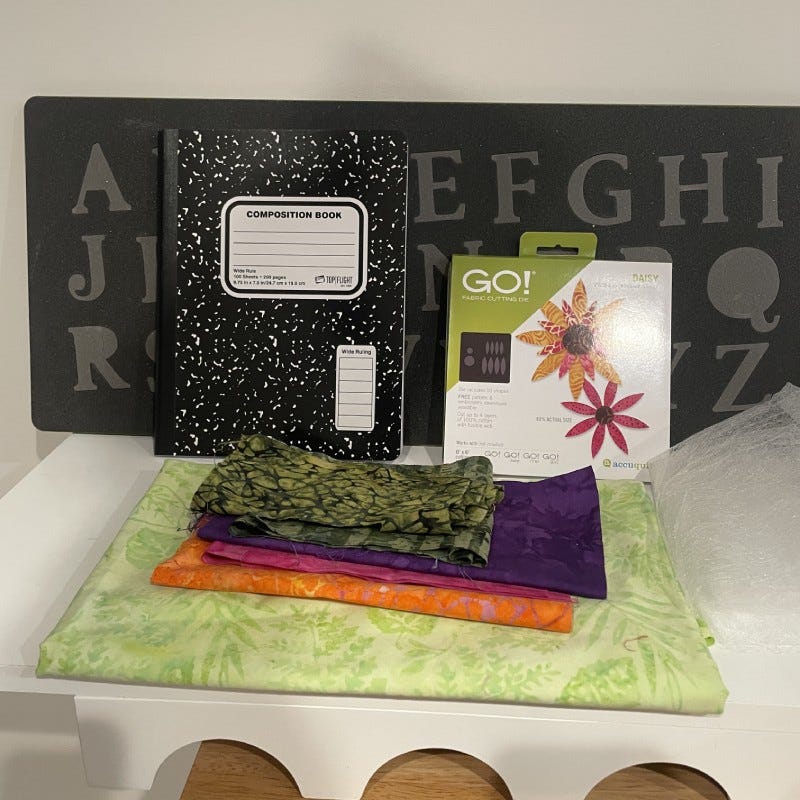
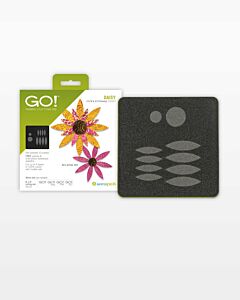
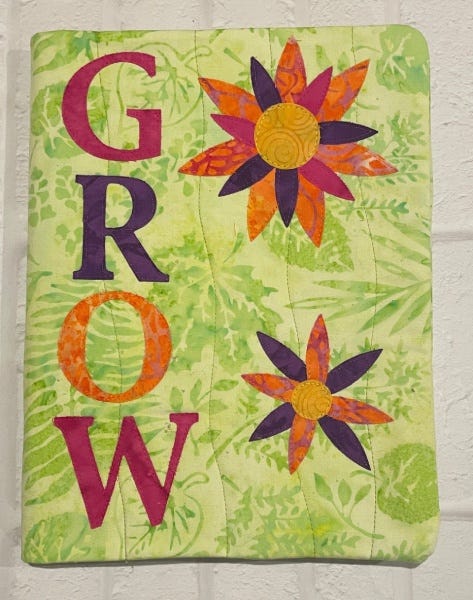
This month, I am making a quilted journal cover. Since it is April and the seasons here in New Jersey are turning, I’ve got springtime on my mind. I decided to make a gardening journal using the GO! Daisy Die. It’s so pretty!
Dies Needed
-
-
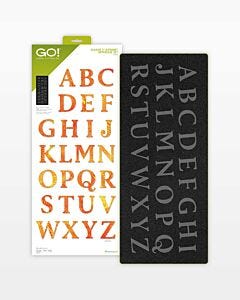 GO! Classic 2" Alphabet Uppercase Set DieSpecial Price $189.99 Regular Price
$219.99You Save $30.00
Materials Needed
- Journal book (I used a composition book - 7.5” x 9 3/4” x 3/8”)
- Cover and Flap fabric - Fat Quarter
- Lining fabric - Fat Quarter
- Floral and letters - colorful scraps
- Batting - 10 1/4” x 16 1/2”
- Fusible Interfacing - scraps
- Applique threads to match
-
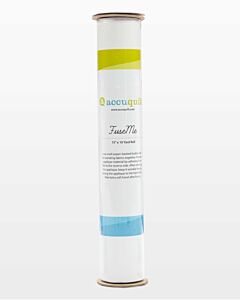 FuseMe - 15" x 10 yd Roll-Shrink WrappedSpecial Price $35.99 Regular Price
$41.99You Save $6.00
Instructions
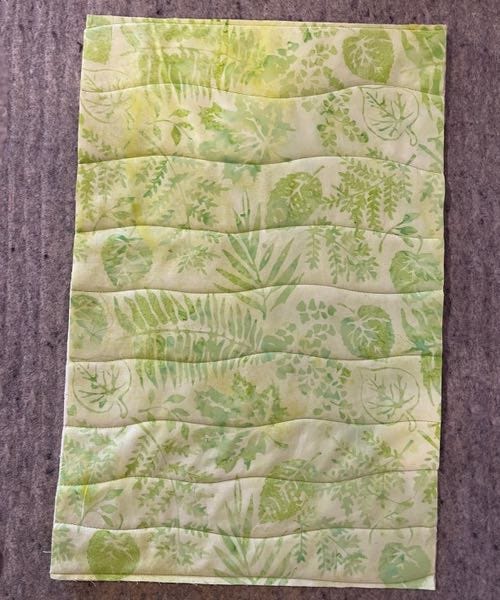
1. Cut the background fabric rectangle at 10 1/4” x 16 1/2”.
2. Layer with the batting and quilt lightly. The batting will act as a stabilizer for the applique stitches.
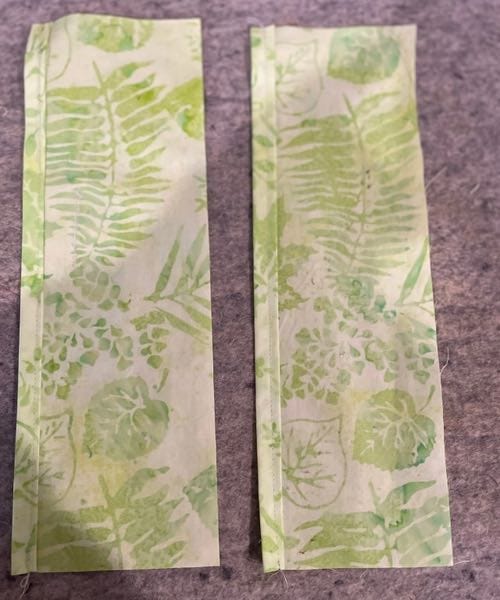
3. Cut two flaps measuring 4 1/2” x 10 1/4”.
4. Turn under the one long side twice and top stitch in place.
5. Cut a lining fabric rectangle at 10 1/4” x 16 1/2”. Set aside.
6. Prepare the floral and letter scraps for fusing. Following manufacturer instructions, add fusible to back side of the applique fabrics. Allow to cool.
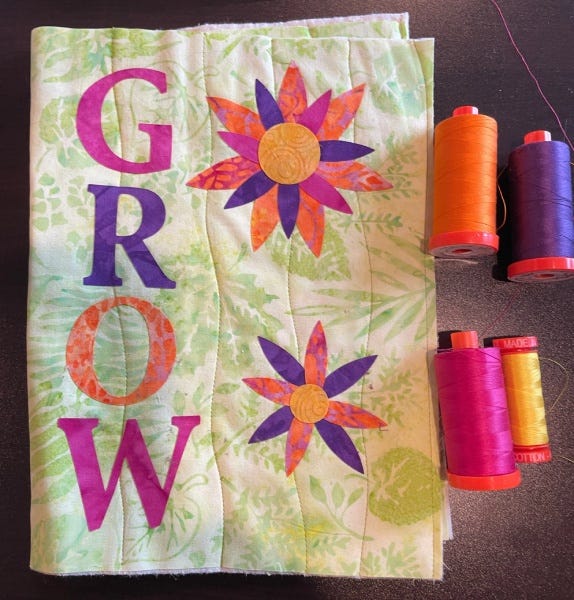
7. Place over the GO! Classic 2" Alphabet Uppercase Set Die blades and cut the letters "G," "R," "O" and "W" (one of each letter).
8. Using the GO! Daisy Die, cut out the petals and floral centers. I used the following for my version:
- One large circle in yellow
- One small circle in yellow
- Seven large petals in orange
- Four small petals in orange
- Seven small petals in purple
- Three small petals in pink
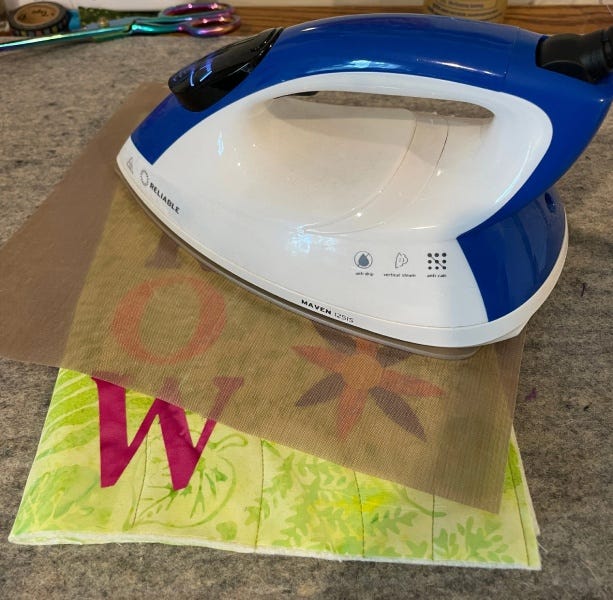
9. Arrange the letters and flowers on the background and fuse in place, following manufacturer instructions.
PRO TIP: When arranging the flowers, the skinny pieces can be fussy. A well-placed center circle will fix a variety of imperfections. You may even realize that you were supposed to use eight orange petals, but must have lost one and didn’t notice until your project was finished. Nature loves odd numbers.
10. Carefully stitch around the outer edges of your applique pieces to secure. I chose to use a straight stitch very close to the edge, but you should use whatever stitch you prefer. A zig zag or blanket stitch would also be lovely.
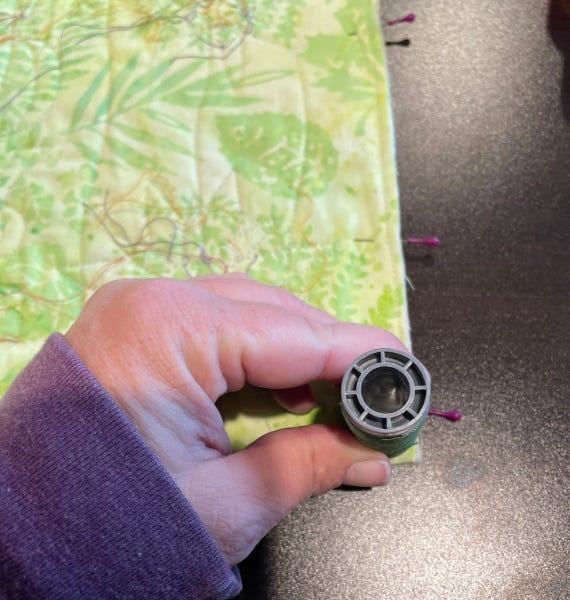
11. Using the rounded edge of a thread spool, mark the corners of your journal cover. I used a small spool of 50 weight Aurifil as it is a good match to the curve of my notebook.
12. Trim the curves.
13. Repeat with the un-sewn corners of the flaps.
14. Layer the journal cover right side up, the flaps right side down and the lining right side down.
15. Starting midway along the bottom edge, stitch around the outer edge of the journal using a 1/4” seam allowance. Leave an opening of 2" to 3” unstitched for turning the journal.
16. Turn the journal right side out and press the corners out carefully using a chopstick or other turning tool.
17. Turn the un-stitched turning hole in, stitch closed and press.
18. Slip the journal into the flaps and add it to your holiday gift pile.
Not interested in a floral journal? AccuQuilt has so many different applique dies. I’ve done another journal cover and used the GO! Gingham Dog Die to make a Dachshund! You could make a fun journal for any age or interest using one of AccuQuilt’s dies. Just make sure that your applique is small enough to fit on the journal cover. In this case, it needs to be less than 7” x 9 1/4”.
Have fun creating your journal cover! Don't forget to tag us @jenstrauser and @AccuQuilt with the hashtag #AccuQuiltBuilt so that we can see how yours turns out!


