

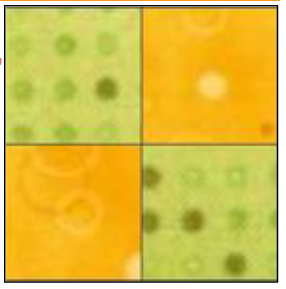
I’m so excited to start cutting this next project and seeing my yummy fabrics come together! For our first step, we’ll be cutting the two blocks in this project, the Spin block and the Shoo Fly block. AccuQuilt Cutting Expert Pam Heller and I will be following the original pattern written by Marjorie Busby of Blue Feather Quilt Studio and using the GO! Qube Mix & Match 5” Block and GO! Qube 5” Companion Set-Corners.
We also have this pattern available for the 4”, 6”, 8” and 9” GO! Qubes and Companion Sets. These are available on our introduction blog from July 19 and the AQS introduction blog post. Those posts also include traditional rotary cutting directions for the 5” version, so everyone can join in the fun!
Be sure to download your free pattern before getting started. If you’re using the rotary cutting directions, you’ll still want to download the free pattern for the original version for assembly directions.
If you missed the introduction to this project, you can catch it as I “break in” to Pam’s AccuQuilt Live show!
Grid Matters
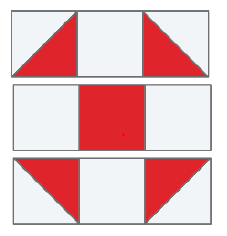
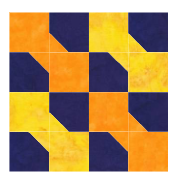
Before we jump into cutting, let’s take a closer look at the two blocks, starting with the Shoo Fly block. This block is a classic, but it’s not one that’s included with our basic Mix & Match blocks. Why? Our basic 72 Mix & Match blocks are all based on a 4-patch, or a 2 x 2 grid layout, with four of Shape 1 in each GO! Qube Mix & Match Block forming a block that finishes to the size of that Qube.
The Shoo Fly block changes things up by being a 9-patch, or a 3 x 3 grid. This means that instead of making 5” finished blocks with our 5” Qube, we’ll be making 7 1/2” finished blocks! It’s easy to see the grid with this block, and since we’re using Shape 1 and Shape 3 that finish at 2 1/2”, that’s how we get our 7 1/2” finished block size!
Maybe you want to use the 8” GO! Qube, so let’s see what size those blocks will finish to! Shape 1 and Shape 3 in this GO! Qube finish to 4”, so in a 3 x 3 grid, your block will finish to 12”!
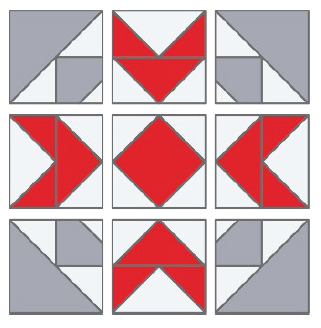
The Spin blocks are also on a 3 x 3 grid - see how we have three units across and three units down? It's a little harder to see with the more complicated blocks, but it's the same basic grid as the Shoo Fly!
Let's GO!
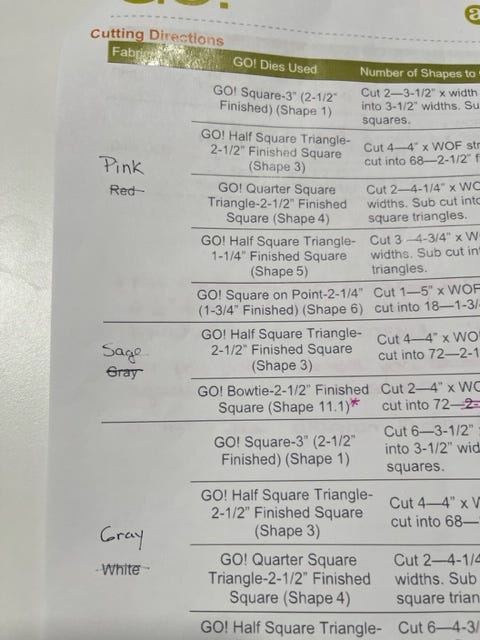
It’s time to get cutting! You’ll need Shapes 1, 3, 4, 5 and 6 from your GO! Qube Mix & Match Block and Shapes 11.1 and 12.1 from the GO! Qube Companion Set-Corners. Be sure to refer to your pattern for cutting directions and the number of each shape you’ll need.
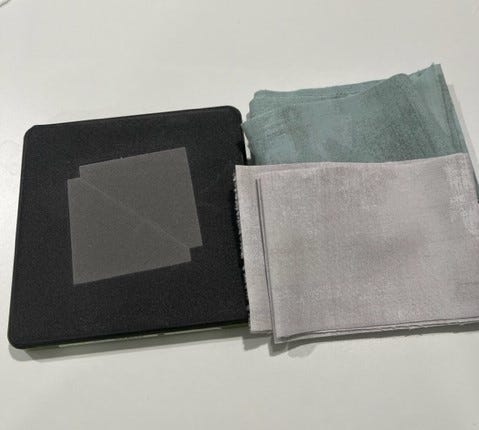
If your fabric colors match the pattern (like Pam), you’re ready to jump right in, but if you’re changing things up (like me), you may want to stop and make yourself a color chart, or change the colors in your pattern using AccuQuilt's free design tool, GO! Quilt (like I did).
A Note About Bow Tie Blocks
Let’s take a minute to talk about the GO! Dies, Shapes 11.1 and 12.1 in the GO! Qube Companion Set-Corners, and answer a few questions that you just might have, starting with why they are numbered the way they are!
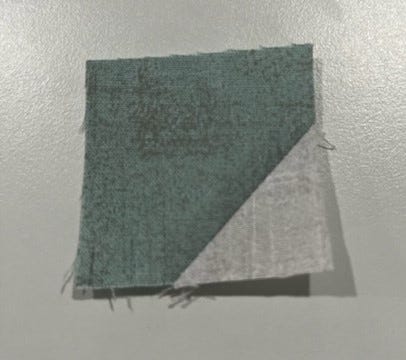
Our very first GO! Qube Companion was called the Classic. It included the very same Shape 9 and 10 dies that our GO! Qube Companion Set-Corners have, with Shape 9 being a chisel and Shape 10 being a Signature block, but Shapes 11 and 12 were Drunkard’s Path blocks. The GO! Qube Companion Set-Corners has Shapes 11.1 and 12.1 for making Bow Tie blocks!
The next question that I’ve been seeing is about the size of this block. You’ll see on the side of the die (if you’re using the 5” Qube size like I am) that the block finishes to 2 1/2”. That’s the measurement when you put four of the Shape 11.1 and 12.1 units together to form the 2 1/2” finished Bow Tie (like the 2 1/2” finished Triangle in a Square or Kite in the GO! Qube Companion Set-Angles).
Now, for this pattern, we are only using one of four units that go together to make a Bow Tie. That means the unit will finish at 1 1/4” with the half square triangle sewn to the corner, and this is sewn into your project.
Prep Time
My father wasn't much of a handy guy, but he did a maticulous job of painting! He was insistent that the preparation was the key to a smooth process, and I think of this whenever I start cutting a new quilting project.
Once you start saving time with a GO! Fabric Cutting System, I feel you want to save more and more time! One way I do this is to grab my pattern and my dies and prep my fabric strips together. I simply started at the top of my pattern with my first color (pink) and followed the directions.
The first shape to cut is Shape 1 and I need two 3 1/2” x Width of Fabric (WOF) strips. I cut those, placed them aside with the die for Shape 1, and so on. Then, I could step over to my cutter and cut all my pink shapes together!
Organizing
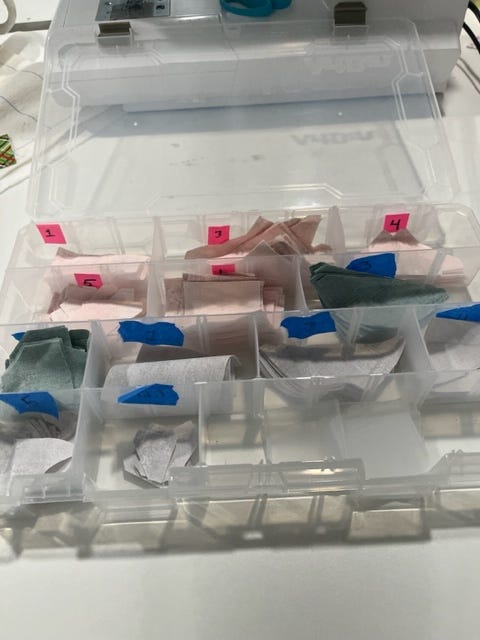
As with any project, it’s going to be really helpful to keep your pieces organized! I’m still making use of the Art Bin box I got for my GO! Scrappy Star Log Cabin Quilt earlier this year. I’m marking the sections by the shape number. This is another great time saver, but there are so many methods you can use! Pam favors plastic zippy bags – and I use those a lot, too. Baskets, trays, boxes – whatever is handy and works for you works! If you’re looking for something different for organizing, check out thrift and dollar-type stores – you never know what you’ll find!
Work your way through your colors and cut all the pieces for the blocks. If you know what you want to do for borders and binding, you can “GO!” ahead and cut them all, setting them aside for later.
Cutting - Check!
That’s all for Part 1, so do a little happy dance and rest up for Part 2, where we’ll dive right in to piecing our Spin blocks.
The fun of a quilt-along is seeing and being inspired by what everyone is doing, so be sure to post pictures of your progress every step of the way using the hashtag #AQSews so that we can all see! If you haven’t joined the AQS Quilting Project Parade Facebook group yet, be sure to! It’s a great, supportive community where we can all share and help each other.


