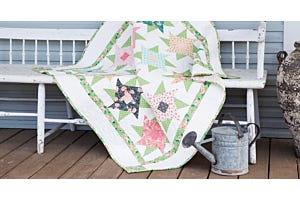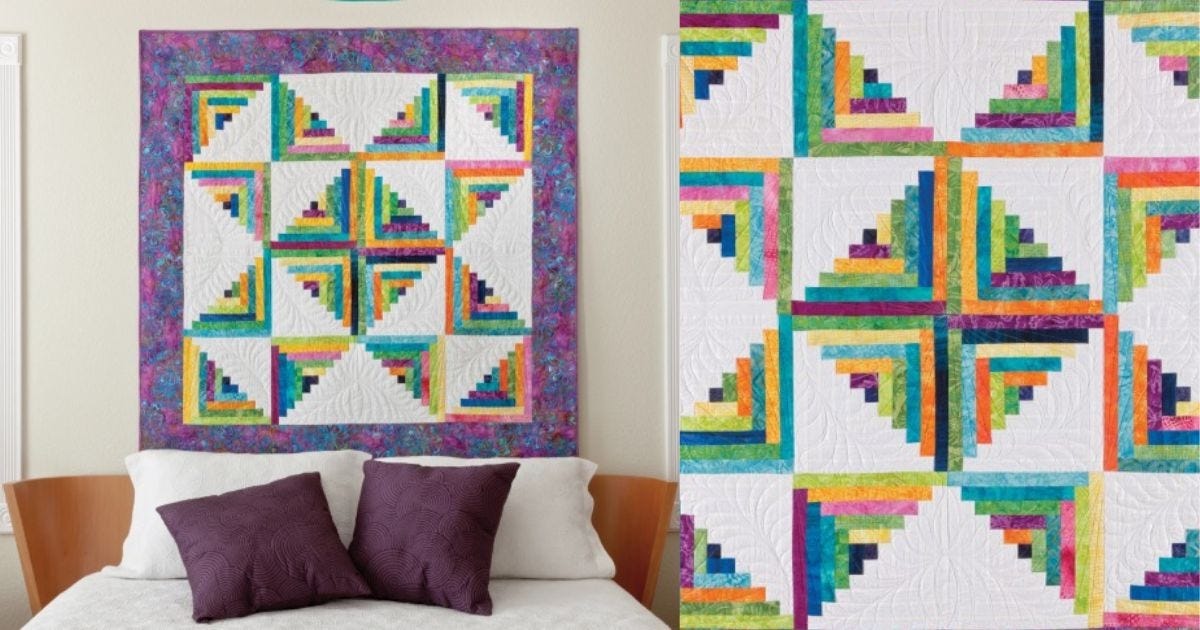
Welcome to Part 2 of the 2023 AQS & AccuQuilt-Along Series: Scrappy Star Log Cabin Quilt. I’ve been anxiously awaiting this moment because I love, love, LOVE sewing these blocks!
If you’re just joining us, we kicked off the second in a series of 5 quilt-alongs for the year on March 22 when I crashed AccuQuilt Cutting Expert Pam Heller’s party on her AccuQuilt Live show! I also posted a blog that day with the details about this project including directions for 3 different cutting methods:
- Using the GO! Log Cabin-12" Finished Square by Leslie Main Die
- Using the GO! Strip Cutter-1 1/2” (1” Finished) 5 Strips Die combined with rotary sub-cutting
- Full rotary cutting
On April 5, we kicked things off with a livestream event and a blog post about cutting and organizing your pieces for this project. Here’s the video for you in case you missed it, or if you want to watch it again:
Let’s GO! Sew!
No matter how you have chosen to cut your project, you will want to download the free pattern from AccuQuilt for the assembly directions. I keep my directions by my side at all times when I’m sewing these blocks.
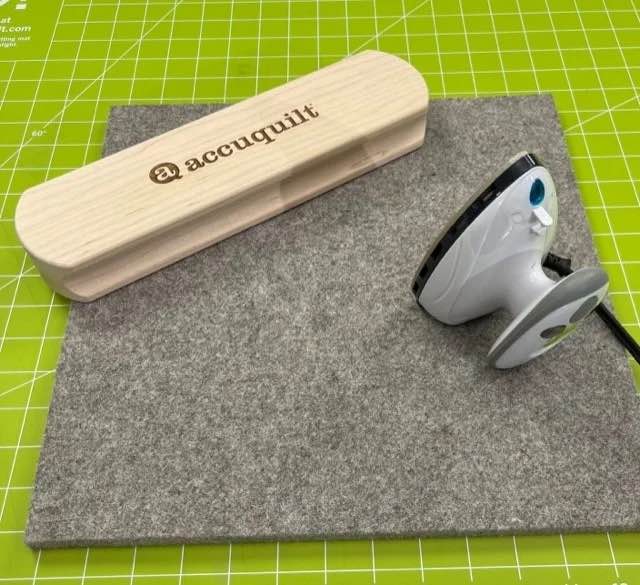
I also find that it’s really helpful to keep a few other items handy because I press after each seam, namely a wool mat, iron, and a GO! Quilters Clapper!
Sew, Press, Repeat
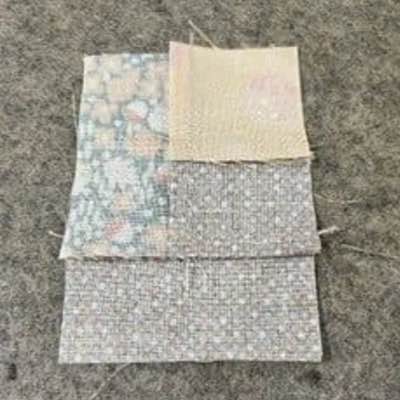
I’m going to be calling my background, or constant, fabric my dark, and my scrappy side the light in this tutorial. Since I’m sewing two blocks at a time, I will pull out two of each Shape 1 – two of my background and two from my scrappy pile – and sew them together. After sewing both sets together, I’ll clip off the first one that was sewn and press it.
You can press this seam to one side or the other, though I’m pressing towards my dark.
NOTE: Once I press the first unit, I will sew the next piece onto it before clipping off the second set I sewed. Think of this as mini chain-piecing, but it helps me keep on track.
Next, pull two of Shape 2 in light and dark. You’ll sew the light side on first and then the dark. Be sure to refer to the diagram in the pattern and double-check your placement.
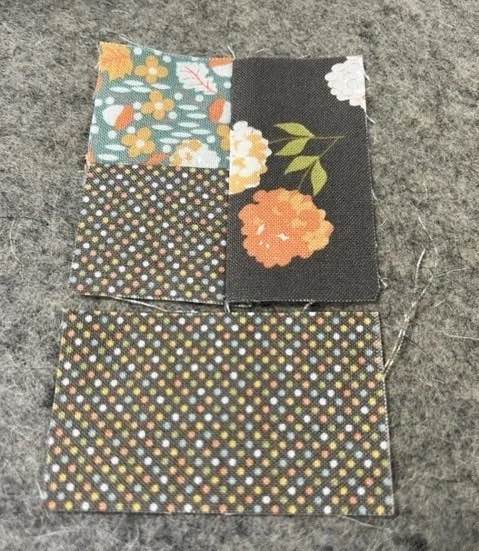
After sewing each piece, I’ll press the seam I just sewed towards the outside.
You’ll soon get into a really nice rhythm with sewing and pressing these blocks. If you get lost at any time, just count the “logs” or pieces to get back on track.
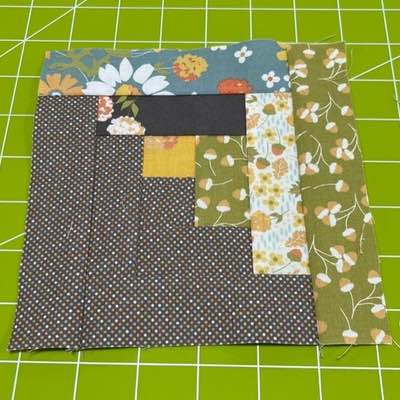
Sewing these blocks is very satisfying as they grow from the center outward.
Two Down!
Before you know it, our first blocks will be done and you’ll get to start more. It’s important to note that this is how Pam and I are sewing our blocks, but you can certainly sew more than two at a time, sew all your Shapes 1 pieces together before moving on to all the Shape 2 pieces, etc. We all have our favorite methods!
Speaking of individual preferences, be sure to share yours with us on the AQS Quilting Project Parade Facebook group page. If you haven’t joined this page yet, be sure that you do! This group is helping us all become connected and creating such a fun quilting community! Be sure to use the hashtag #AQSews in all your posts about our quilt-alongs on all social media platforms.
If you come up with questions along the way, be sure to ask them in the group! You'll see Pam as AccuQuilt Educator Pam Heller and myself as AccuQuilt Erica popping onto the page to share our progress, see what everyone is doing and answer questions.
What’s Next
Keep working on your blocks and you’ll have them done before you know it. Now, remember: this project isn’t a race, so don’t worry about being "behind!" Just relax and enjoy the process.
Next week, we’ll be putting our blocks together and seeing the star pattern appear – I can’t wait!