
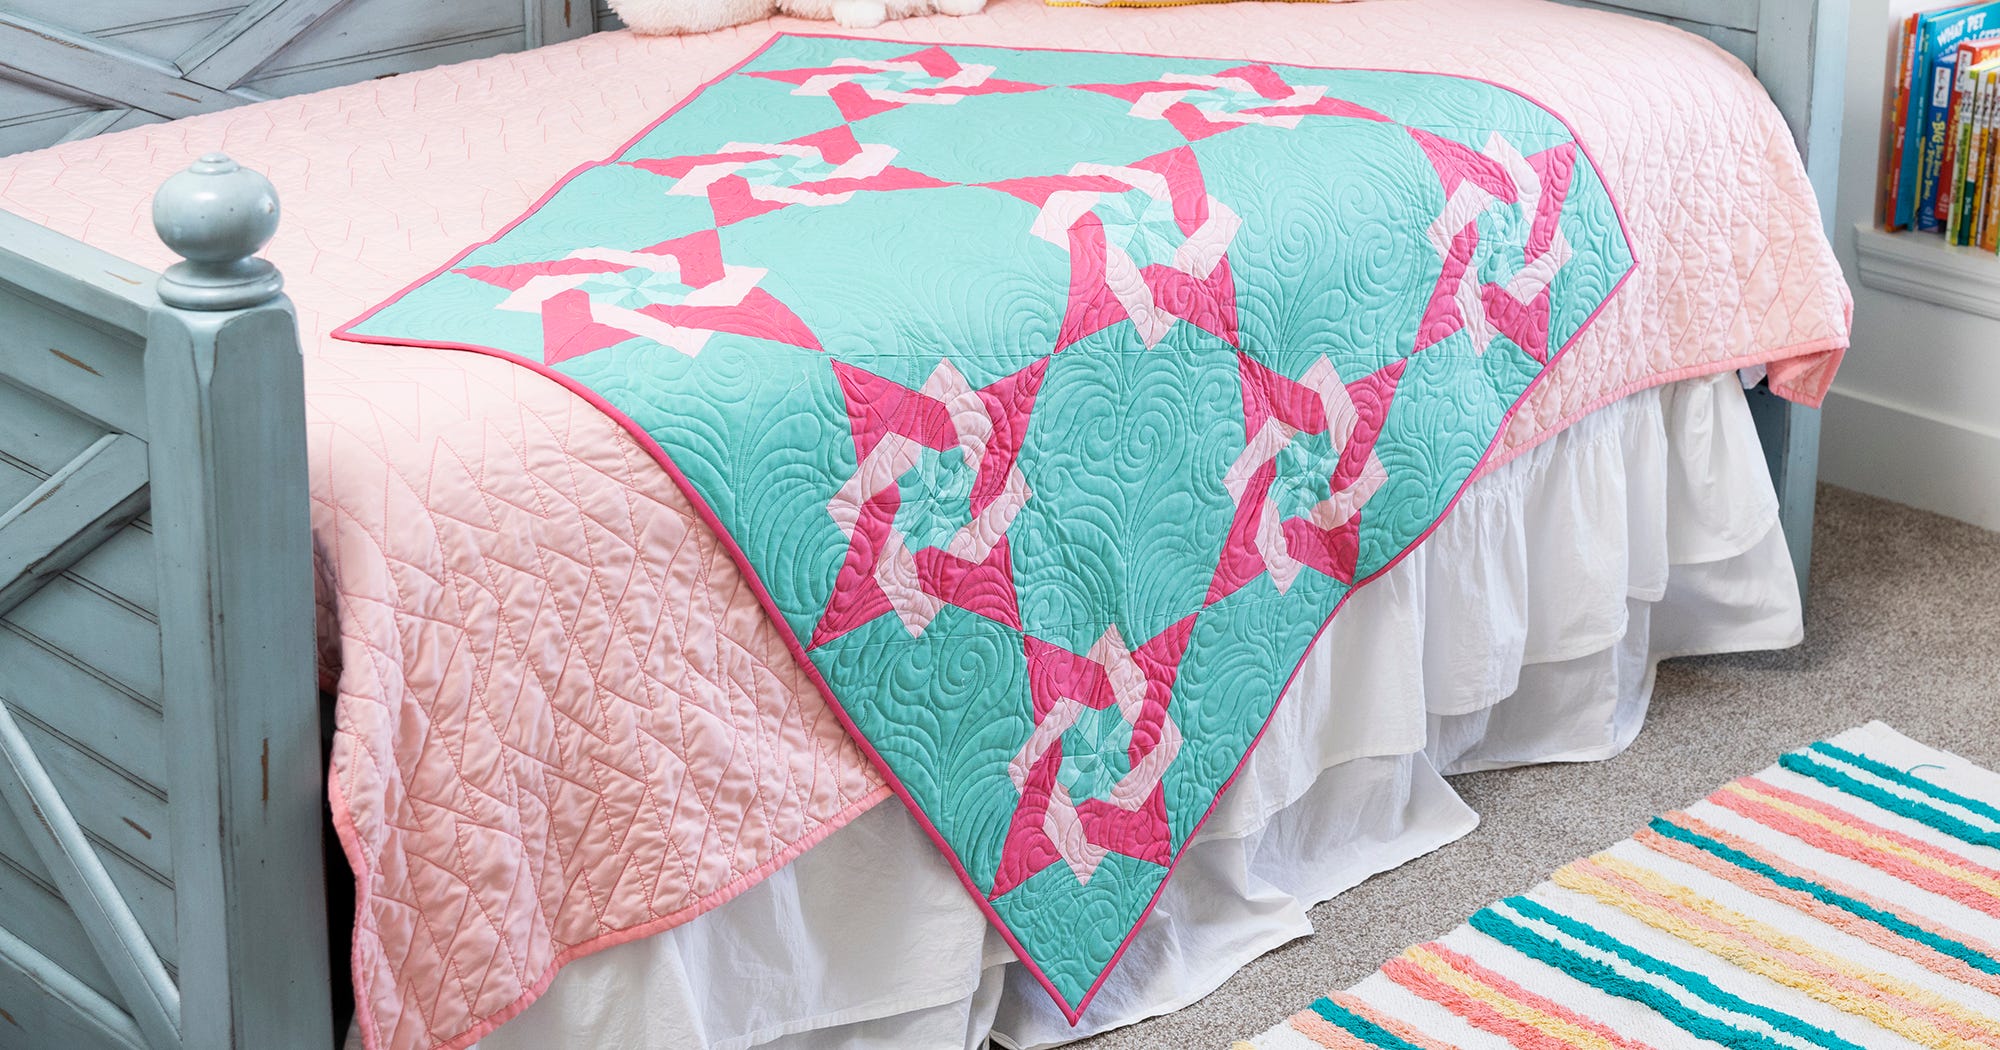
Welcome to Part 3 of our Quilt-Along! This week, we’re diving into cutting our setting squares and triangles to put our top together. We’re also talk about quilting and binding this eye-catching project. If you haven’t already, be sure to join the AQS Quilting Project Parade Facebook group to see all the beautiful blocks and projects your fellow quilters are working on!
-
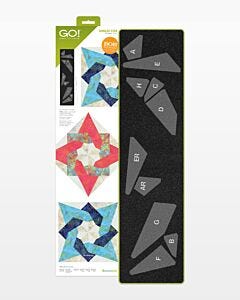 GO! Tangled Star-10" Finished DieSpecial Price $89.99 Regular Price
$104.99You Save $15.00
Setting Squares
Setting square is a fancy term for blank squares, set traditionally as flat blocks or on point, alternated with pieced blocks. These blocks serve to add more negative space to a quilt to change the look of having all pieced squares. By expanding the space between the blocks, the entire look of a project changes.
Besides changing the look of a project, setting squares will give the eye a place to “rest”. It also provides some valuable real estate in the quilt top that’s great for adding applique and/or embroidery or for showcasing some custom quilting.
Your GO! Tangled Star blocks will measure 10½” square, before being sewn into the quilt top to finish at 10”, so I’m using the GO! Big Square 10½” (10” finished) die to cut my squares. You will only need to cut 4 of these squares. It’s important to note that this die will only work in the GO! Big Electric Fabric Cutter, because it’s too wide to fit through the GO! or GO! Me Fabric Cutters.
-
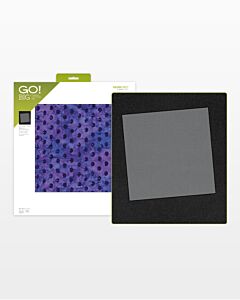 GO! Big Square 10 1/2" (10" Finished) DieSpecial Price $99.99 Regular Price
$114.99You Save $15.00


Setting Triangles
Setting triangles are used to fill the gaps along the sides of a quilt where the blocks are set on point. Once upon a time, when I was just learning how to make quilts, I would cut oversized square to sew onto the edges of tops, then cut them off to be even on the side, but this method caused problems that can be easily avoided by using GO! Setting Triangles-10” Finished.
First, I wasted a lot of fabric and no quilter wants to waste their precious fabric, am I right? More importantly, however, this but the bias, or stretchy, part of the fabric on the outside of my quilt. As you can imagine, that wasn’t a good look for my finished project – lesson learned!
Using the GO! Setting Trirangle dies means that you will have your lengthwise grain to the outside of your quilt. The die has both a side setting triangle and a corner setting triangle. I highly recommend following the pattern directions and cutting your side triangles first, then using the scraps from that to cut your corner triangles.
You will need 8 of the side triangles and 4 of the corner triangles.

-
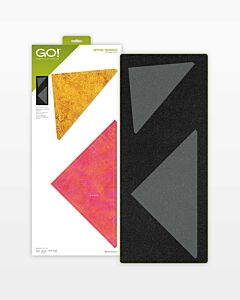 GO! Setting Triangles-10" Finished DieSpecial Price $109.99 Regular Price
$129.99You Save $20.00
With all your pieces ready, it’s time to layout your quilt! I love this part, don’t you? I’ve recently expanded my design wall area to accommodate larger projects (or more than one at a time!). Don’t worry if you don’t have a design wall, I’ve been known to use the floor, my dining room table, my kitchen island and even my bed for laying out quilts over the years.
I recently helped a friend build an 8’ x 8’ design wall using large sheets of foam and a king size flannel sheet. Luckily, she found taller and stronger help to hang it on her wall!
The key to sewing your rows together is keeping those setting triangles in the proper position. I like to pin my rows together at the design wall, then move to machine to sew them together.
For pressing, I suggest pressing your rows in opposite directions so you can nest your seams. If you prefer, you can press all the seams open.

Next Steps
As much as I love my small iron, once I complete a top I like to give it all a good press with a full-size iron before layering it with batting and backing for quilting.
I must admit, I have not selected backing for this project yet, so that needs to happen next for me. I also need to decide on quilting. This quilt is small enough that I may hold onto it and quilt it myself – or, I may take it to my local quilt shop and have the quilter there help me out. Since I already have 2 projects pinned together to quilt myself, I may just that this one to Mr. Ron and “quilt by check”. The setting squares are perfect for showing off some fun quilting. I’ll probably go with a design that’s full of curves to contrast the angles in the blocks.
Binding - The Final Frontier
I love cutting my binding when I’m cutting my project out, because I already have my cutter and dies handy. This one isn’t cut yet, since I’m considering doing a flange binding to pull out a hint of the light blue around the outside, what do you think? Even if my binding isn’t complete before my quilt goes to the quilter, rest assured it will be ready to go on the quilt by the time I bring it home!
Be sure to keep sharing pictures of your progress, and any questions you may have as well. The AQS Quilting Project Parade is a such a wonderful and supportive group, and I know you will enjoy seeing all the posts about this project.
Don’t forget to tag your pictures with #AQBuilt in the caption, too. Next week is Show & Tell time for this Quilt-Along, and I’ll be looking for those pictures to share on the blog and in the show. Remember, this should be a fun project, and it isn’t a race, so relax and enjoy the process and I’ll see you next week!


