


Why not try a new quilting technique while you're homebound? This hexagon tutorial by Kristina Brinkerhoff of Center Street Quilts helps simplify sewing y-seams so that beginners can confidently approach them. You might want to read this, even if you already know how to sew y-seams. She has great tips and insight to share!
Hi quilting friends! I'm Kristina Brinkerhoff from Center Street Quilts and I'm excited to be sharing a tutorial all about Y-seams on the AccuQuilt blog today. Y-seams have a reputation in the quilting world for being intimidating and hard, but like with many other new sewing methods, once you give them a try you'll realize there was no reason to be nervous!
Supplies needed to make a baby size hexagon quilt:
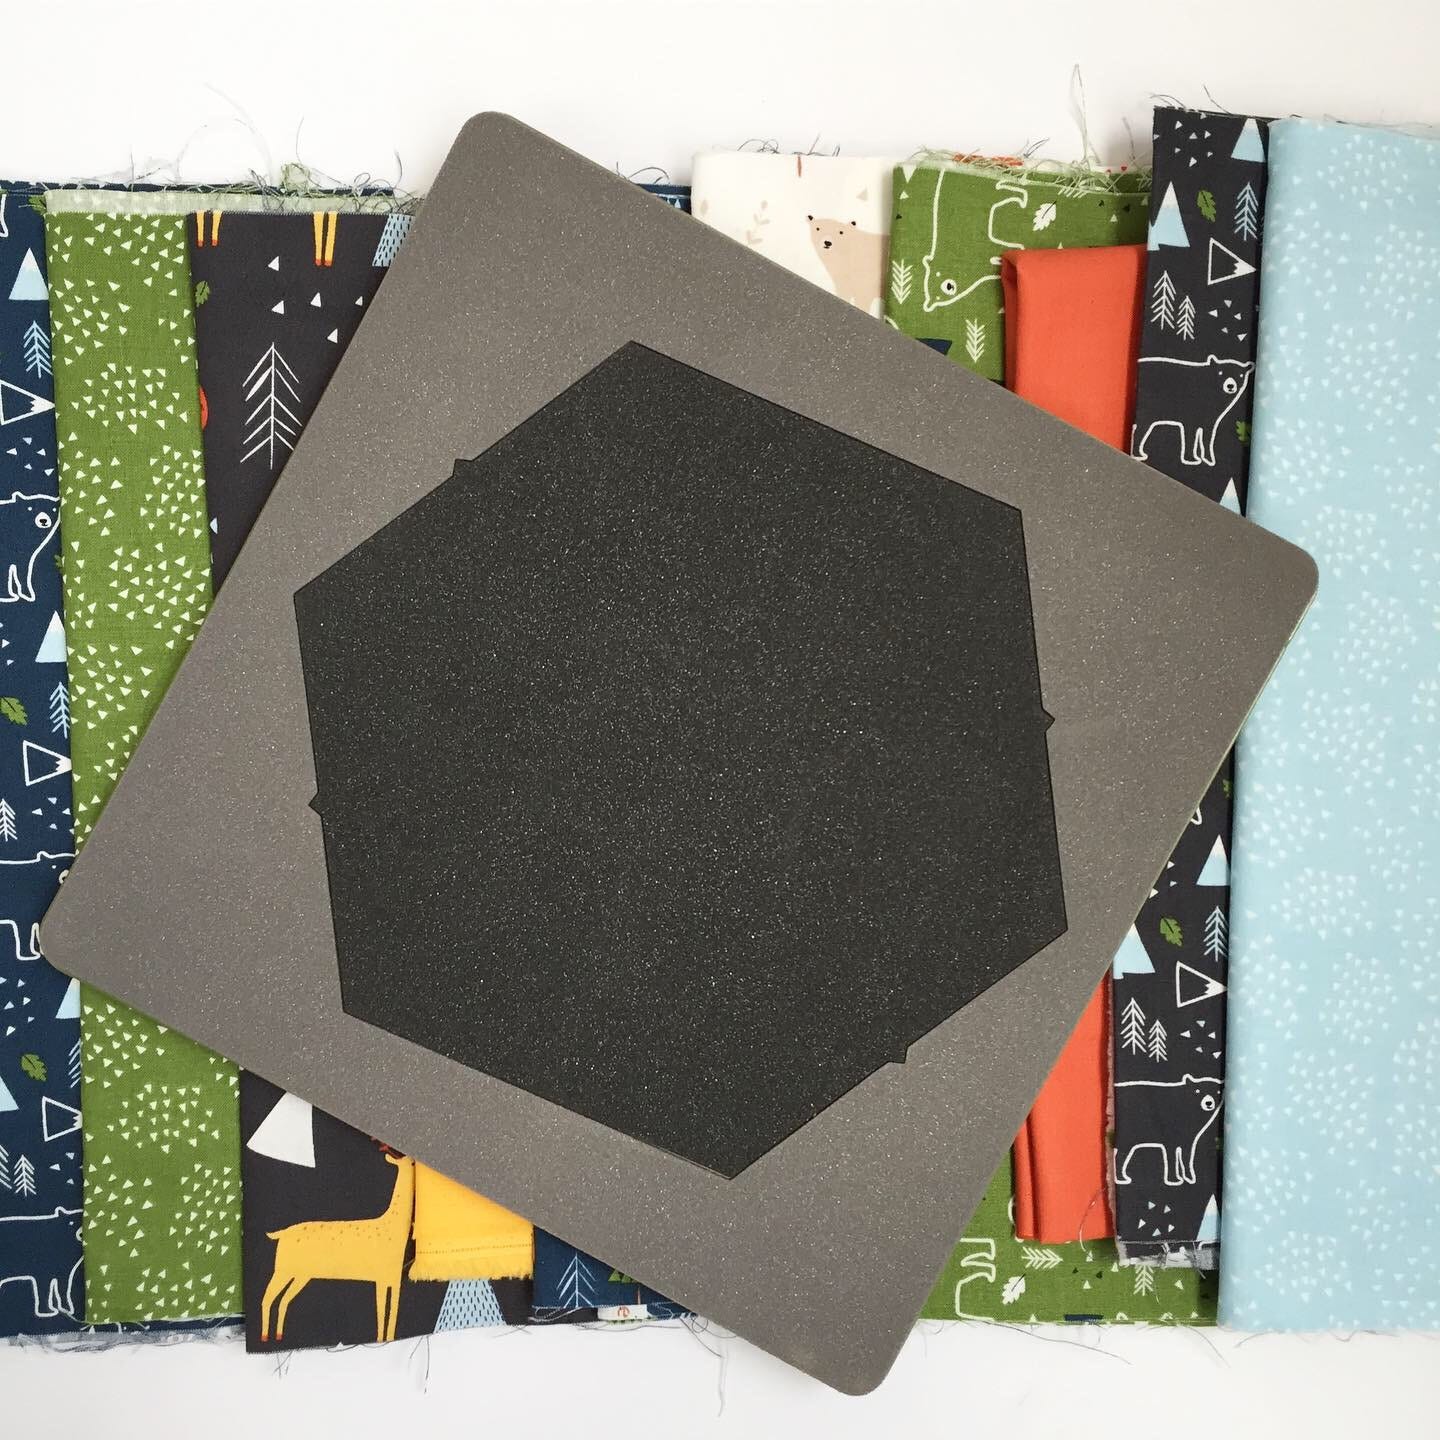
- GO! Hexagon-4½" Sides (4¼ Finished) Die (55438)
- (12) ¼" yard cuts of fabric (hexagons)
- 1⅔ yard 60" wide minky fabric OR 3 yards 44" wide cotton fabric (backing)
- ⅜ yard fabric (binding)
- 51" x 63" piece of batting
The fabric shown in the tutorial is from Riley Blake Designs' In the Forest fabric line.
Instructions
Step 1: Use the GO! Hexagon-4½" Sides die to cut out five hexagons from each ¼ yard cut to yield a total of 60 hexagons.
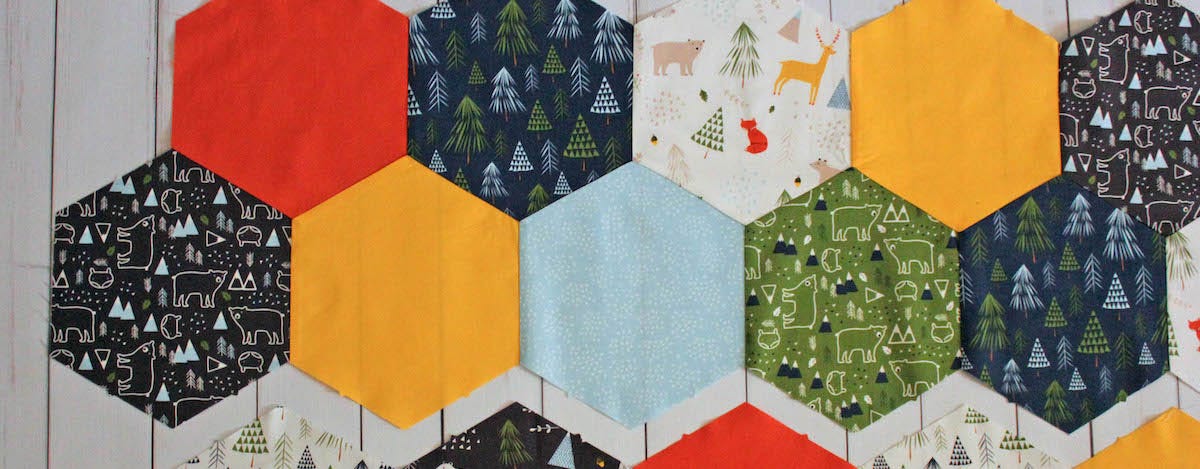
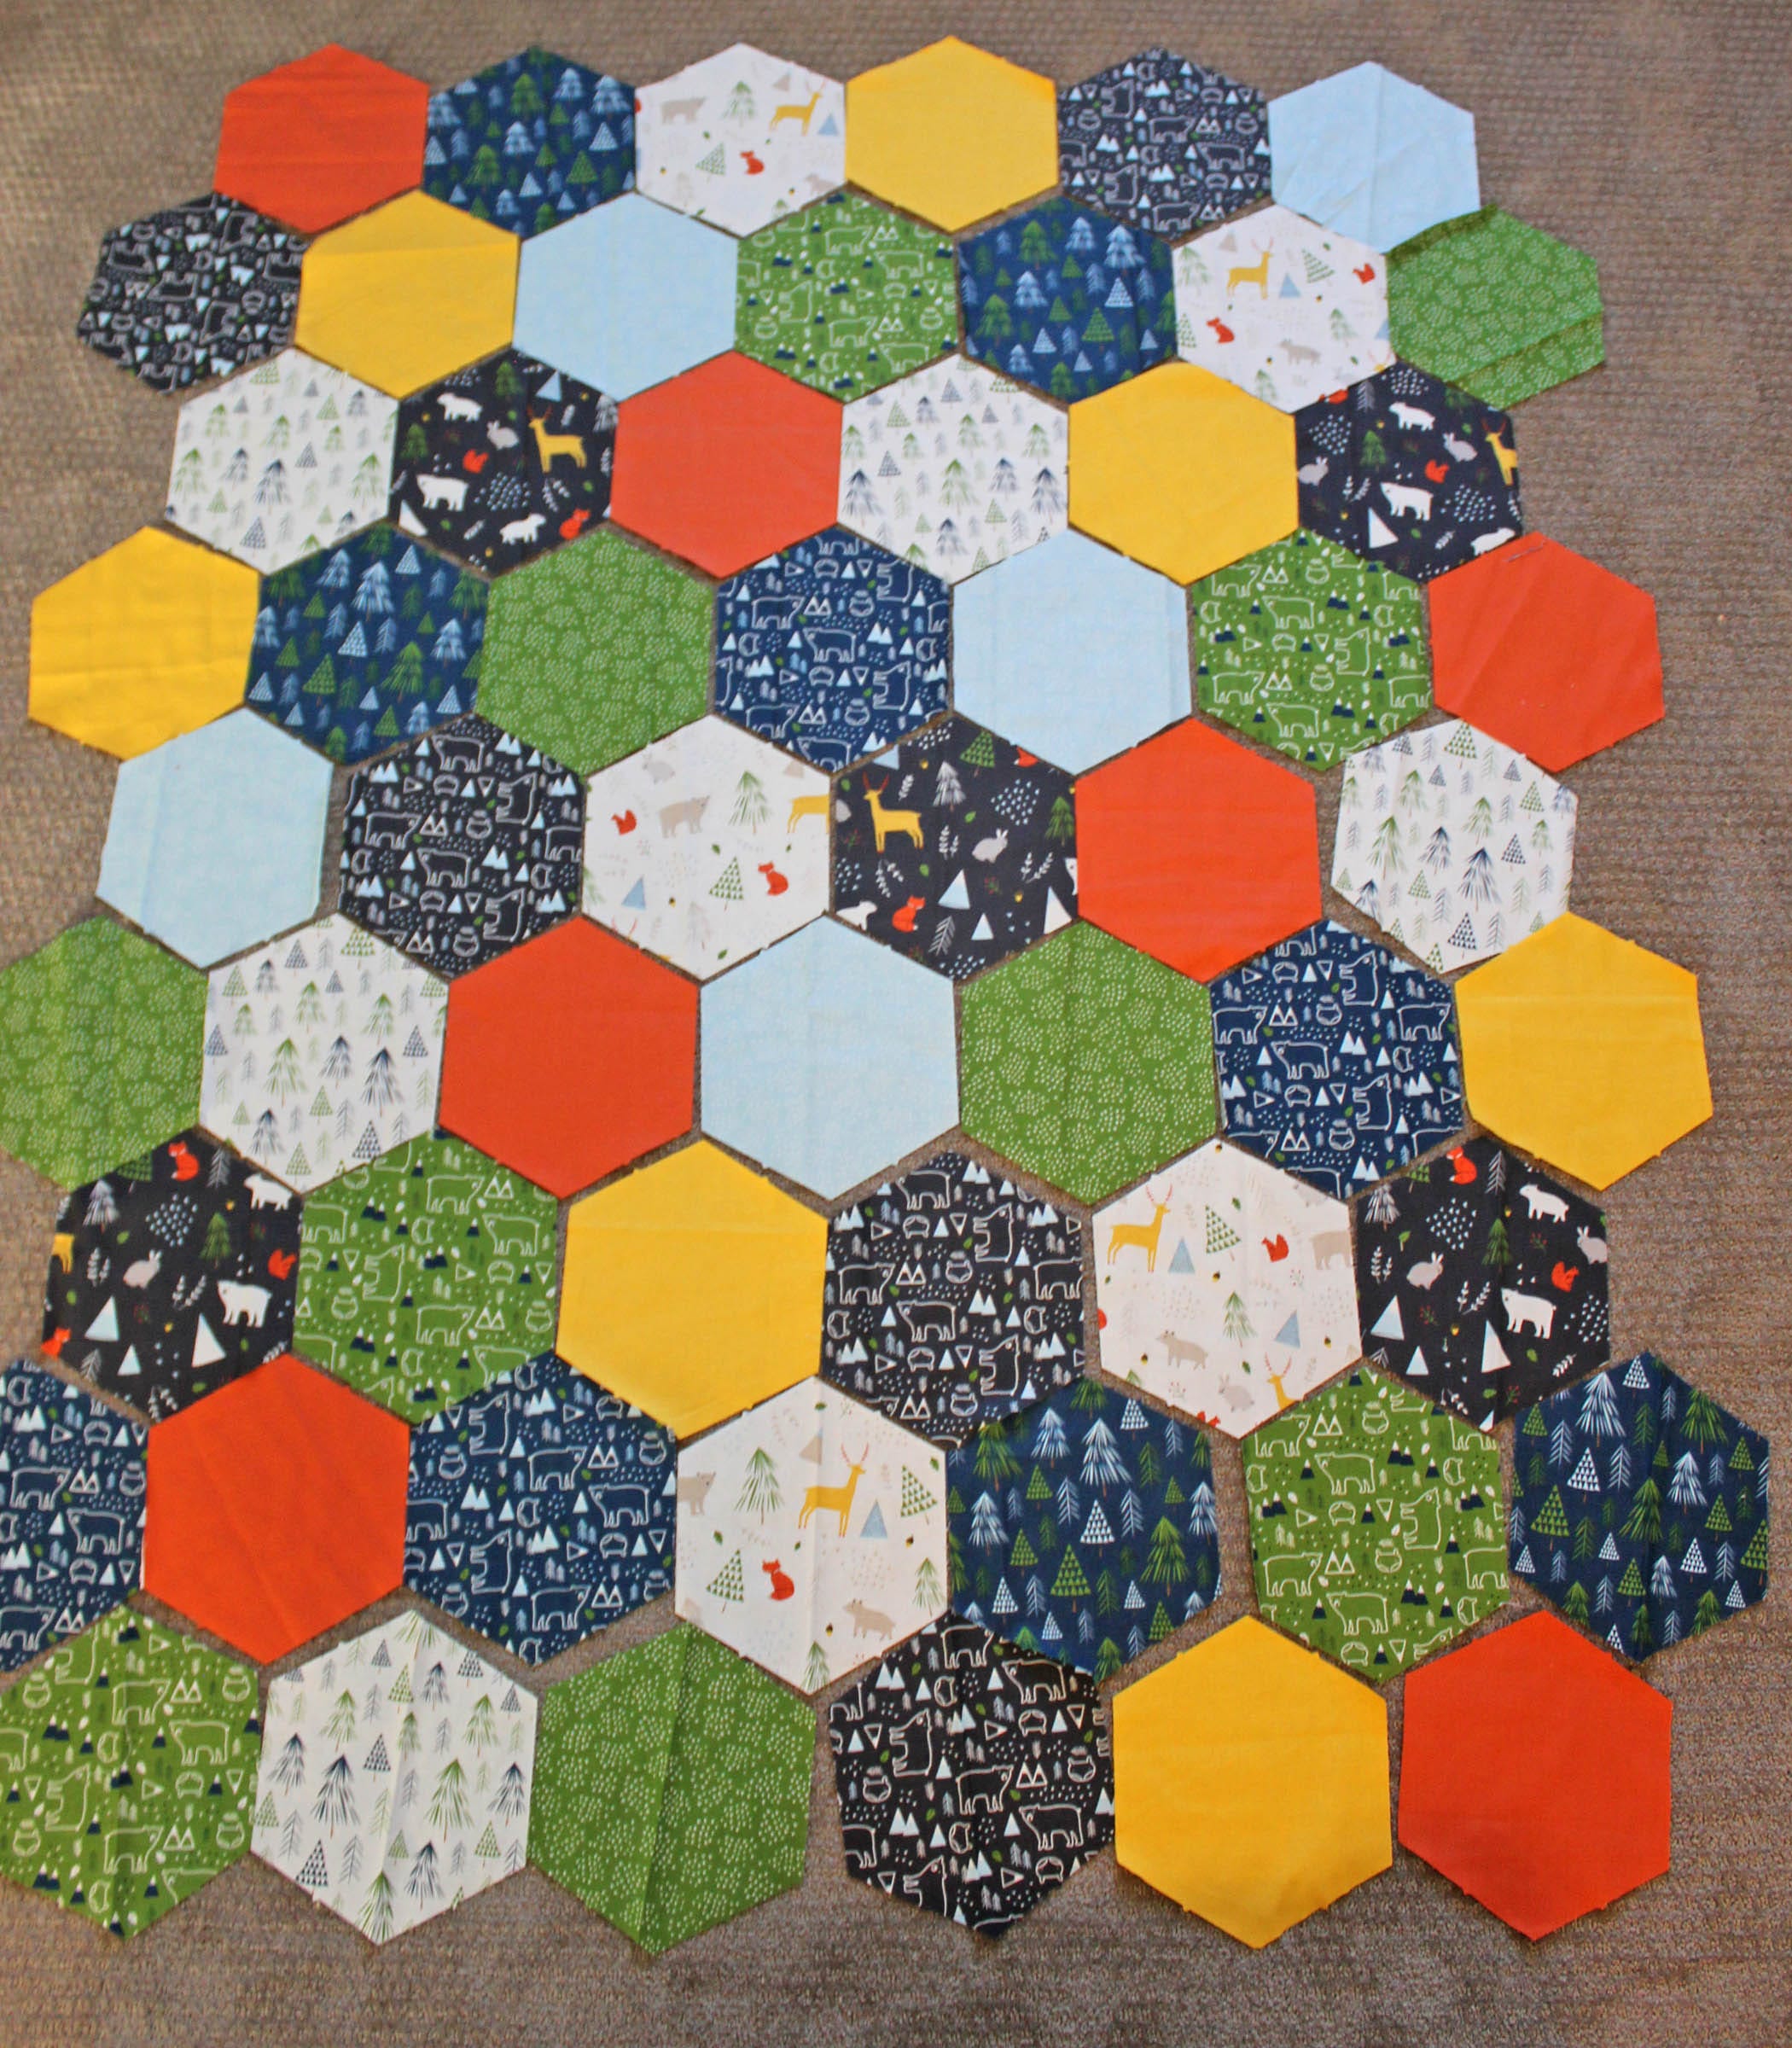
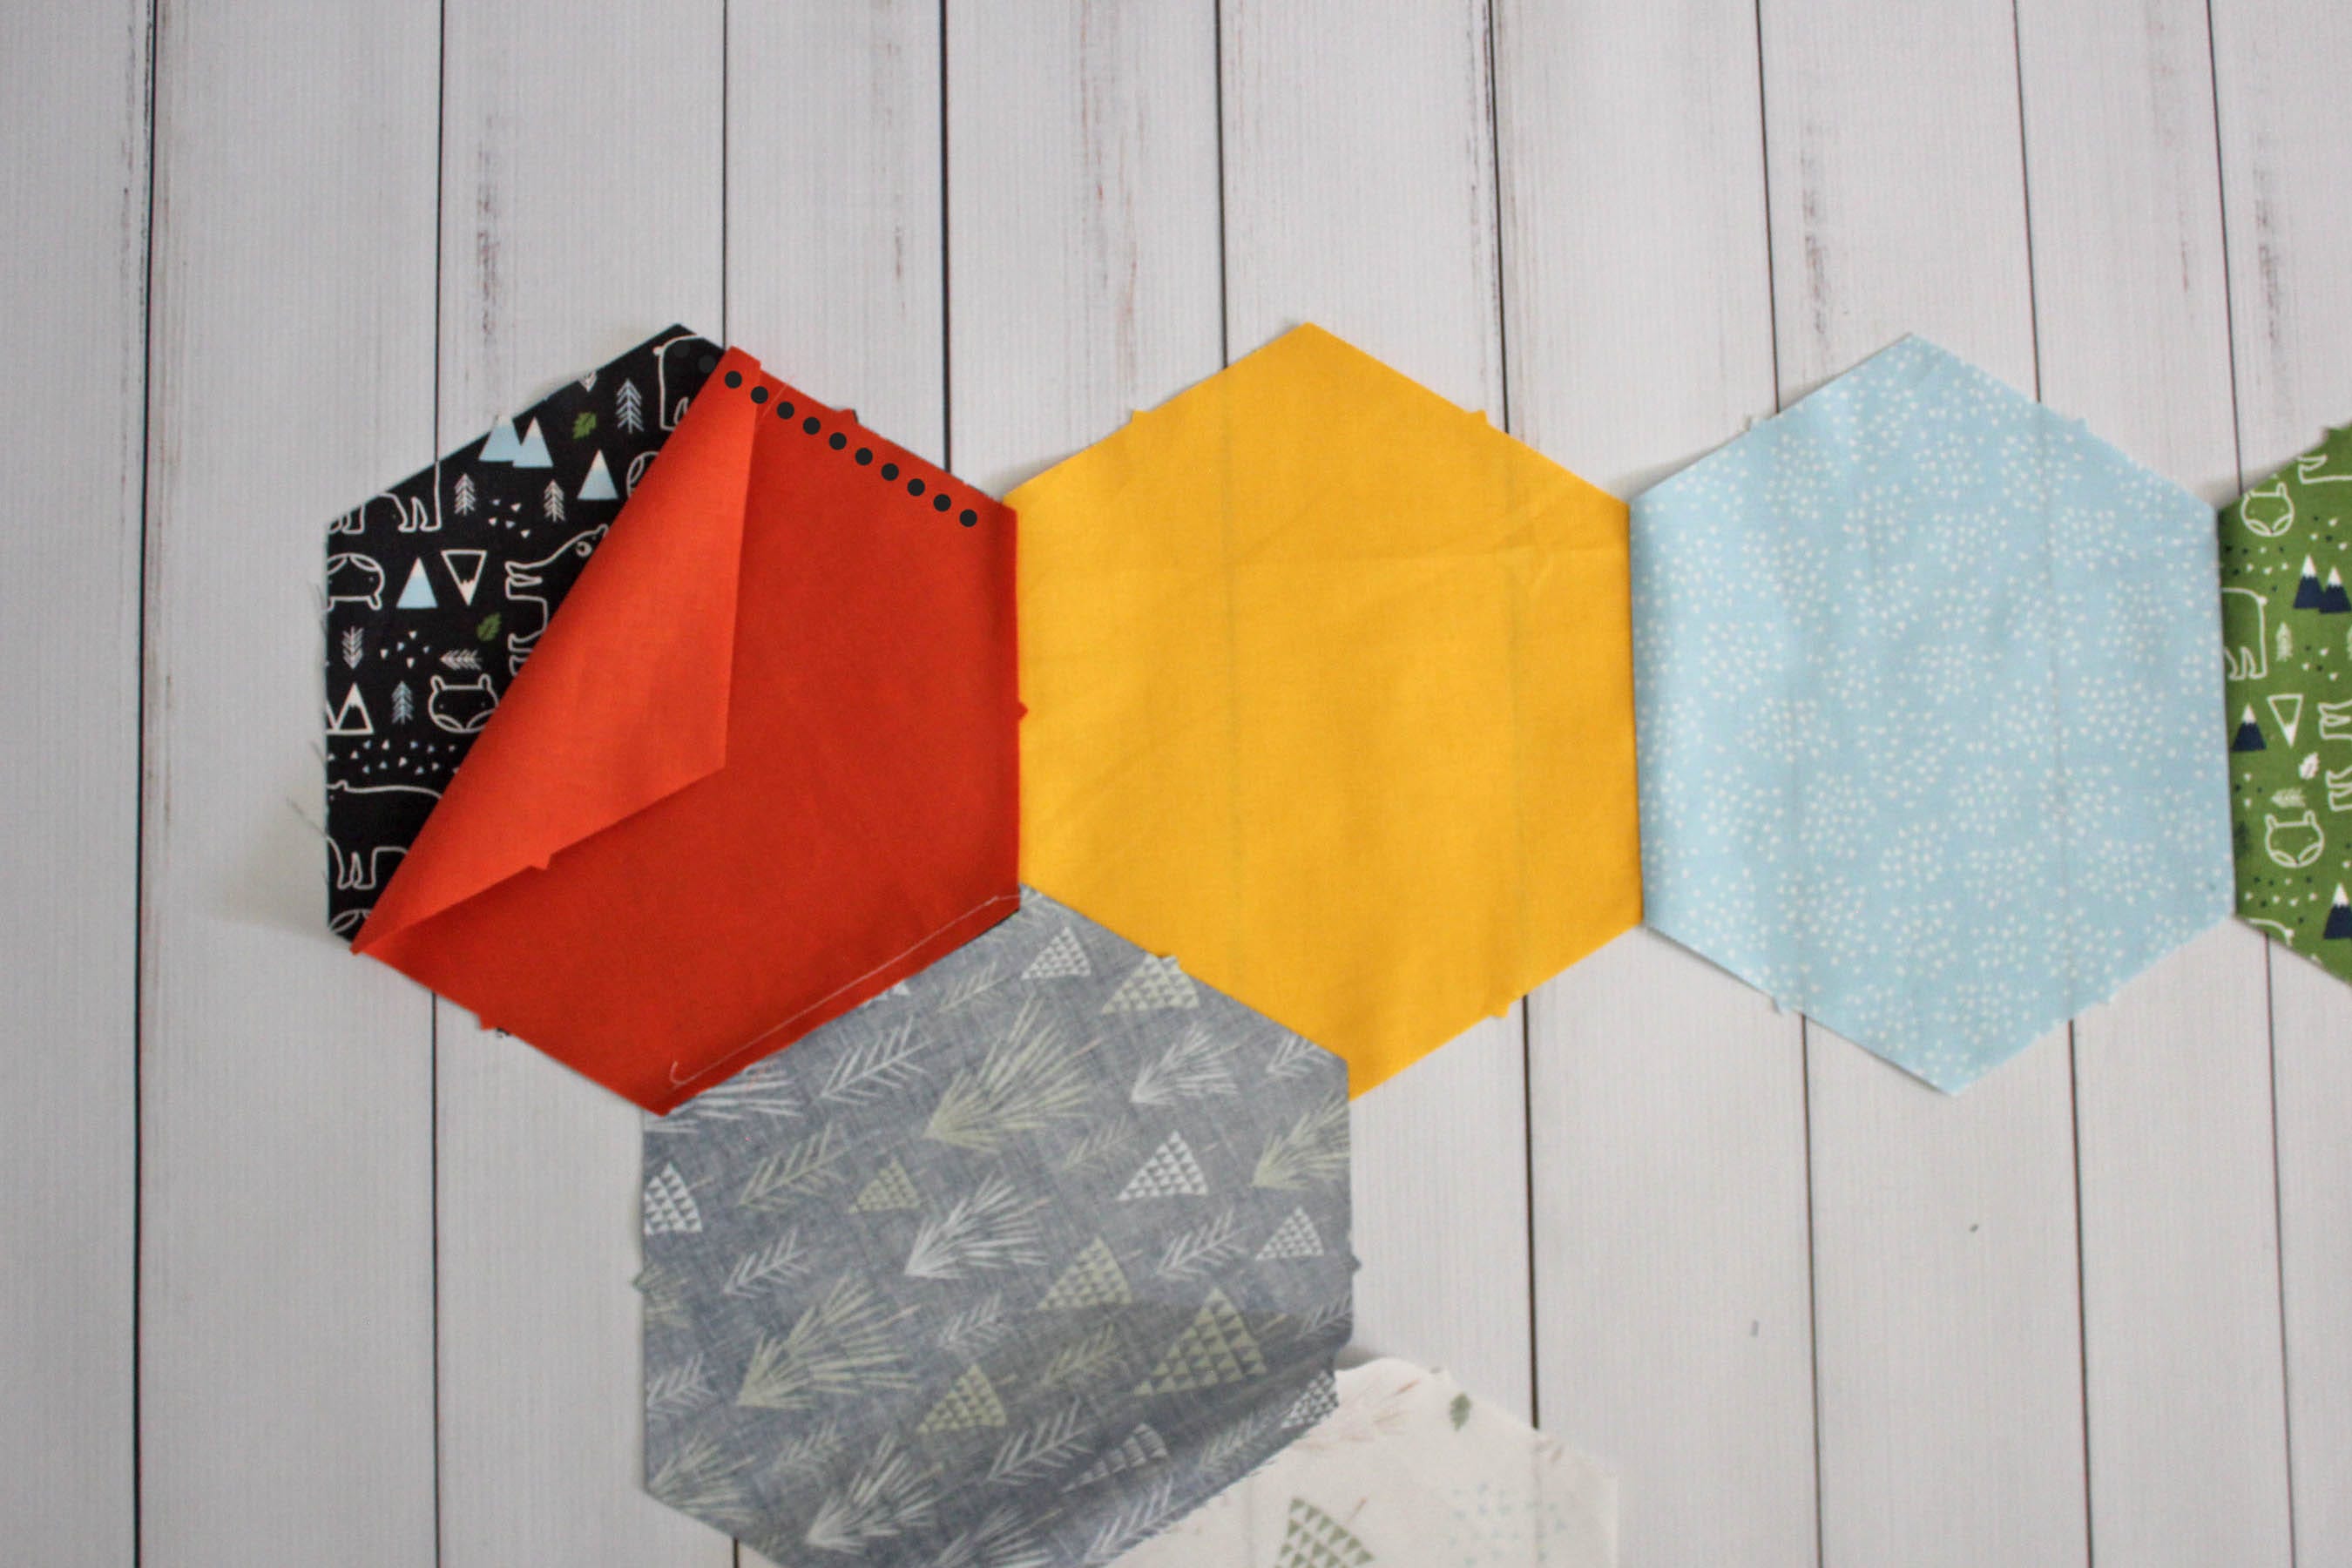
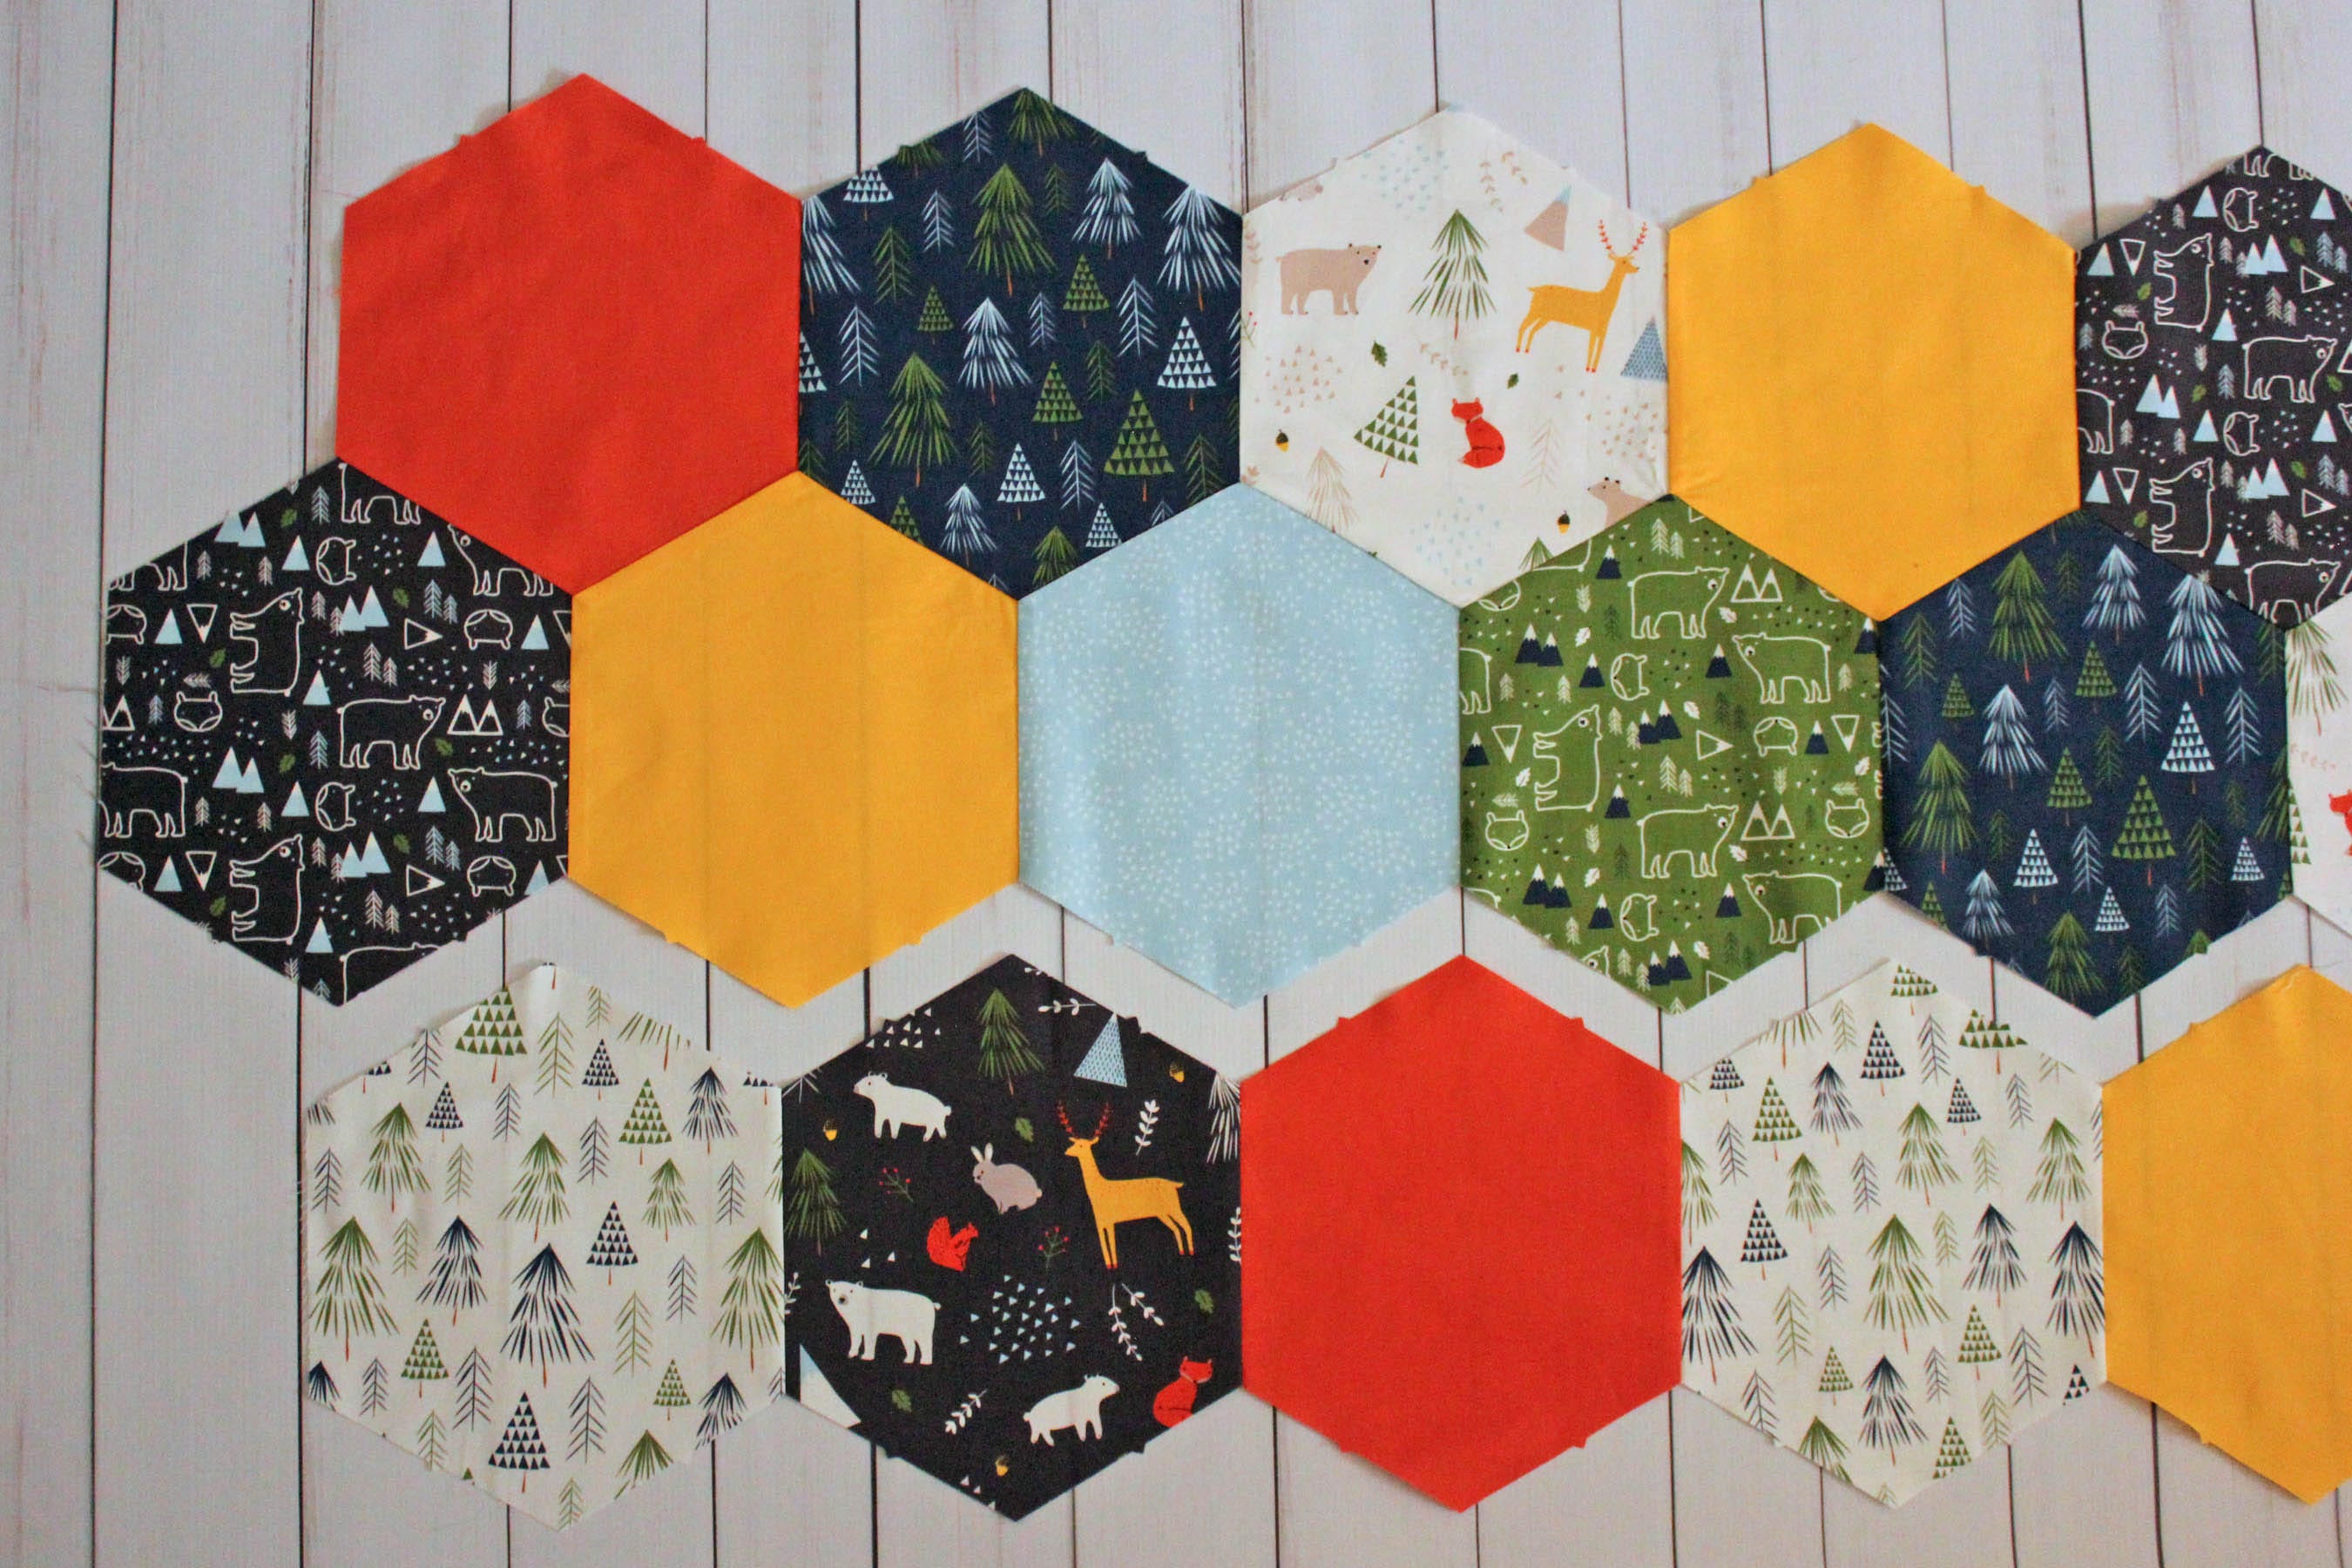
Step 2: Lay out the hexagons in nine rows, alternating between six and seven hexagons per row as shown in the image below. You will have a couple hexagons left over.
Tip: You'll notice that the hexagon shapes cut from the GO! Hexagon-4½" Sides die have four sides with notches and two sides without notches. Place the hexagons into rows so the sides without notches are on the left and right of the hexagon and the notches are on the top and bottom sides of the hexagon.
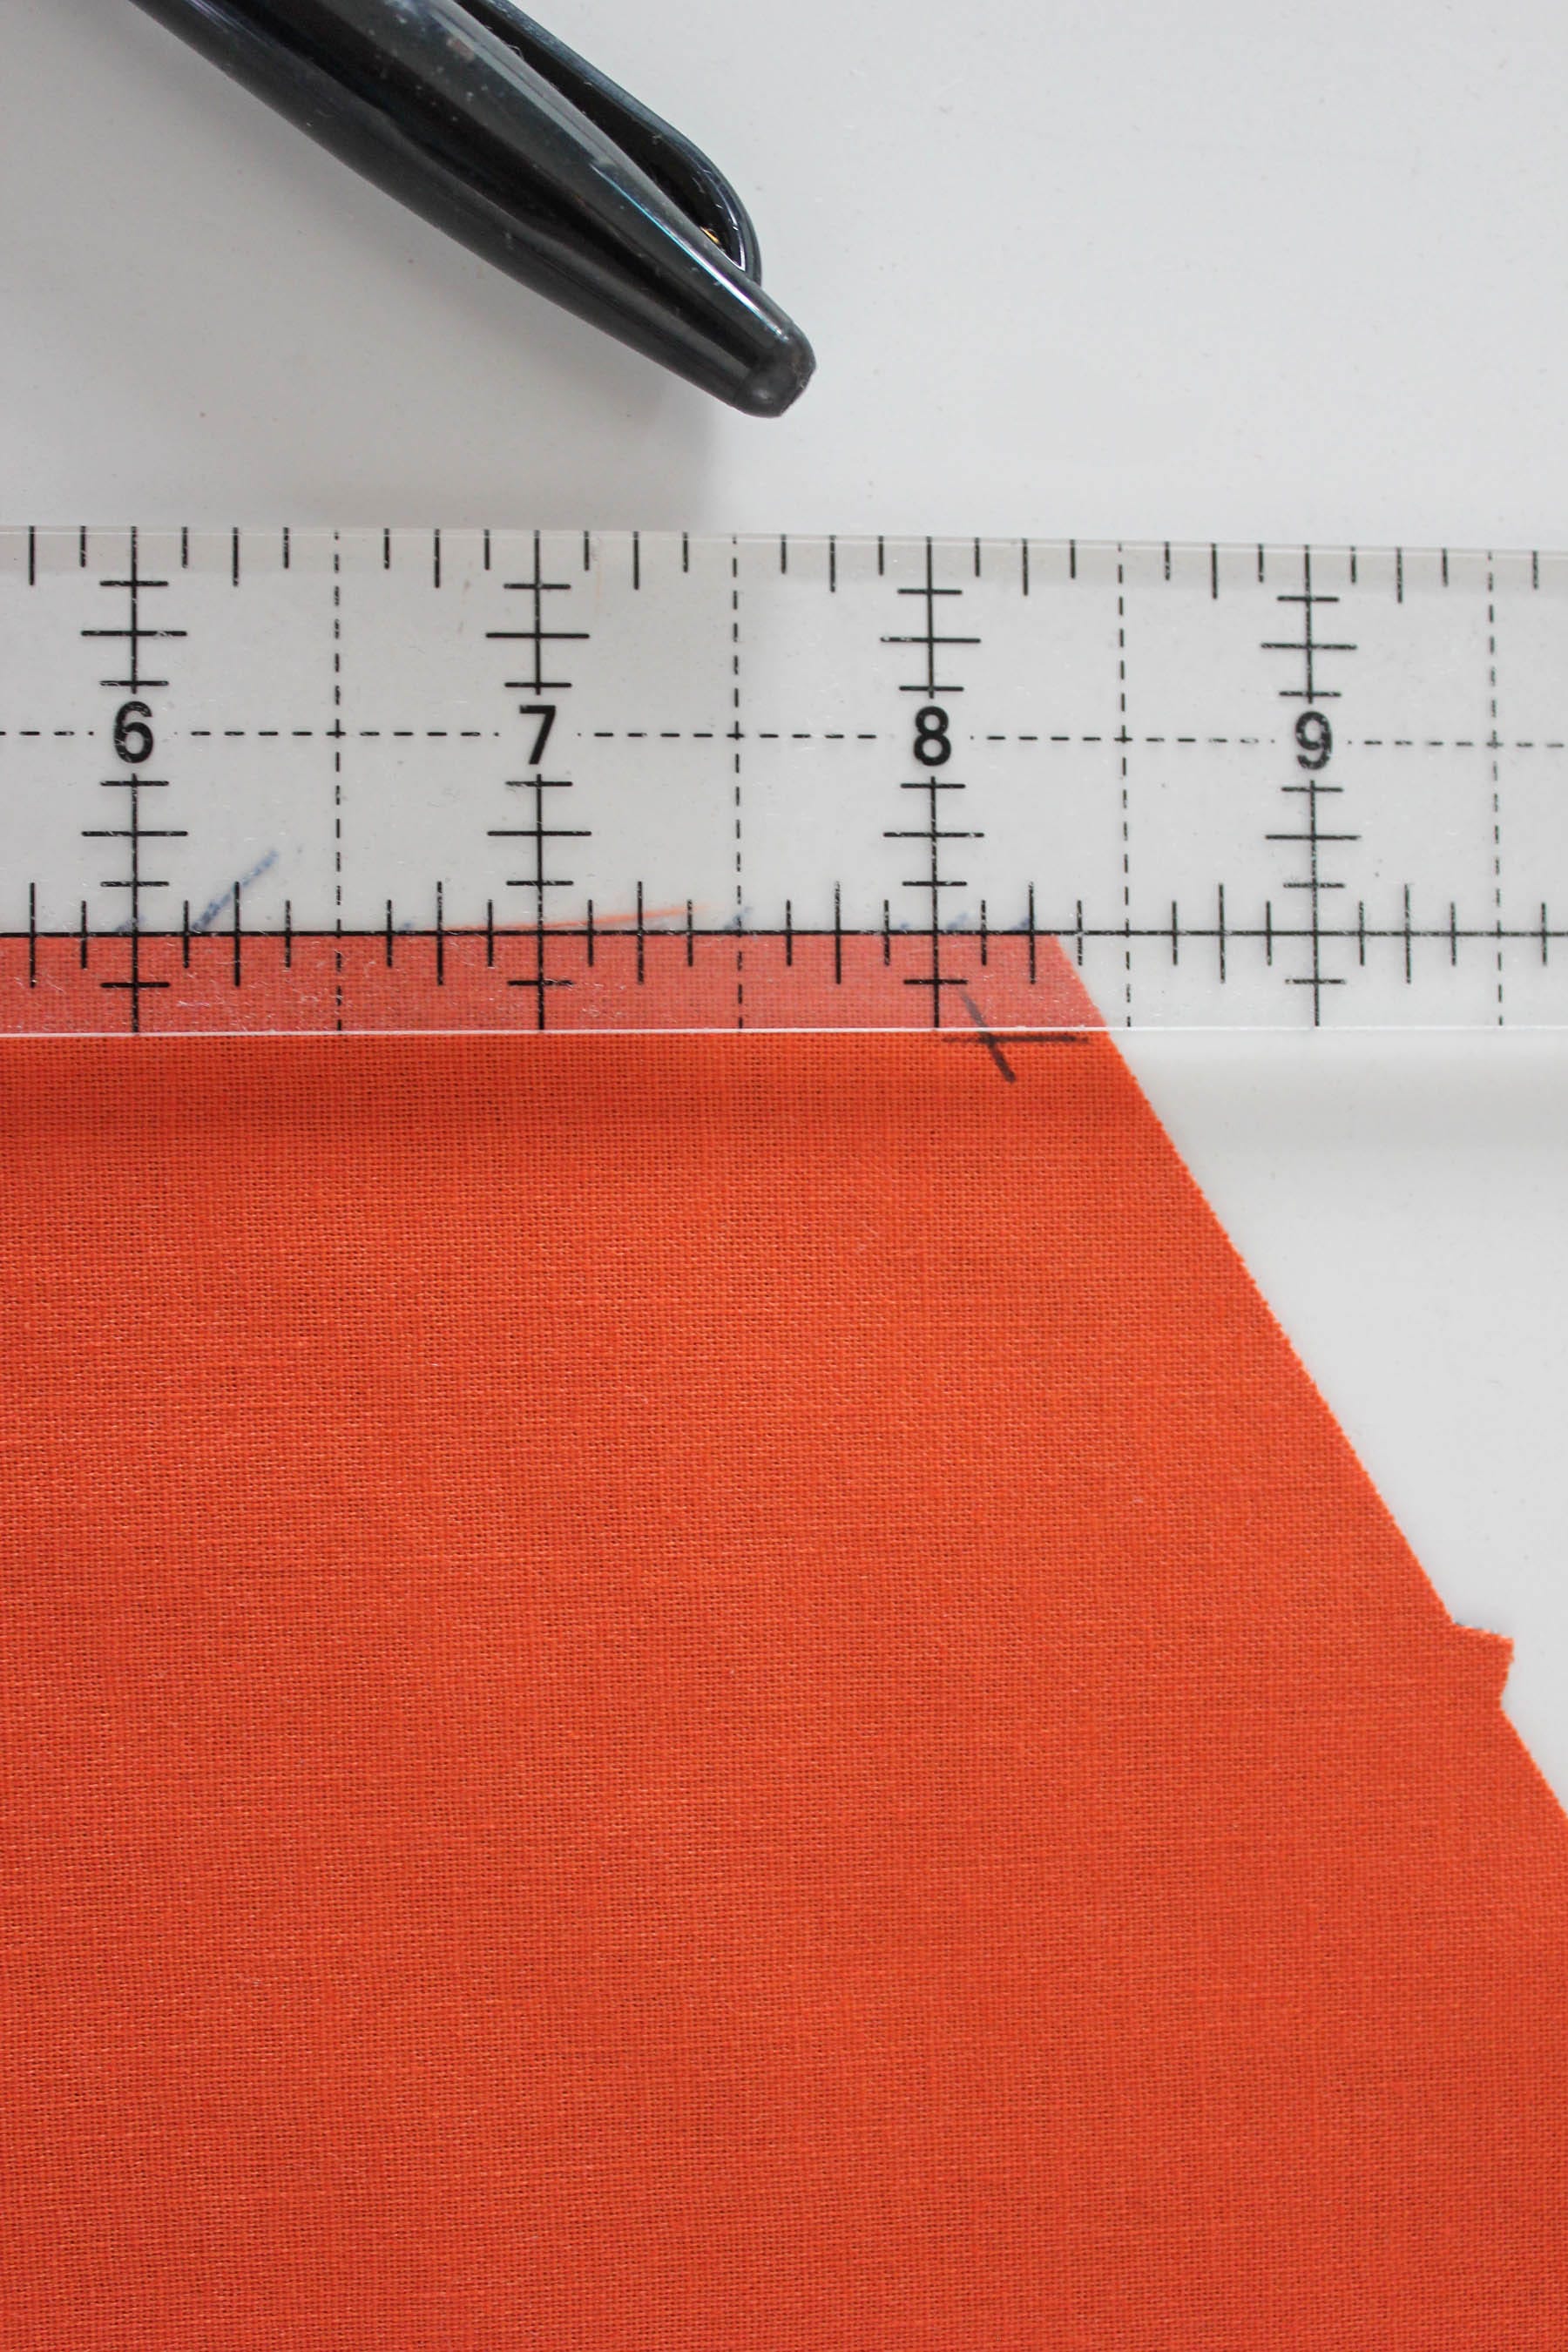
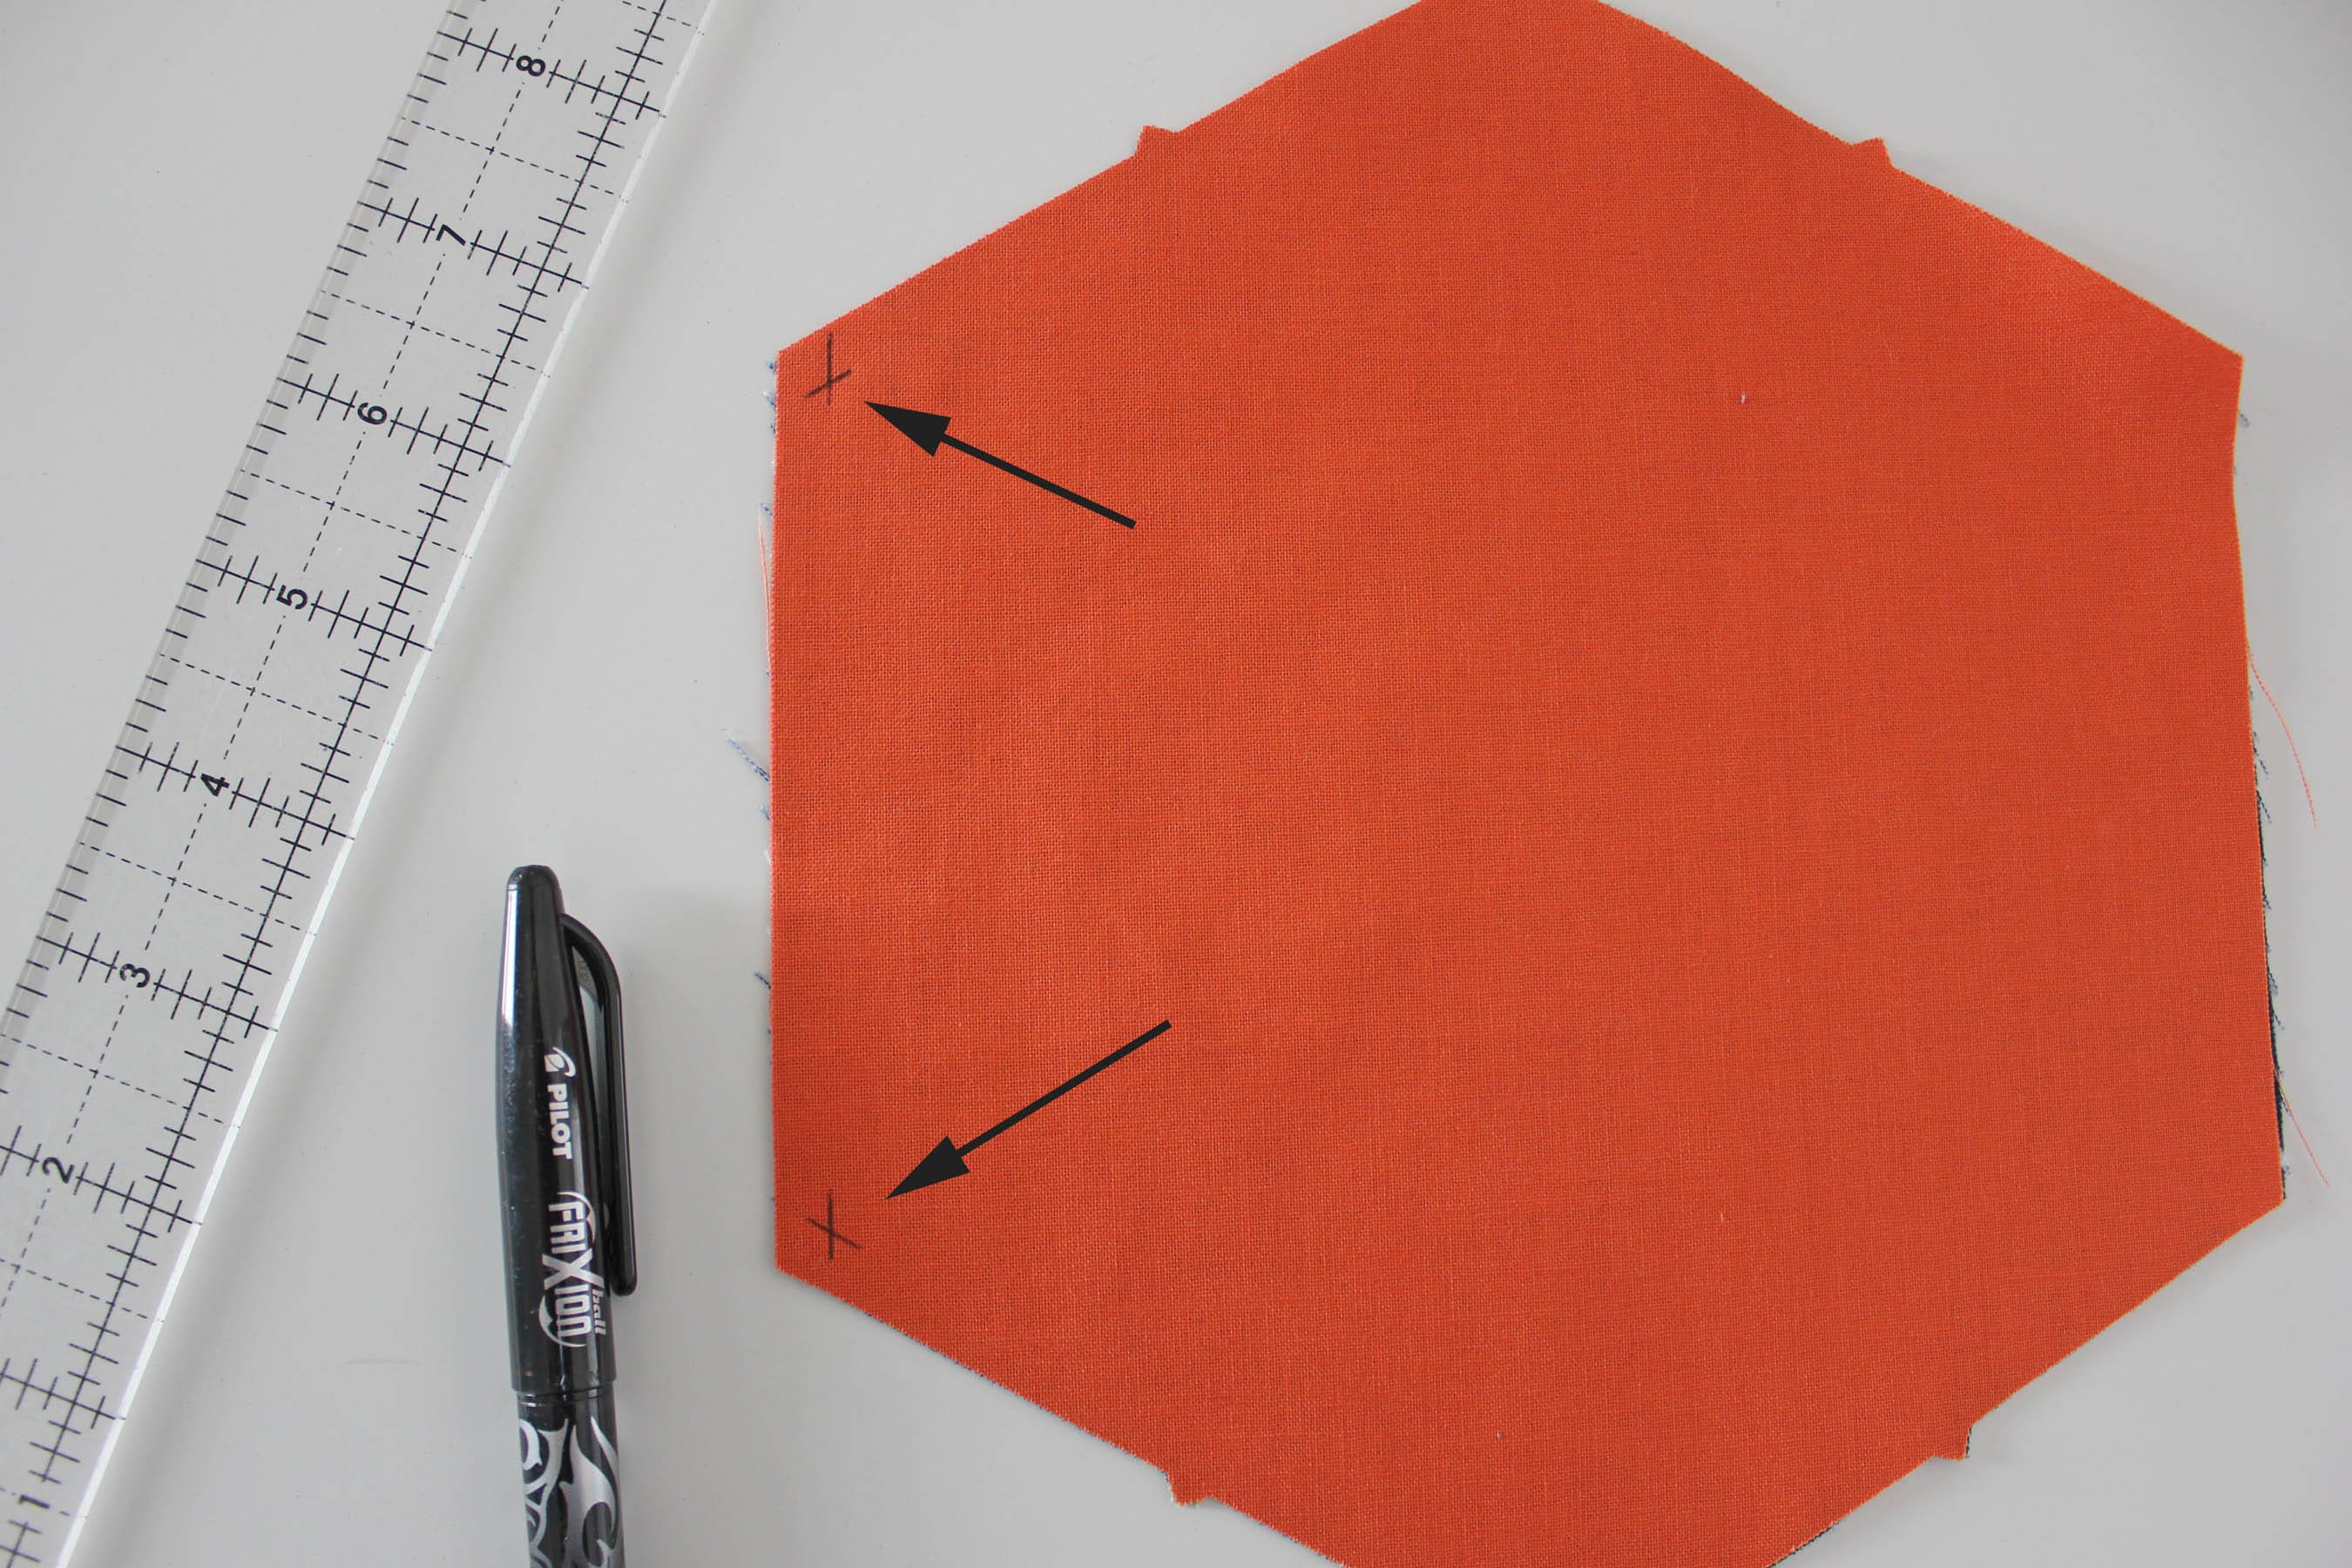
Step 3: Take the first hexagon in the upper left corner of the quilt and use a temporary marking tool and a ruler to make marks ¼" in from the corners of one of the non-notched sides.
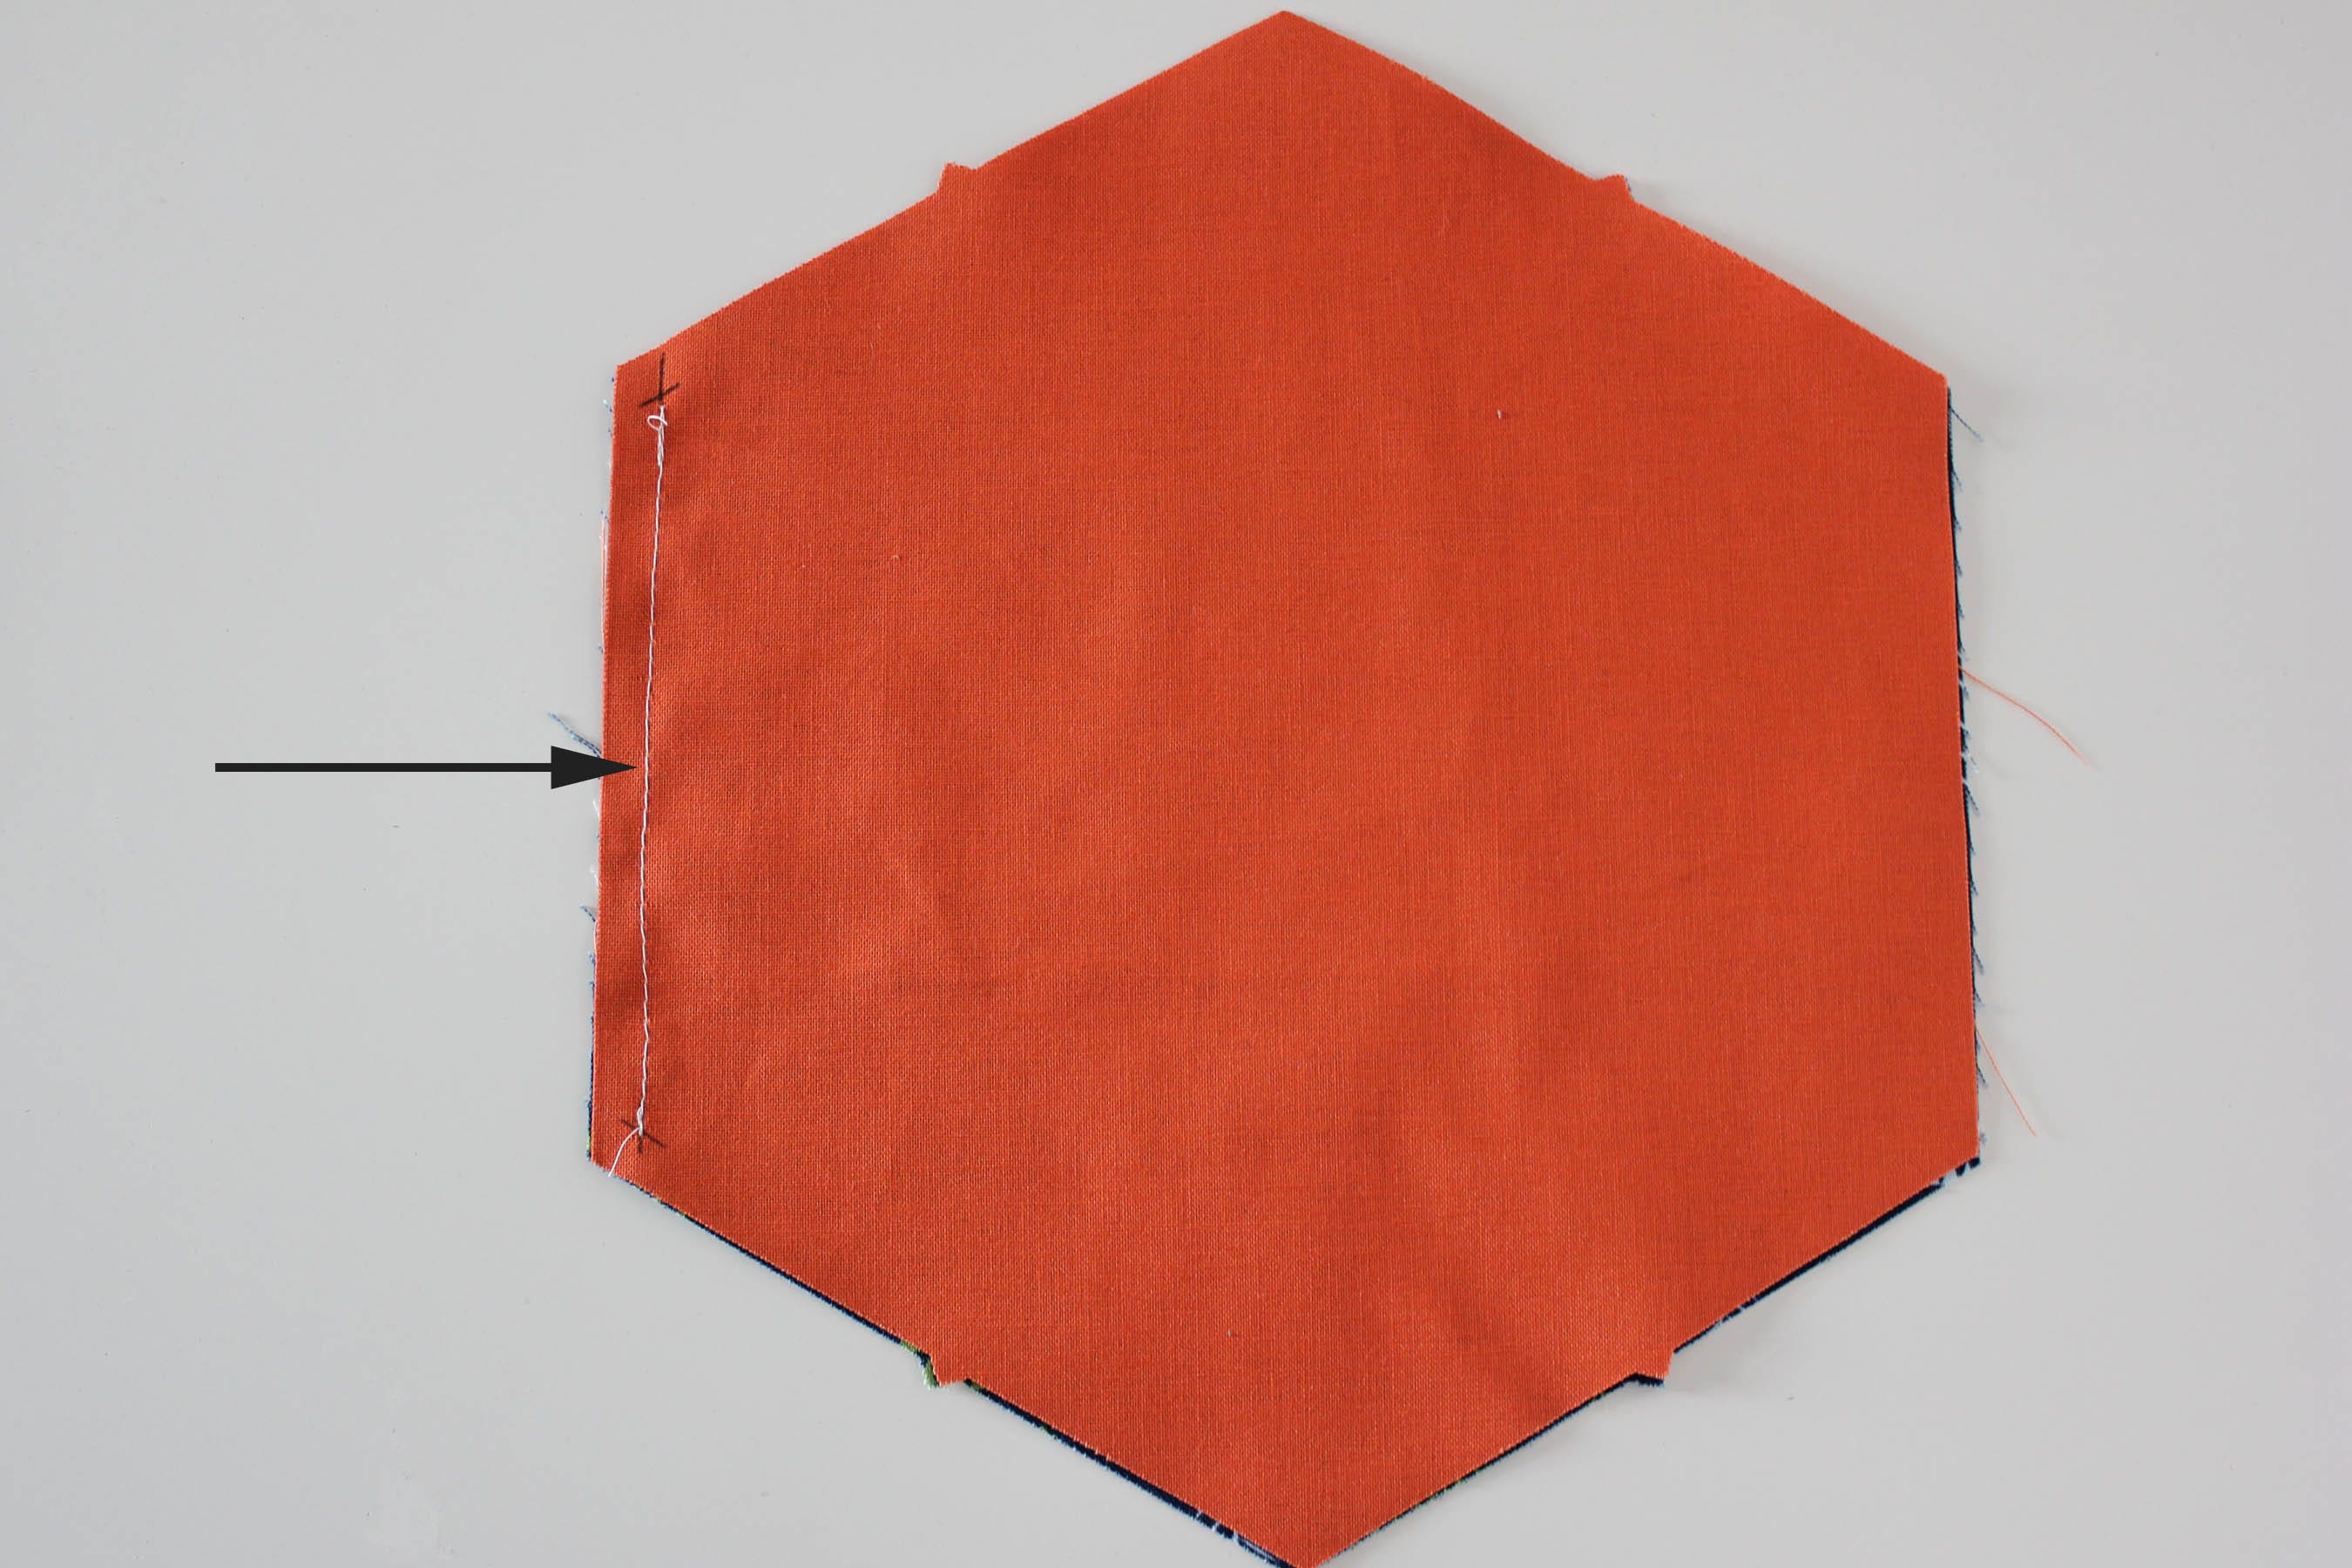
Step 4: Place the first hexagon, right sides together, on top of the second hexagon from the first row and sew from the bottom mark to the top mark, staying ¼" away from the edges. Do not sew past the marks you made--that extra space is needed as you attach the rows together.
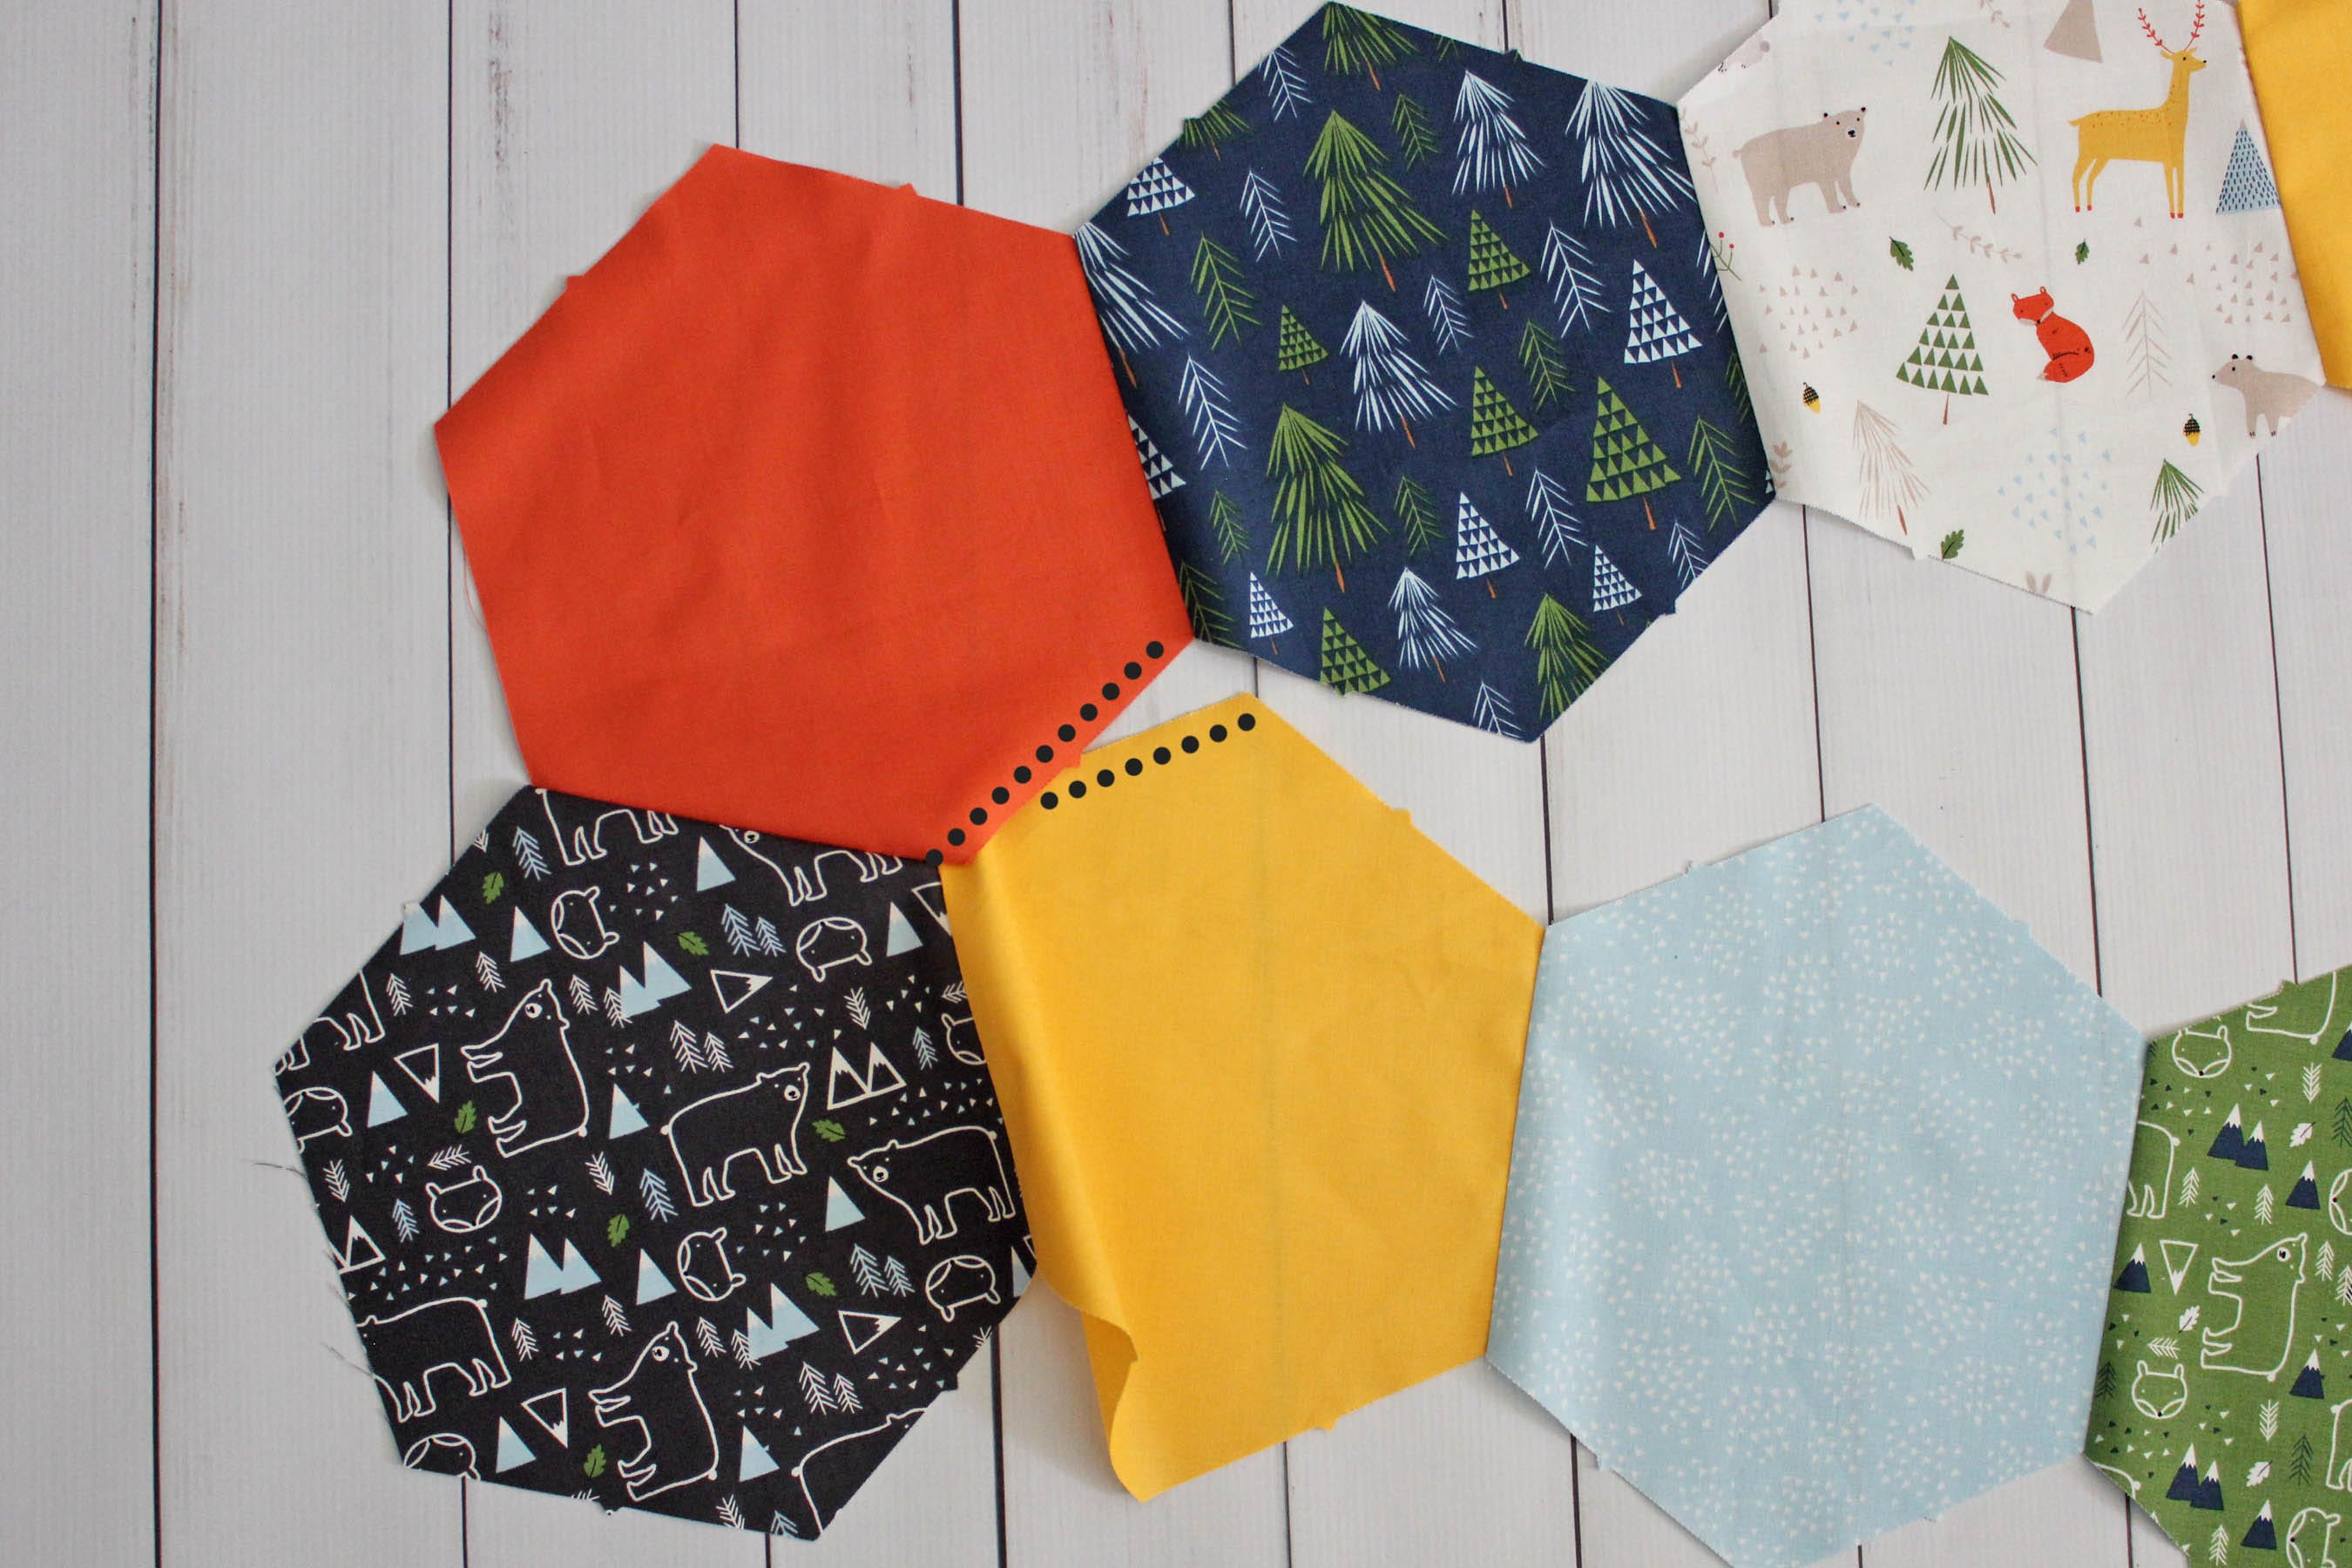
Step 5: Open the two hexagons and repeat with the third hexagon. First, marking the corners ¼" away from the edge, then sewing the seam.
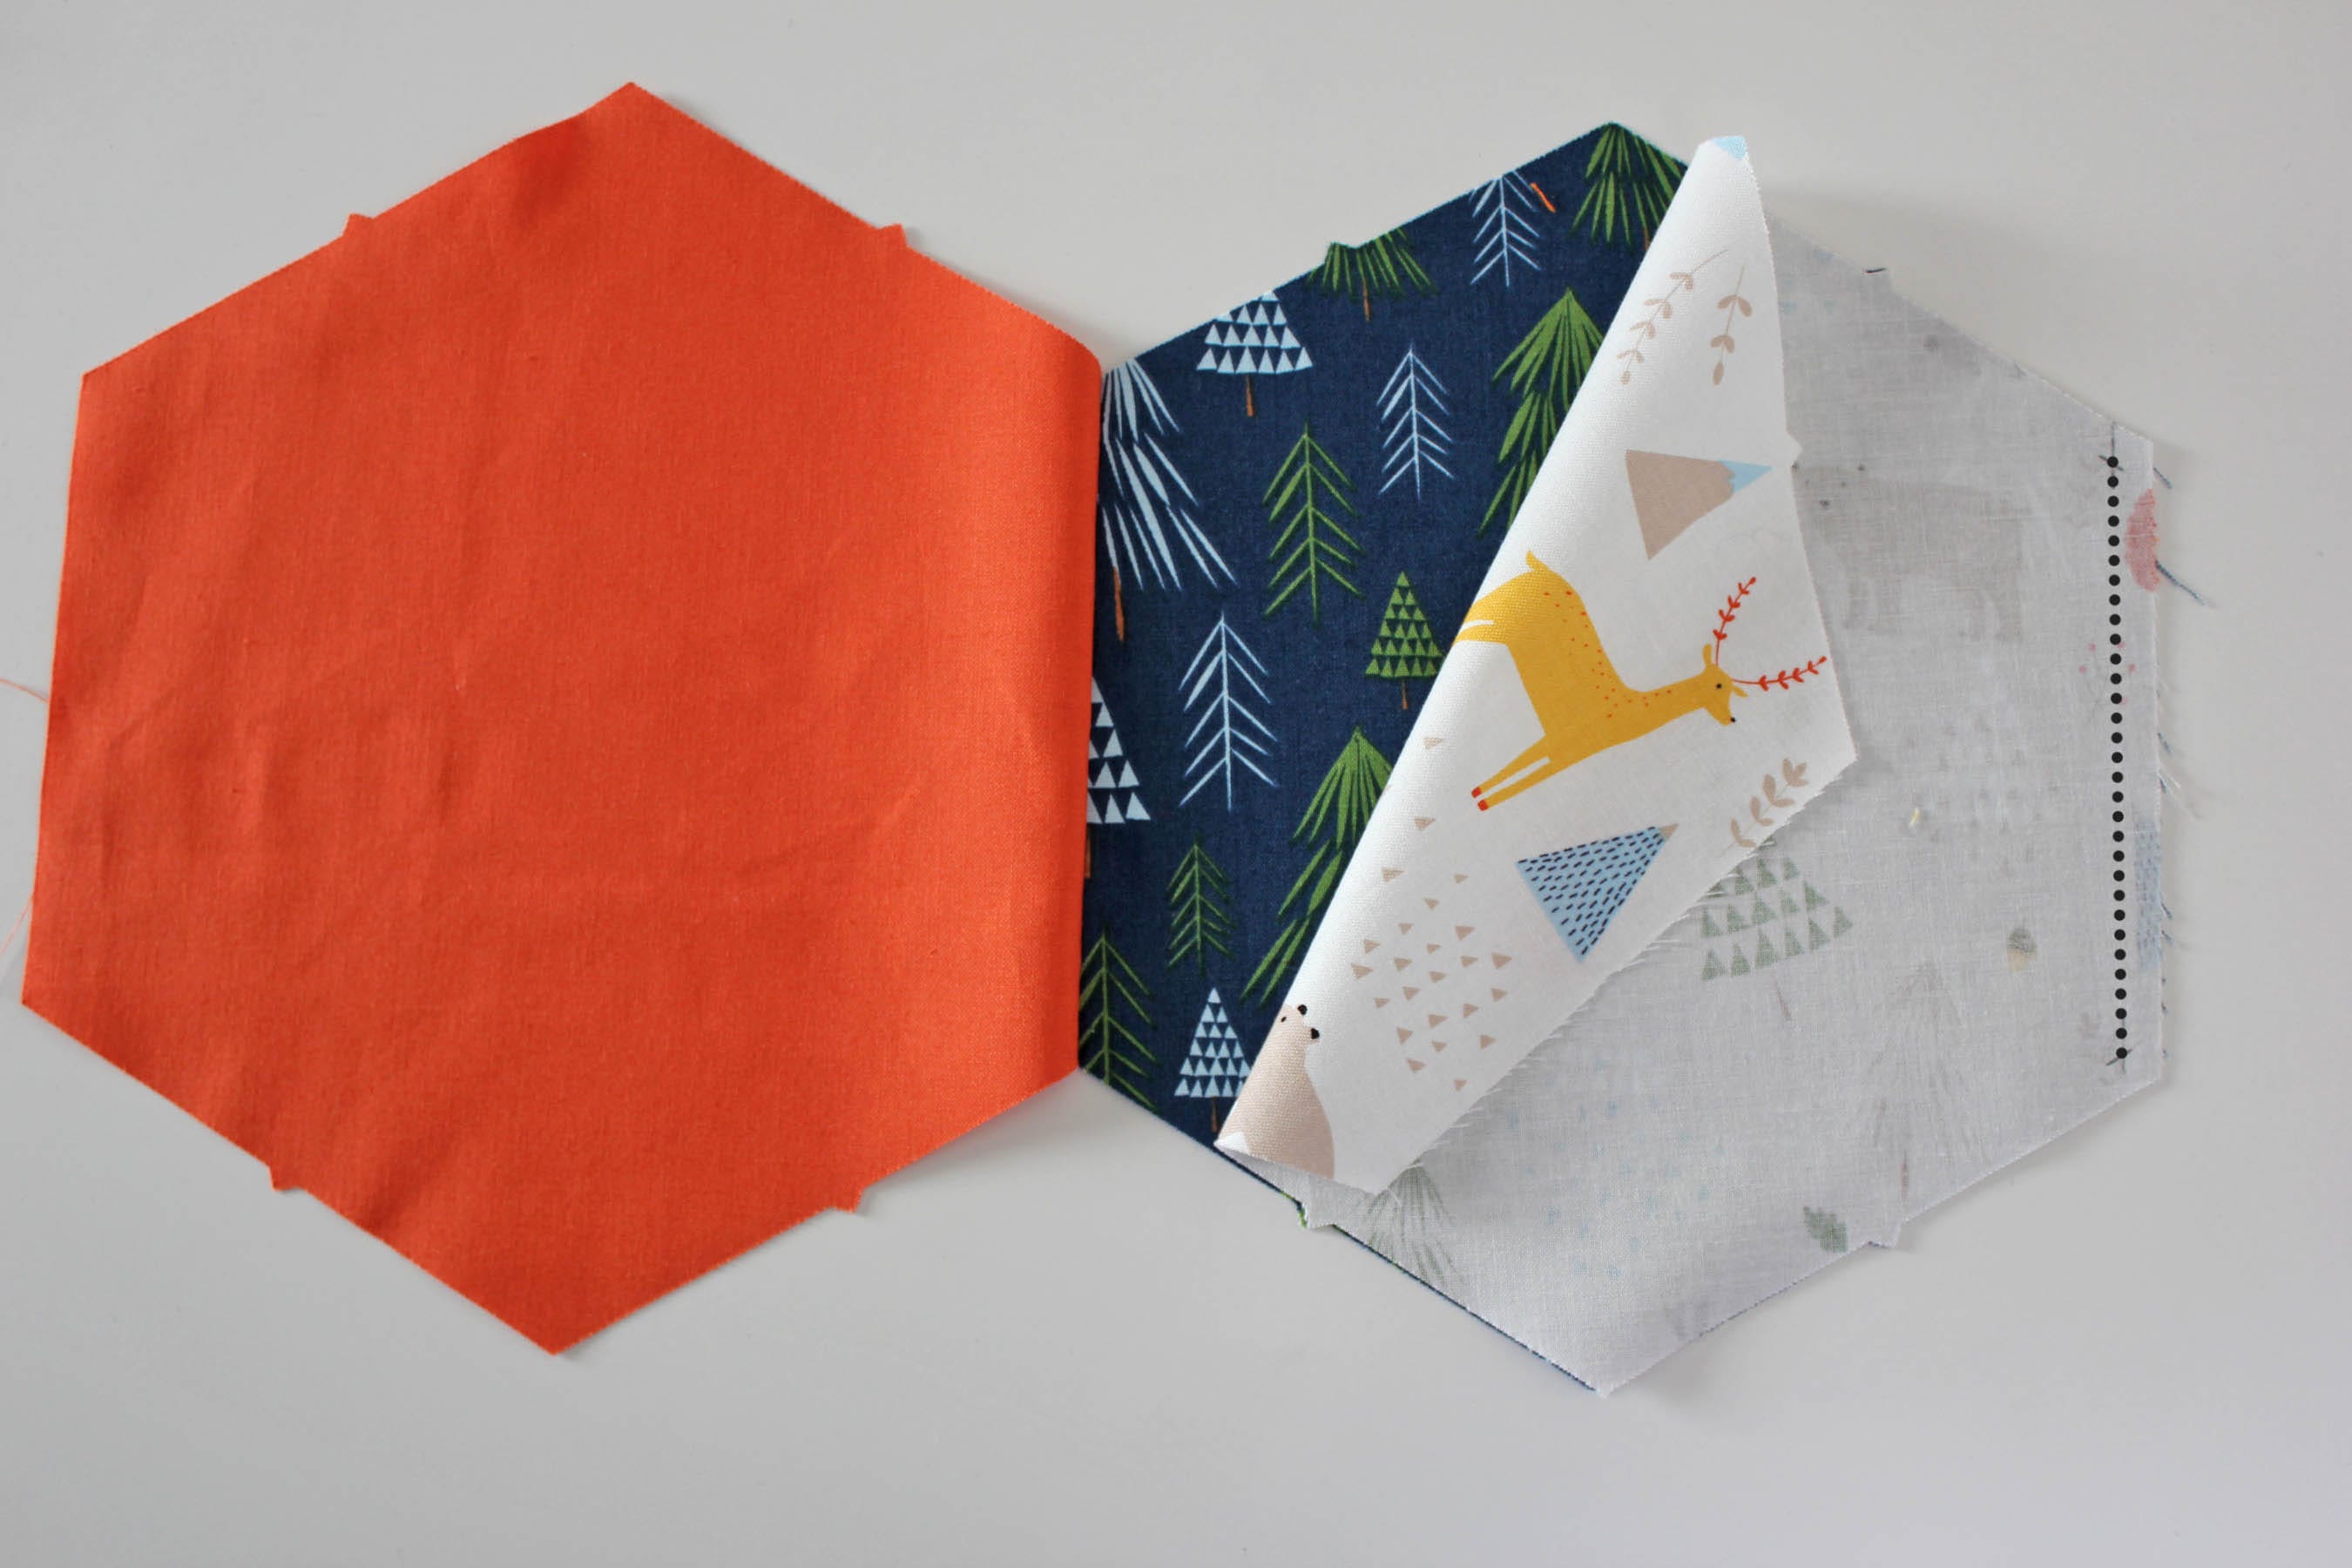
Step 6: Continue sewing the hexagons together until the first row is finished. Follow steps 3-5 to sew together the remaining eight rows. Press all of the seams to the same side (either right or left). Now we're ready to sew the rows to each other.
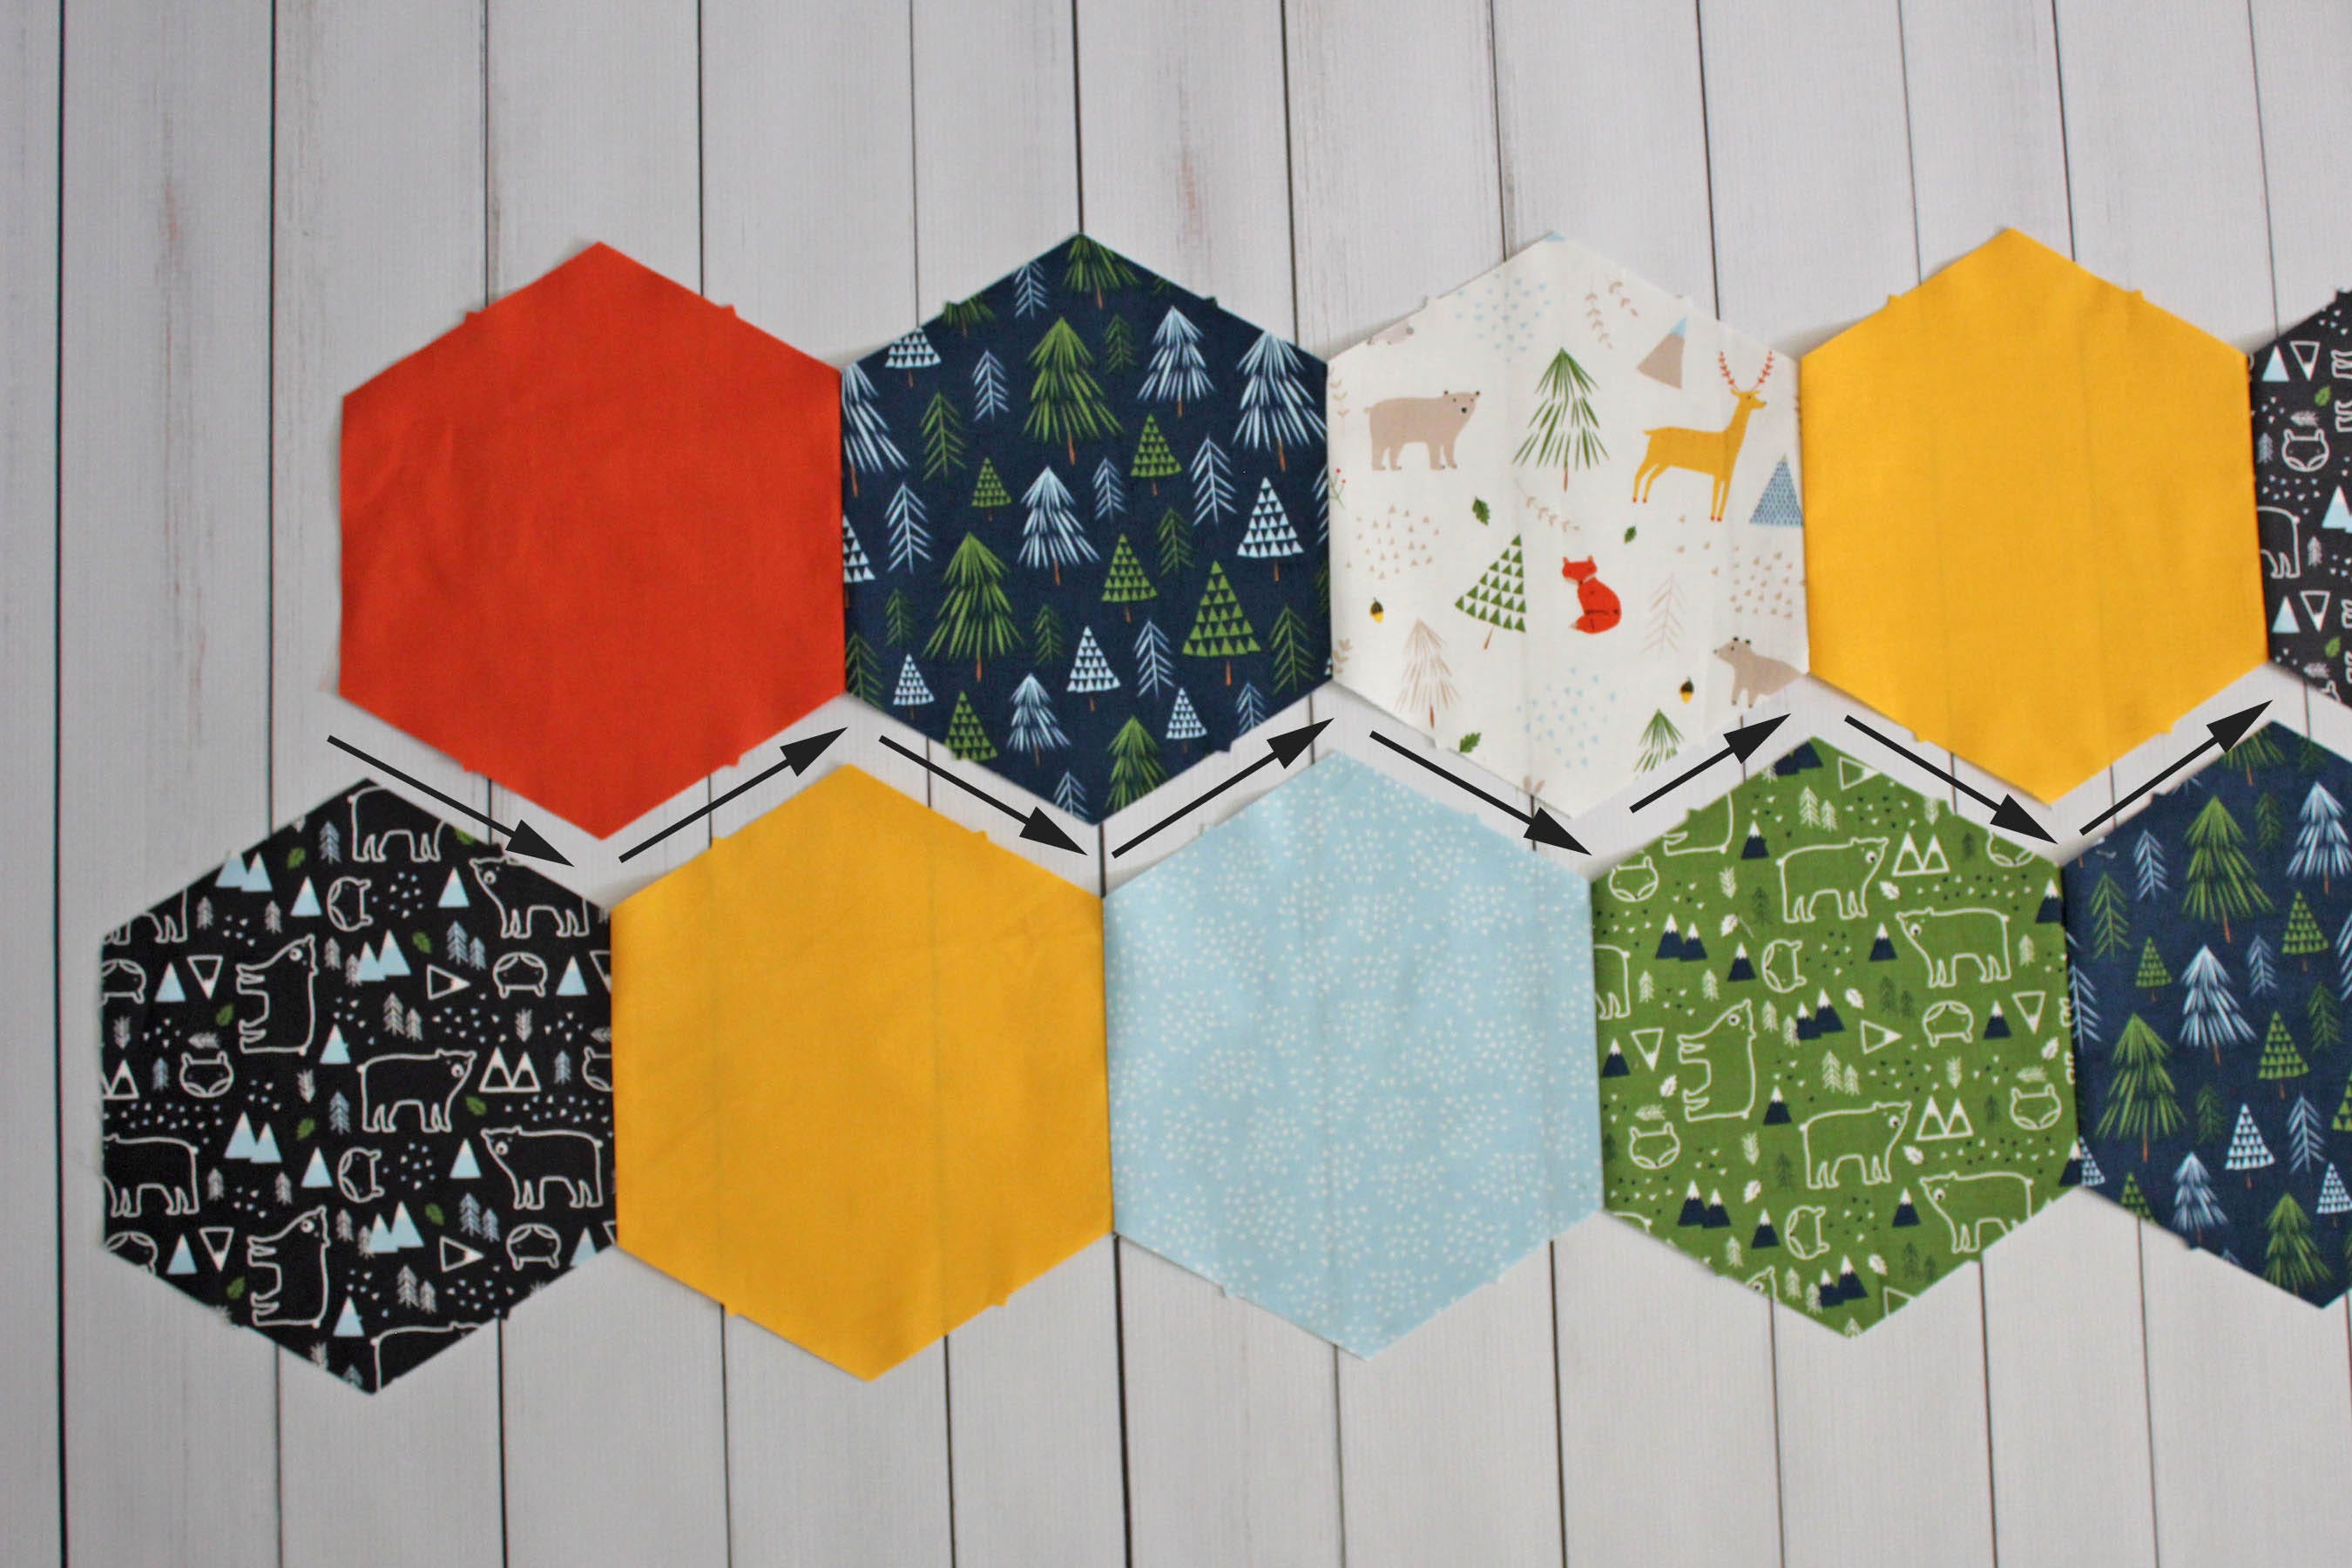
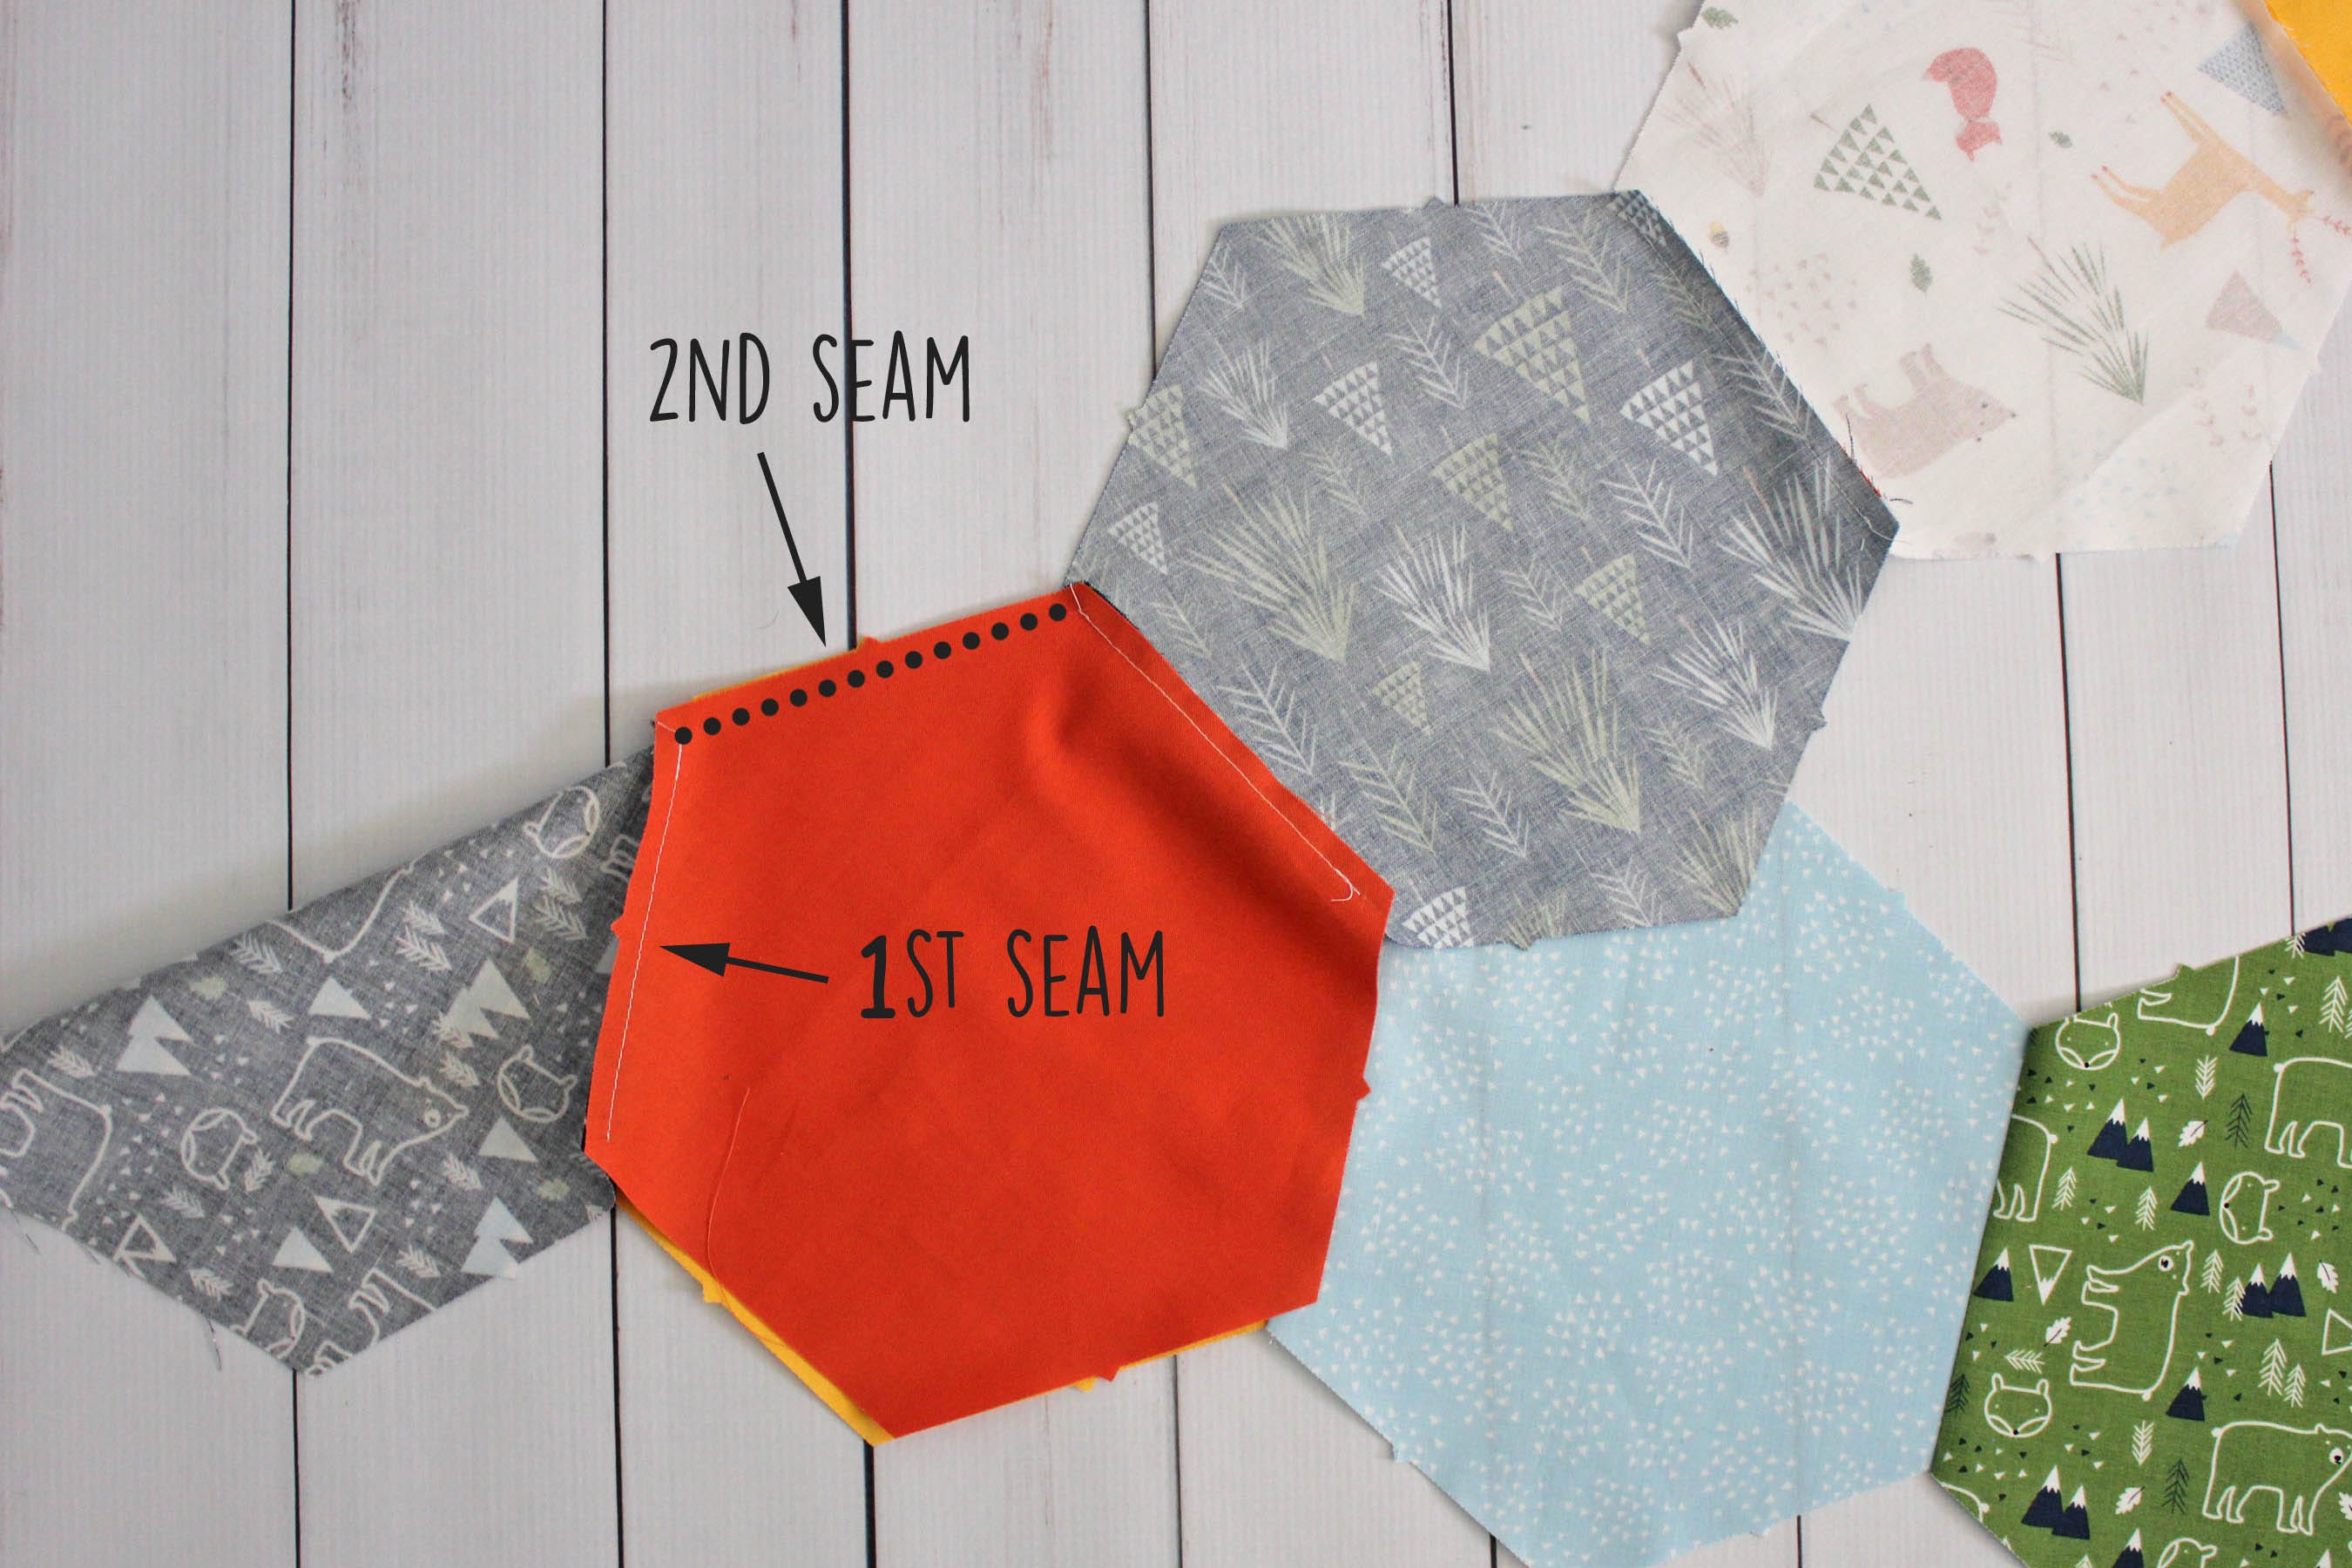
Step 7: Lay out the first two rows with the seven hexagon row overhanging the top row as shown below. The arrows in the photo show the seams that will be sewn to attach the rows together.
Step 8: Flip the top row up and over the bottom row, aligning the edges and the notches of the hexagons for the first seam that needs to be sewn. Sew along the edge of the two hexagons, staying ¼" away from the cut edge and stopping ¼" before the end of the hexagon. You can mark the hexagon ¼" away from the edges (as we did in step 3 above) to help you start and stop at the right points. At the stopping point, you should be pretty close or right at the start of the seam from the hexagons below (the seam that connects the dark gray and yellow hexagons in the photo below).
Step 9: Lay the two rows out again to get a visual of the next seam to be sewn (the orange and yellow hexagons in the image below).
Step 10: Flip the top row hexagon so it's on top of the bottom row hexagon and line up the notches. At this point, the rows get a little awkward to maneuver, so don't be afraid to fold hexagons or use pins to be able to line up the edges just right.
Step 11: Sew the seam, remembering to start and stop ¼" away from the corners. The first seam sewn in Step 8 above will guide you where to start since it's also ¼" away from the hexagon corner.
Step 13: Continue sewing the hexagons to attach the first two rows together.
Step 14: Press the seams in an alternating pattern (up, down, up, down) as shown below.
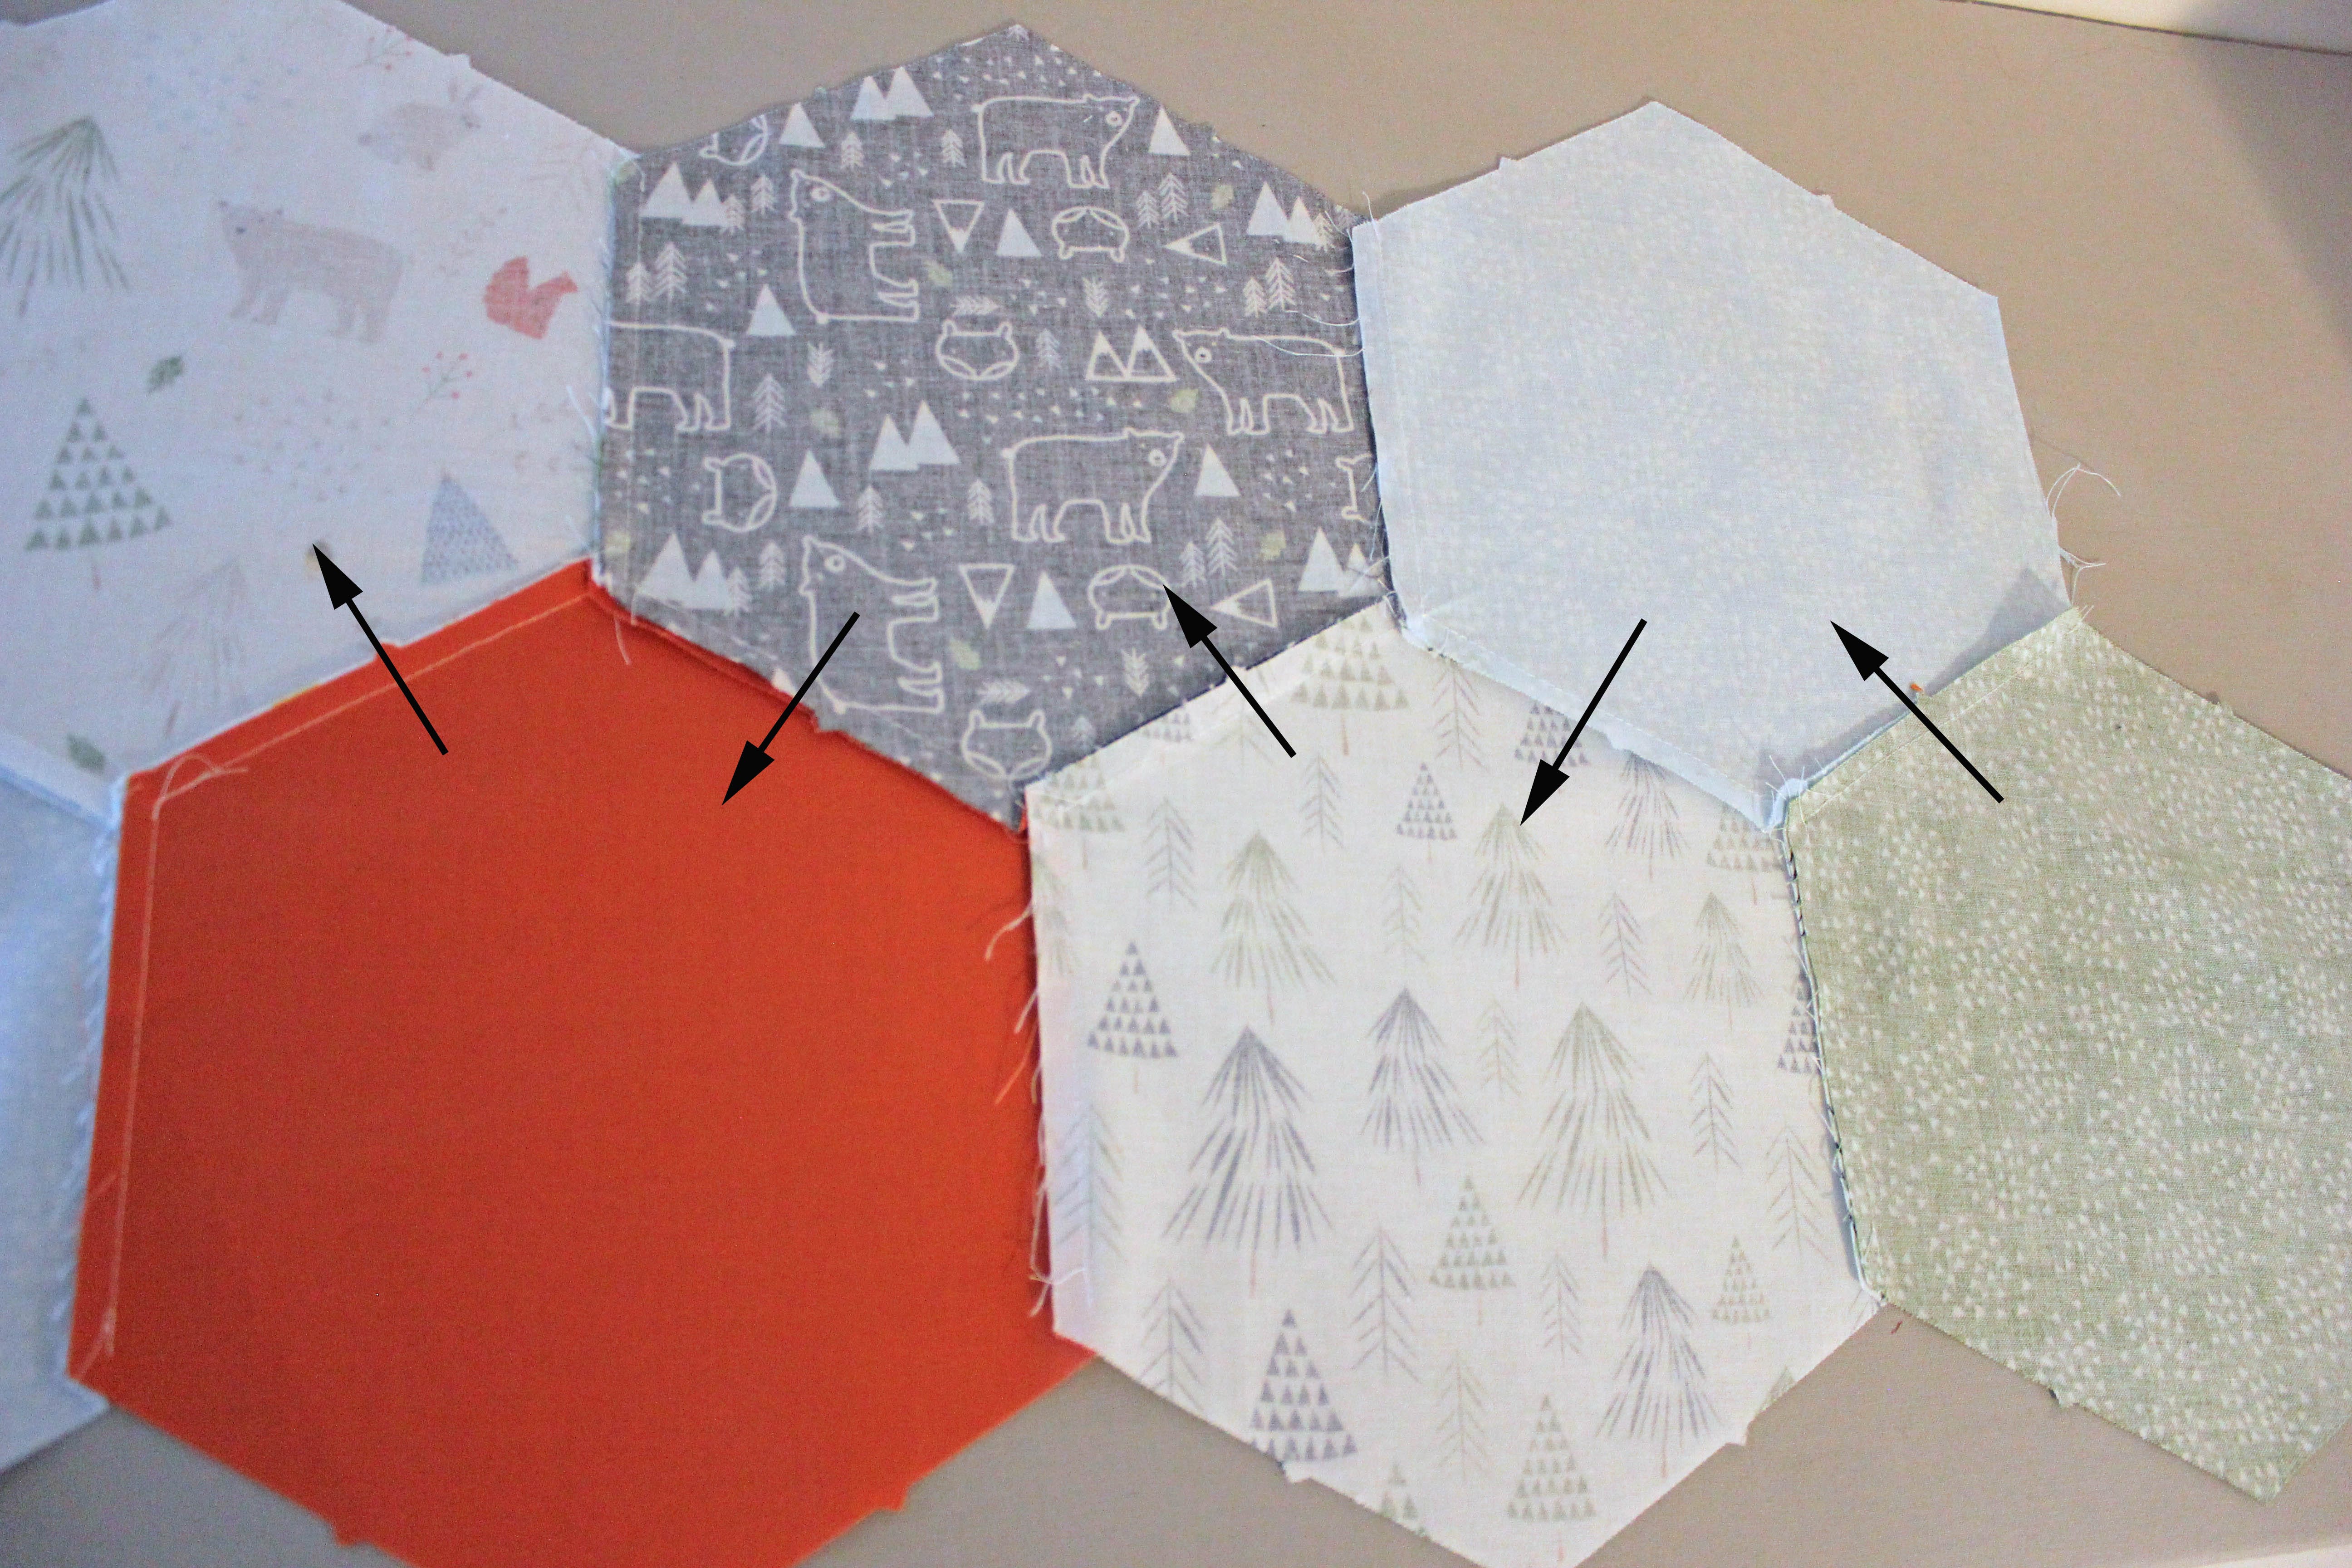
Step 15: Repeat steps 7-14 to sew the remaining rows together.
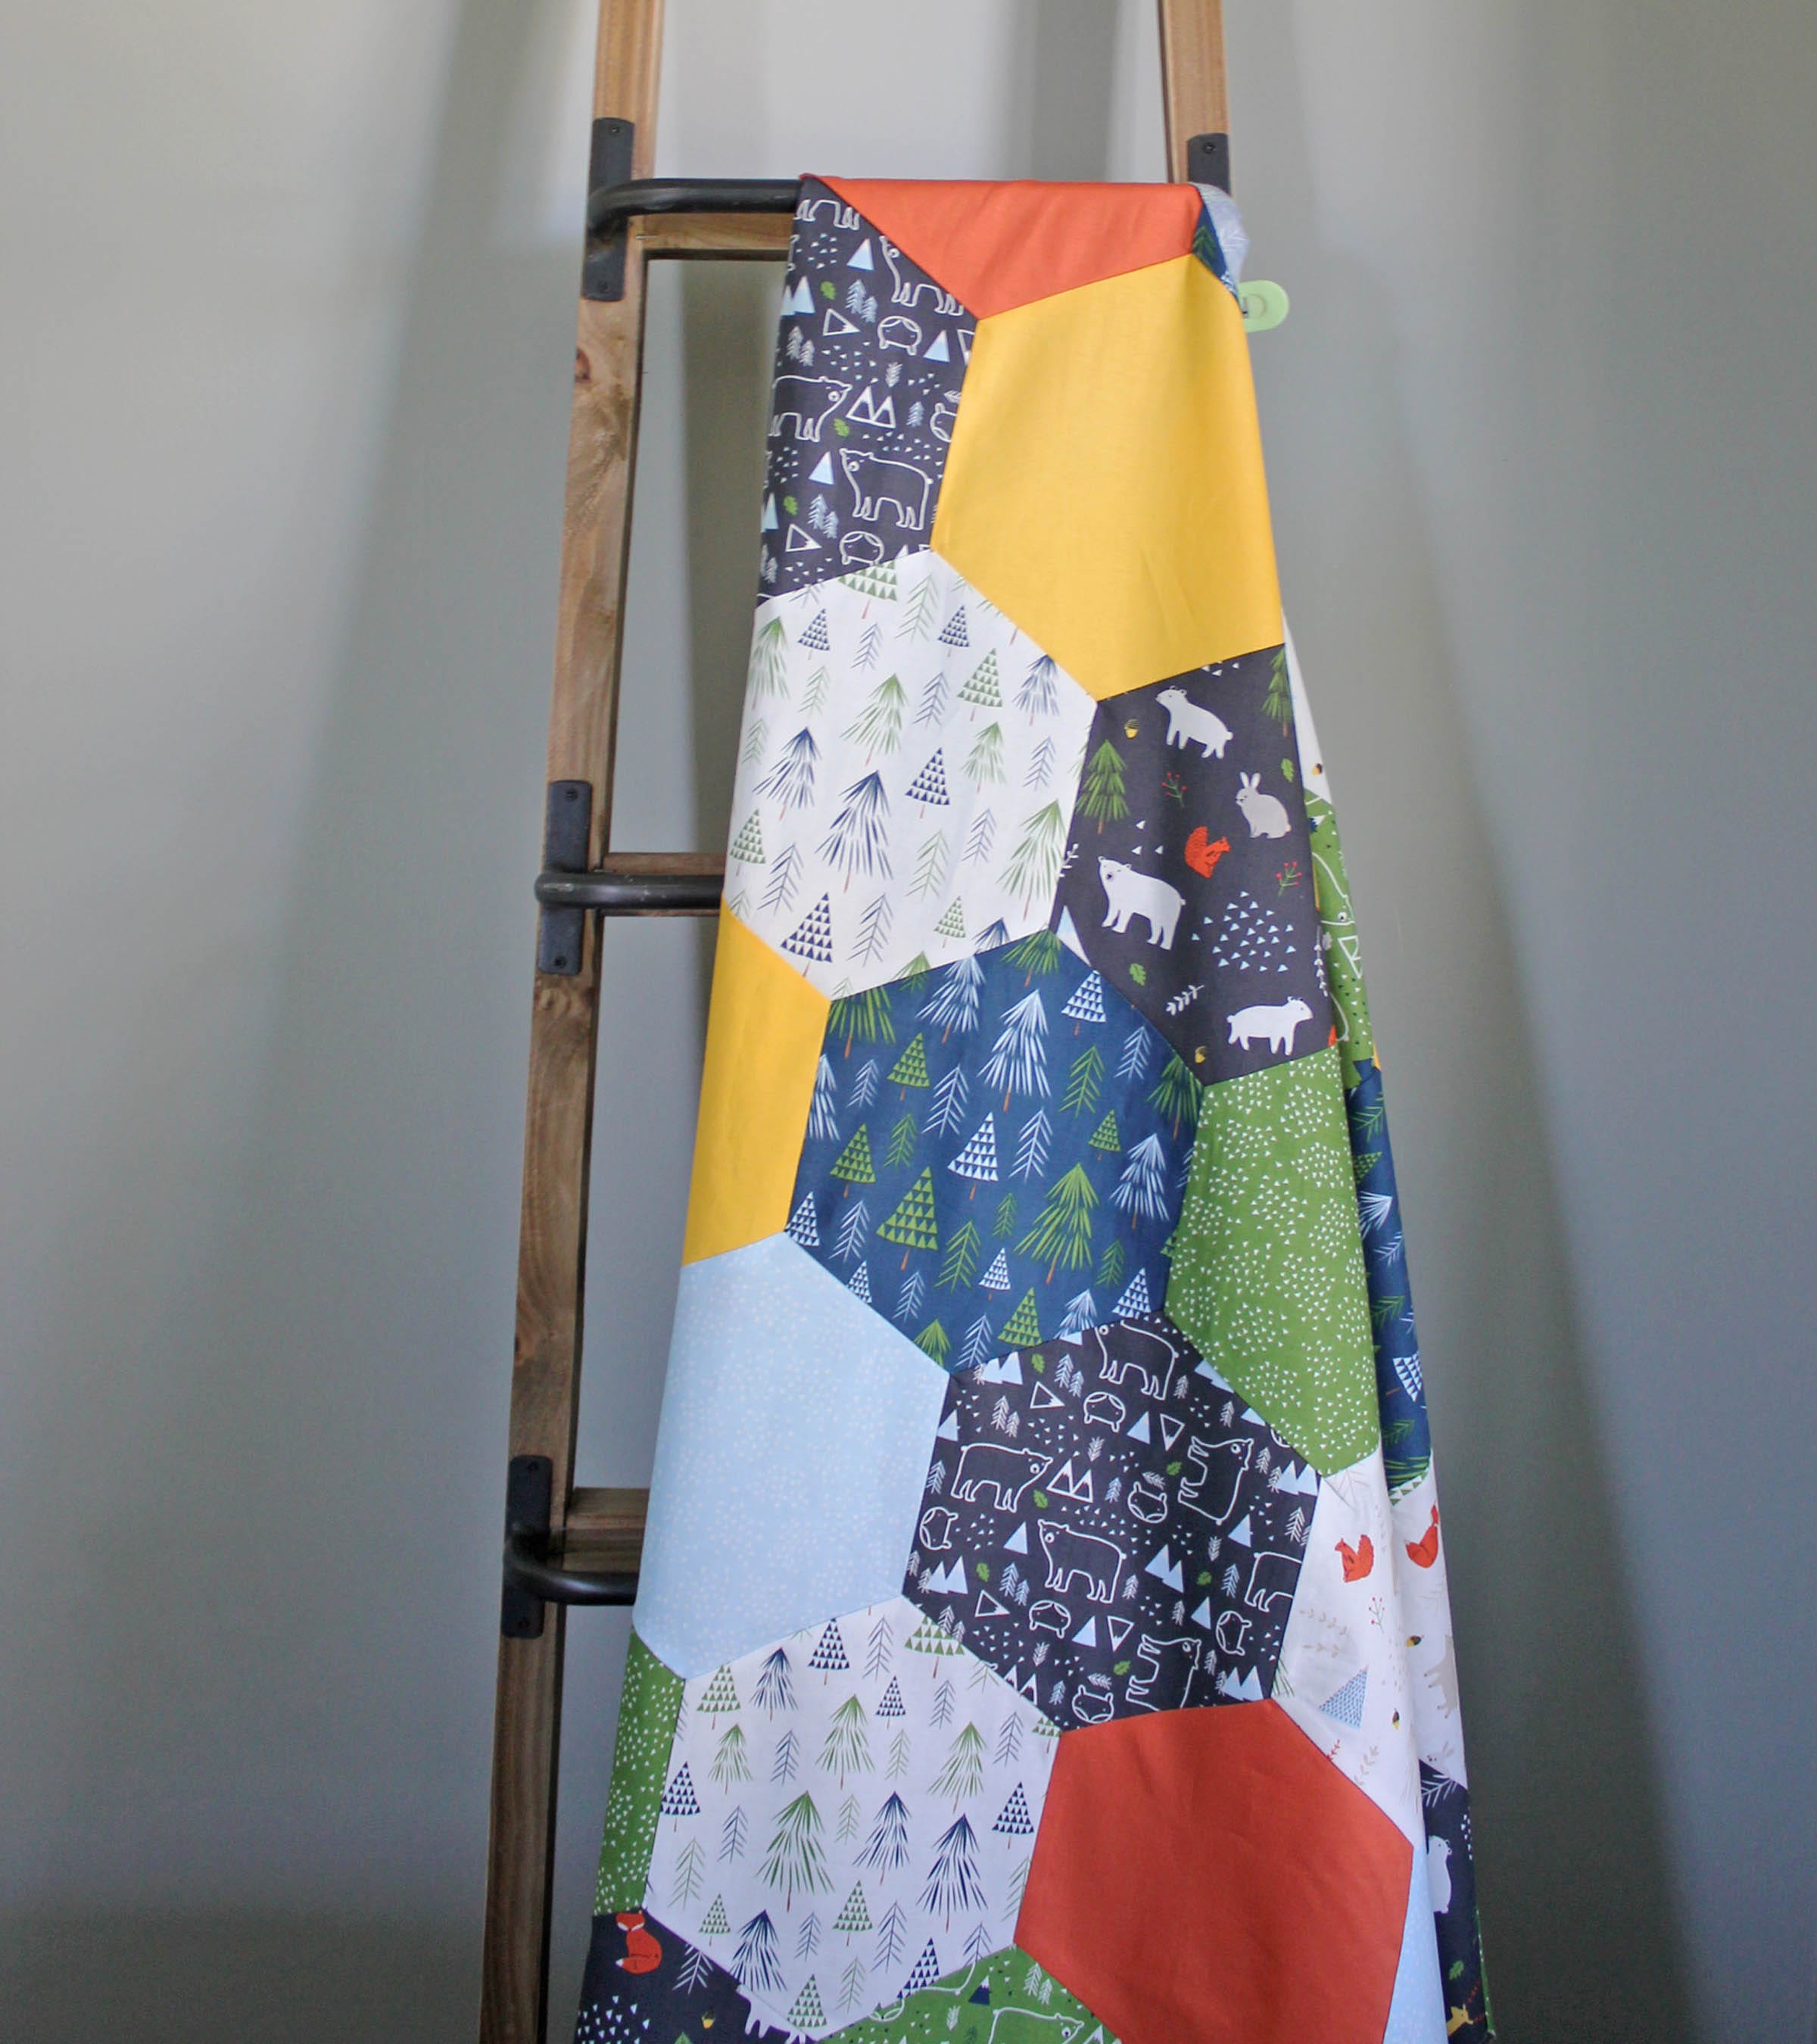
Before you know it, you'll have the entire baby quilt top finished!
I would absolutely recommend the GO! Hexagon-4½" Sides die to anyone wanting to try out Y-seams. The large size of the hexagons makes for a much easier time while sewing all of the Y-seams, especially for beginners. Also, the die cuts out all the hexagons perfectly identical (as opposed to trying to cut them out by hand!). Another reason why I loved using this die was the notches on the hexagons. The notches are so nice to have to make sure everything lines up and it just helps the whole process go smoother!
So do you think you're ready to try Y-seams? If you make a hexagon project using this tutorial, please share the photo on social media using the hashtag #AccuQuilt and don't forget to tag @centerstreetquilts and @AccuQuilt so we can see your fun creation!
What skills are you learning while quilting under quarantine? Share them with us in the comments and on social media!


