


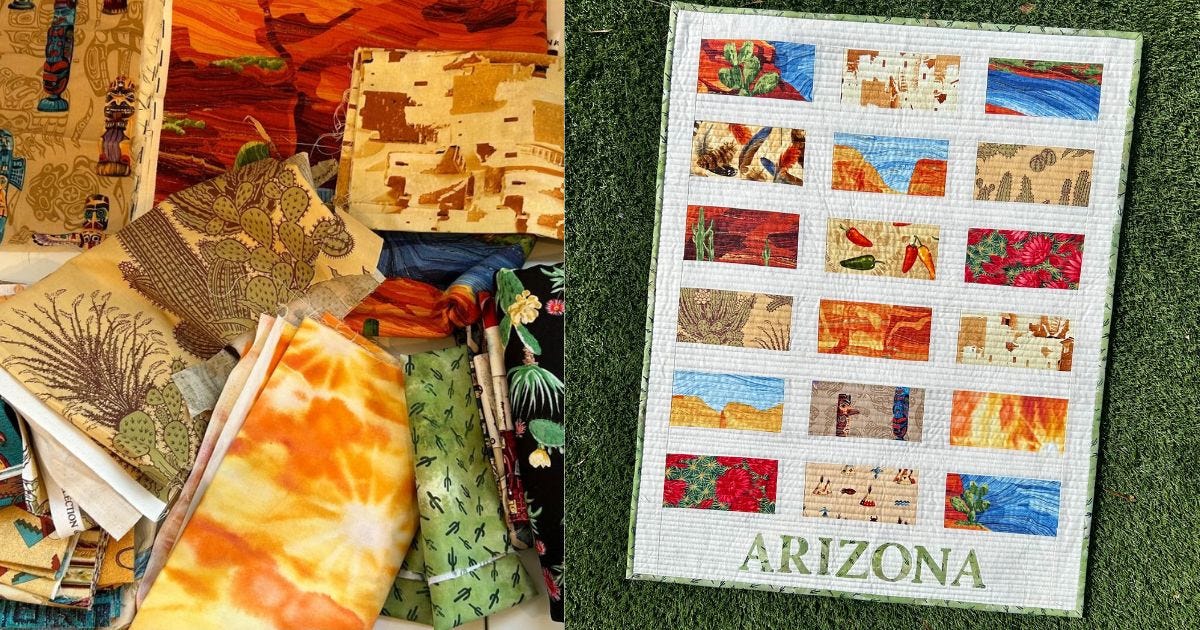
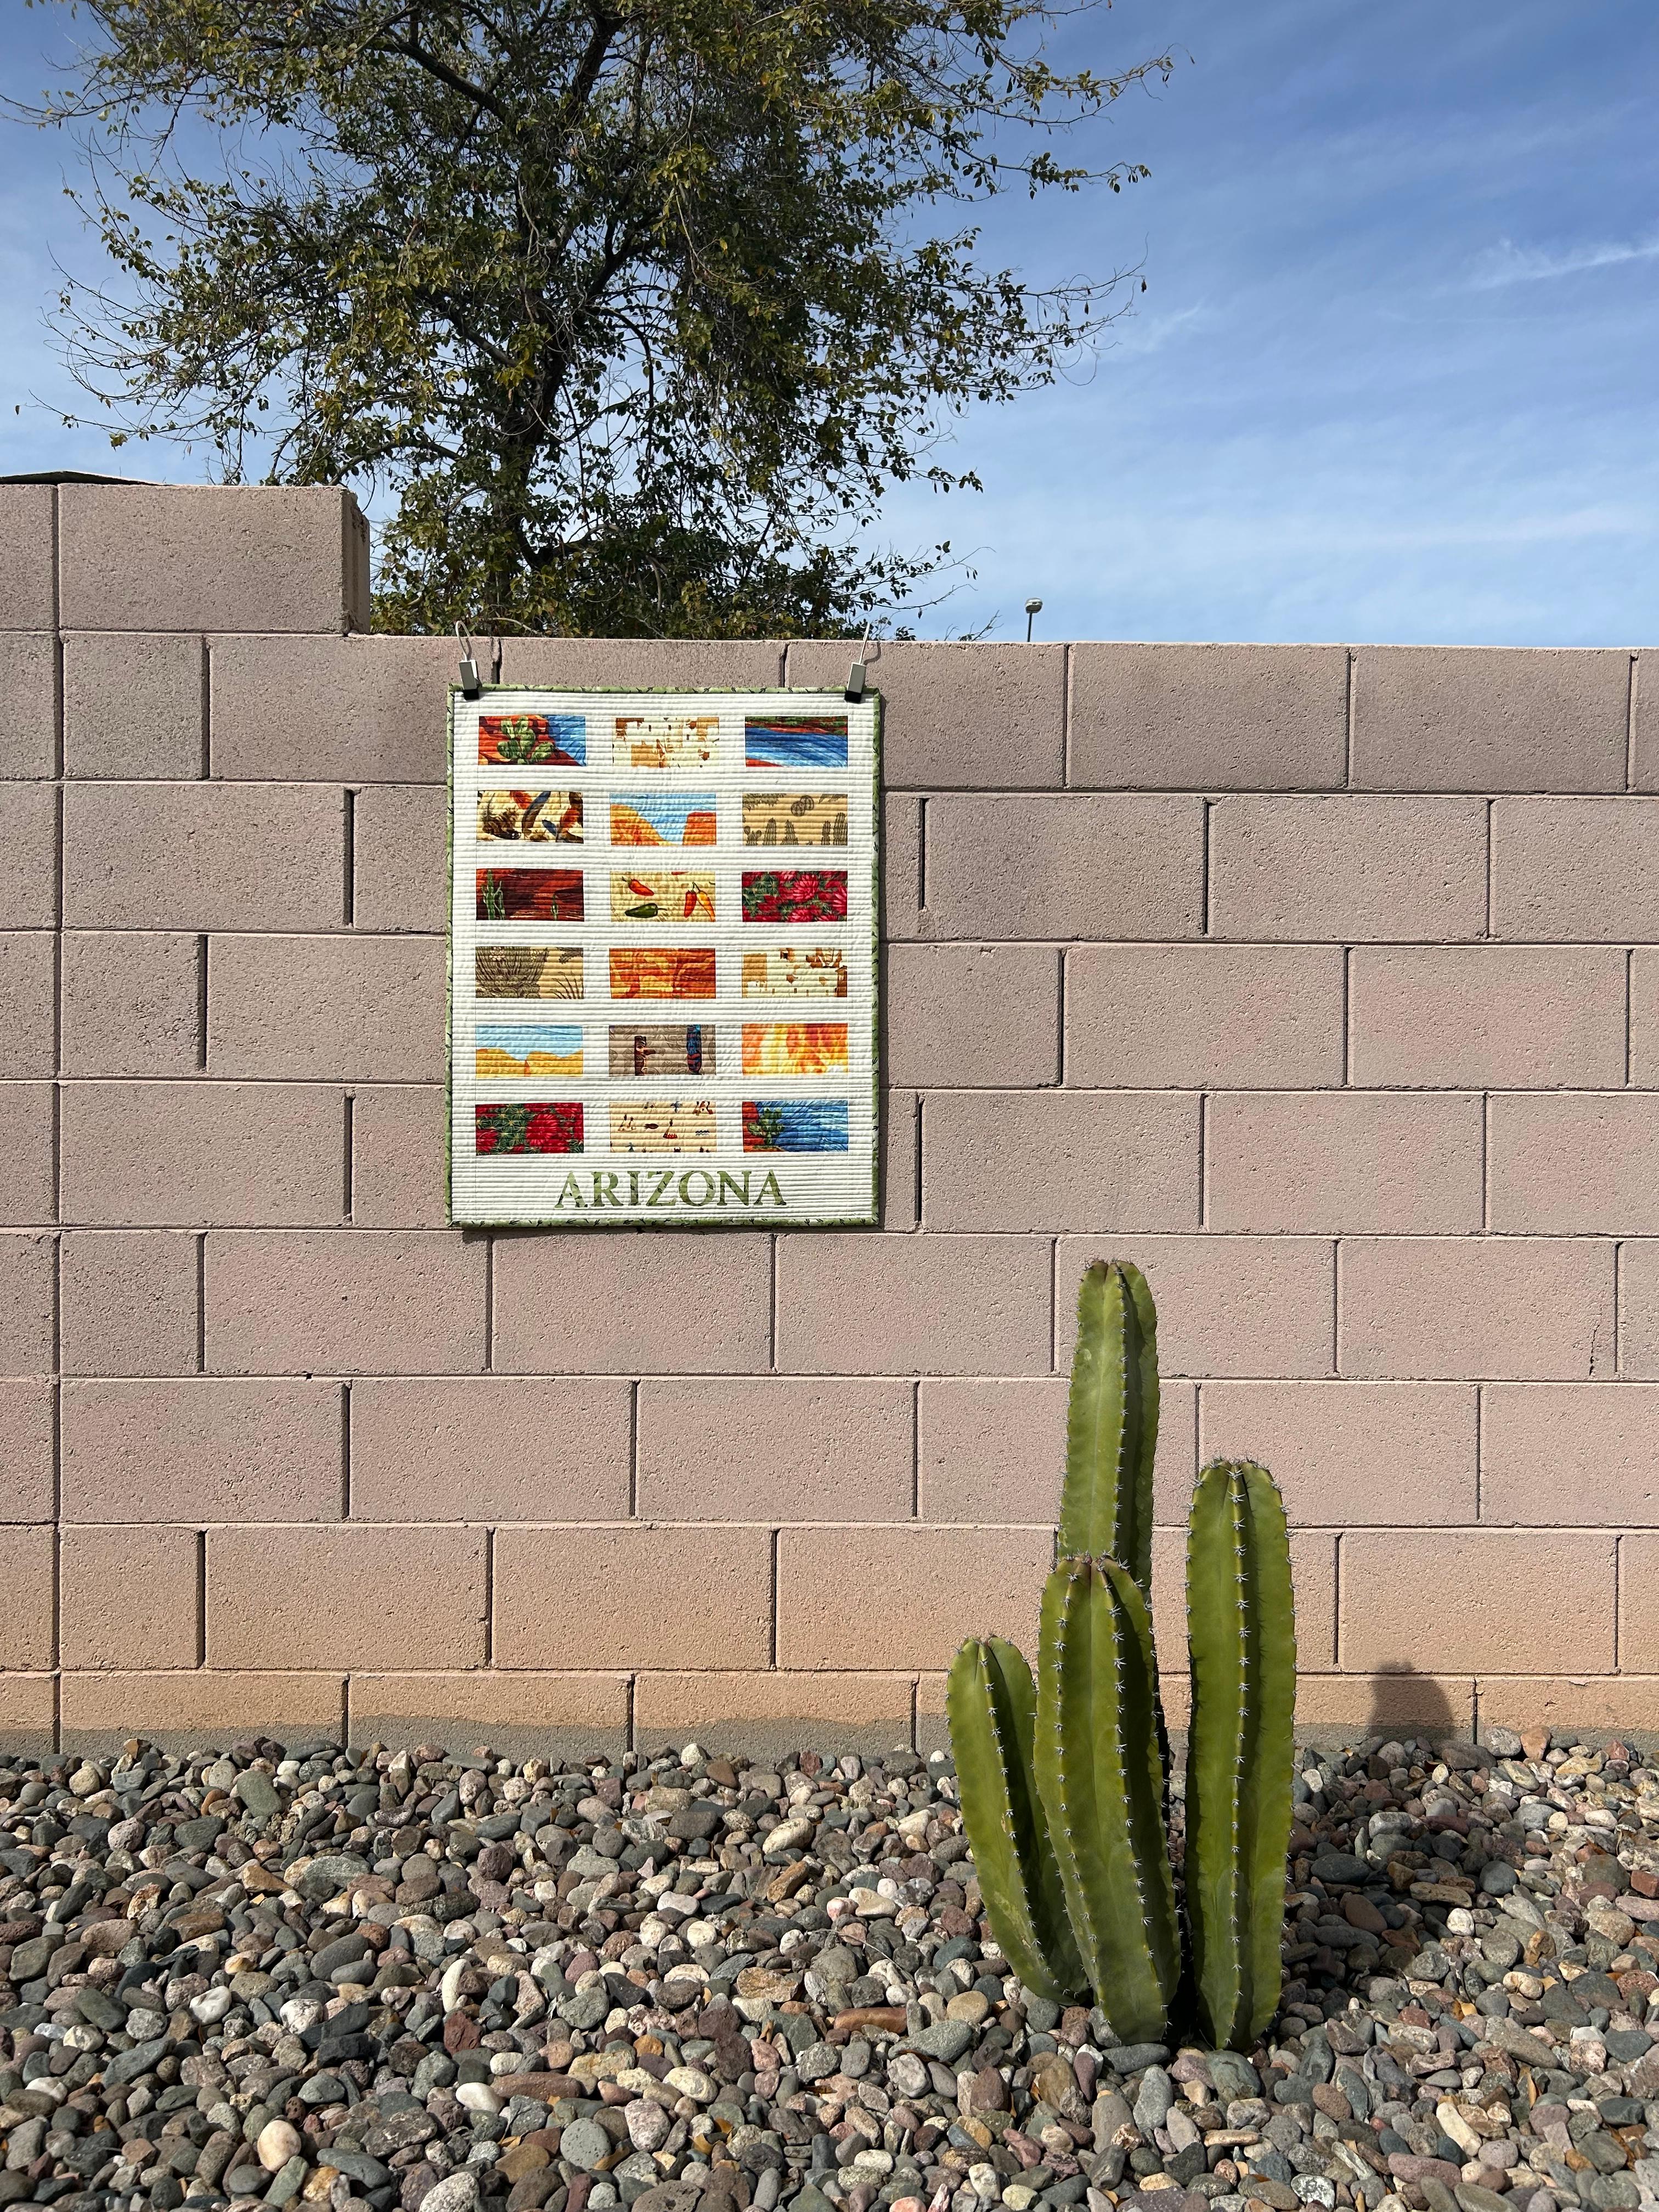
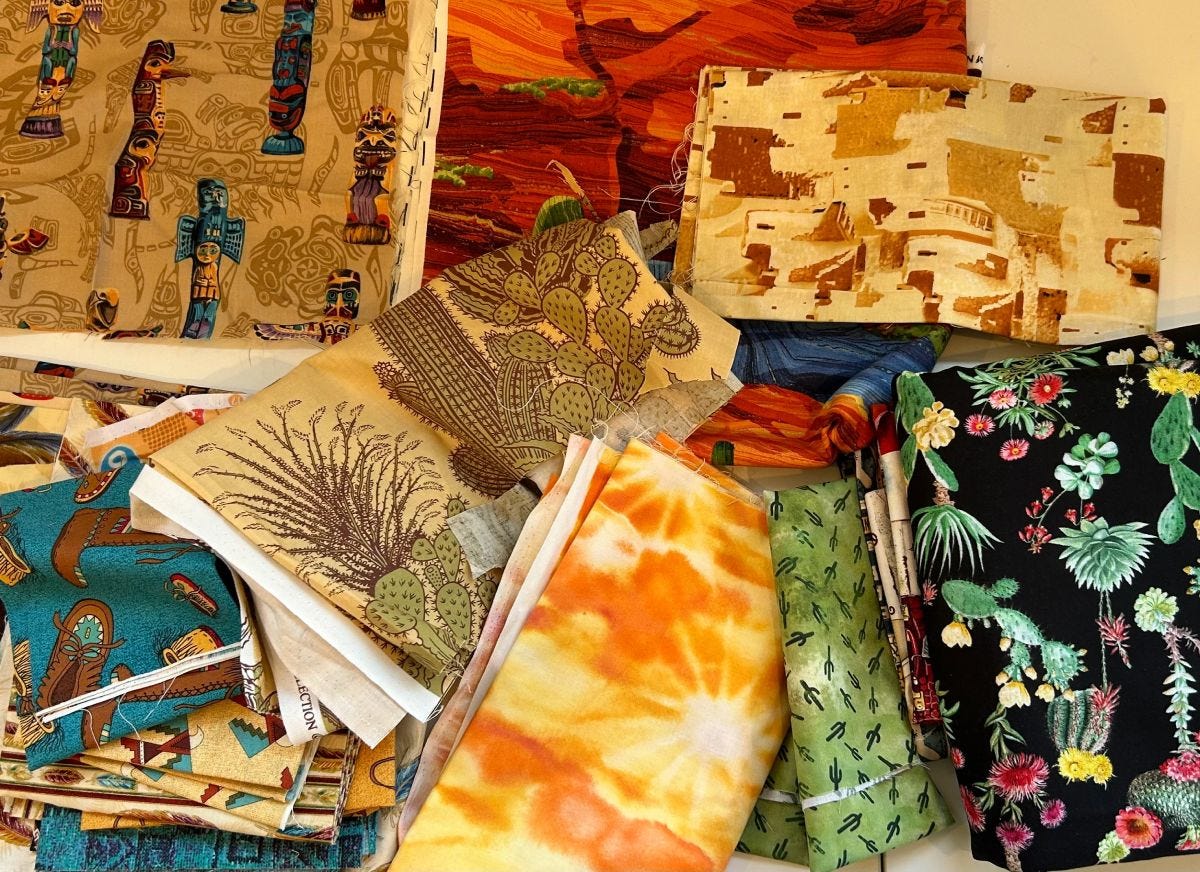
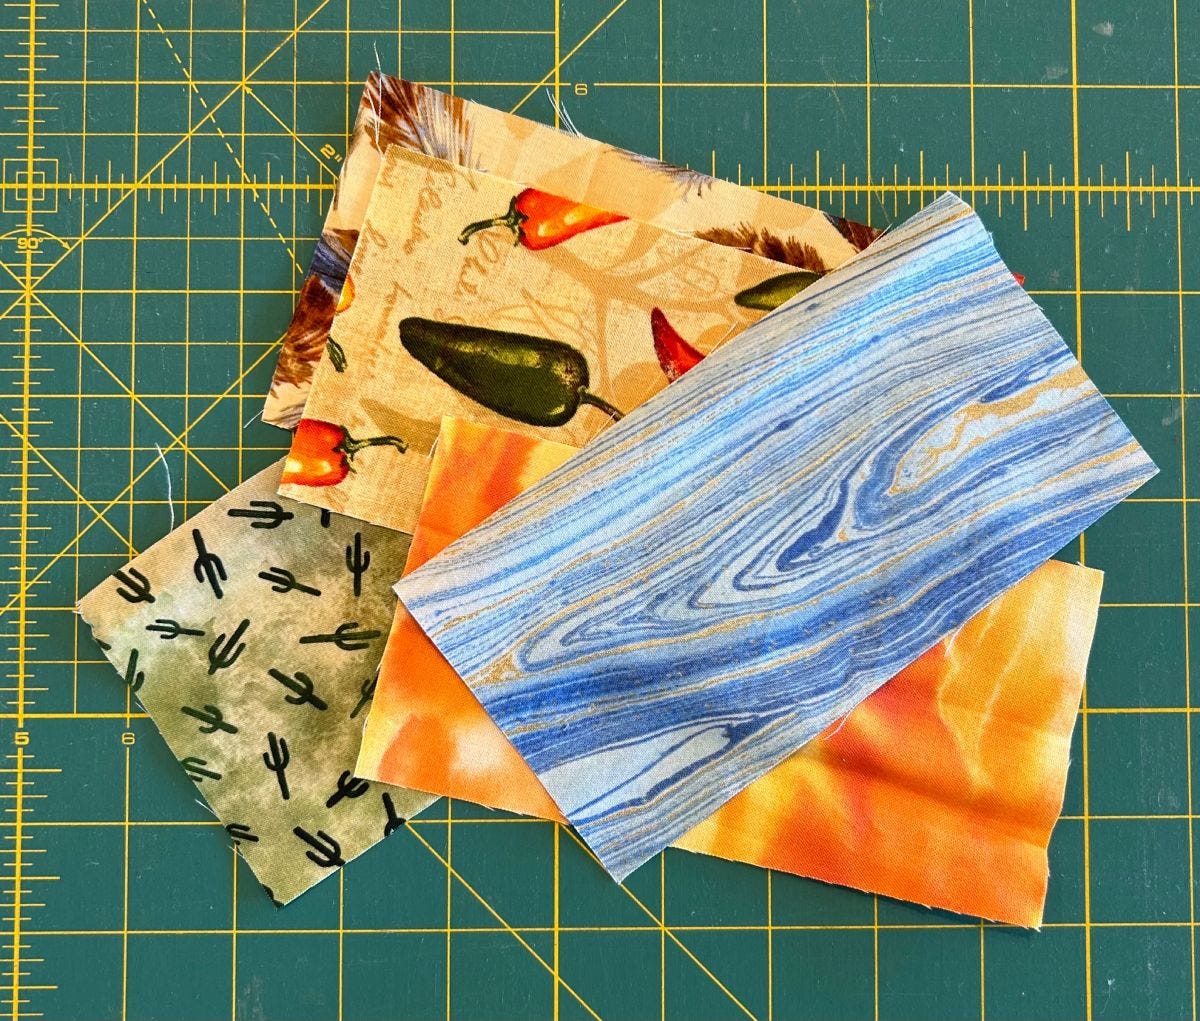
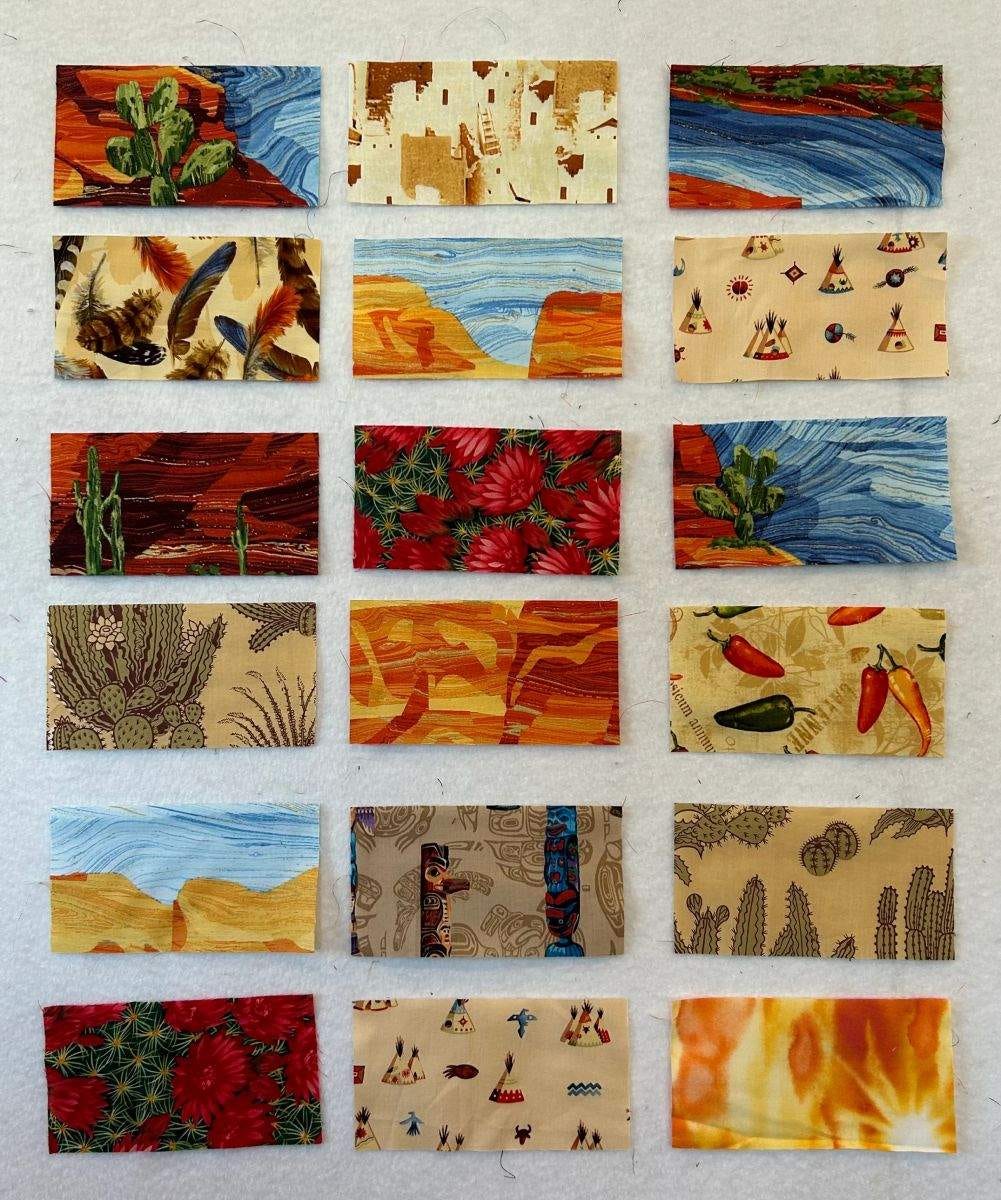
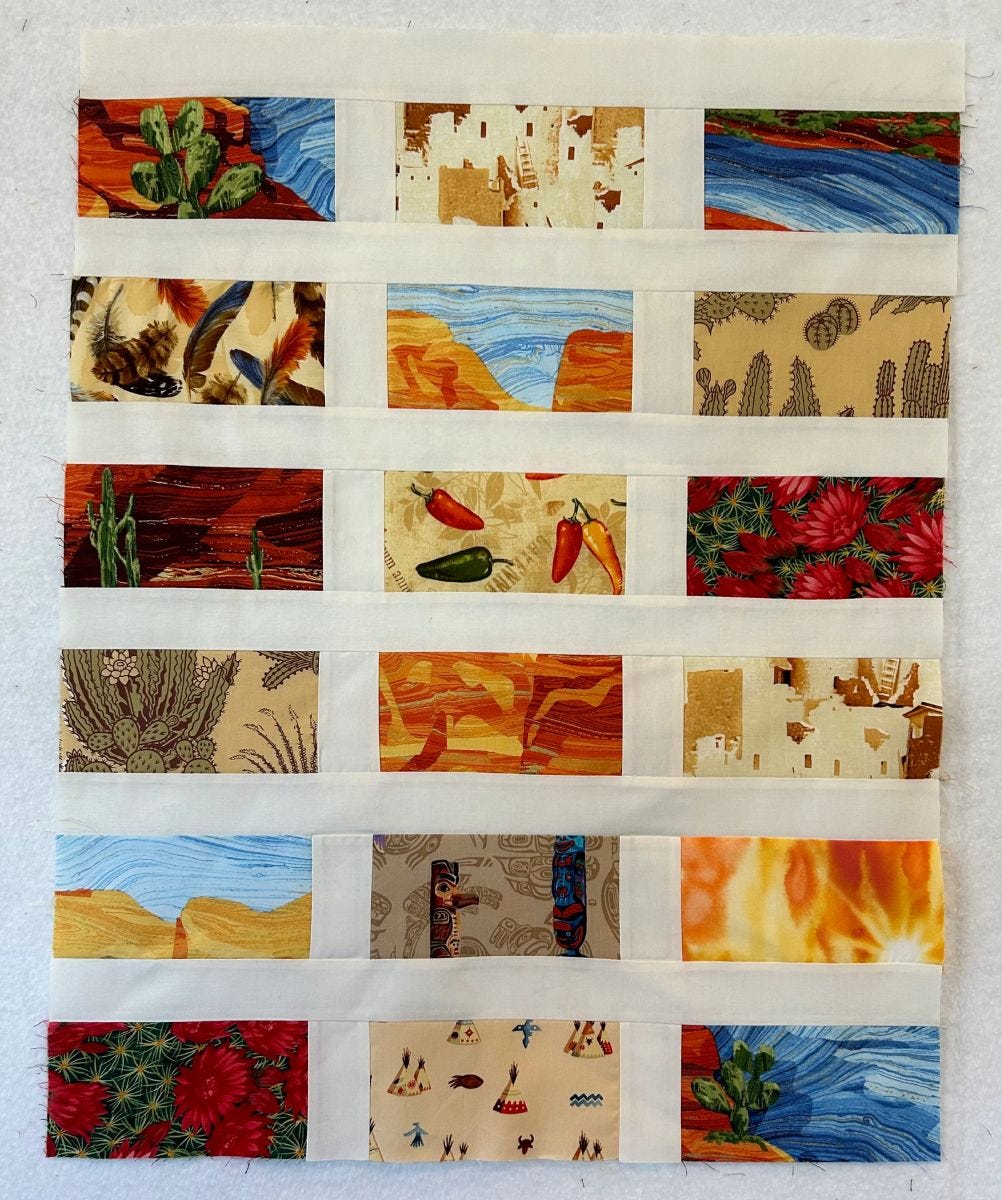
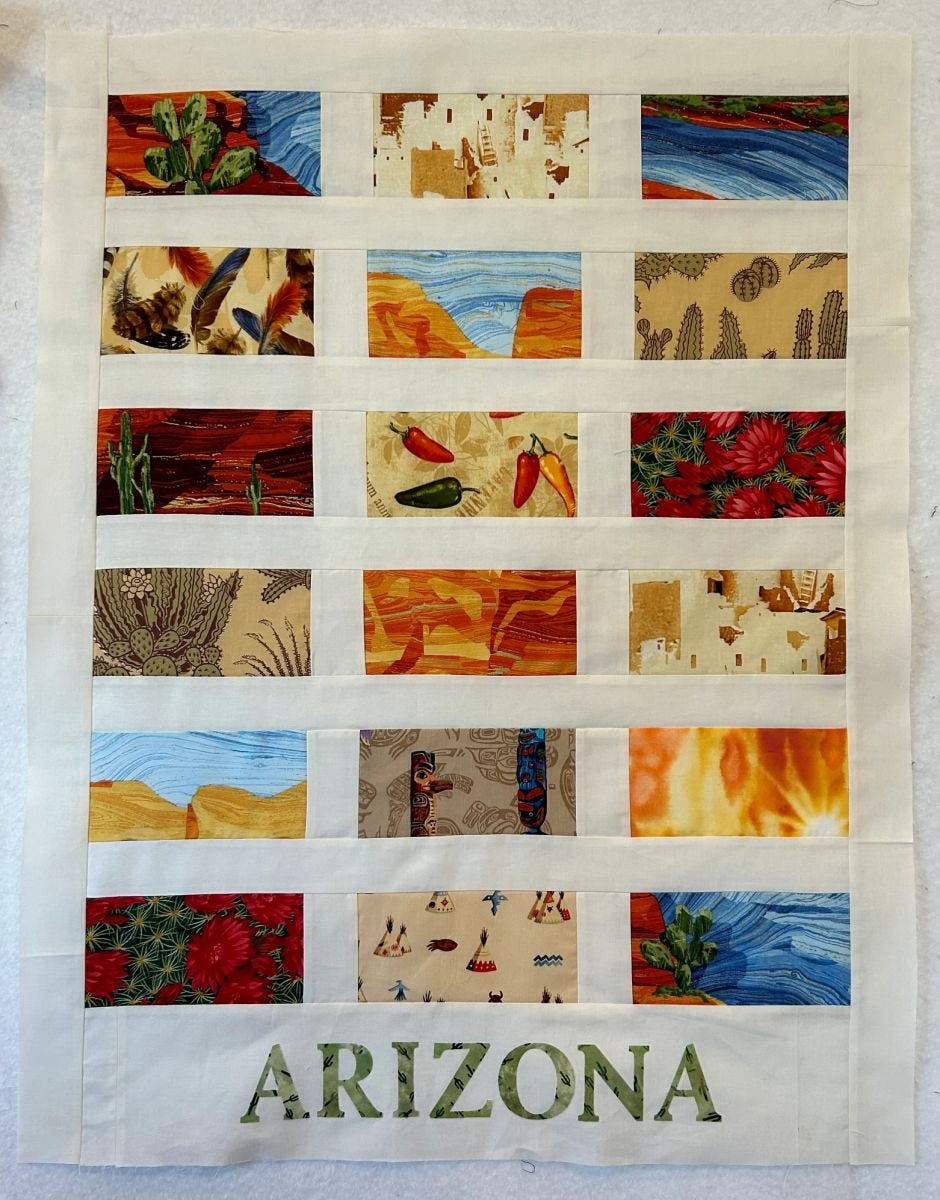
I spend a good chunk of the year in the beautiful state of Arizona. I always grab fabrics that remind me of this place when I see them, so that is what I used for my quilt.
Dies Needed
- GO! Qube Mix & Match 12” Block
- Shape 8
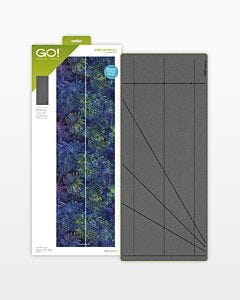
- GO! Strip Cutter-2” (1 1/2" Finished) Strip Die
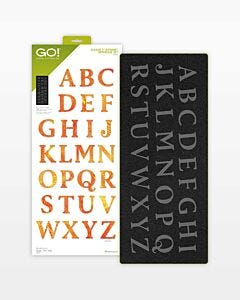
- GO! Classic 2" Alphabet Uppercase Set Die
- GO! Strip Cutter-2 1/2” (2" Finished) 3 Strips Die for binding
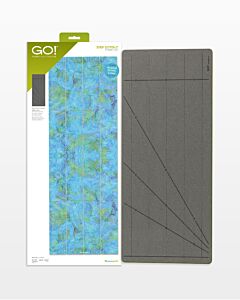
- GO! Strip Cutter-3 1/2” (3" Finished) 2 Strips with Angled Guidelines Die
-
 GO! Qube Mix & Match 12" BlockSpecial Price $349.99 Regular Price
$521.90You Save $171.91 -
 GO! Strip Cutter-2" (1 1/2" Finished)Special Price $129.99 Regular Price
$149.99You Save $20.00 -
 GO! Classic 2" Alphabet Uppercase Set DieSpecial Price $199.99 Regular Price
$229.99You Save $30.00 -
 GO! Strip Cutter 2 1/2" (2" Finished) 3 Strips DieSpecial Price $129.99 Regular Price
$149.99You Save $20.00 -
 GO! Strip Cutter-3 1/2" (3" Finished) 2 Strips with Angled Guidelines DieSpecial Price $129.99 Regular Price
$149.99You Save $20.00
Fabric Needed
- Eighteen 4" x 7" scraps of fabrics collected on vacation
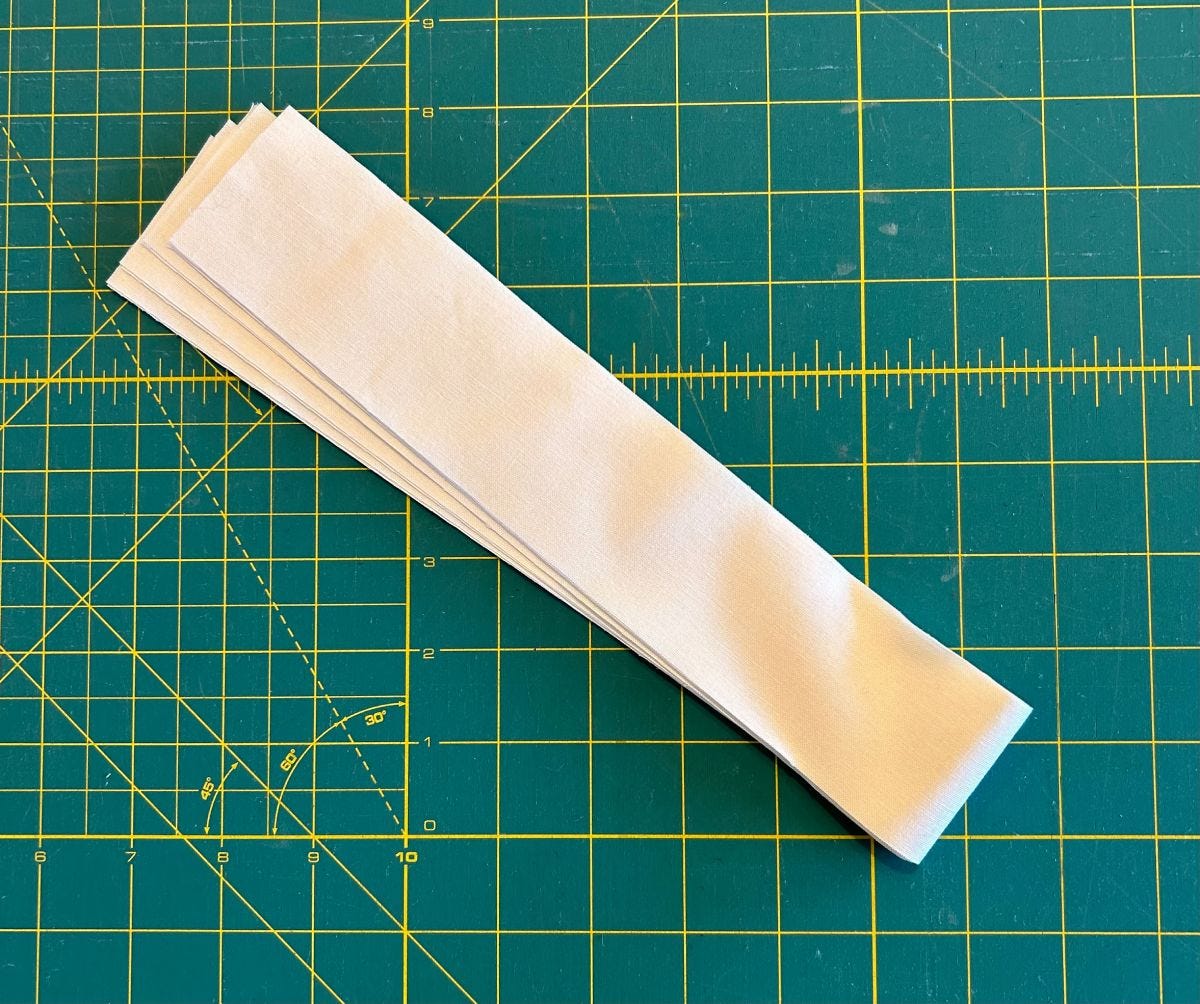
- 3/4 yards of background fabric
- 1/2 yards for letters and binding
- Small amount of fusible webbing
NOTE: The directions here are for a 24 1/2" x 31 1/2” quilt. Feel free to add or subtract rows if you have more or less pieces to use. Just remember to adjust the size of your final border strips.
Cutting Instructions
Postcard Fabrics
Use Shape 8 from the GO! Qube Mix & Match 12” Block to cut out your “postcards.”
Background Fabric
1. Use the GO! Strip Cutter-2” (1 1/2" Finished) Die to cut six strips.
2. Subcut one strip into twelve pieces at 3 1/2” long.
3. Take three strips and subcut to six 21 1/2” strips.
4. Take two strips and subcut to two 31 1/2 “ strips.
5. Cut one strip using the GO! Strip Cutter-3 1/2” (3" Finished) 2 Strips with Angled Guidelines Die and subcut to 21 1/2”.
Binding & Letters Fabric
1. Cut four 2 1/2” strips for the binding and letters.
2. Apply a 2 1/2” strip of fusible web to the back side of one half strip.
3. Subcut into 2 1/2” squares.
4. Place squares on the appropriate letters of the GO! Classic 2" Alphabet Uppercase Set Die, right side up, to spell out the state corresponding to your trip.
Assembly Instructions
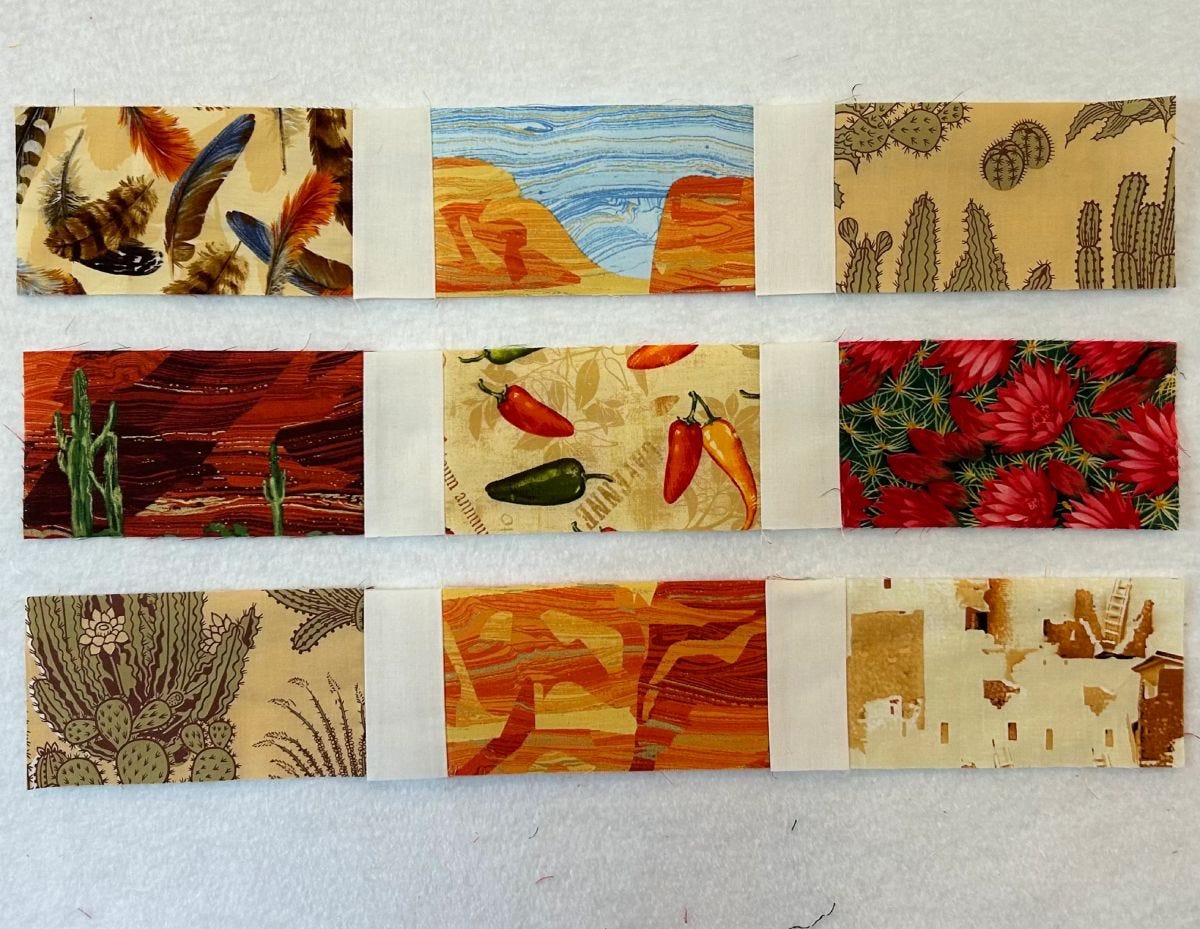
1. Arrange your postcards.
2. Sew rows adding the 2” x 3 1/2” sashing strips in between.
3. Sew the rows together with the 21 1/2" strips in between.
4. Add the 3 1/2” strip to the bottom.
5. Add the 2” x 31 1/2” strips to the sides.
6. Center the letters on the bottom border of your quilt and fuse in place.
7. Machine appliqué to hold in place.
PRO TIP: Alternatively, you could quilt tightly over the top to hold in place. This is what I did since this piece won’t be heavily used or washed.
8. Quilt and bind with the remaining 2 1/2” binding strips.
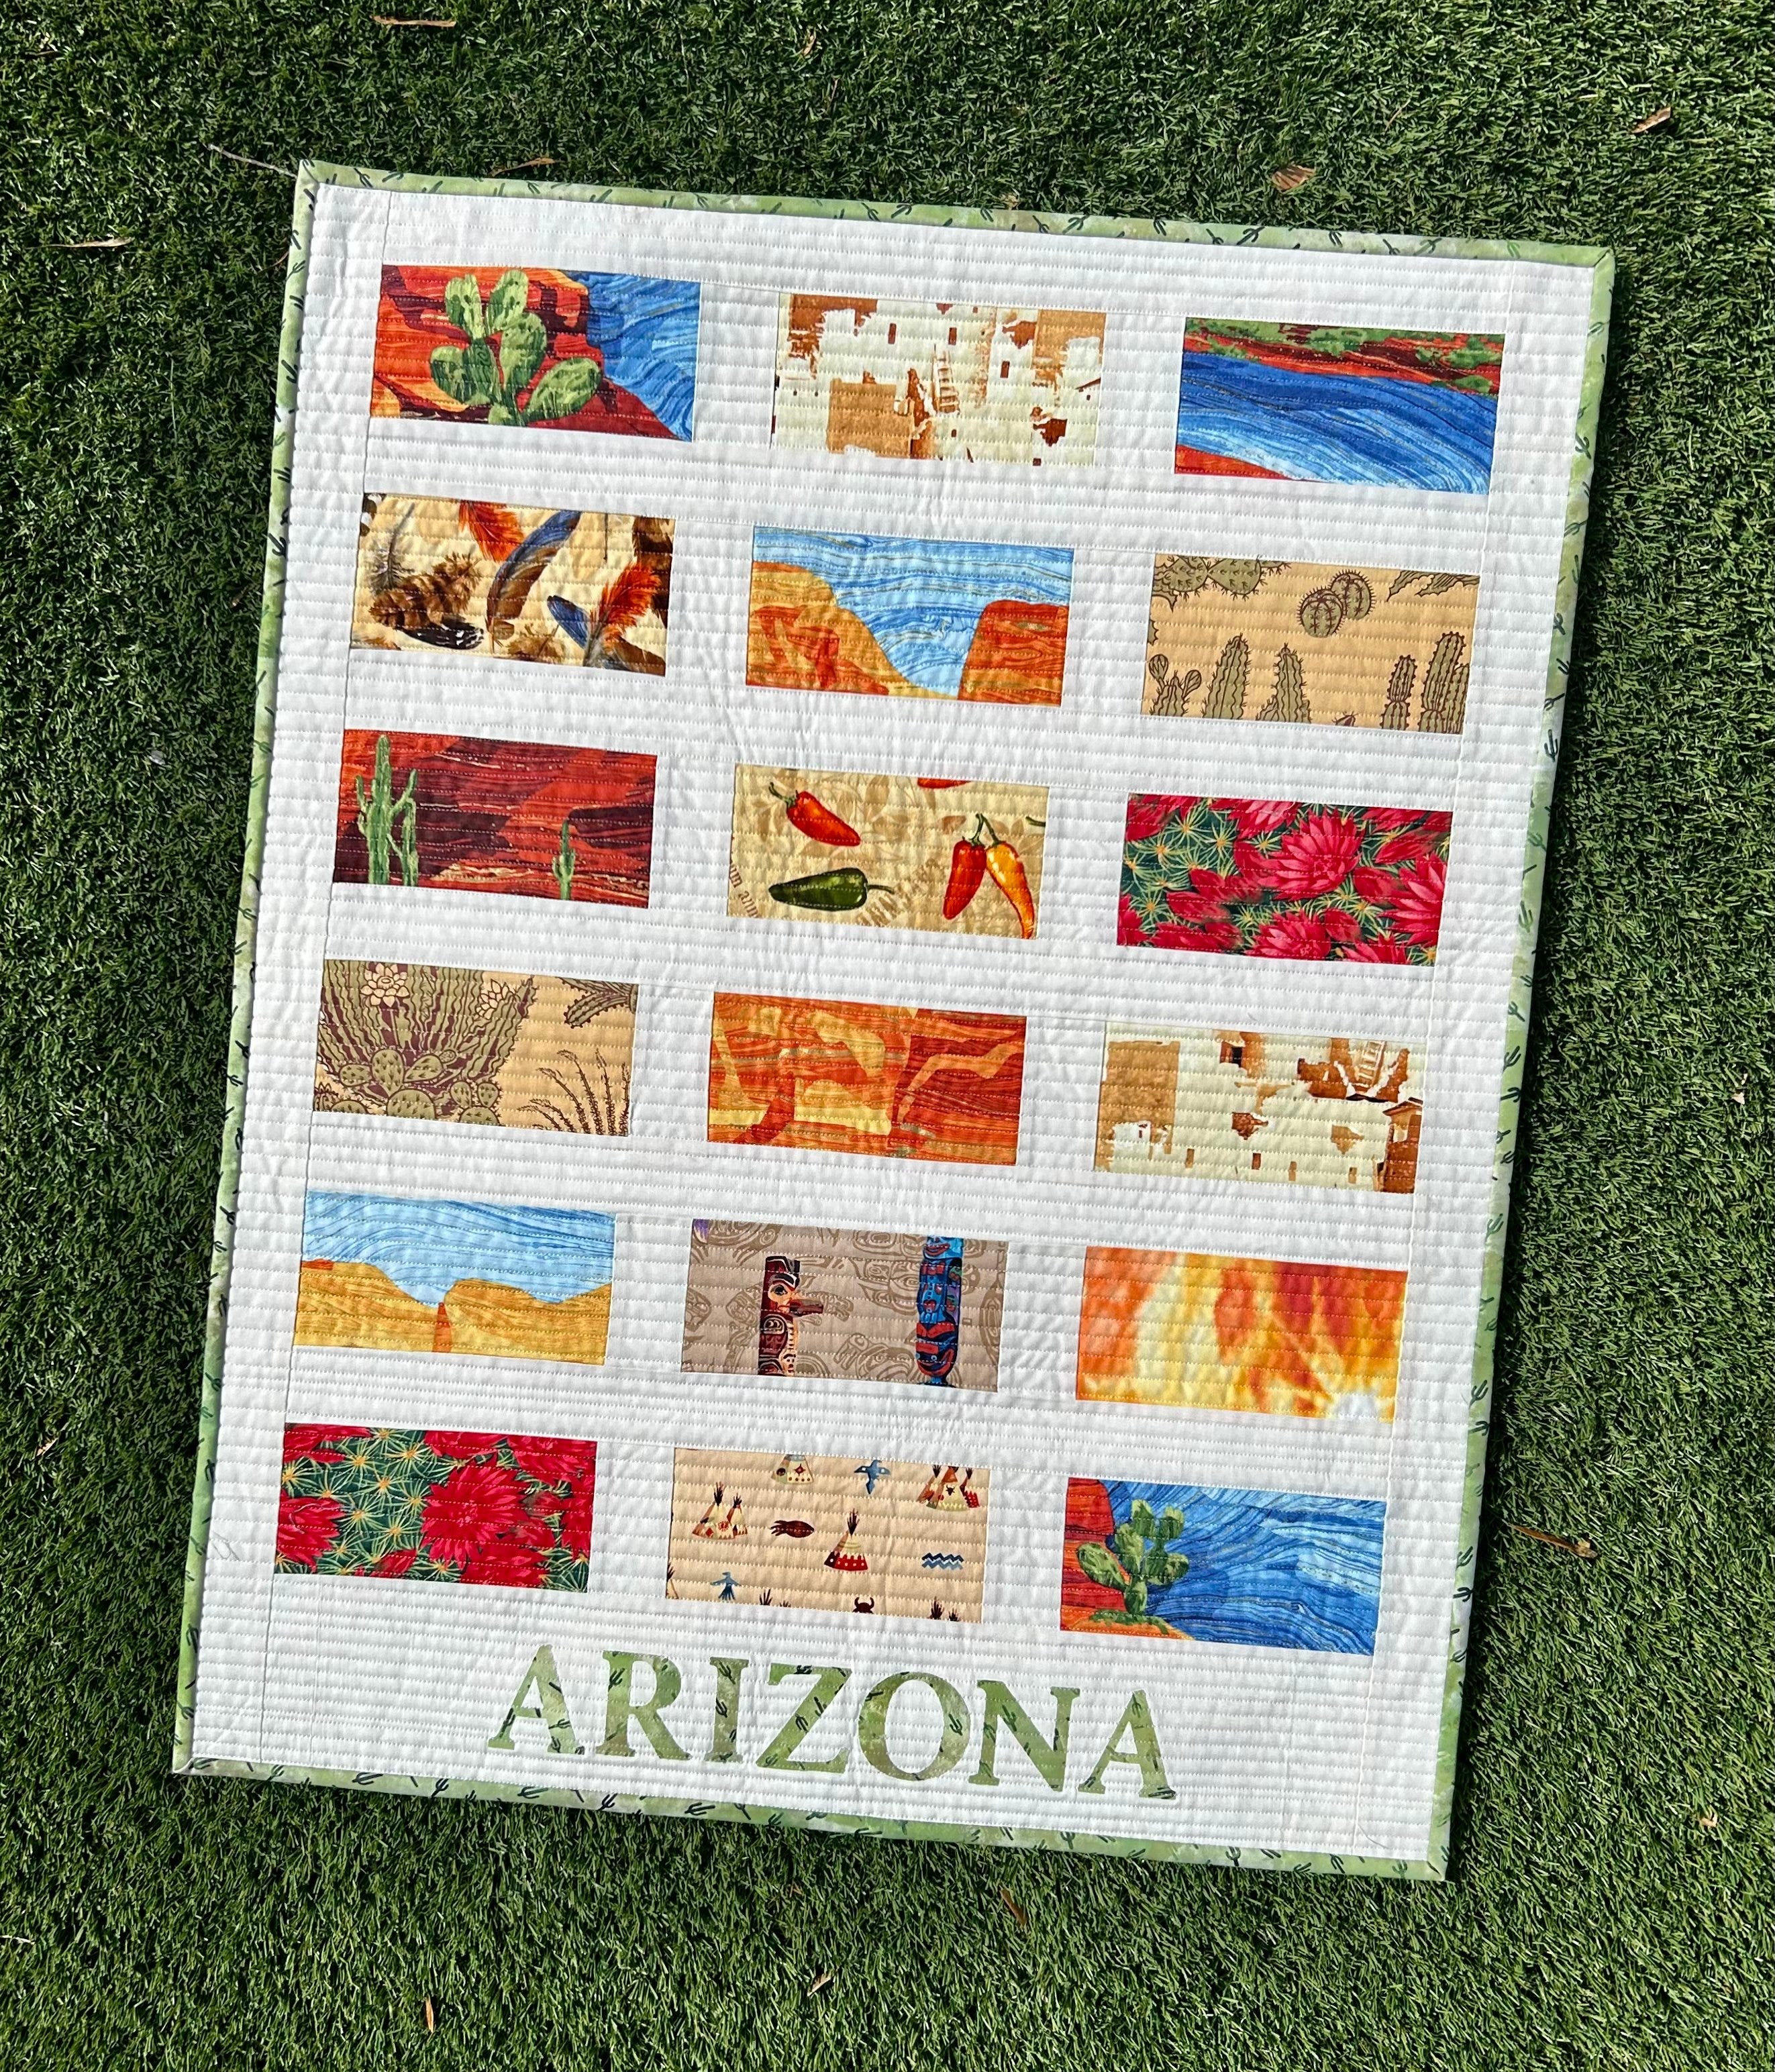
Enjoy your new quilt!
If you make your own version of this tutorial, please share the photo on social media using the hashtag #AccuQuiltBuilt and don't forget to tag @katyquilts and @AccuQuilt so that we can see your postcard quilt!


