


To honor National Sewing Month, we're addressing an issue that makes all fabric-lovers cringe: waste. Wasted fabric is never fun! Learn from GO! Getter Emily of Homemade Emily Jane how you can reduce fabric waste while using the AccuQuilt fabric cutting system.
The Cut and Shift™ Method is particularly handy when using any of the GO! Qube Companion-Angle sets and you can use the same process for a lot of other dies too.
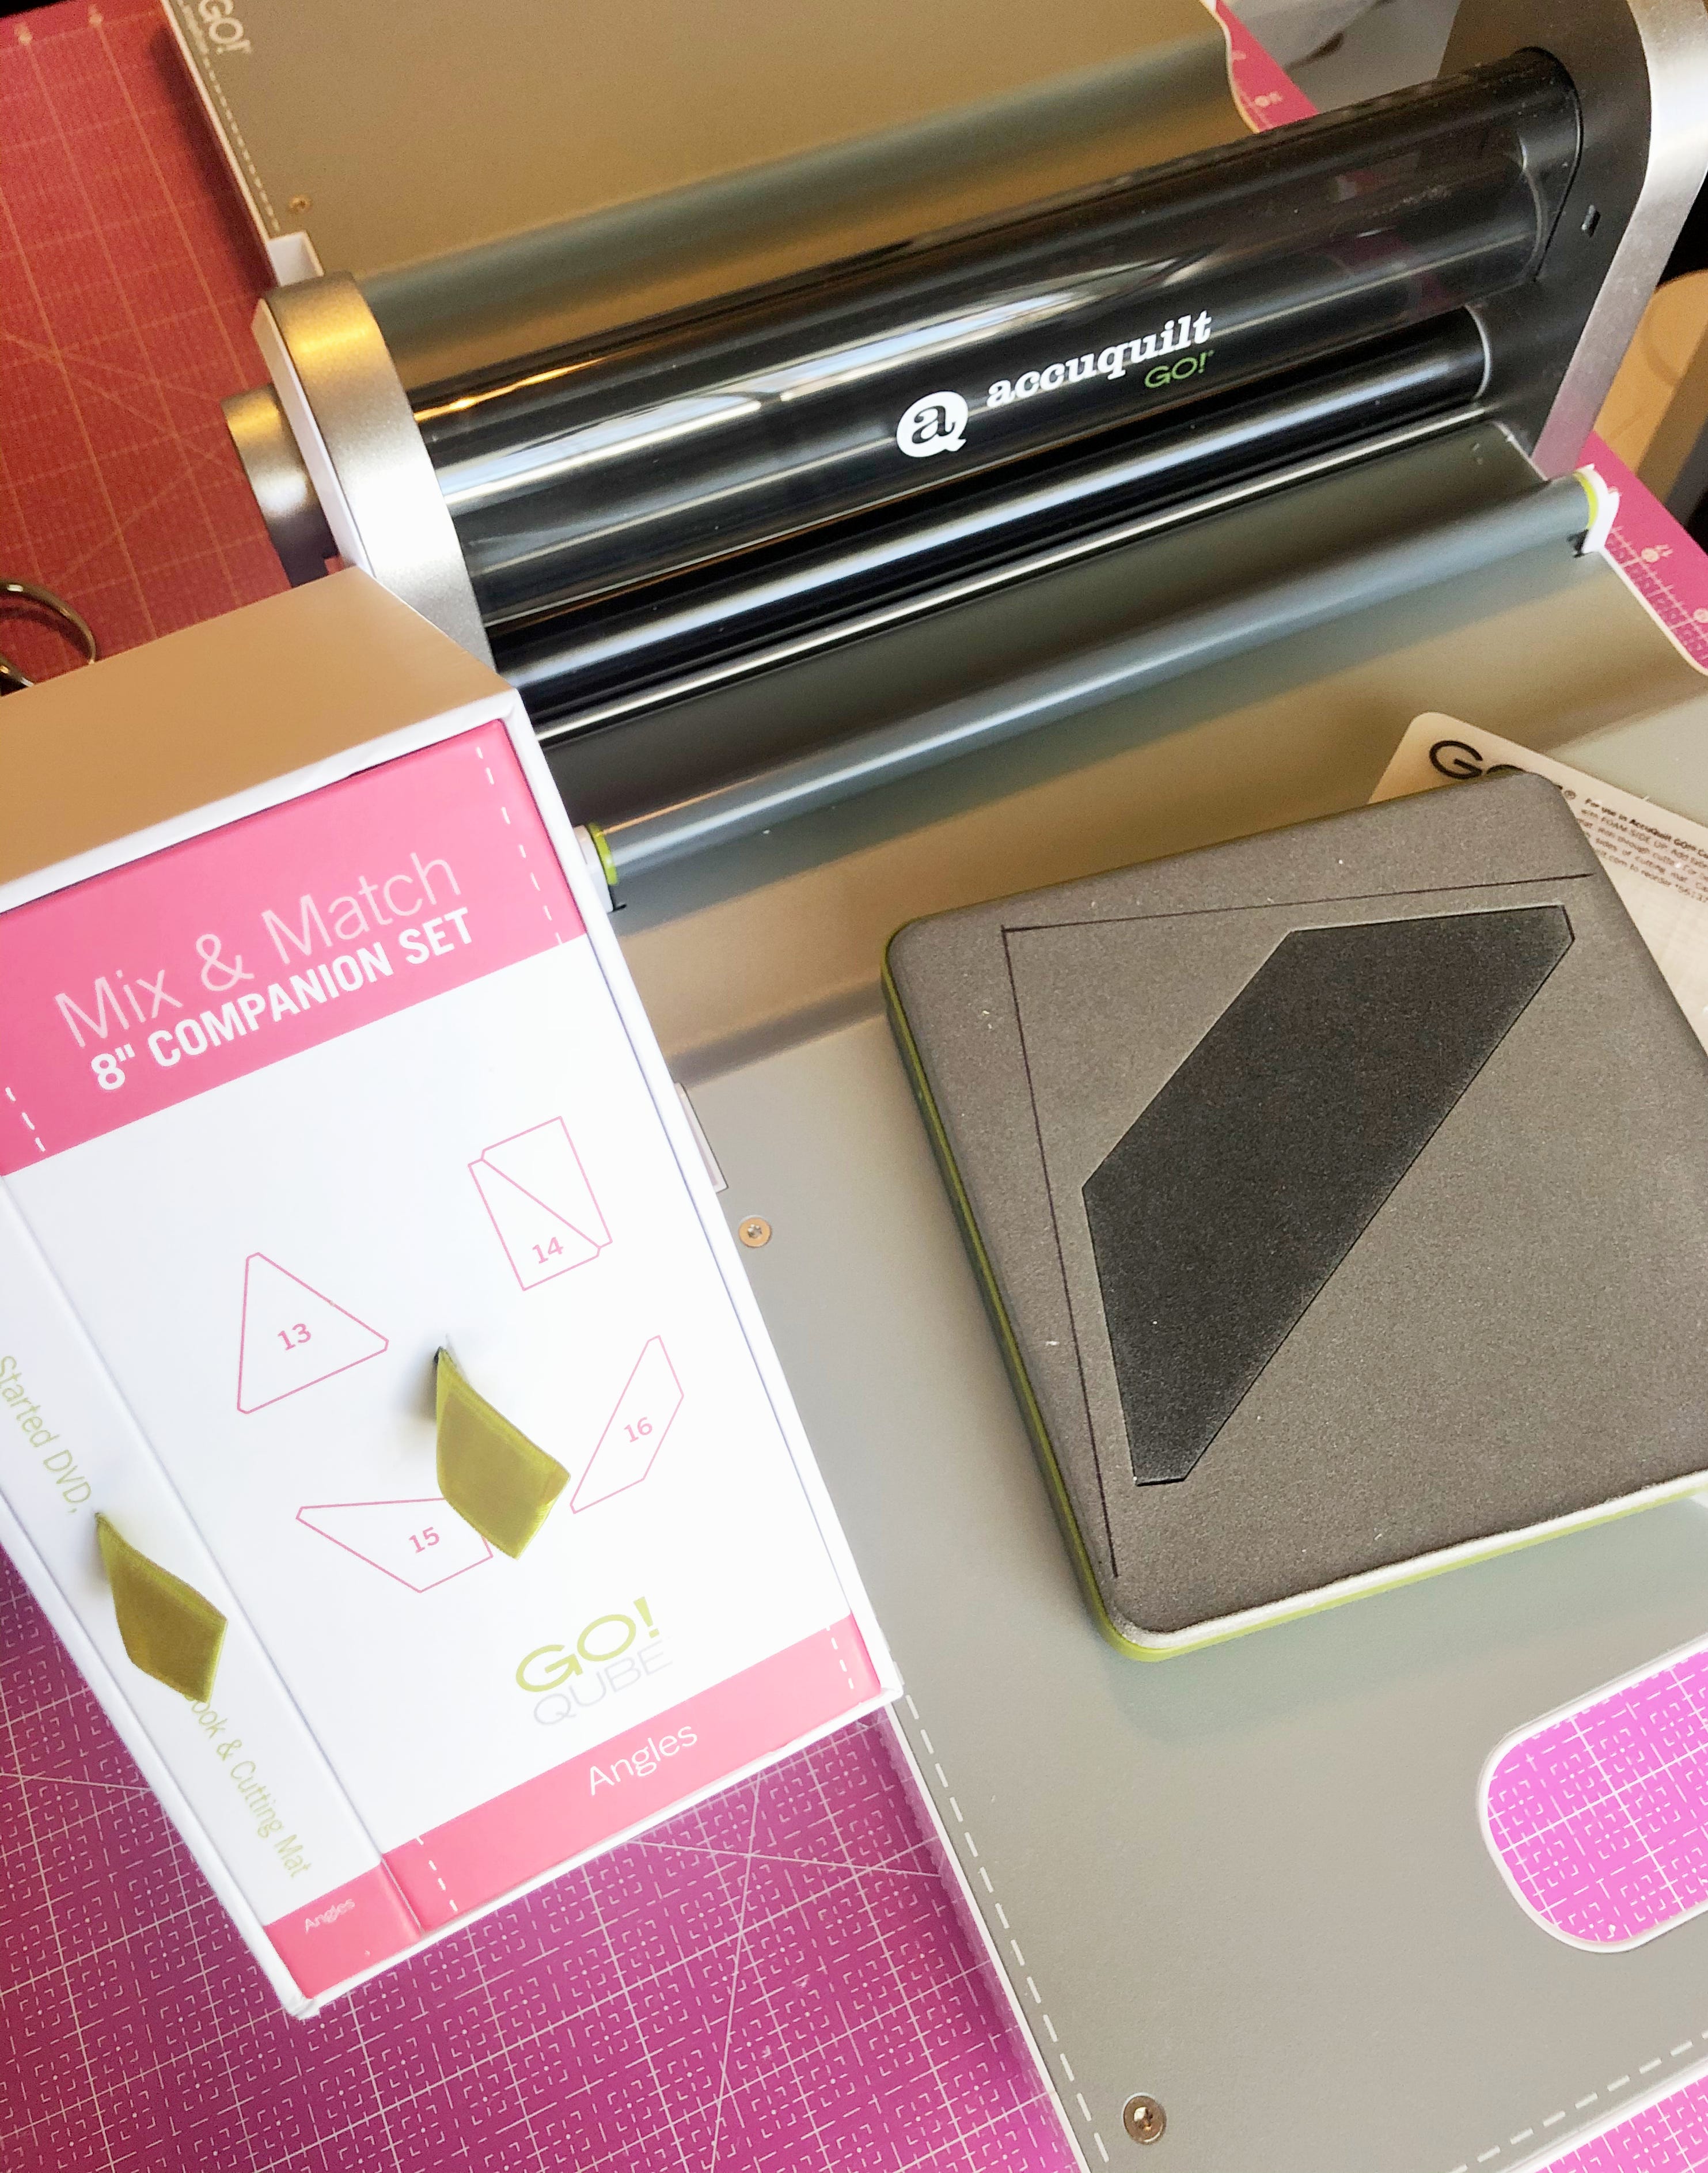
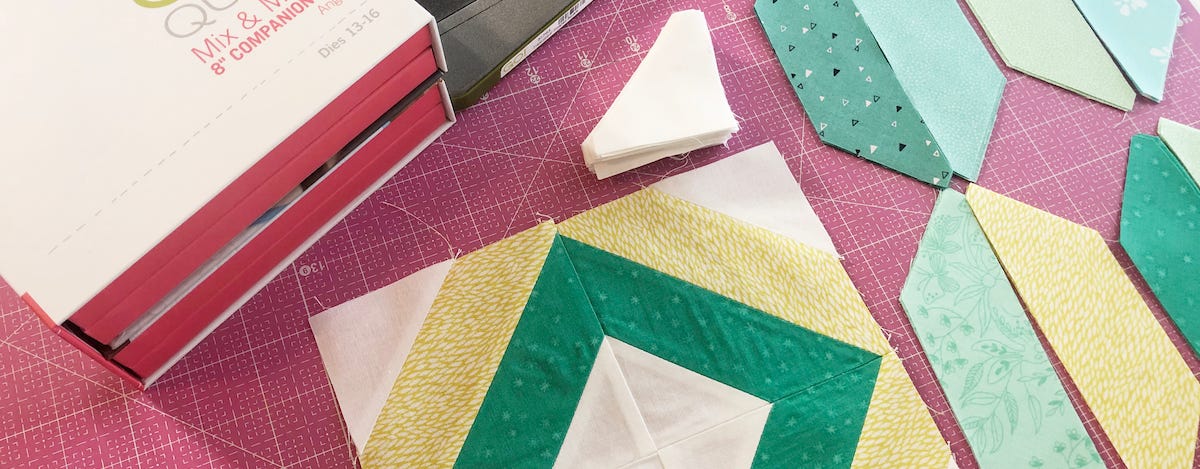
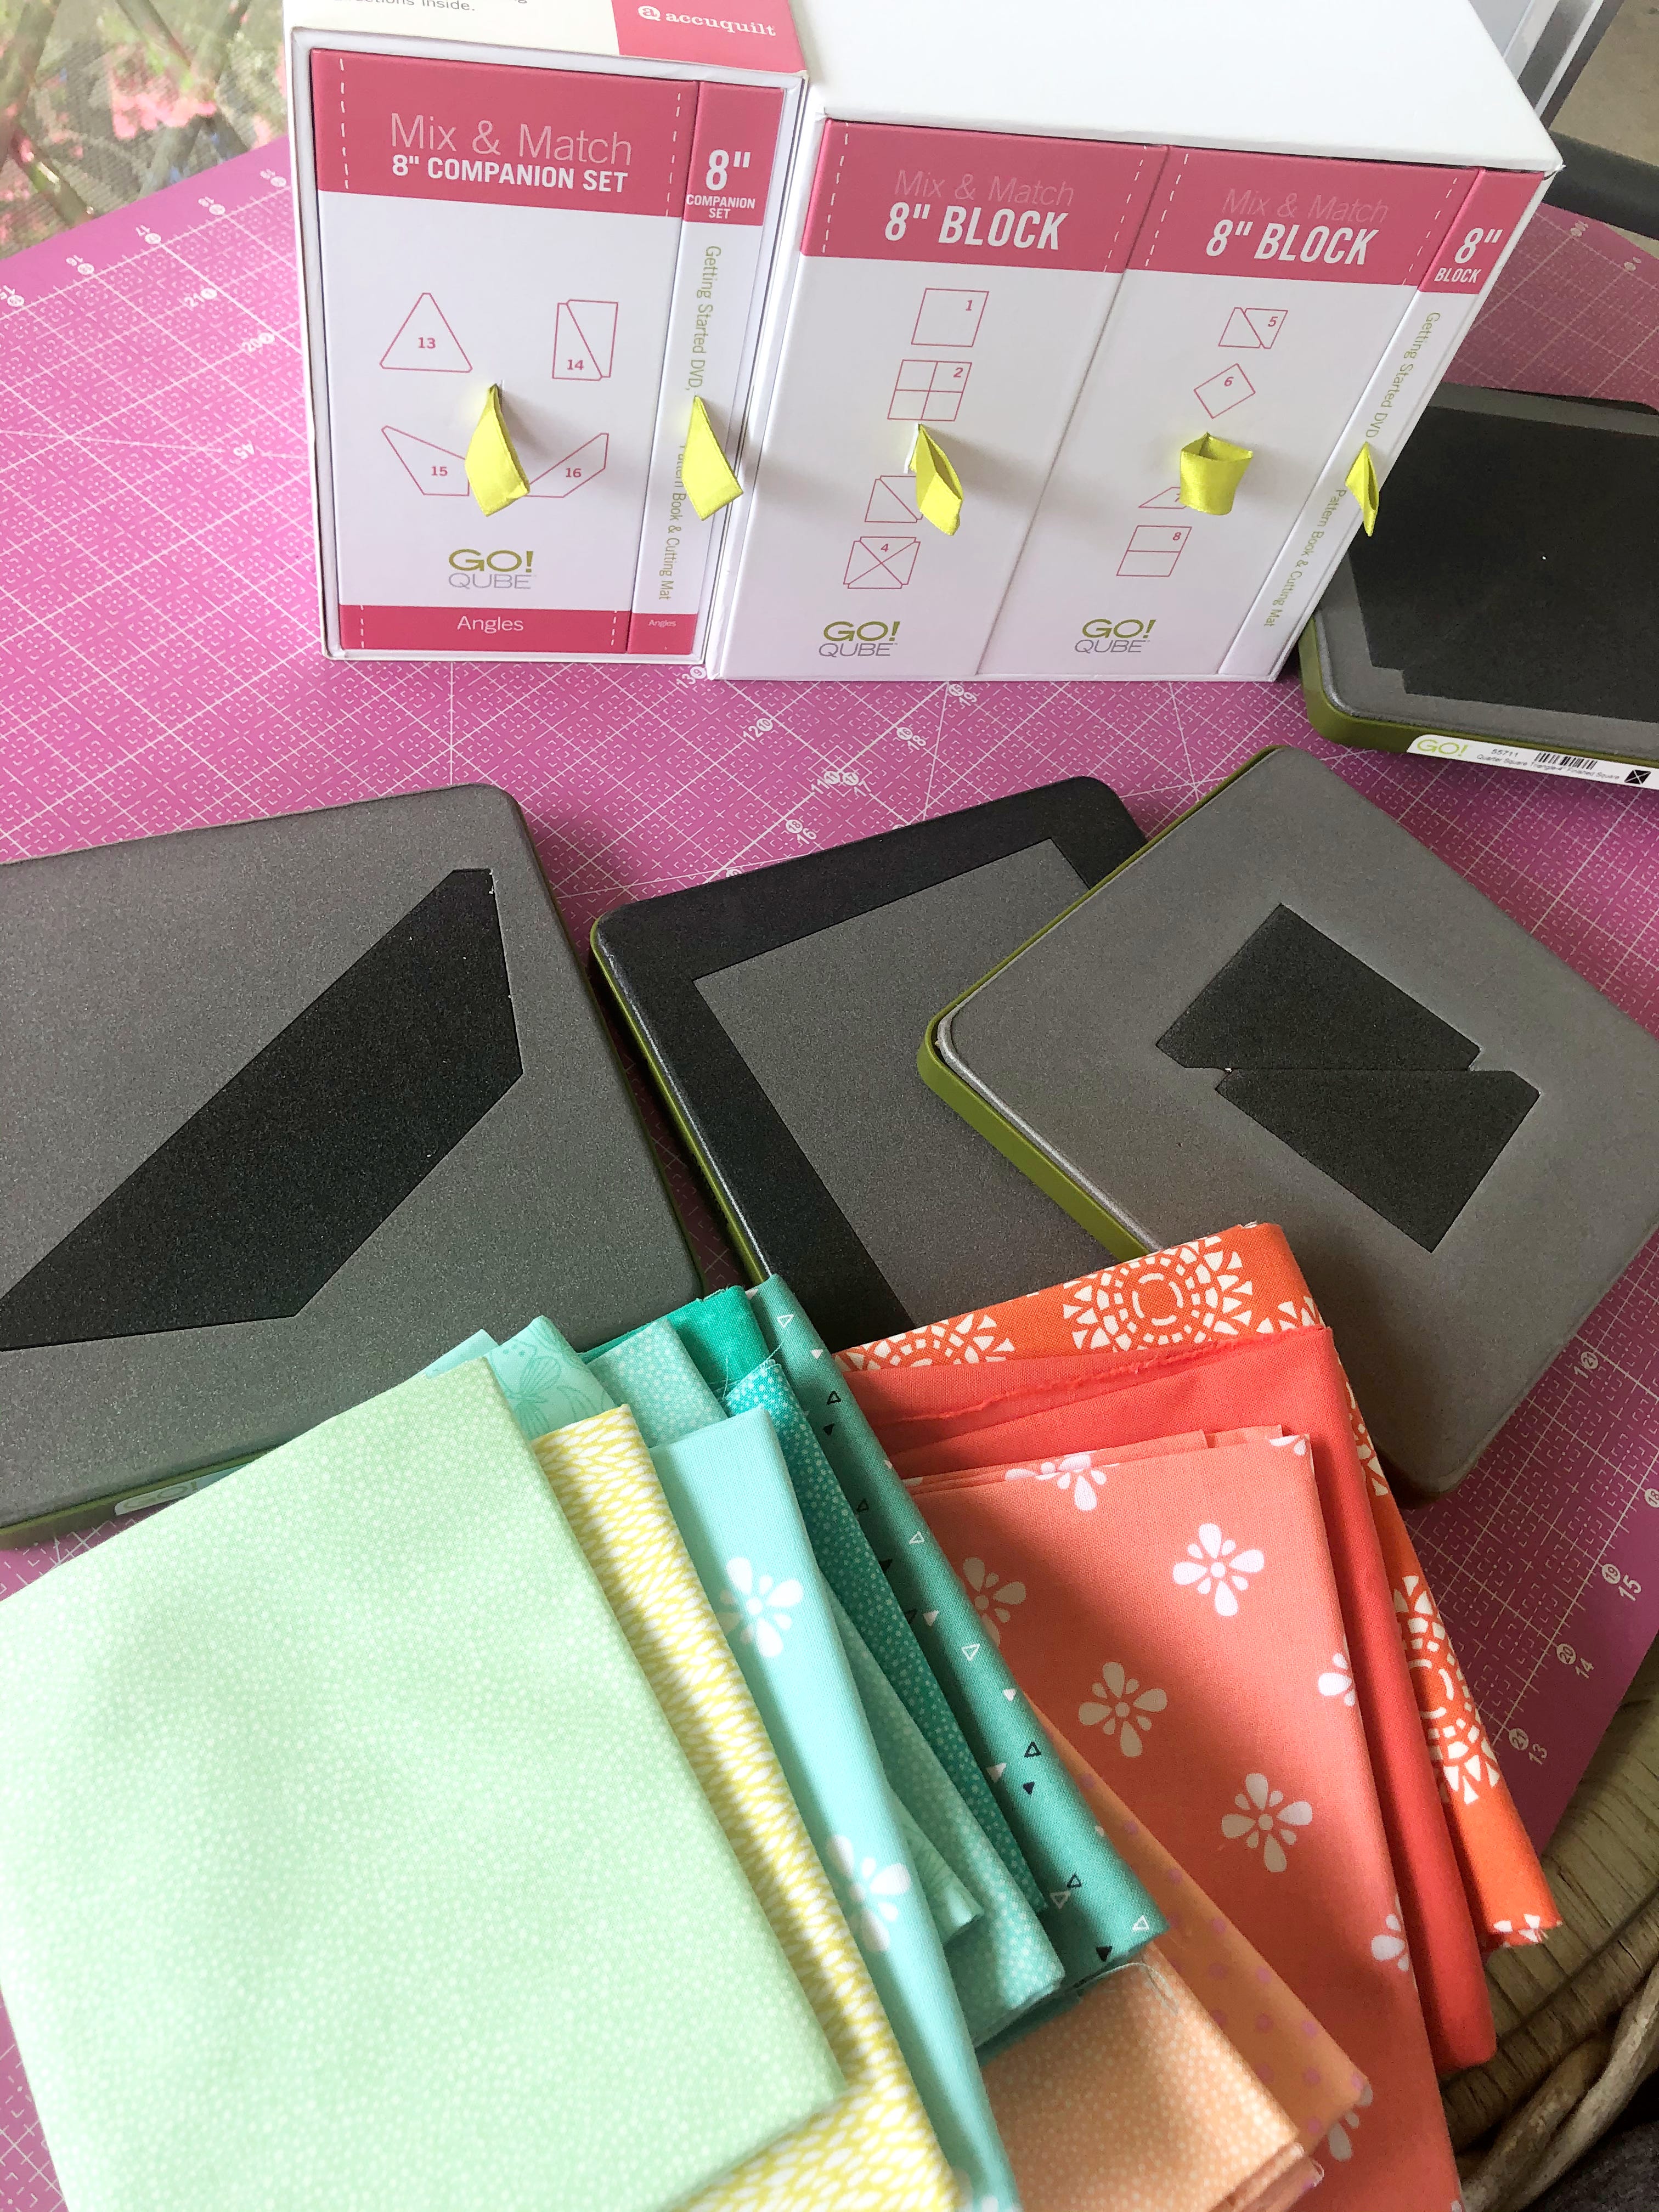
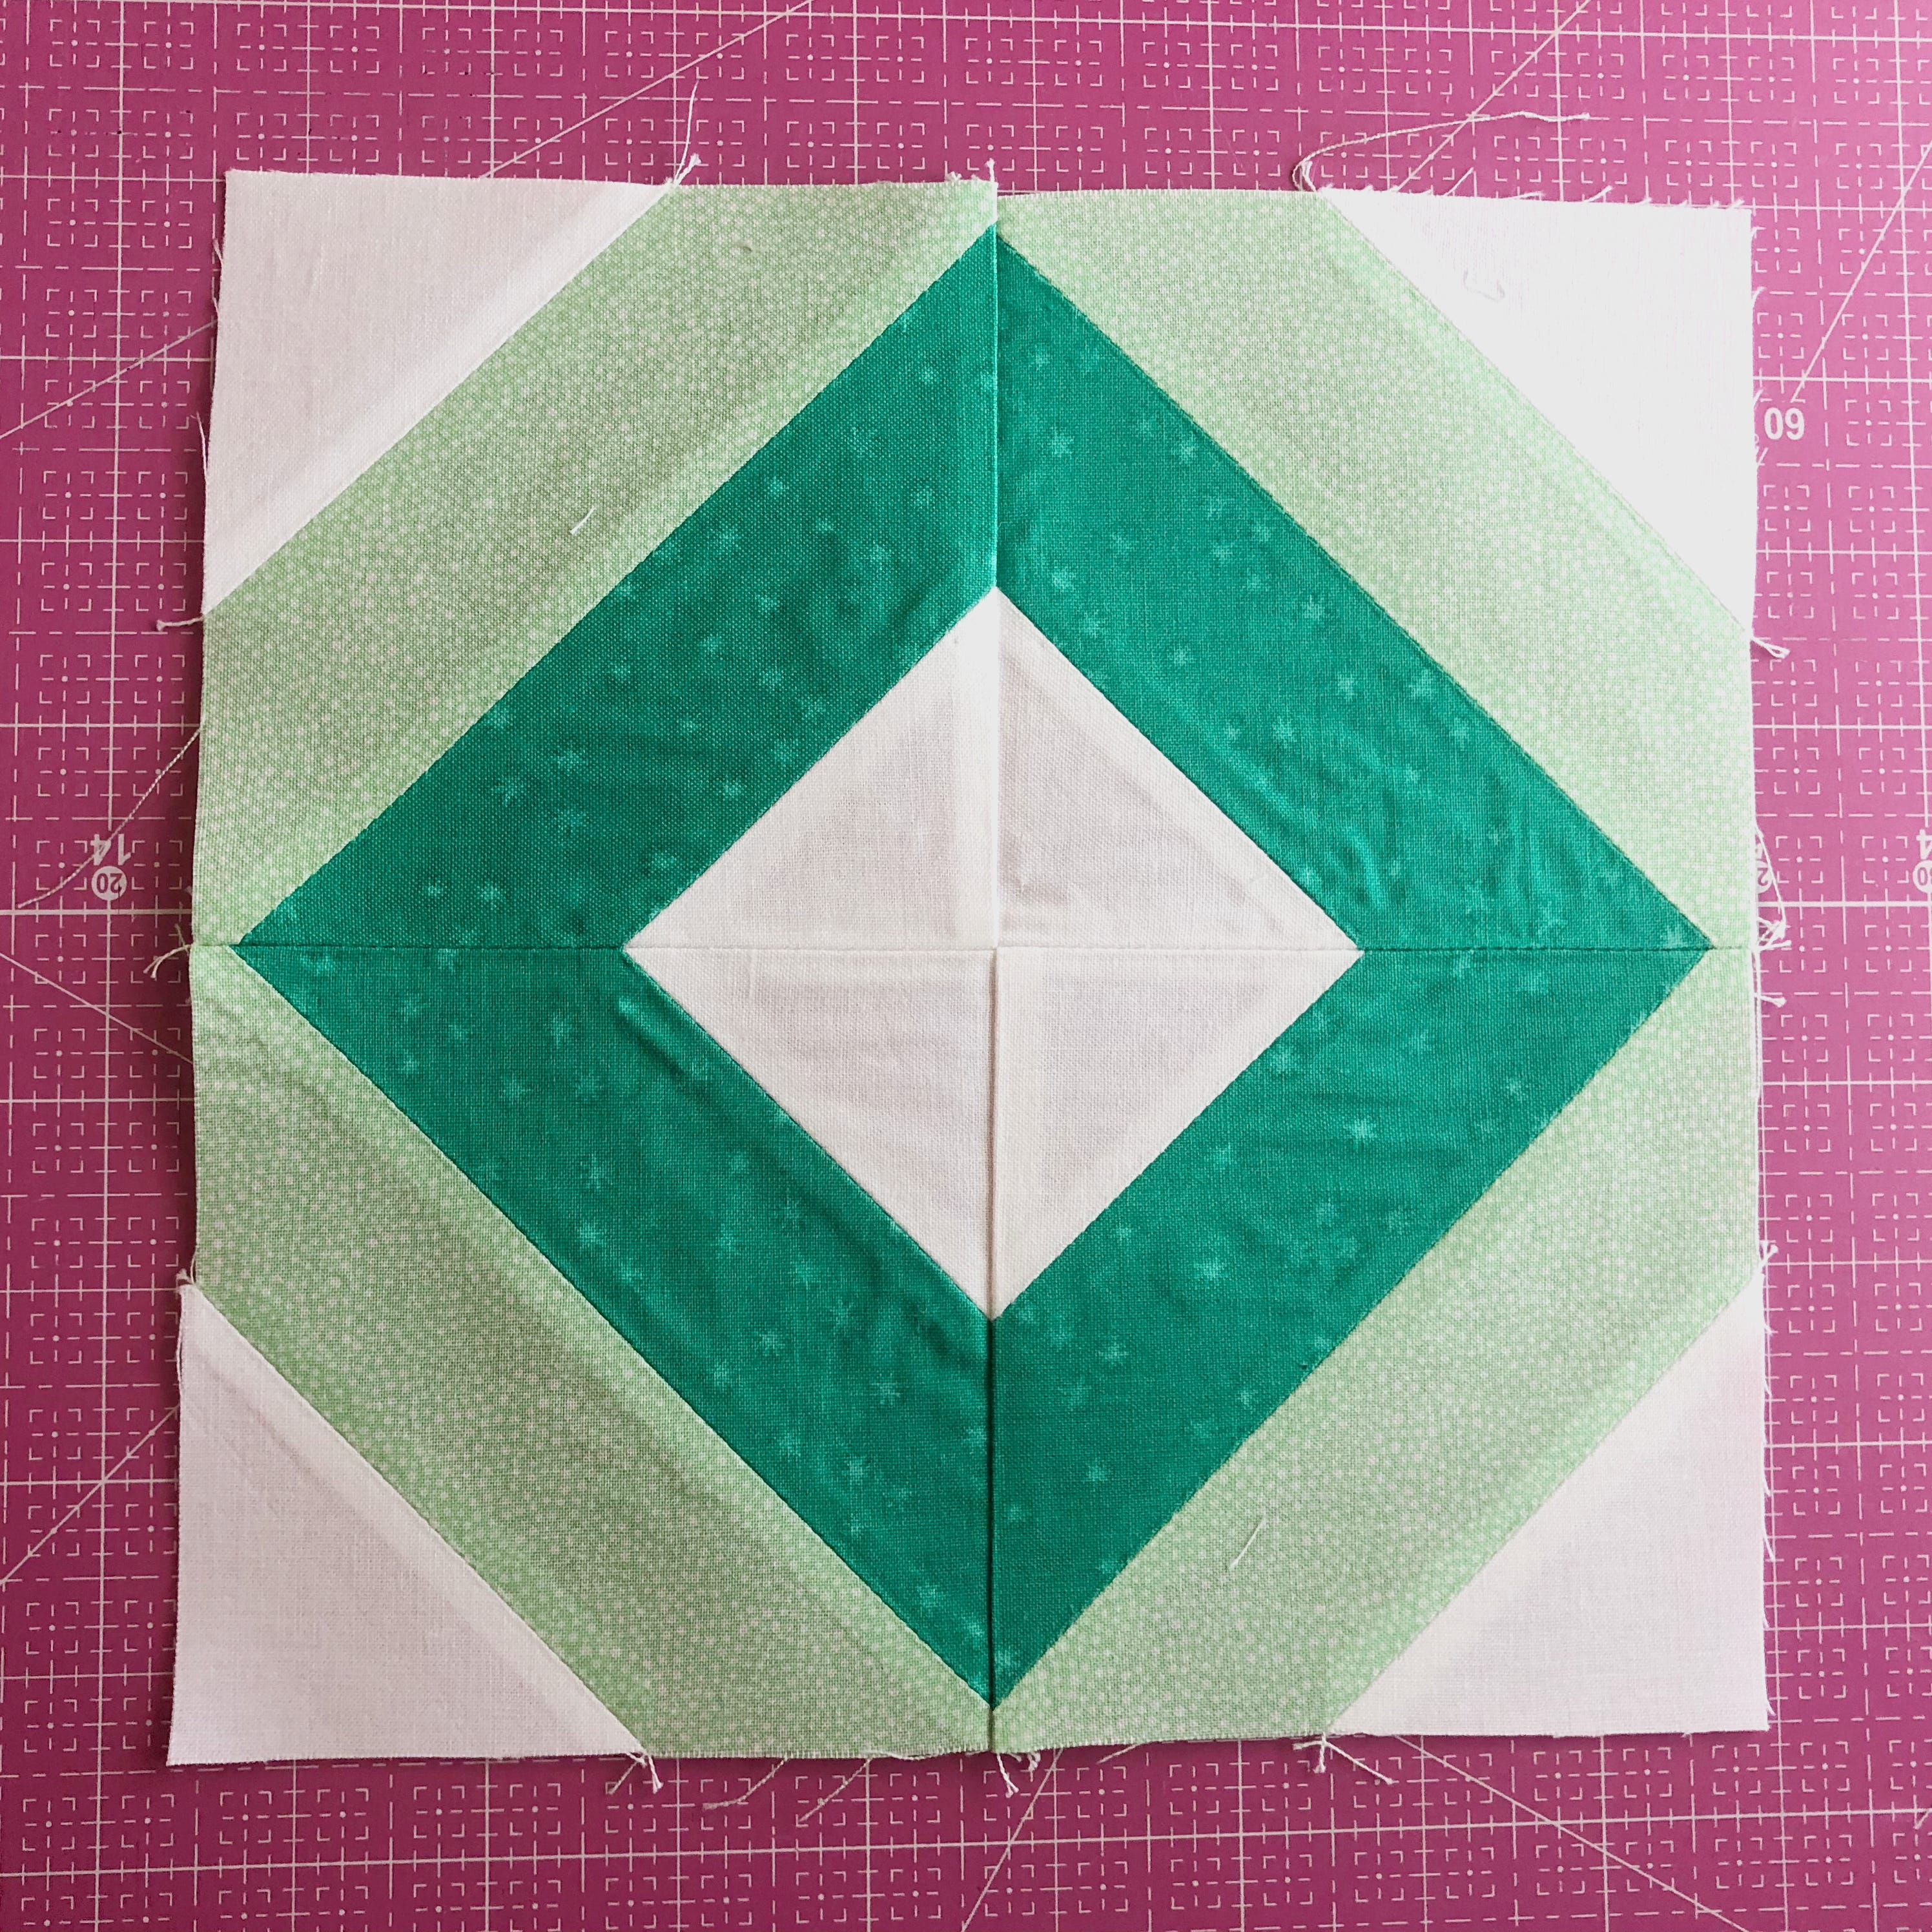
To demonstrate the Cut and Shift™ Method, I used my 8” GO! Qube from my Ready. Set. GO! Ultimate Fabric Cutting System and the 8” Qube Companion Set - Angles to make a variation of a String Quilt Block. This string quilt block is inspired by the “Inspire” Quilt block found in the pattern booklet, but features a different color layout.
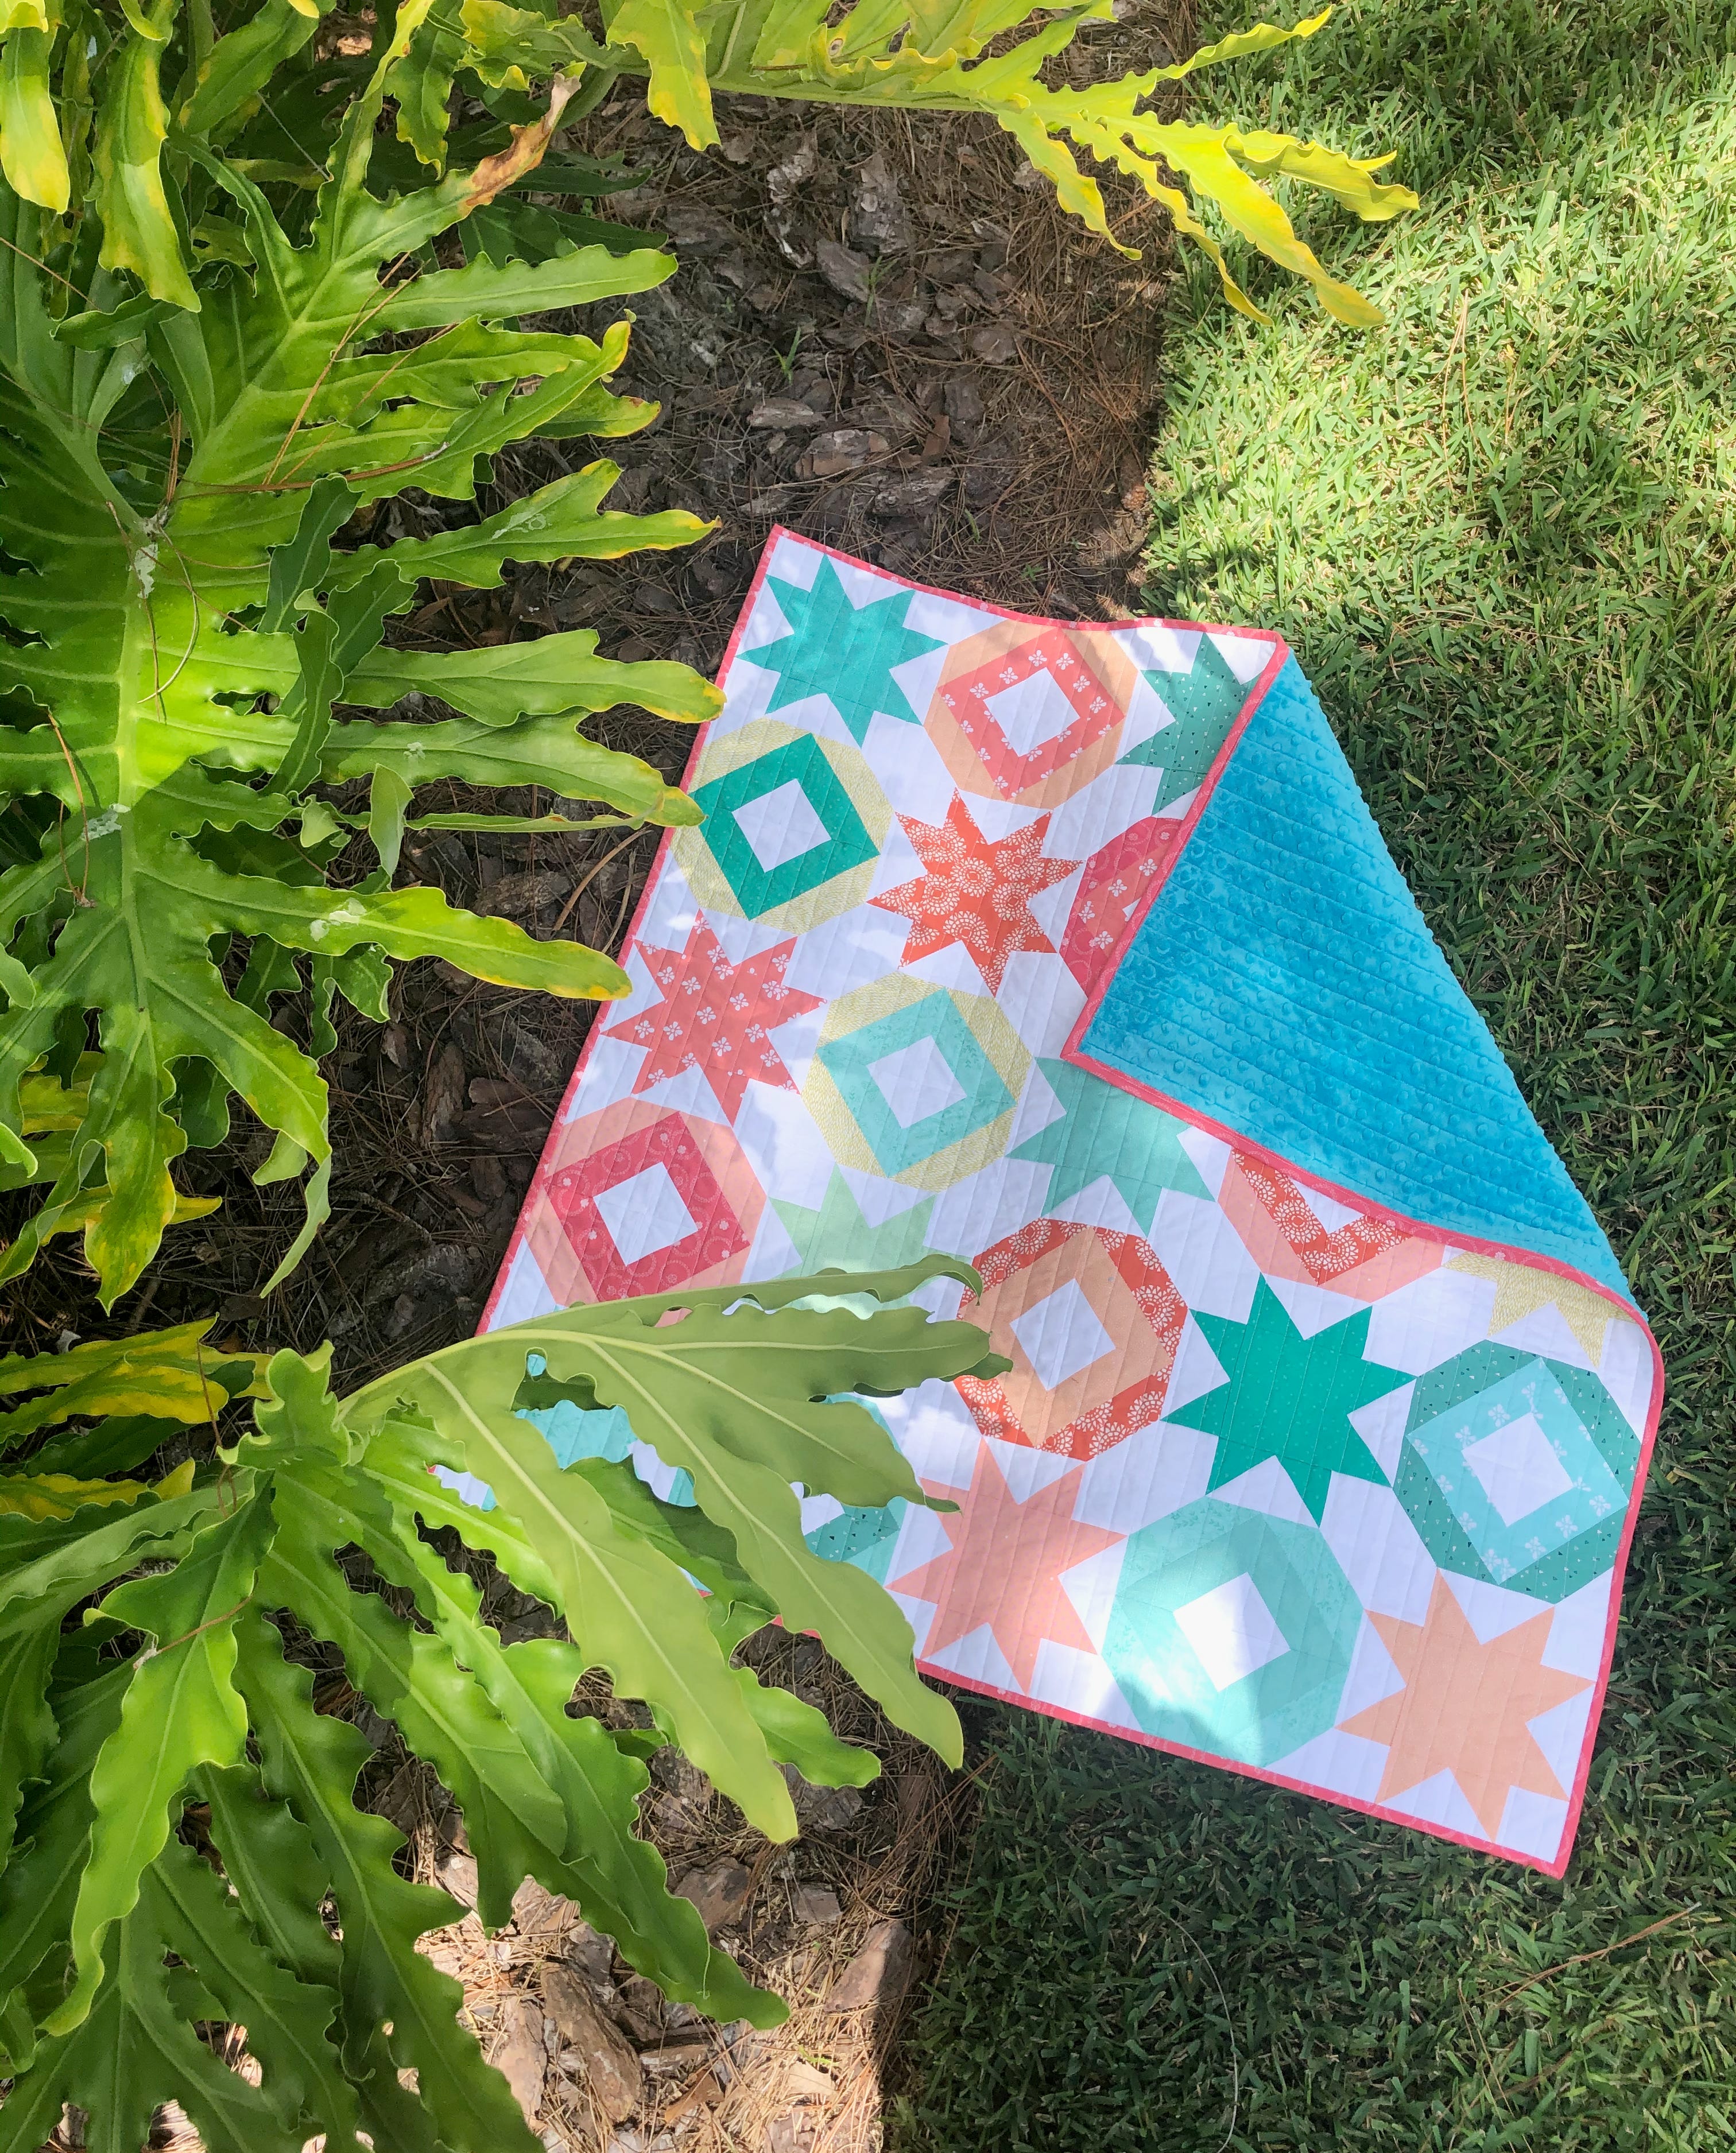
I hope you find this overview of the cutting process and String Quilt Block tutorial helpful! I found that this String Quilt Block paired well with a Sawtooth Star block to make a fun, unique, and vibrant 2-block quilt. I’ll share more about the quilt in a bit, but first let’s dive into the Cut and Shift™ Method.

Using the Cut and Shift™ Method
To begin, I like to draw a line on each of my dies with a permanent marker. The line I draw is ¼” away from the edge of the blade and helps me line up where my fabric should go later on and it helps to stay on grain.
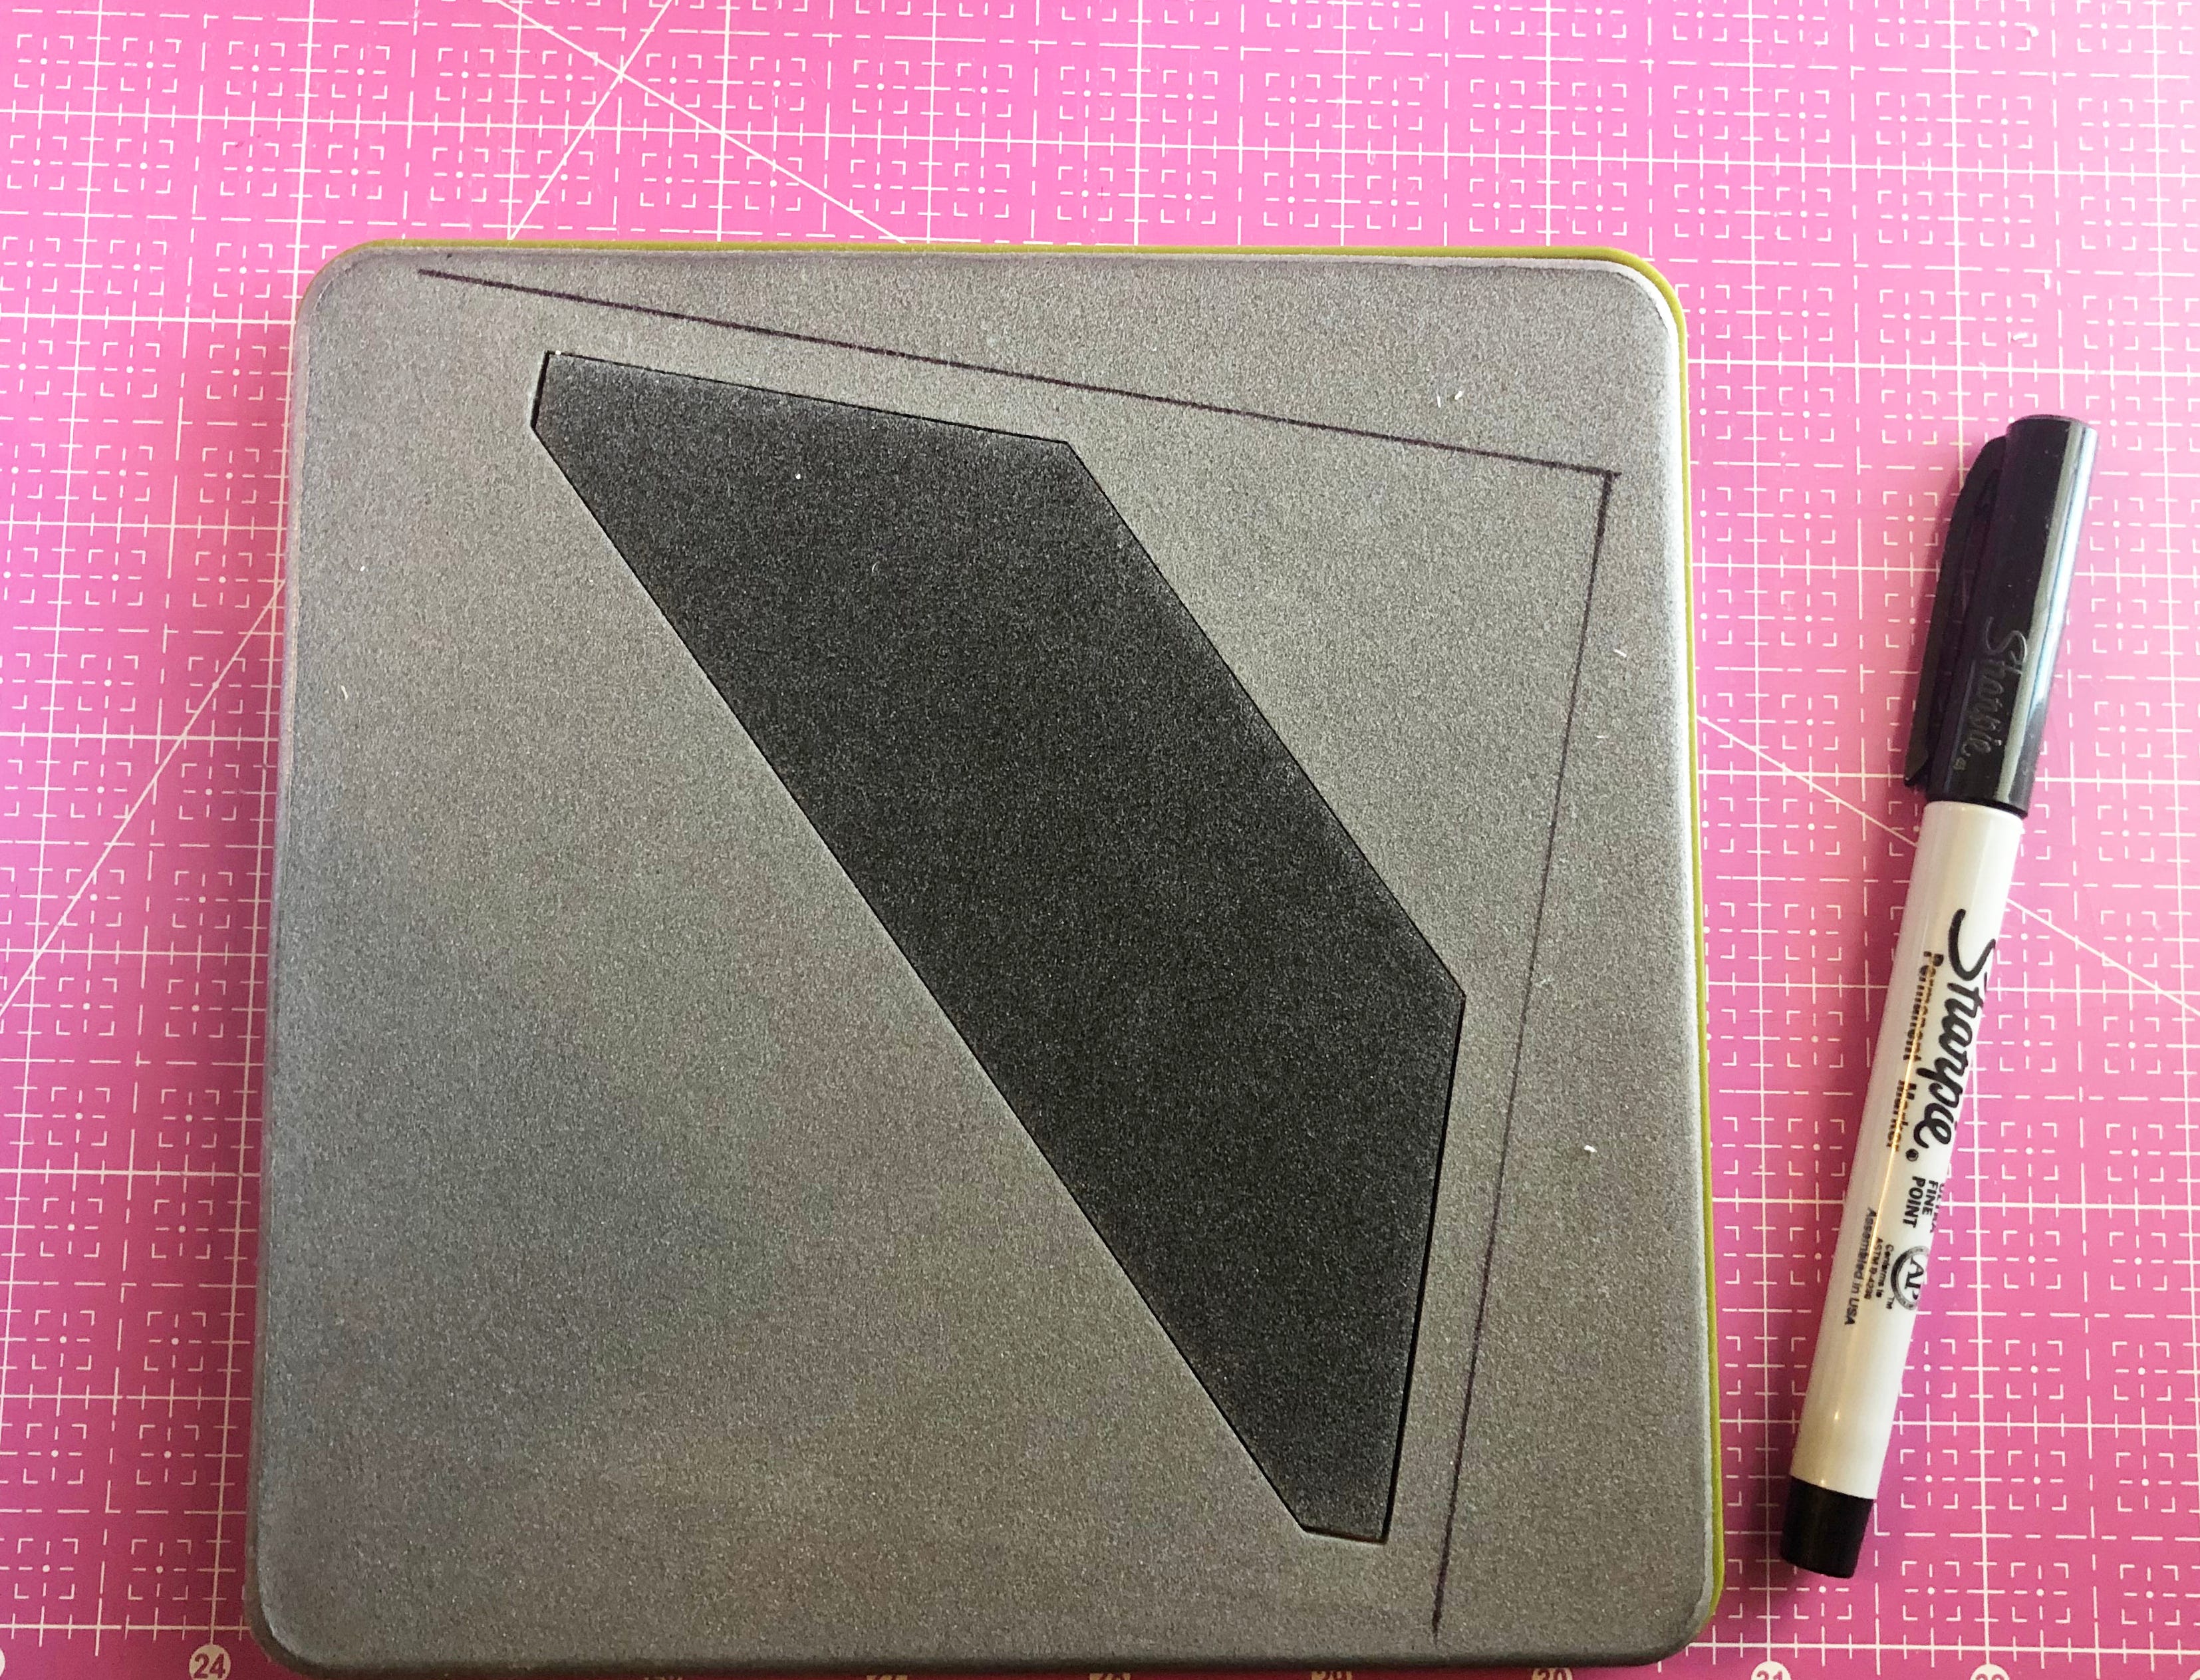
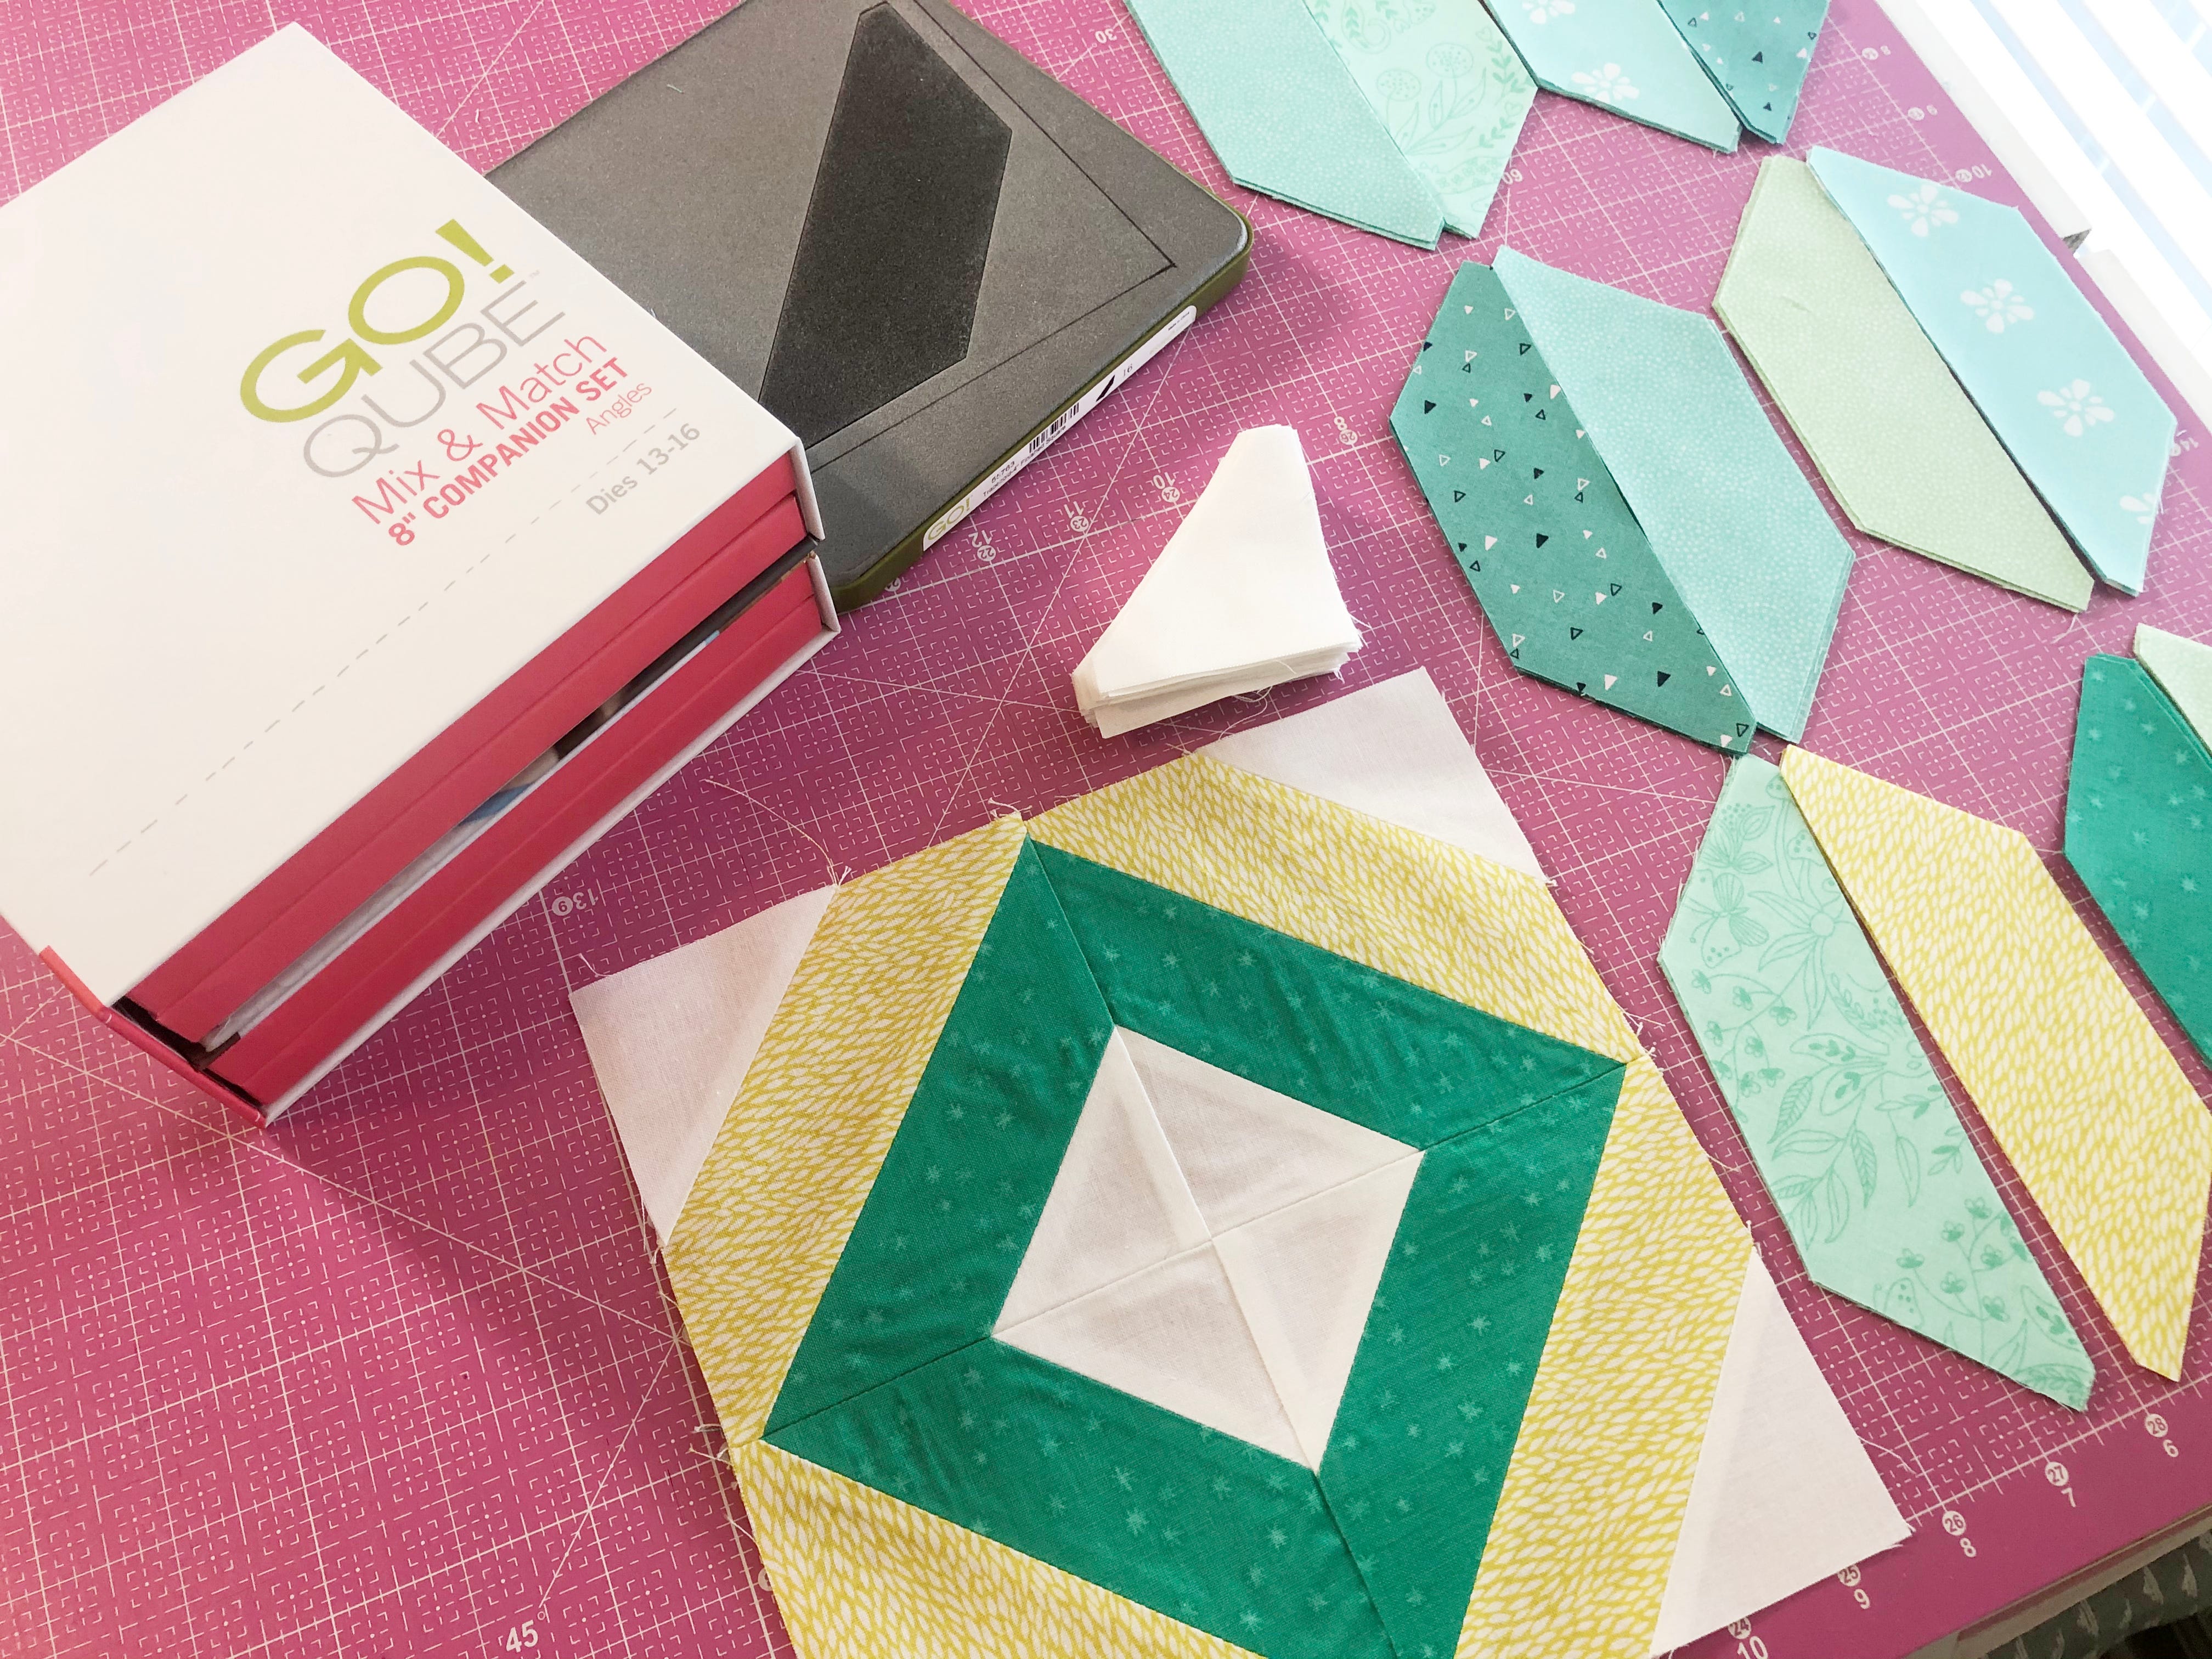
Next, measure the blades on your die to determine how wide your strip of fabric should be cut. I add a ¼” to each side to give a little wiggle room, and for the Trapezoid (die #16 in the Angles companion) I cut my strips 5” wide. Since you will be shifting your fabric after each pass, it’s a good idea to cut a few strips at one time - the AccuQuilt GO! fabric can technically take up to 6 layers of fabric, but I’ve found that I prefer working with 4.
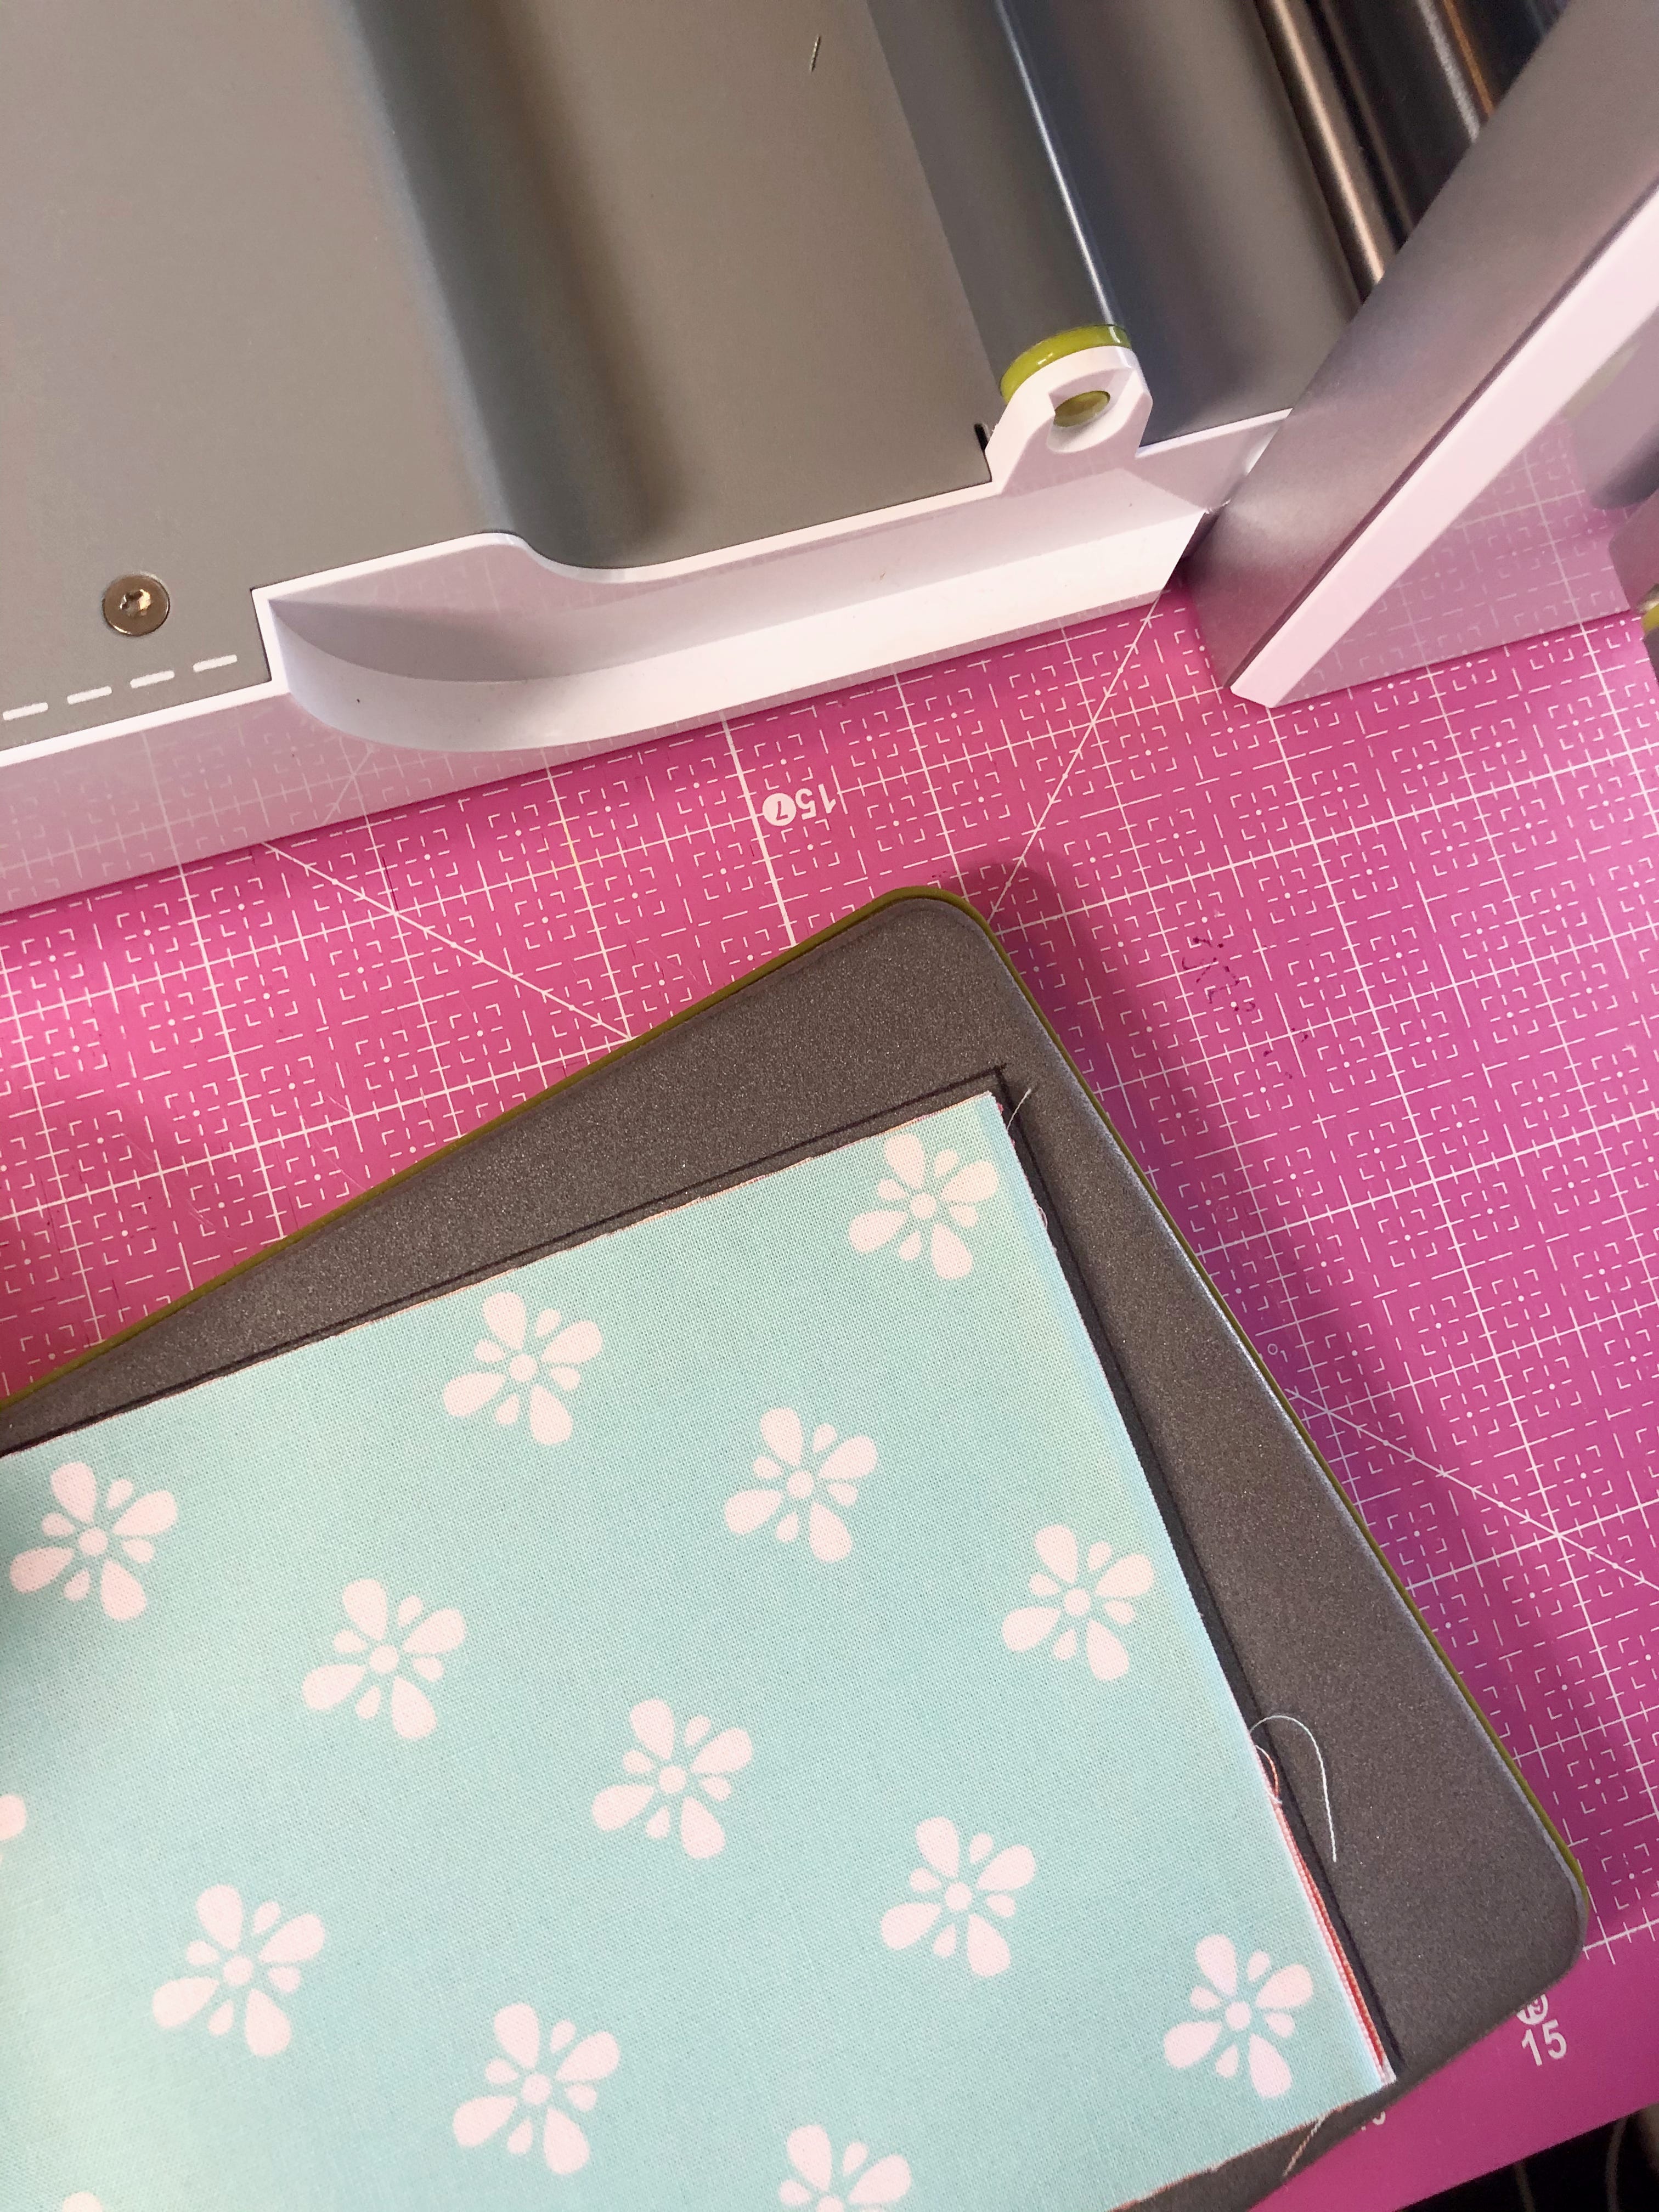

Layer your strips together, place them on your die and then place your cutting mat on top. Next run the die through the machine. Once your first cut is done, carefully remove your pieces and shift your fabric for your next pass, run that through the machine, and continue the process.
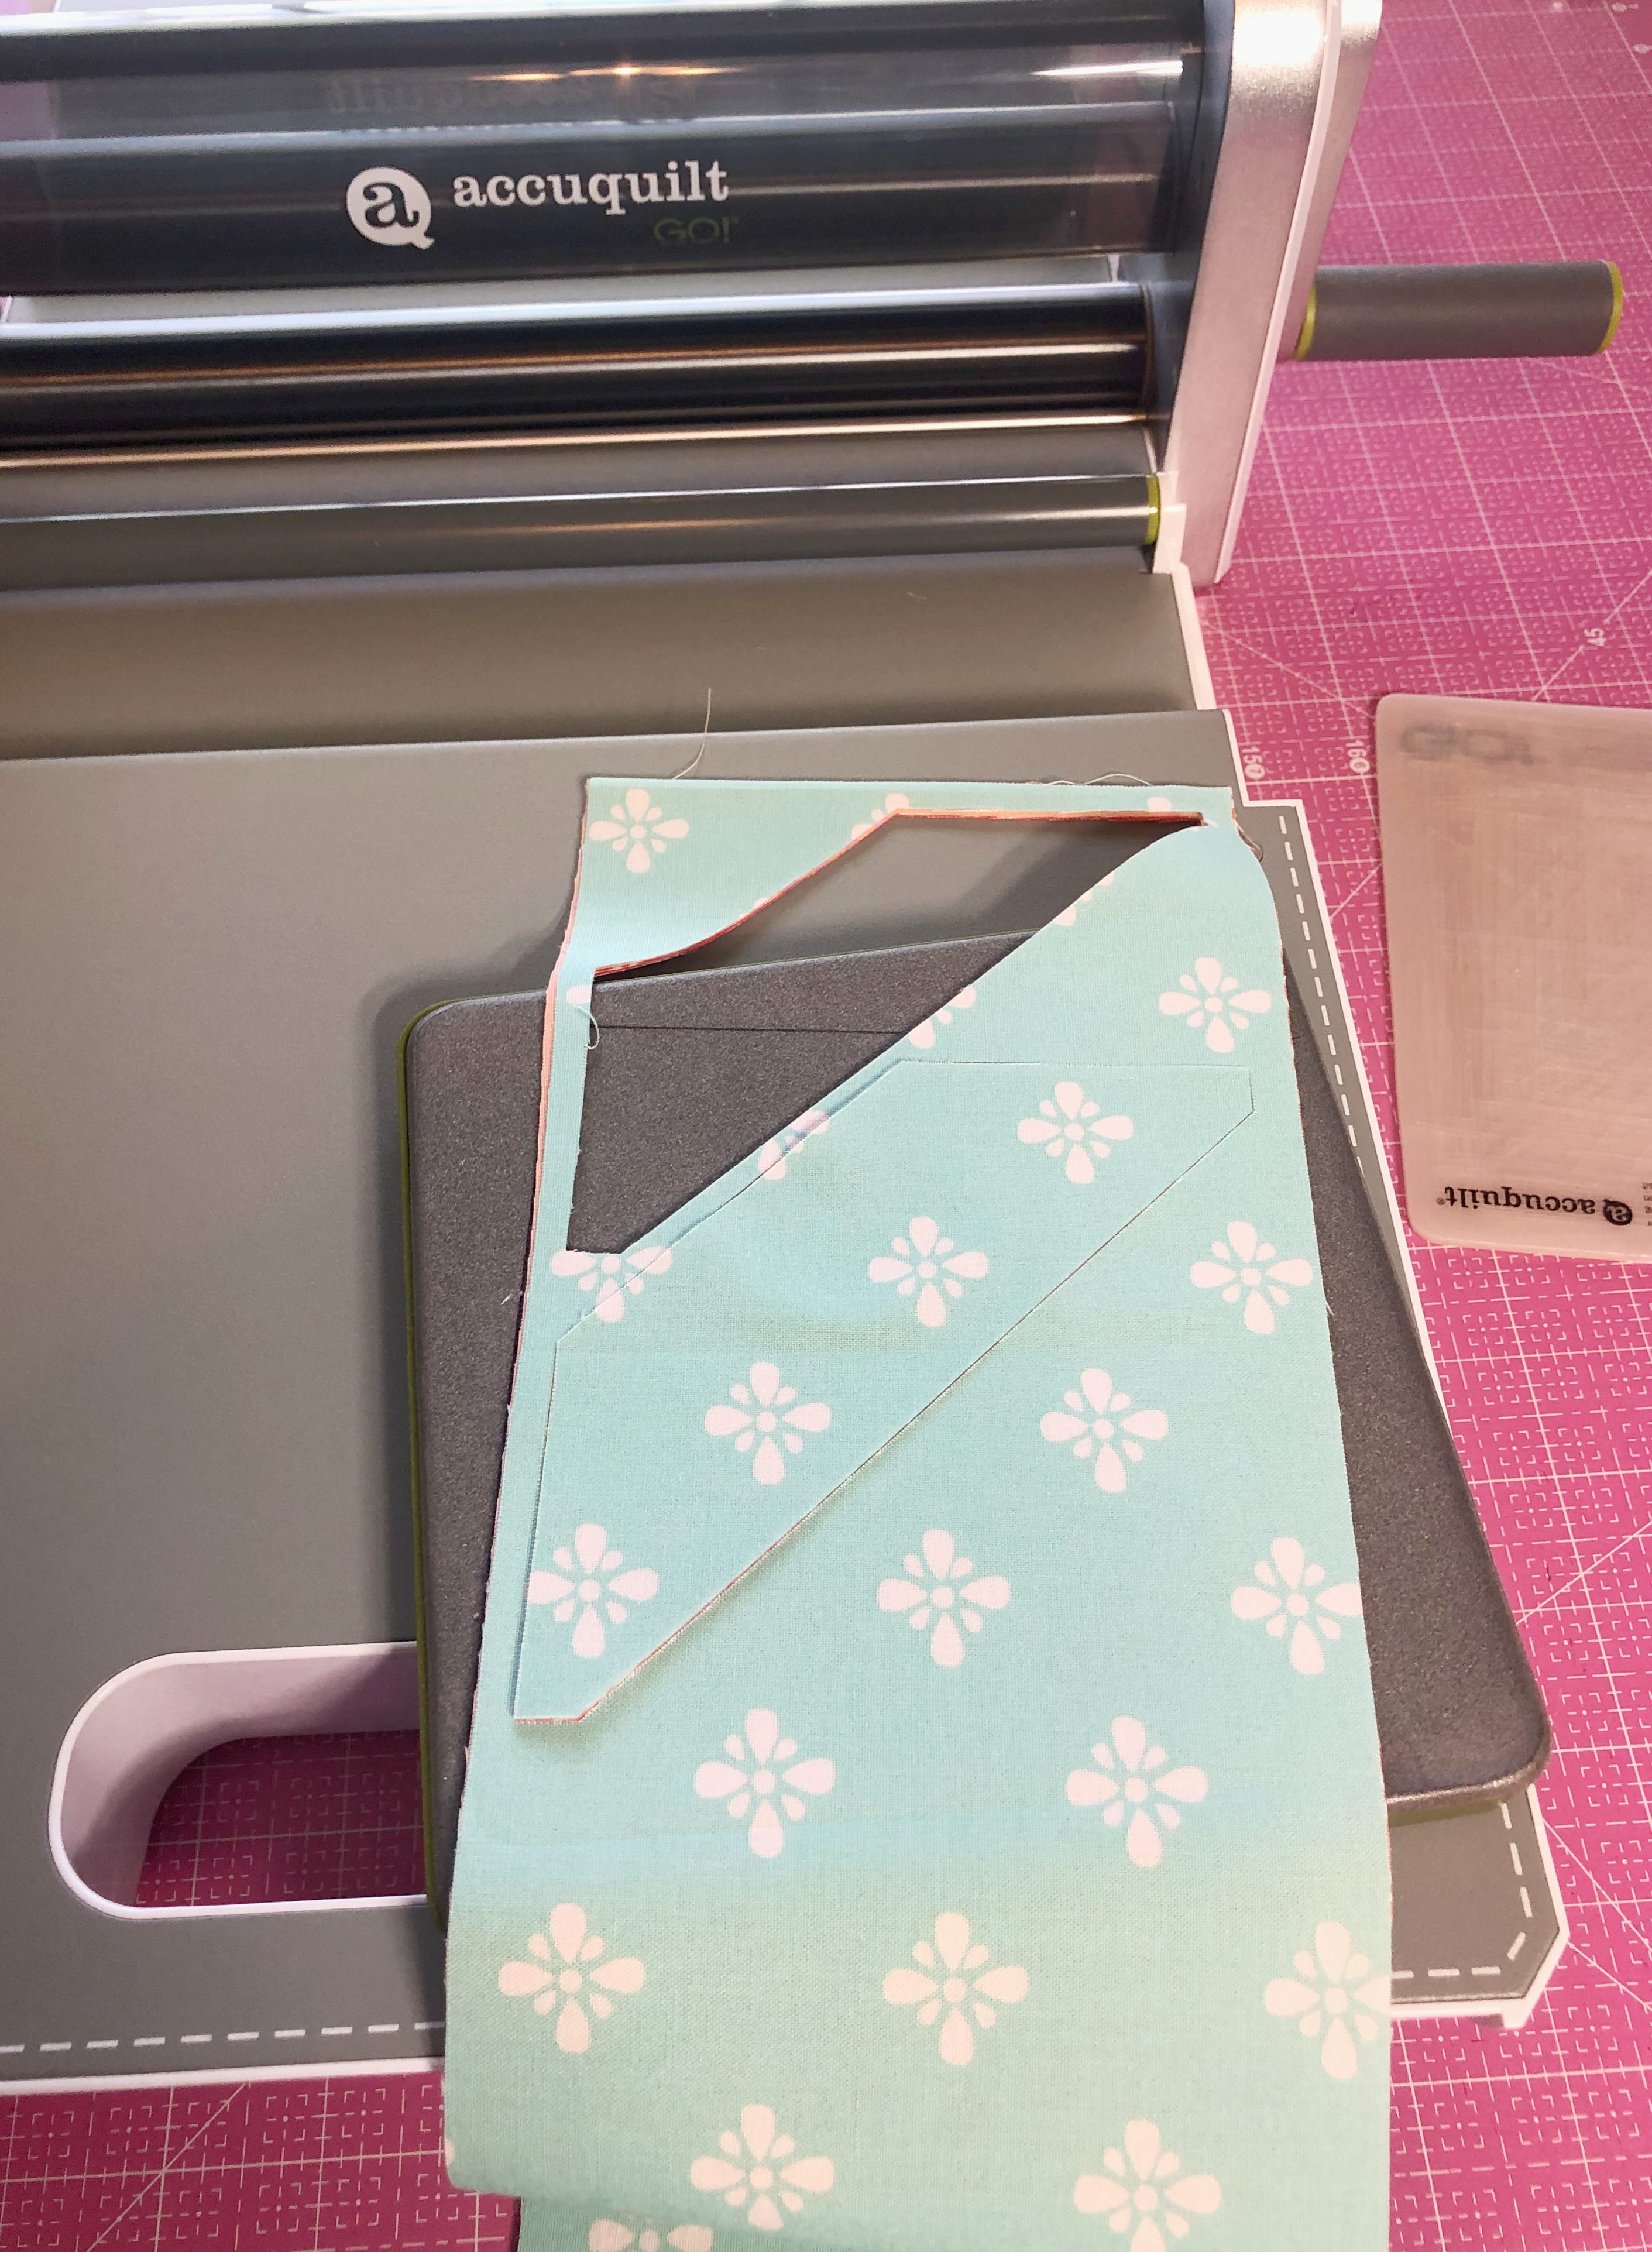
After every couple of passes through the machine, I like to trim off the little bits of excess so they don't get in my way later on.
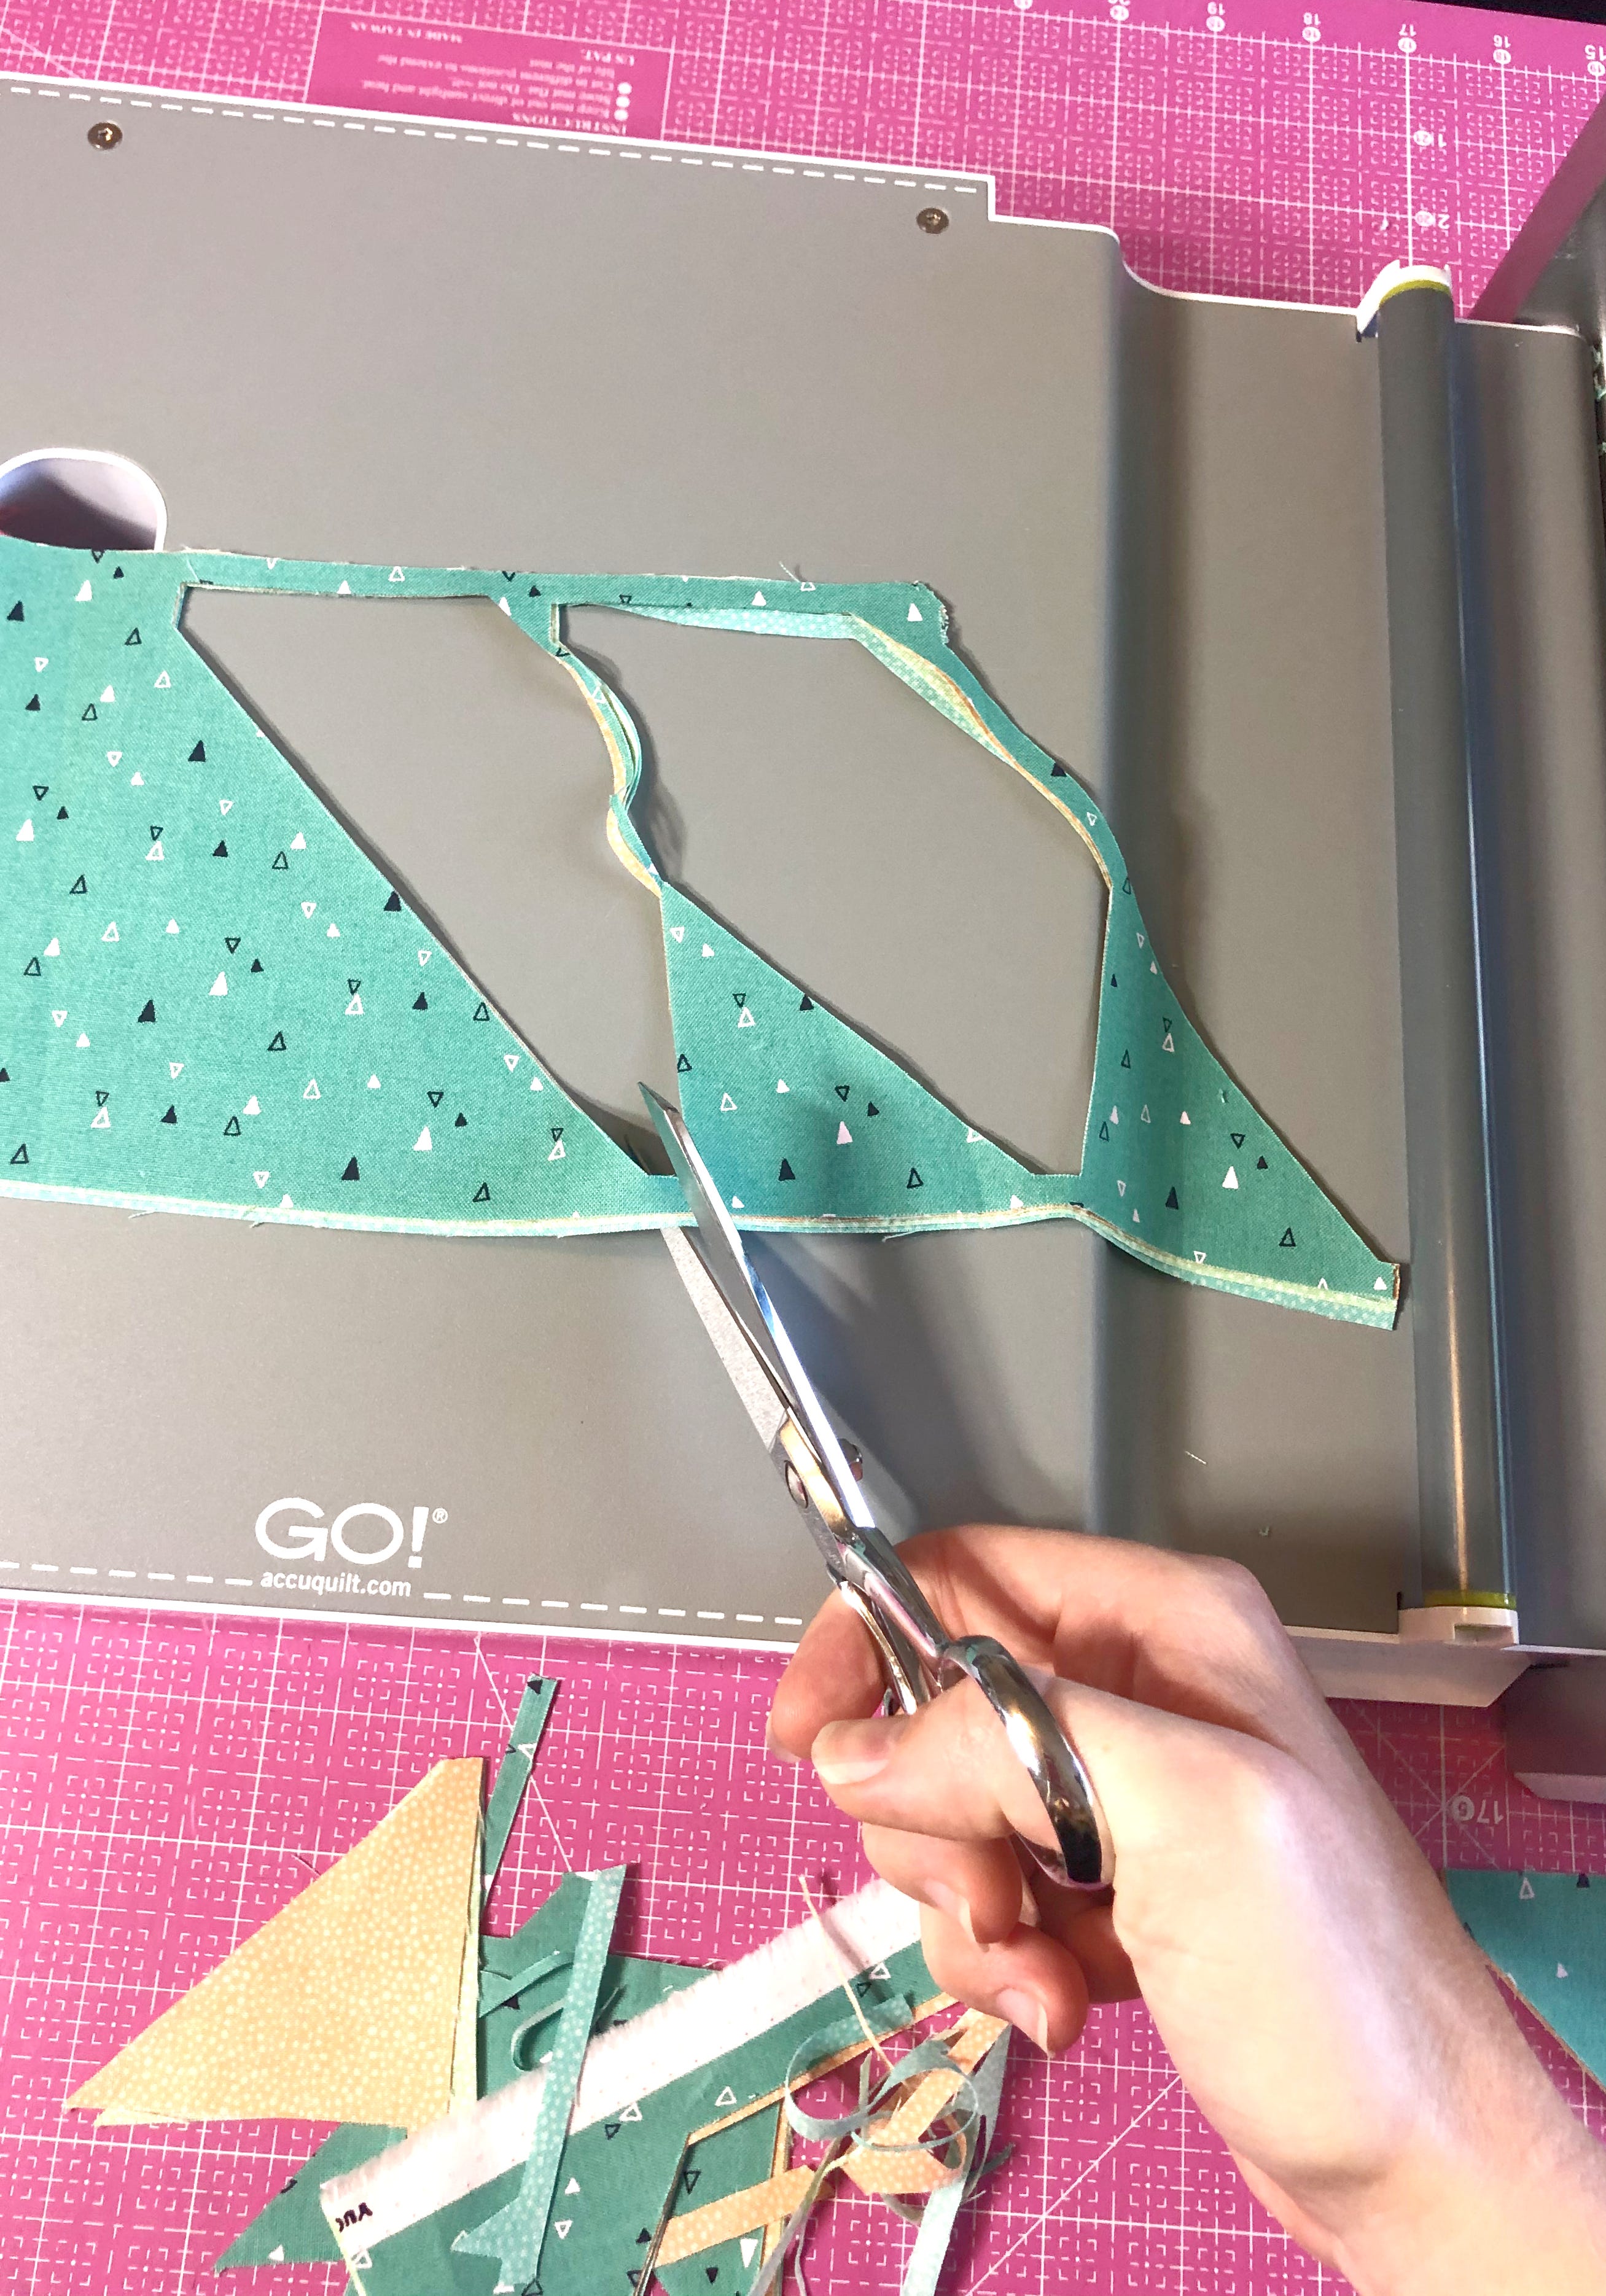
I was able to get 7 trapezoids from a 5” x 21” strip. You should be able to get around 100 trapezoids out of 1 yard of fabric!
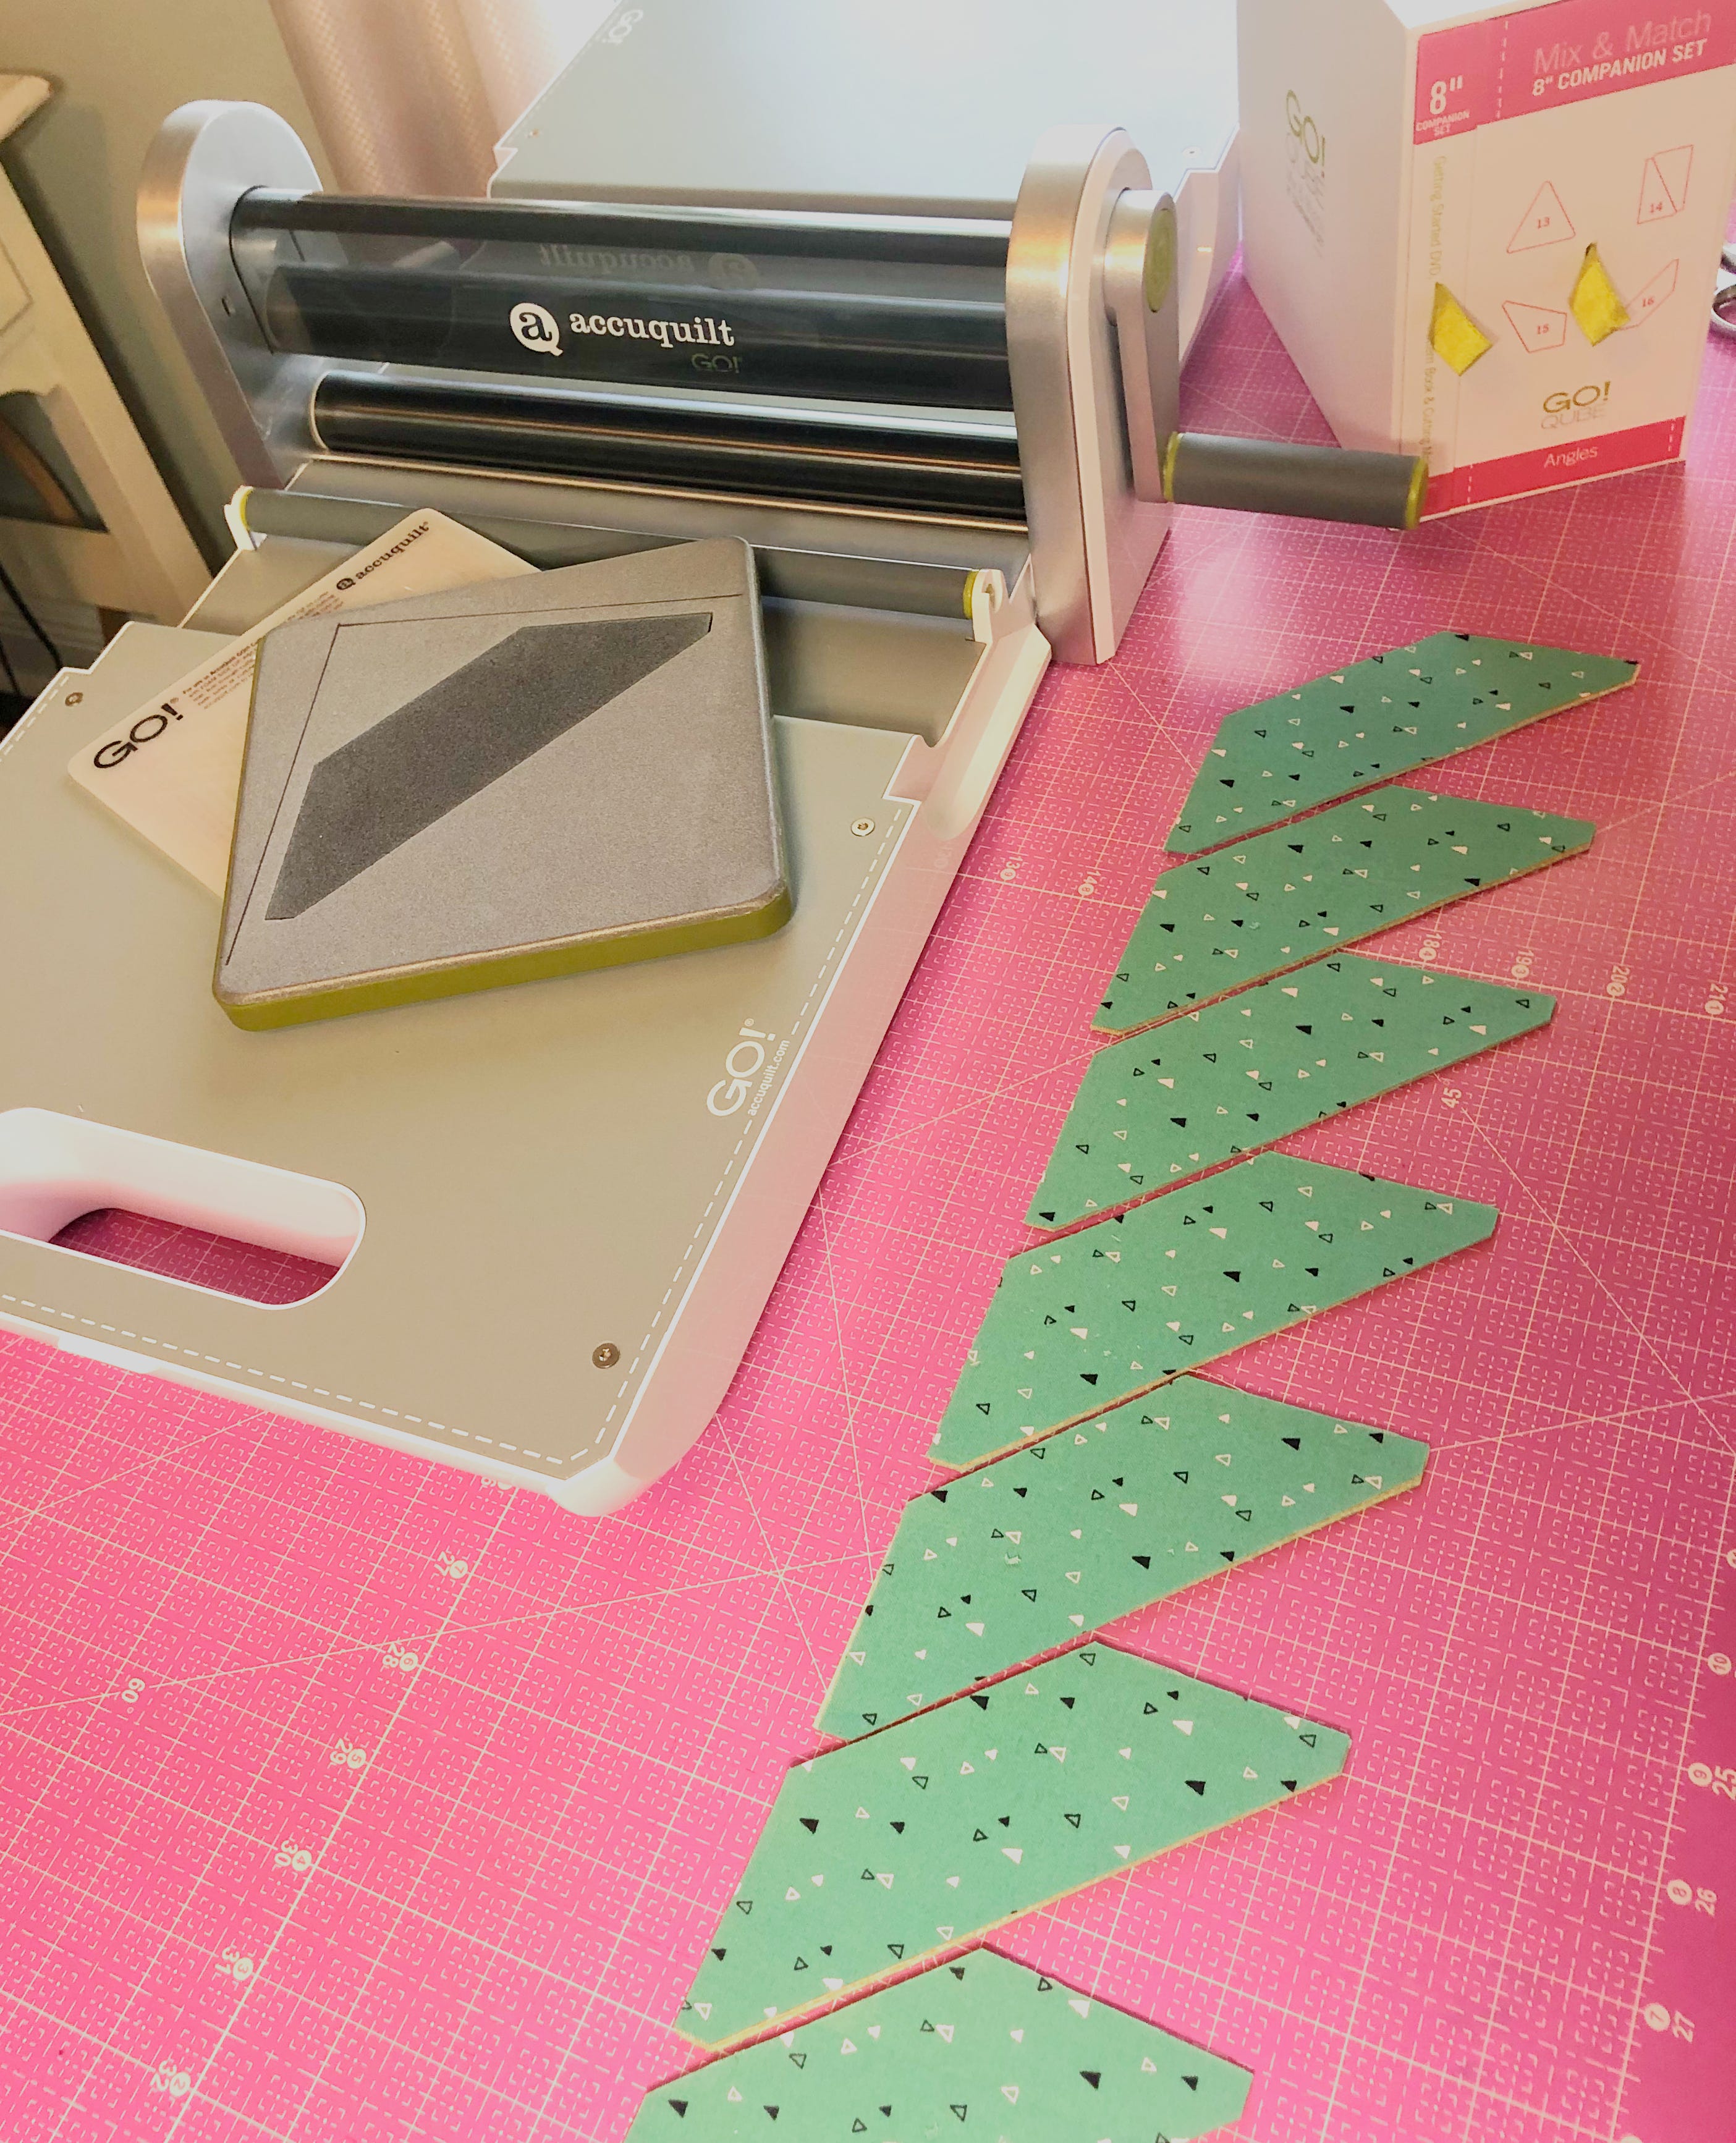
This String Quilt Block variation uses 8 trapezoids from die #16 and 8 Triangles from die #5 per block. You can use a similar method for cutting out the triangles and other shapes and sizes by following the simple steps above.
String Quilt Block Sewing Tips
To make this String Quilt Block tutorial complete, I also want to take a moment to share with you some helpful tips to keep in mind while sewing together your blocks:
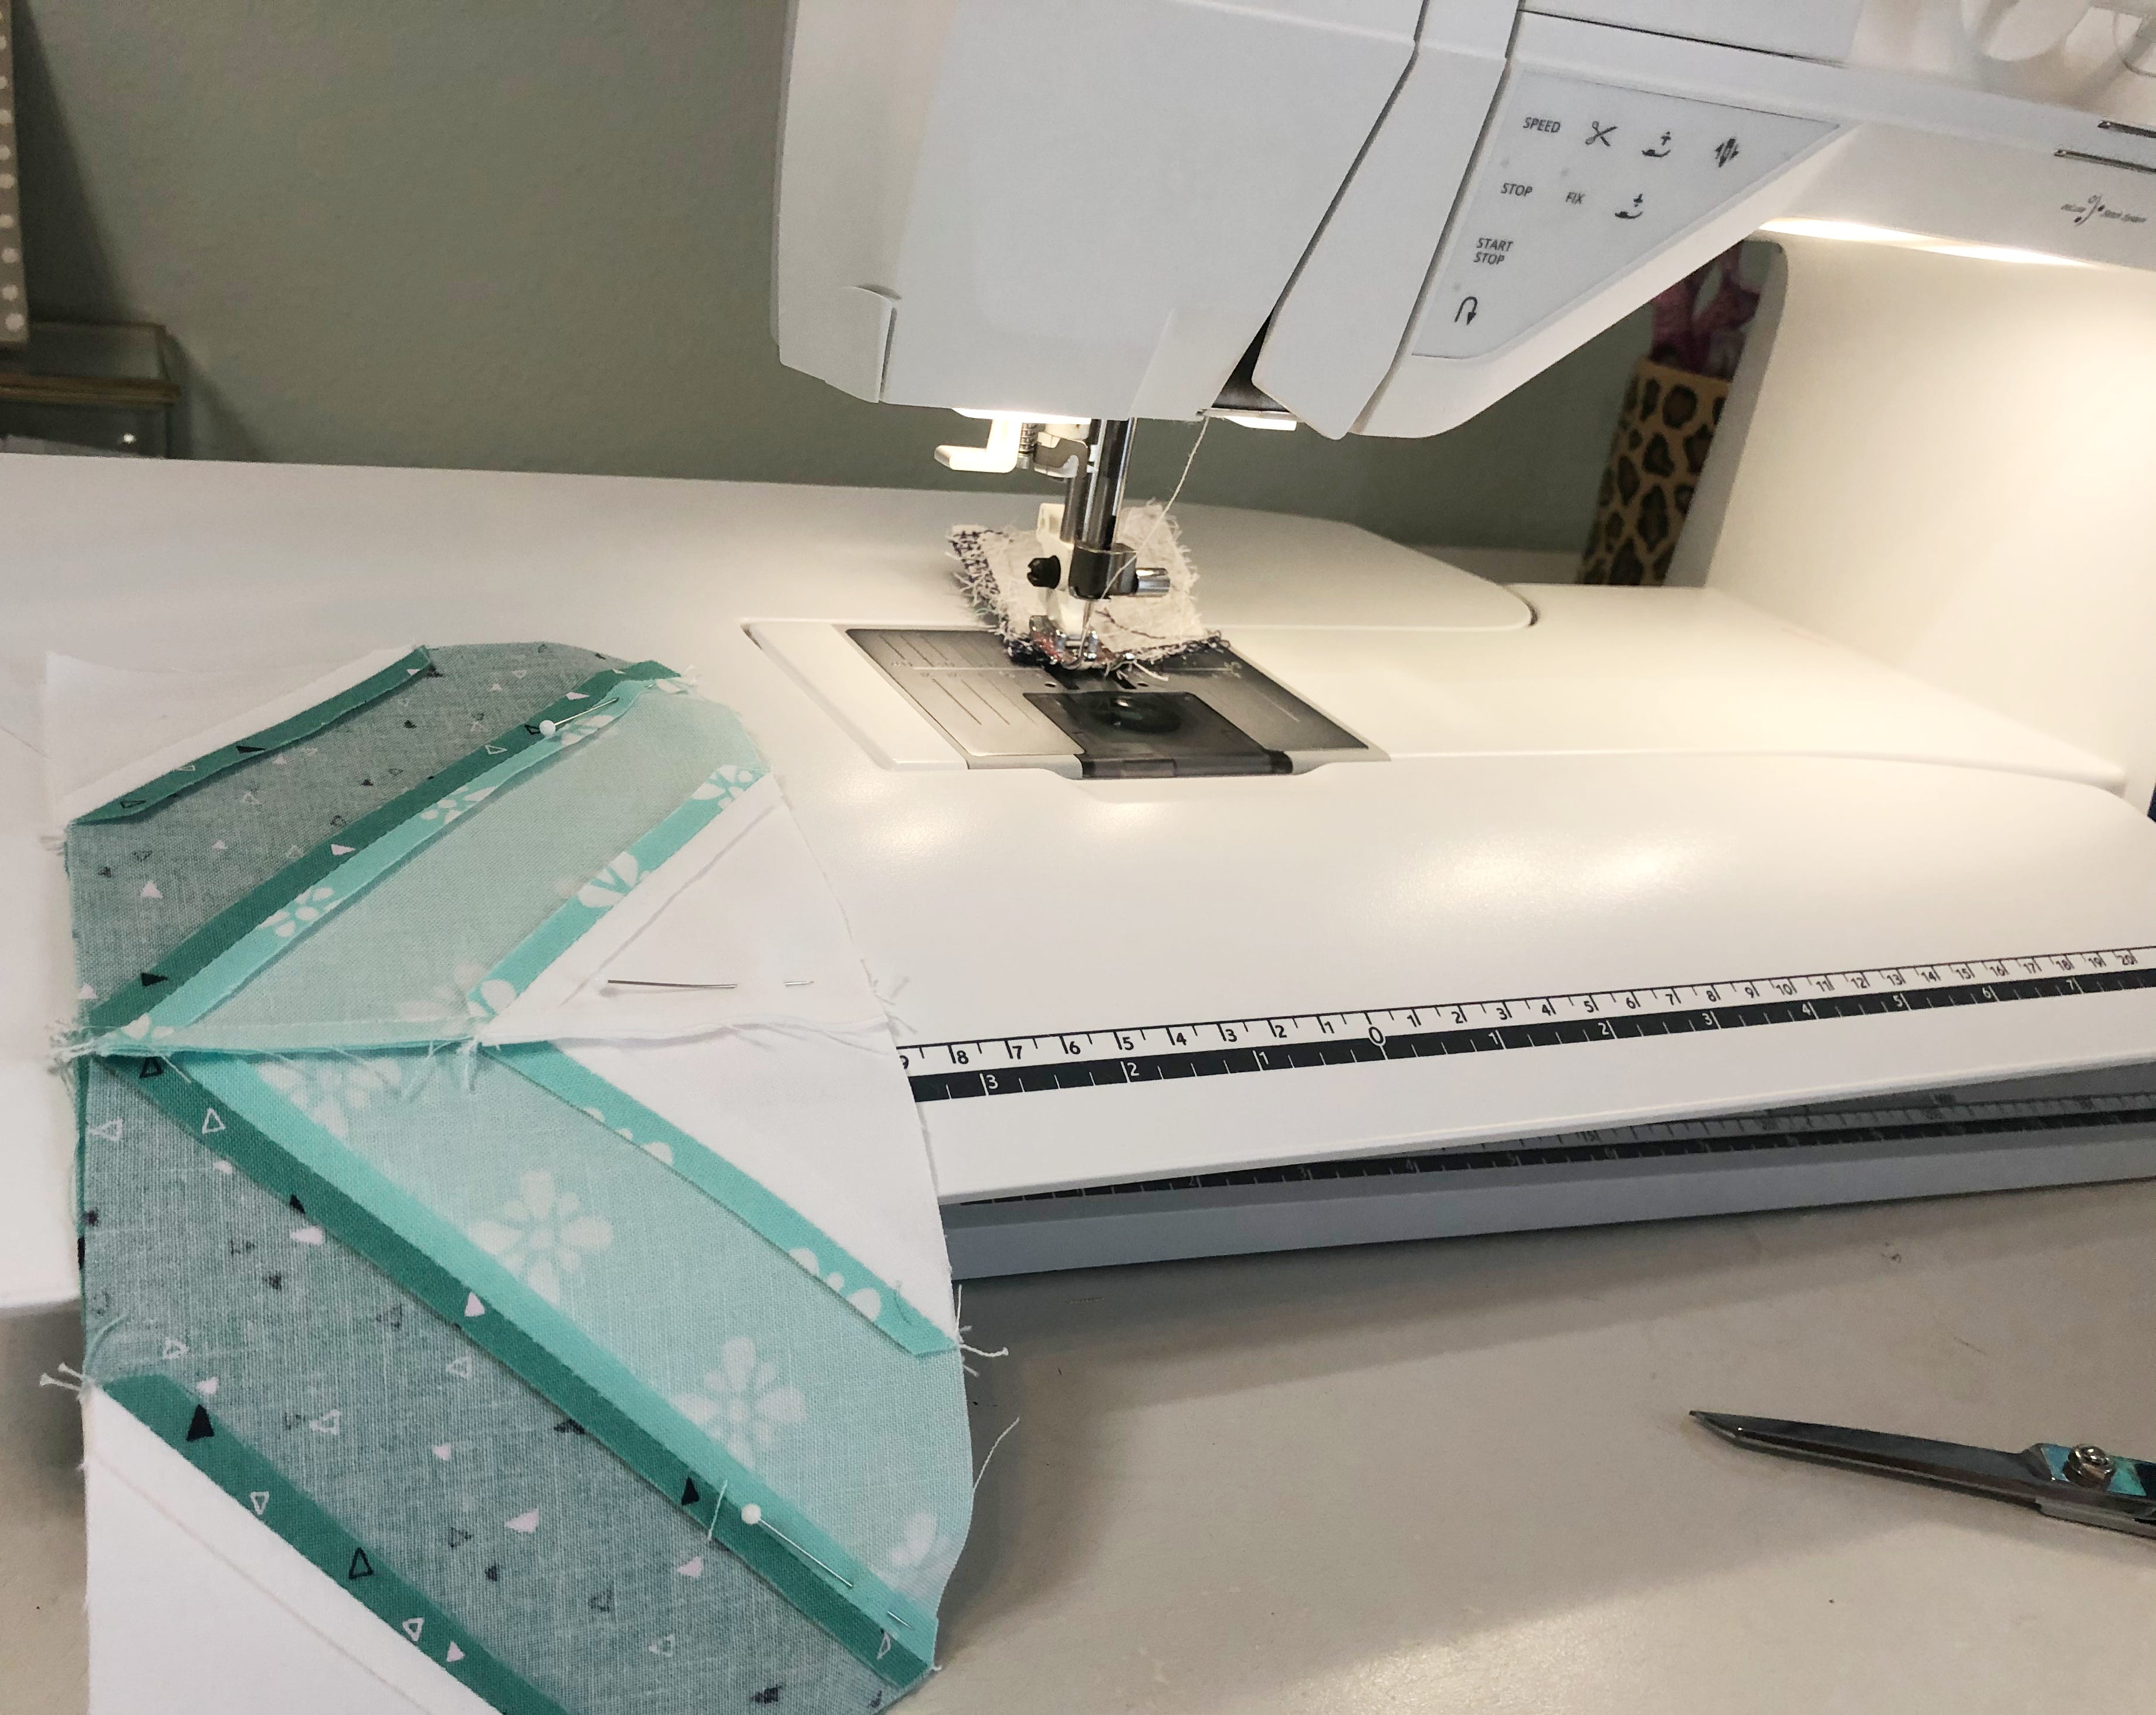
- I’ve found it incredibly helpful to use my sewing machine’s straight stitch plate. The straight stitch plate has a much smaller hole than the other plate and keeps the machine from eating the corner of the fabric.
- Using a leader prior to stitching my pieces together is another helpful way to keep my machine from messing up my points. If you’re not familiar, a “leader” is when you grab a scrap of fabric and sew across it before stitching your actual seam. It keeps the tails of your thread from creating a “nest” on your project.
- If you’re not already in the habit of changing your needle for every project, maybe it’s time to start! I’ve found a sharp new needle to be very helpful for precise piecing.
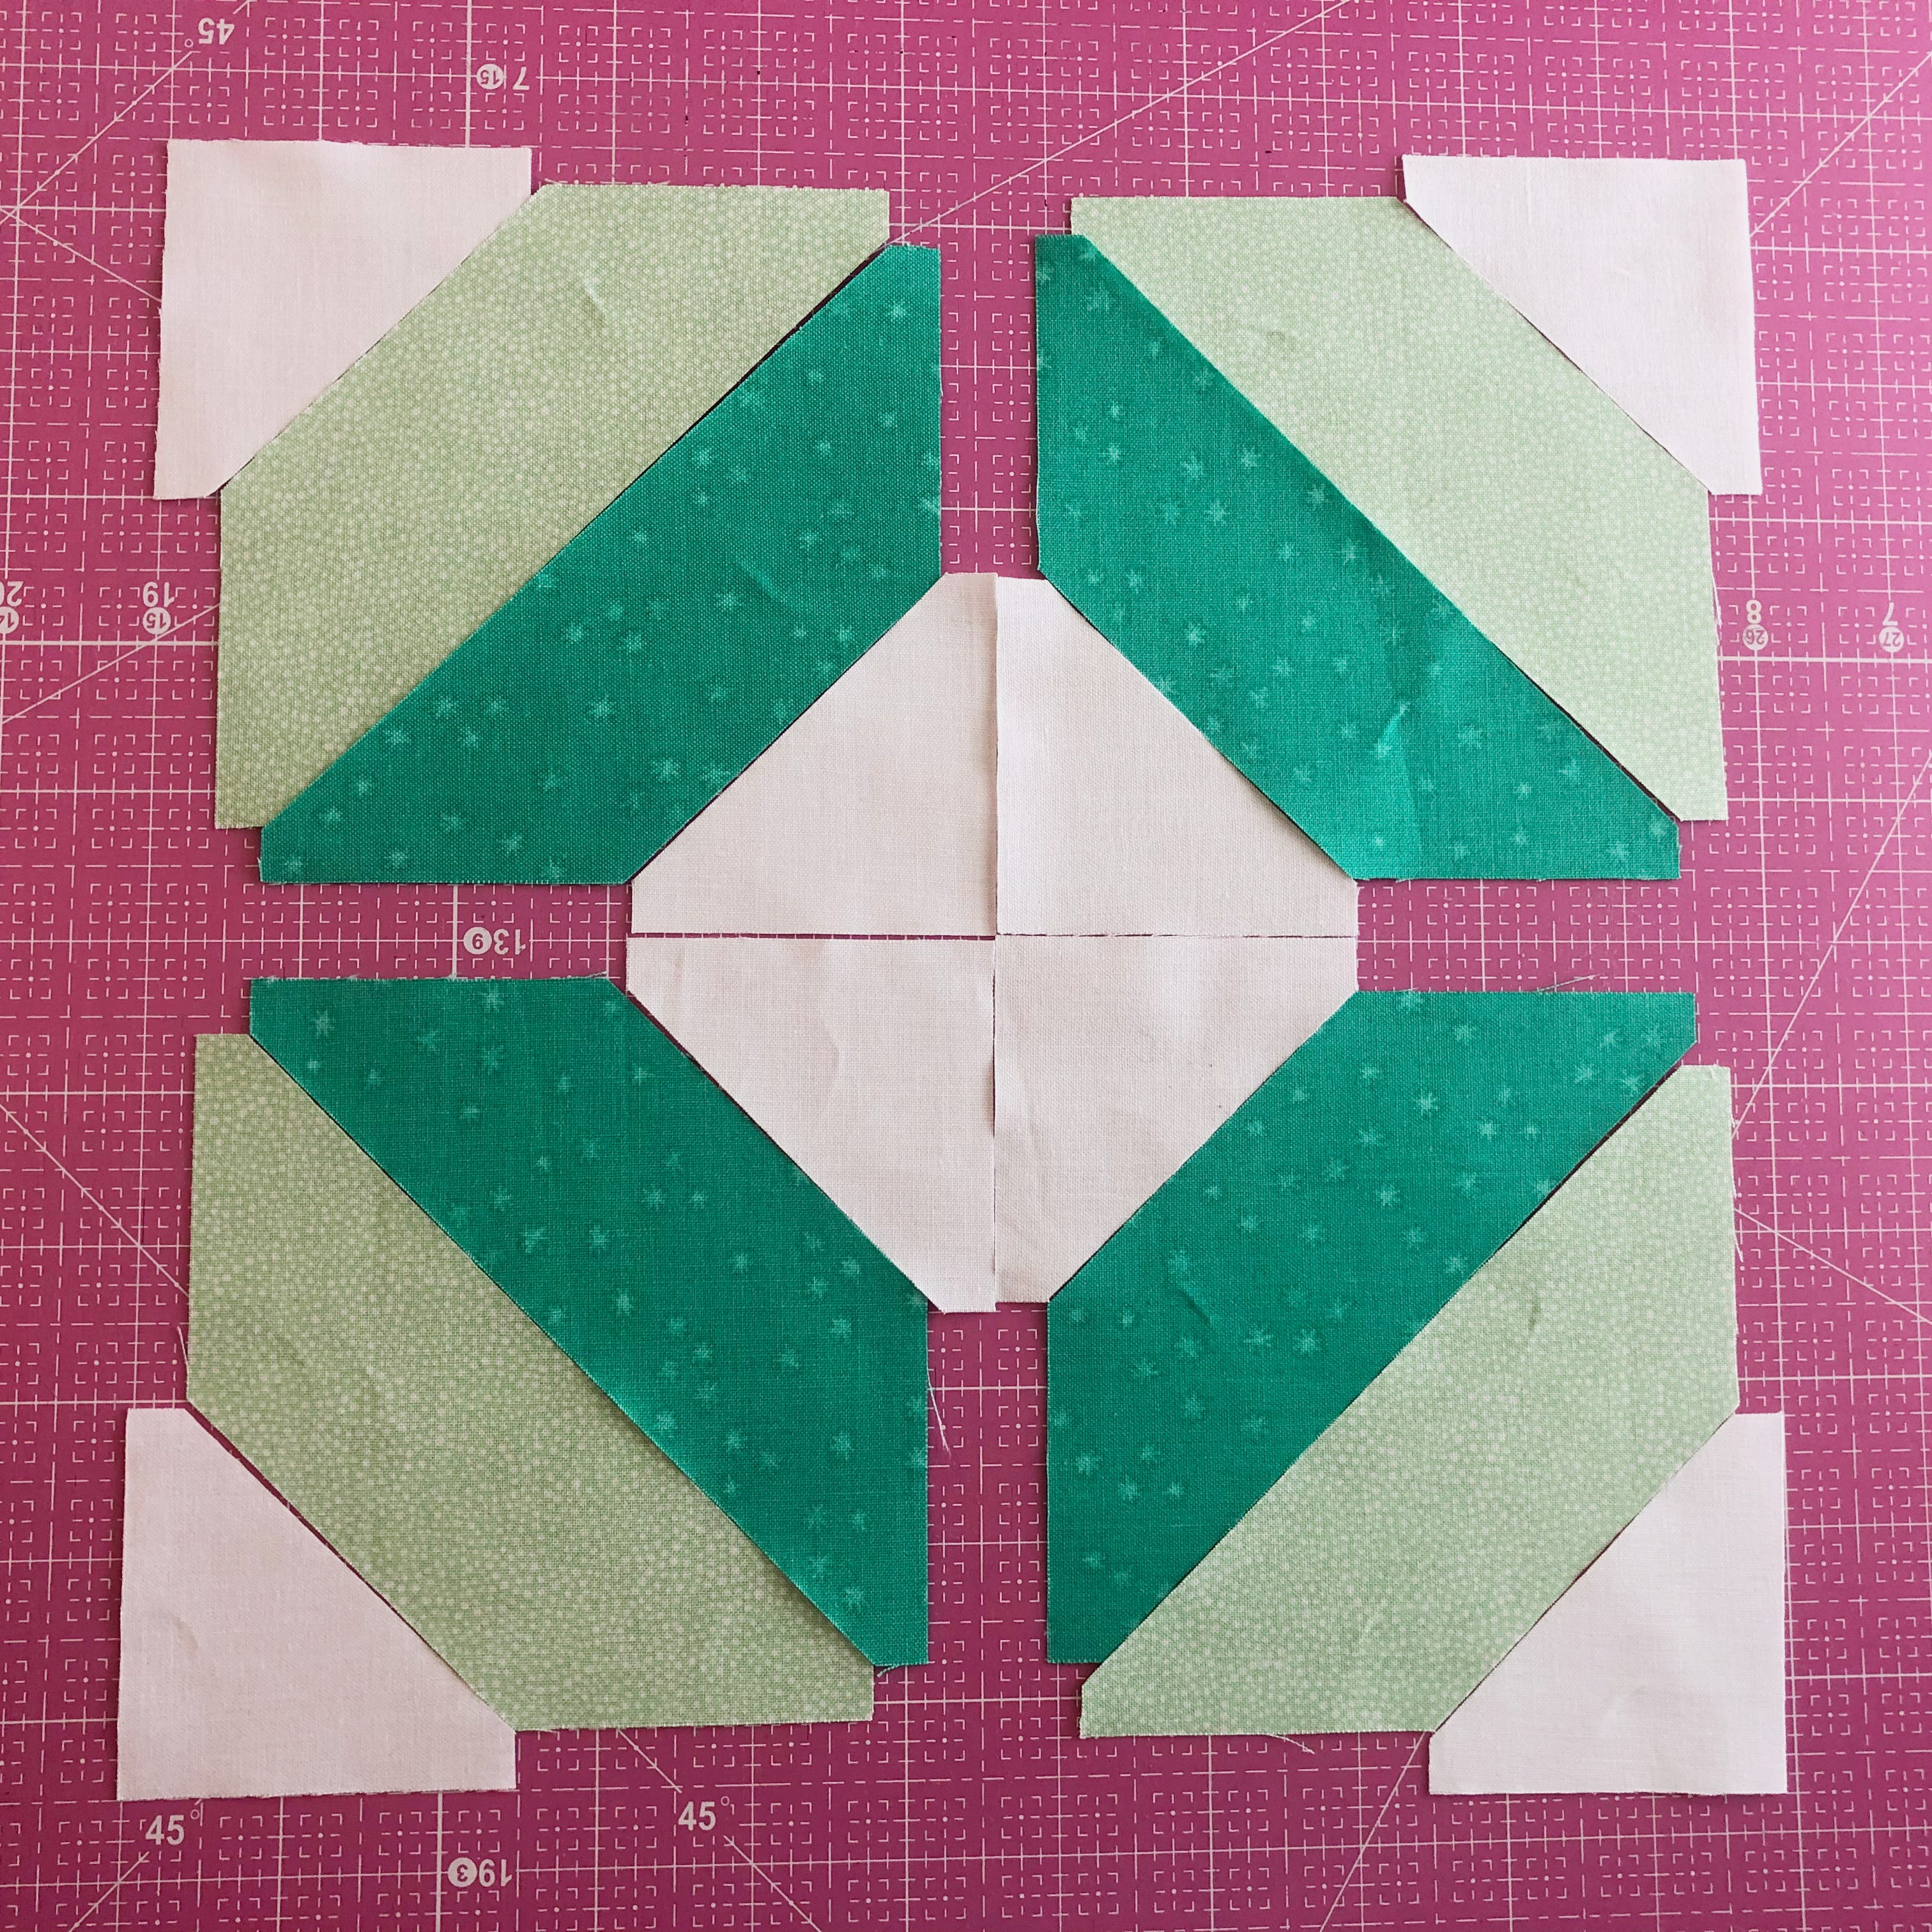
Once your fabrics are cut and you are ready to start sewing, you’ll sew each triangle to one trapezoid, matching up where the seam allowance is on the Triangle to the short side of the trapezoid. I normally tend to press my seams to the side, but I recommend for this block to gently press the seams open, as it helps the points to match up better later on.
Next, lay out your pieces in the desired design, and match up the long end of each trapezoid shape with the long end of one of the opposite color. Sew together with a ¼” seam allowance, making 4 patches. Press these seams open as well.
Carefully sew the 4-patches into a block, like shown. I actually nested seams here and it worked out well for me.
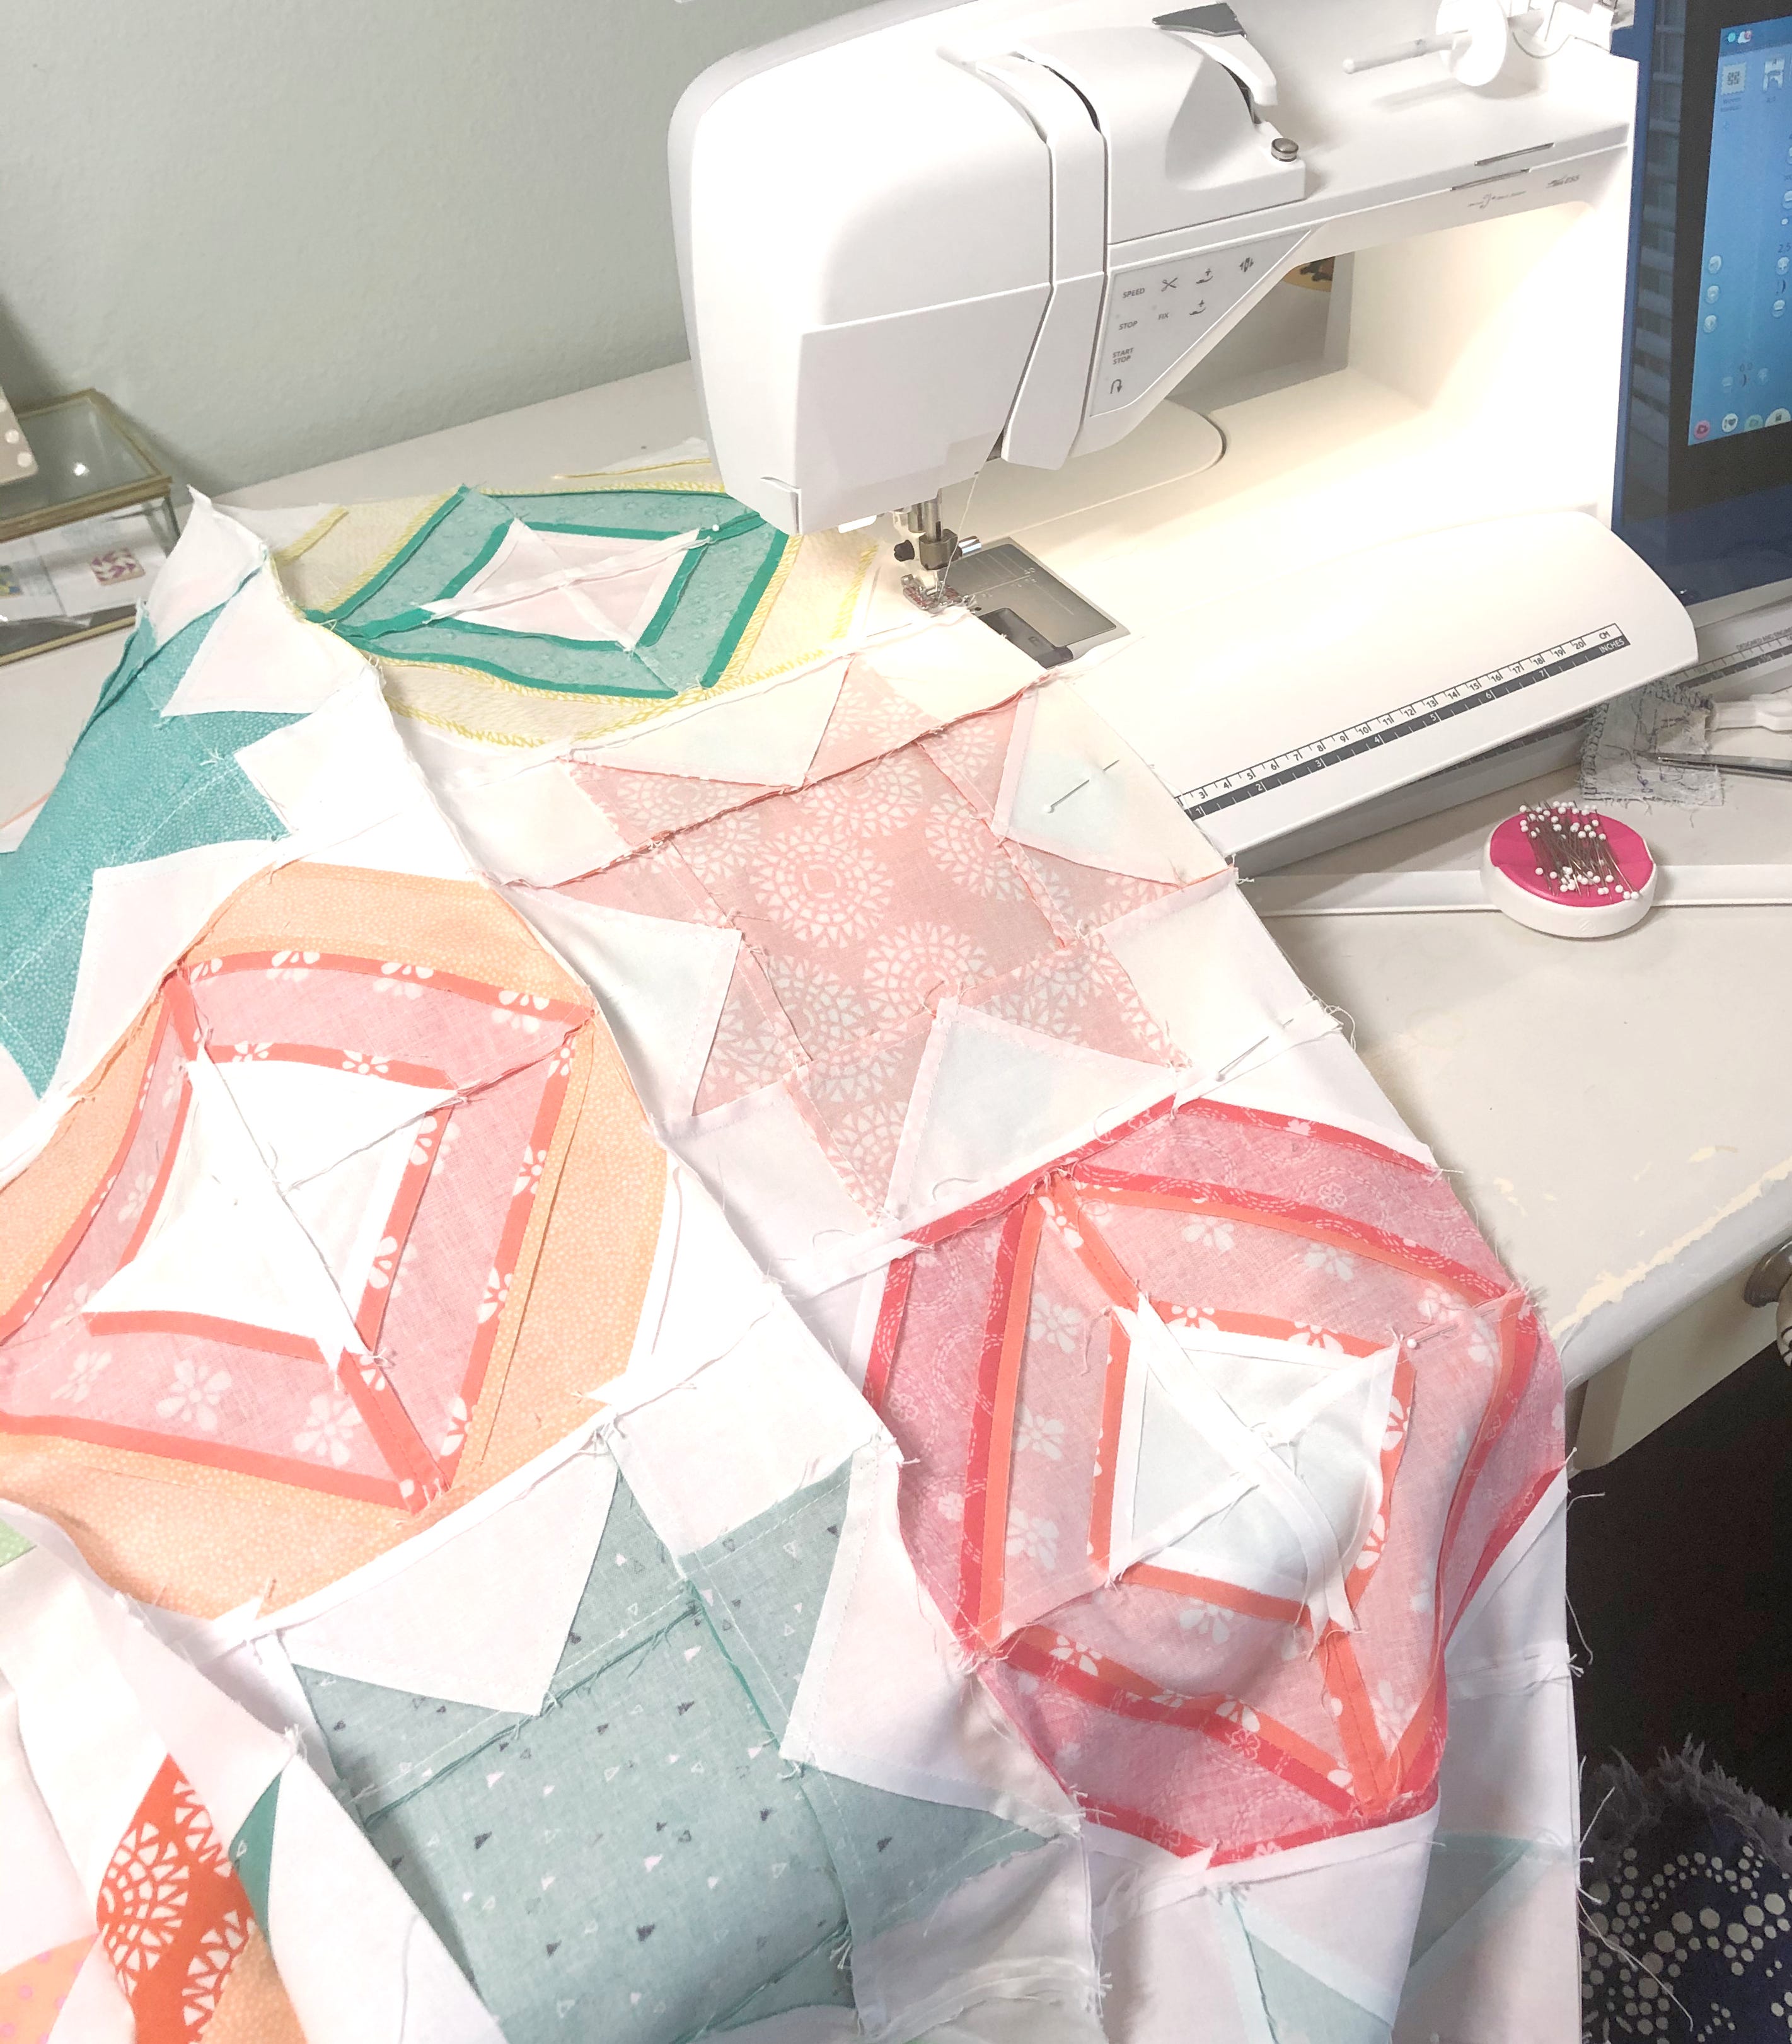
Pairing the String Quilt Block
As I mentioned earlier, I had so much fun pairing the String Quilt Blocks with some classic Sawtooth Star blocks! I hope this scrappy quilt inspires you to make a 2-block quilt and try out a new type of block that you haven’t made before.
To see the full tutorial of making this String Quilt Block using my AccuQuilt Qube and Angles Companion, watch this video:
What do you think of using the Cut and Shift™ Method to reduce fabric waste? Let me know in the comments below!


