
They say time flies when you’re having fun, which must be why it seems like we just introduced this project yesterday. We actually kicked off this fourth of five quilt-alongs on July 19 with an introduction during AccuQuilt Live, plus blog posts on here and by our partners at AQS. All these resources are available for you if you’re just joining us because it’s never too late to start a new quilt!
AccuQuilt Cutting Expert Pam Heller and I have been working alongside everyone with live shows and blog posts weekly since August 2. We’ve also been part of the amazing community of creativity on the AQS Quilting Project Parade Facebook page, posting our progress and getting to enjoy seeing what everyone’s doing.
As I said before, I think we’ve all been chainpiecing for days, so let’s pull this project together!
What You'll Need
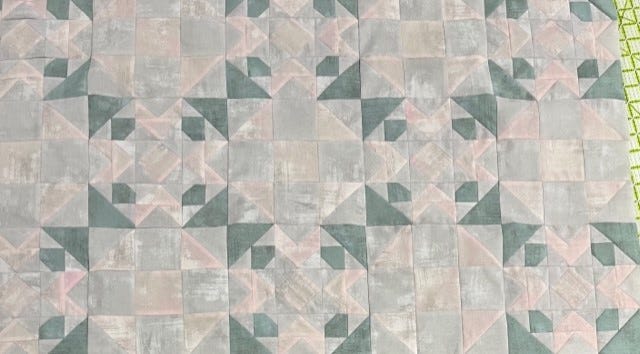
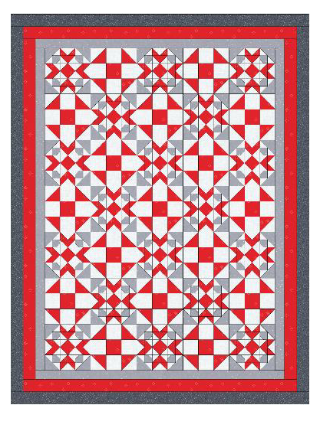
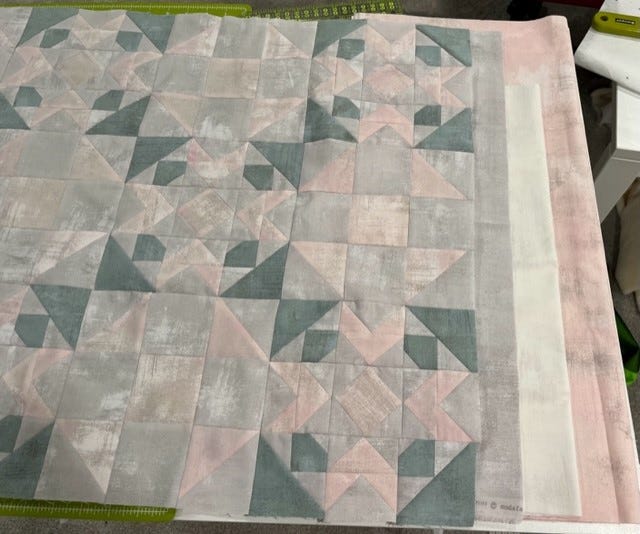
First, be sure to have the pattern handy for the diagram of the layout. We’ll be laying out seven rows of five blocks. If you don’t have a design wall to use for this, try the floor, a bed or a big table - whatever works!

Normally, I would say to press the seams between blocks opposite ways on odd and even rows, so those blocks can nest together, making neat and tidy rows, or to press those seams open, but for this, I’m going to say to press the seams towards the Shoo Fly blocks. These blocks have fewer seam points along the edges and I found them to make slightly flatter seams, but this is strictly a matter of choice!
I like to sew sets of two or three rows together at a time and then join those sets together. Once you have all your rows together, give the entire top a good pressing.
Border Time
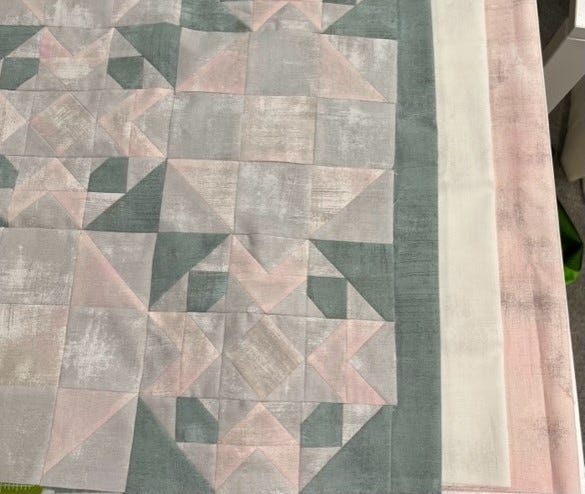
This project pattern calls for three borders. The first, or inner, border is cut at 2” using the GO! Strip Cutter-2” (1 1/2" Finished) Die, and for the https://www.accuquilt.com/go-qube-mix-match-5-block.html, you will need a total of five Width of Fabric (WOF) strips.
Now, it’s time to measure! Measure the length of the quilt on either side and down the center. It should measure to 60”. If your numbers don’t match, you’ll want to use an average number to straighten things out.
IMPORTANT NOTE: There was a mistake in the 5” pattern that called this lengthwise measurement out to be 53”. It’s now been corrected, but double-check your version and your quilt before cutting!
You’ll want to sew strips together to create two longer strips, one for each side. Next, mark the center of each strip and the center of each side of your quilt. Match up these marks and pin the strips to either side from the center out to each end before sewing them on.
Press those seams to the outside of your quilt, and now, you want to measure the width of the quilt across the top, bottom and center. It should measure to 41”, but you’ll want to follow the same technique that we did above.
After sewing on these strips, your quilt top should be evened out!

More Borders
The next two borders are cut to 2 1/2” using the GO! Strip Cutter-2 1/2” (2” Finished) 3 Strips Die. Follow the directions listed to add the next borders, continuing to press your seams to the outside of the quilt.
If you’re not a fan of multiple borders, you can leave the outer borders off or combine the widths by cutting just one at 4 1/2” wide – it’s really all up to you and how you want to frame out your project!
Binding Tip
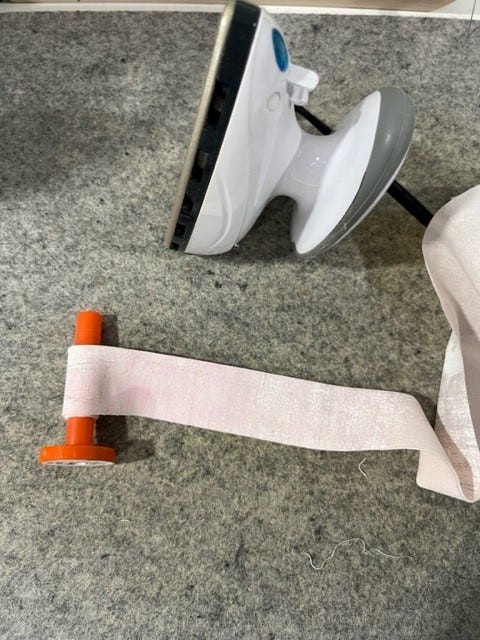
While you have all your fabric and cutting supplies out, why not cut your binding? I love doing this before the quilt is quilted, so it can be ready and waiting for me!
Finishing Up
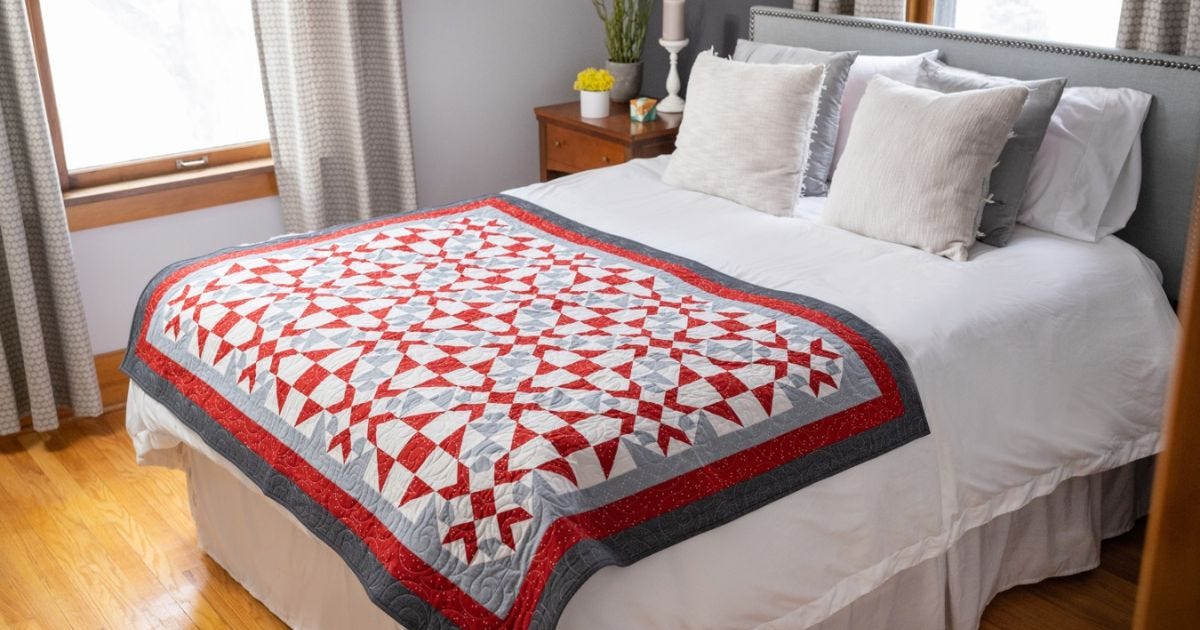
Since it’s now time to quilt your top, it’s time to decide on backing, batting and quilting. It can feel like a lot, but just take it one decision at a time. I love using wide back fabric for the back of my quilts because it’s so easy, and I get some nice leftover fabric that can be used for the back of another project or two.
My quilt is going to my new granddaughter, who’s due to arrive in December, so I’ve decided to put some yummy Shannon Cuddle fabric on the back and to “quilt it by check.” This is because my schedule’s pretty full and I want to be sure this gets done promptly and doesn’t hide out with my UFO (UnFinished Object) stack!
Remember: there are no right and wrong choices because it’s just whatever works for you.
Be Sure to Share
Don’t forget to share pictures of your progress with all of us quilting along together on the AQS Quilting Project Parade Facebook Group using the hashtag #AQSews. This is the best way to share what you’re doing and see what your fellow quilters are up to. It’s also how the lovely ladies at AQS and I will be finding your pictures to share for next week’s Show & Tell event and blog posts!
Thanks for quilting along, and I’ll see you next week as we show off your beautiful creations!


